This weekend, I have been drafting the rules for my wargame in a matchbox. I now face the challenge of somehow fitting them inside the matchbox without shrinking the text too much. However, before getting to the rules my first task was to create some hit markers to use with the ship status cards. They are small card squares 5x5mm with a Red Cross drawn on them, front and back so no need to worry about turning the fiddly things the right way up.
(For details behind the wargame in a matchbox challenge see the blogs Man of Tin and Duchy of Tradgardland.)
 |
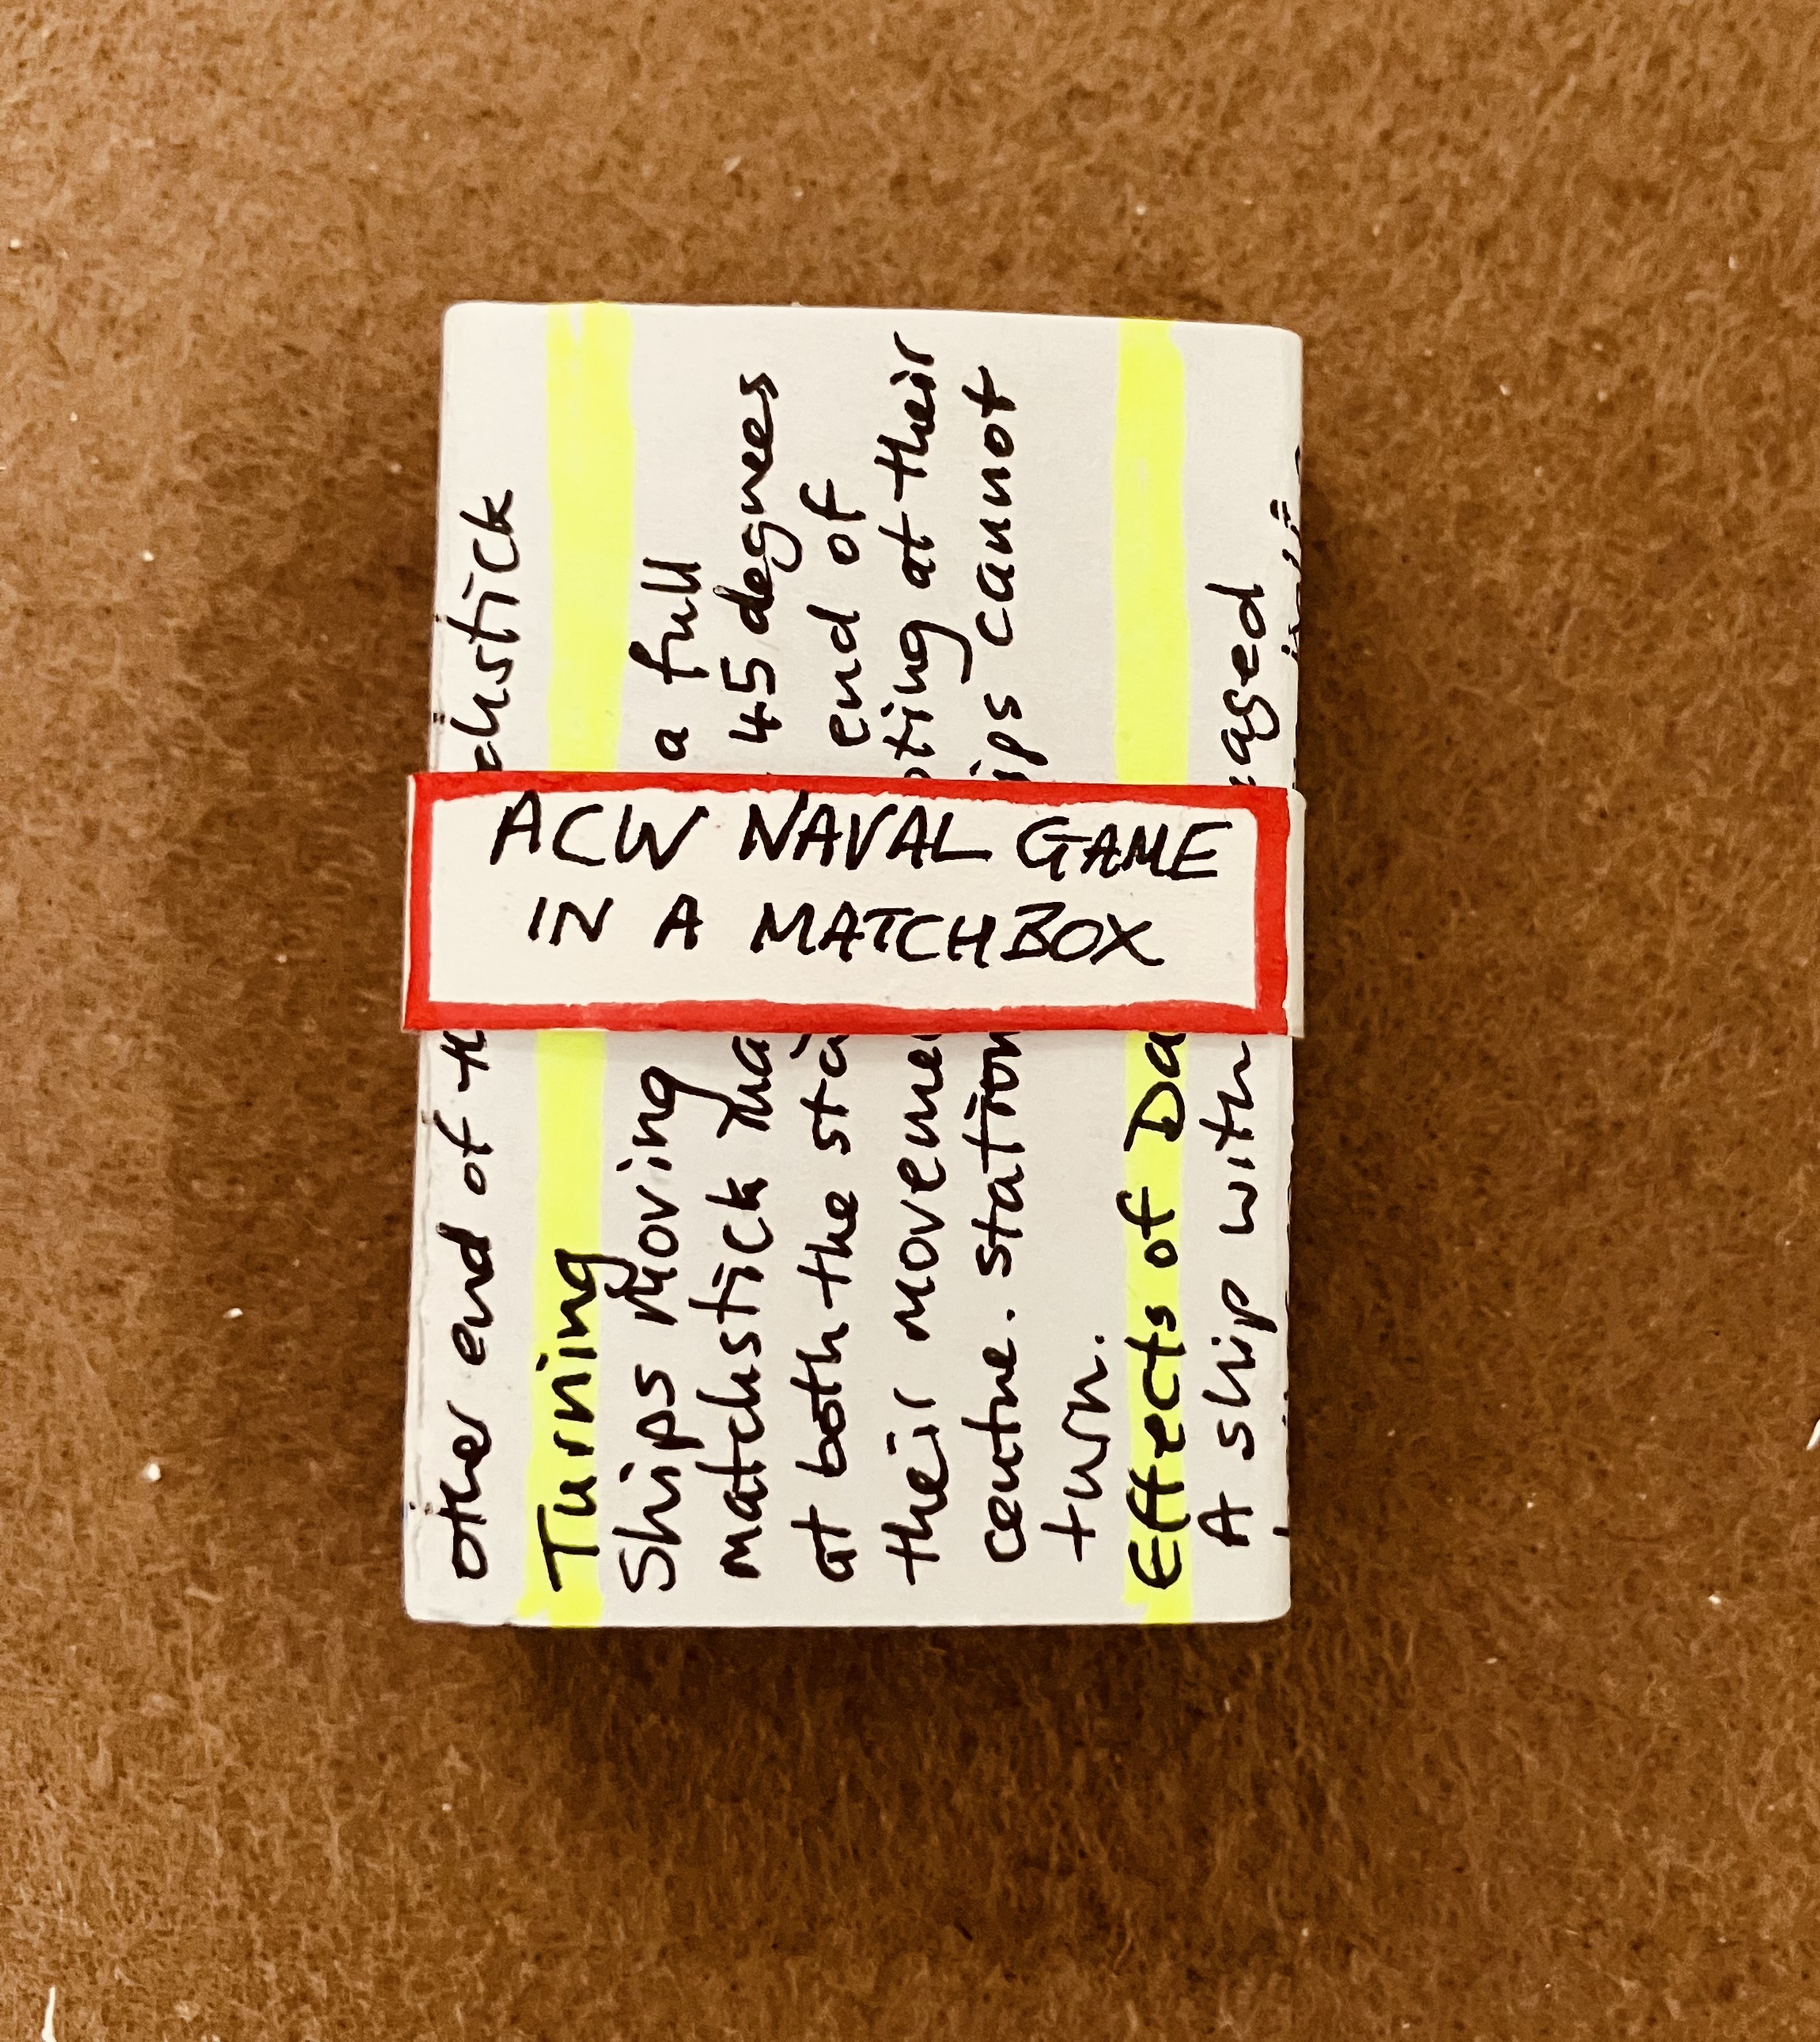
| Matchbox contents. The rules are yet to be added. |
 |
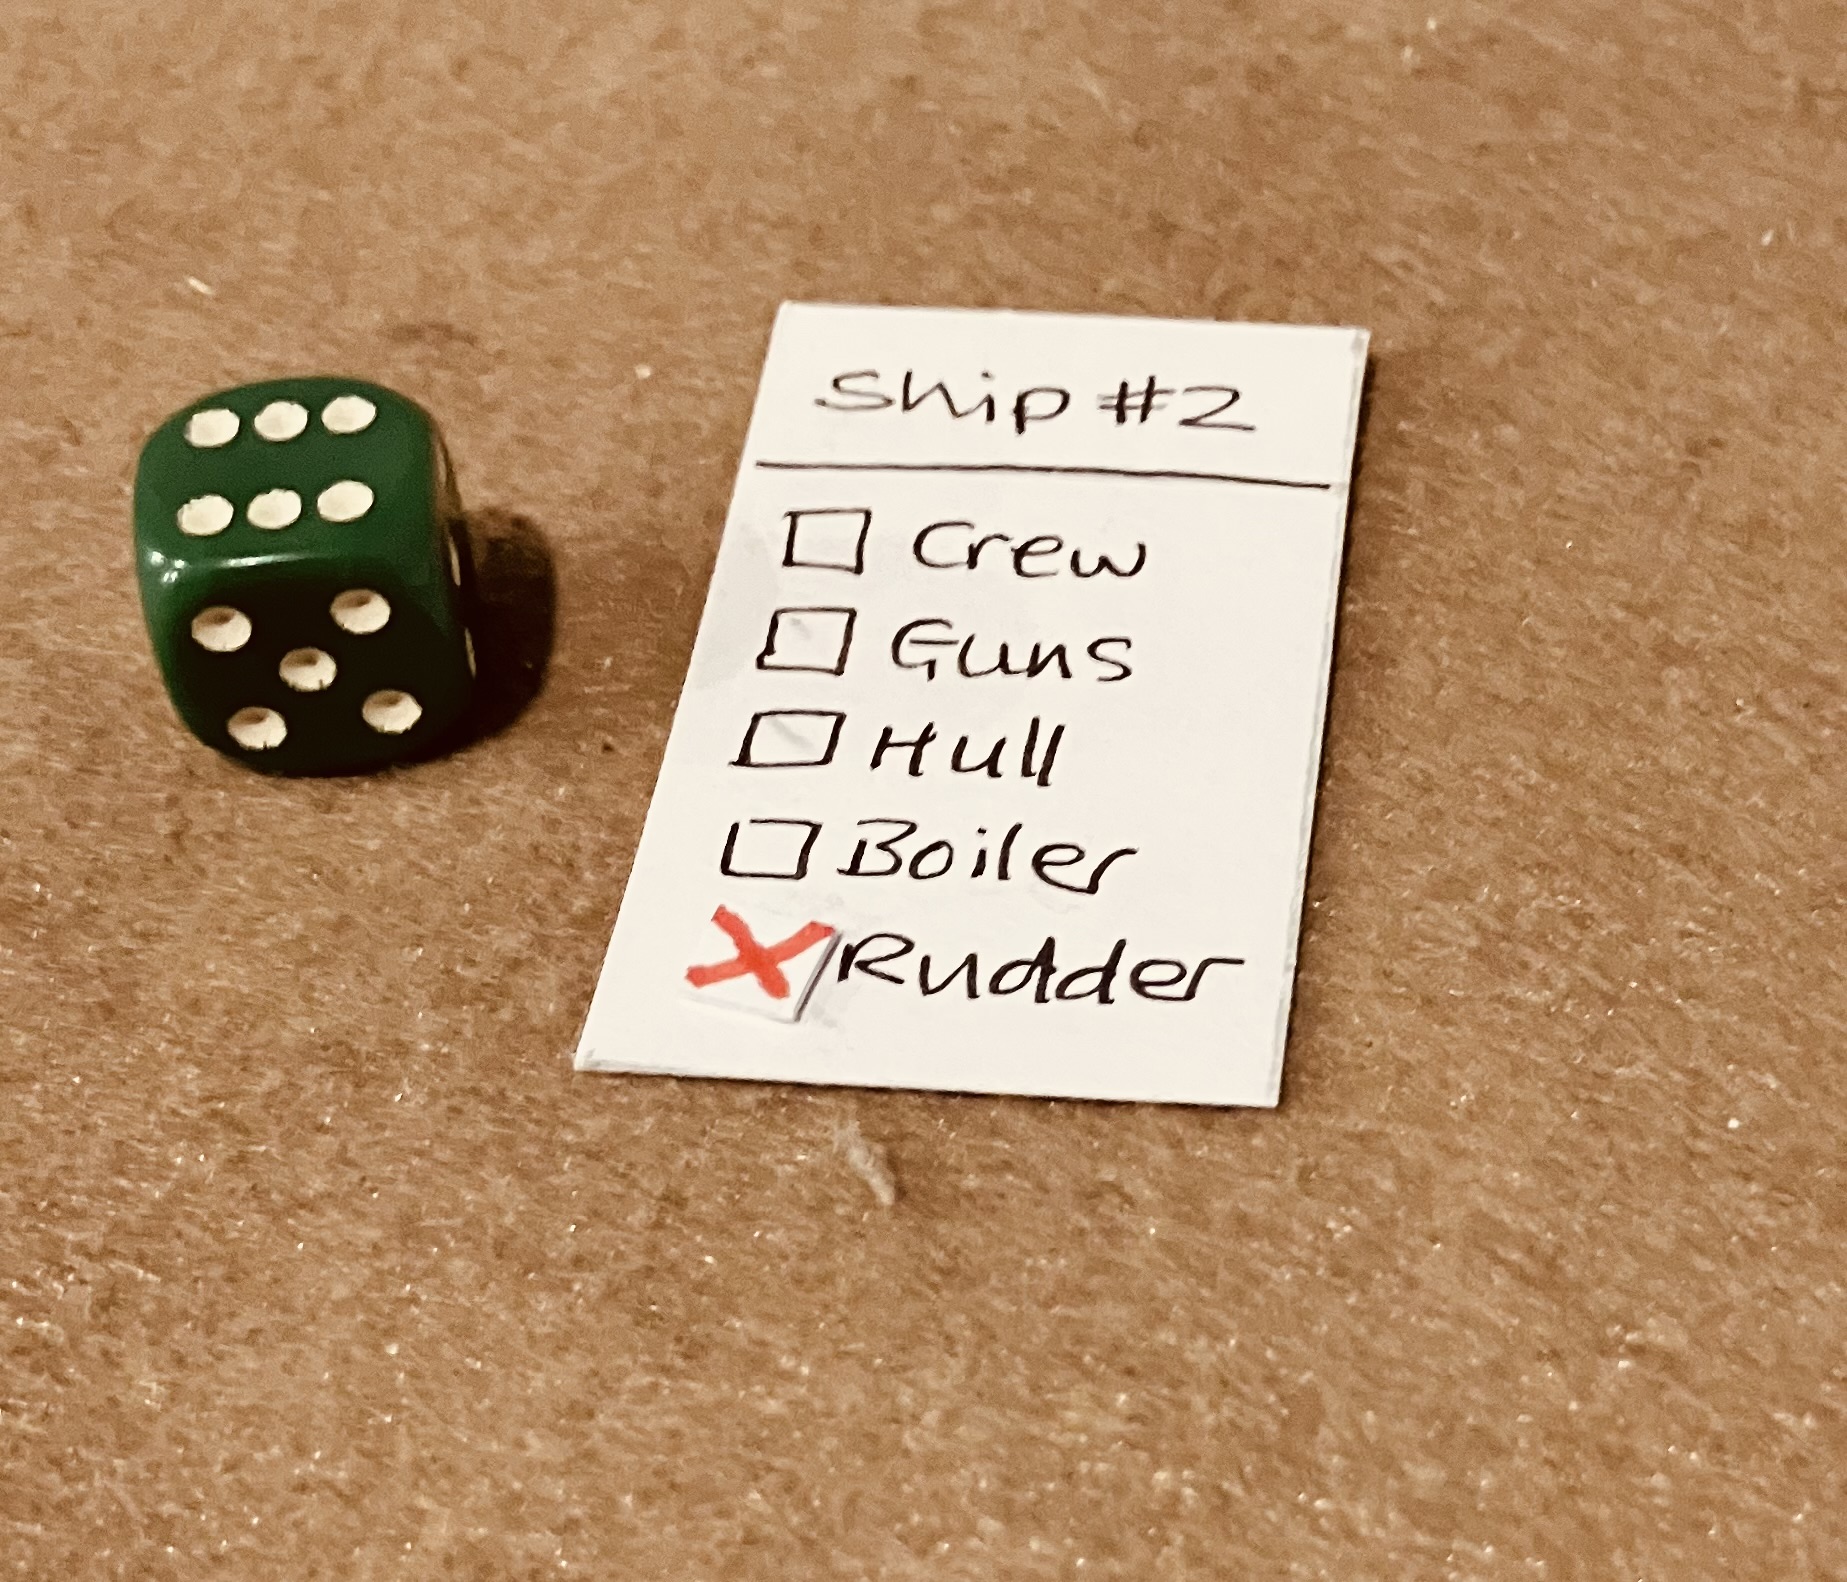
Hit markers for use on the ship status cards to track damage.
|
 |
| A box contents list has now been added and stuck to the inside of the drawer. |
For the question of how to best to fit the rules into a somewhat full matchbox I may have an answer. The current solution (still a work in progress) is to see if I can make full use of the matchbox itself. By unfolding the box, I can write on both the inside and outside surfaces. To keep everything intact, I’m using some paper tape I made which slides over the outside to hold the box together.
 |
| The paper tape holding the matchbox together. |
 |
| With the drawer removed the outer matchbox can be opened up and used to write the rules. |
Draft Rules…
Since this game fits within a matchbox, it felt fitting to use matchsticks for the measurement of movement and shooting distances. I have now included five and a half matchsticks for this purpose. Below are the draft rules. I plan to use the inside of the matchbox drawer to sketch out how movement works, replacing the current photos I am using below.
ACW Ironclad Wargame
This is a matchbox wargame for playing riverine battles of the American Civil War on a flat surface of 2 by 1 foot.
Game Setup
Lay the two lengths of string on the tabletop to represent the riverbanks, ensuring they are spaced between 4 to 5 matchstick lengths apart. Decide the direction of the river's flow and position the flow marker.
Sequence of Play
Each game turn is divided into the following phases:
- Movement and Ramming
- Shooting
- Damage Resolution
- Repairs
Movement and Ramming
Ships move one at a time, starting with the one furthest upstream and proceed downstream moving ships.
On their movement turn, a ship has 3 choices:
- Stay stationary,
- Move half a matchstick length, or
- Move a full matchstick length.
To move, place a matchstick touching the bow of the ship and facing straight ahead. Then slide the model forward so the stern aligns with the other end of the matchstick.
 |
| At the start of the move. |
 |
| At the end of the move. |
Turning - Ships moving half or a full matchstick length may turn up to 45 degrees at both the start and the end of their movement, pivoting at their centre. Stationary ships cannot turn.
Effects of Damage - A ship with a damaged boiler can only move half a matchstick. A ship with a damaged rudder can only turn once, either at the start or the end of its movement.
Riverbanks and Sunken Ships - Any ships that make contact with a riverbank or sunken ship becomes stranded and immobile for the rest of the game.
Ramming - To ram, a ship can only turn at the start of its movement. If the ship makes contact with an enemy vessel, roll a die, consult the damage table, applying damage immediately.
Shooting
Shooting is simultaneous and all ships get to shoot (even those engaged in ramming). The procedure is as follows:
- Select Target - A ship may target only one enemy ship with a clear line of sight.
- Range Calculation - Roll a die and subtract 1 to determine the shooting range in matchstick lengths. Apply the following modifiers to the score: -1 if shooting forward of the bow or rearward of the stern, and -1 if the ship has sustained gun damage.
- Damage Resolution - If the target ship is within range place a hit marker next to the ship as a reminder they have taken a hit and need to resolve damage in the next phase.
Damage Resolution
When a ship is struck by shooting or ramming, roll a die and consult the damage table below:
1 = Glancing Blow - No damage.
2 = Crew Casualties - The ship cannot make repairs.
3 = Hull Damage - Permanent; cannot be repaired.
4 = Damaged Guns - Reduce all shooting rolls by 1.
5 = Boiler Damage - Movement is reduced to half a matchstick.
6 = Rudder Damage - The ship can only make one turn during movement.
Record all damage on the ship's status card using the hit markers.
If a ship has already sustained damage to a specific area, no additional damage is applied to that area. For instance, if a ship with existing hull damage is struck again in the hull, the result is ignored.
A ship with four hits begins to sink and can take no further actions for the remainder of the game. It remains in place as an obstacle to other ships.
Repairs
After all damage has been applied ships that are not sunk and have not taken crew casualties can attempt a repair. Roll the die and compare the score to the repair list:
1-3 = Repairs fail.
4 = Remove gun damage
5 = Remove boiler damage
6 = Remove rudder damage
 |
| A game setup and ready to play. |