Following the recent setback at Fort Robert, General Colchester has rallied his defeated troops and pushed inland with the aim of securing a vital river crossing located downstream from Fort Orleans. Securing this crossing would provide a crucial bridgehead for future operations. For more background on the campaign and the scenario setup, check out my previous posts.
This battle uses Scenario 5 (Bridgehead) from One-Hour Wargames book by Neil Thomas. During the game, units from both sides will be gradually arriving on different turns. The British objective is to establish and hold a bridgehead. By the end of Turn 15, they must control the crossing with no French units within 12 inches of the ford crossing to claim victory.
 |
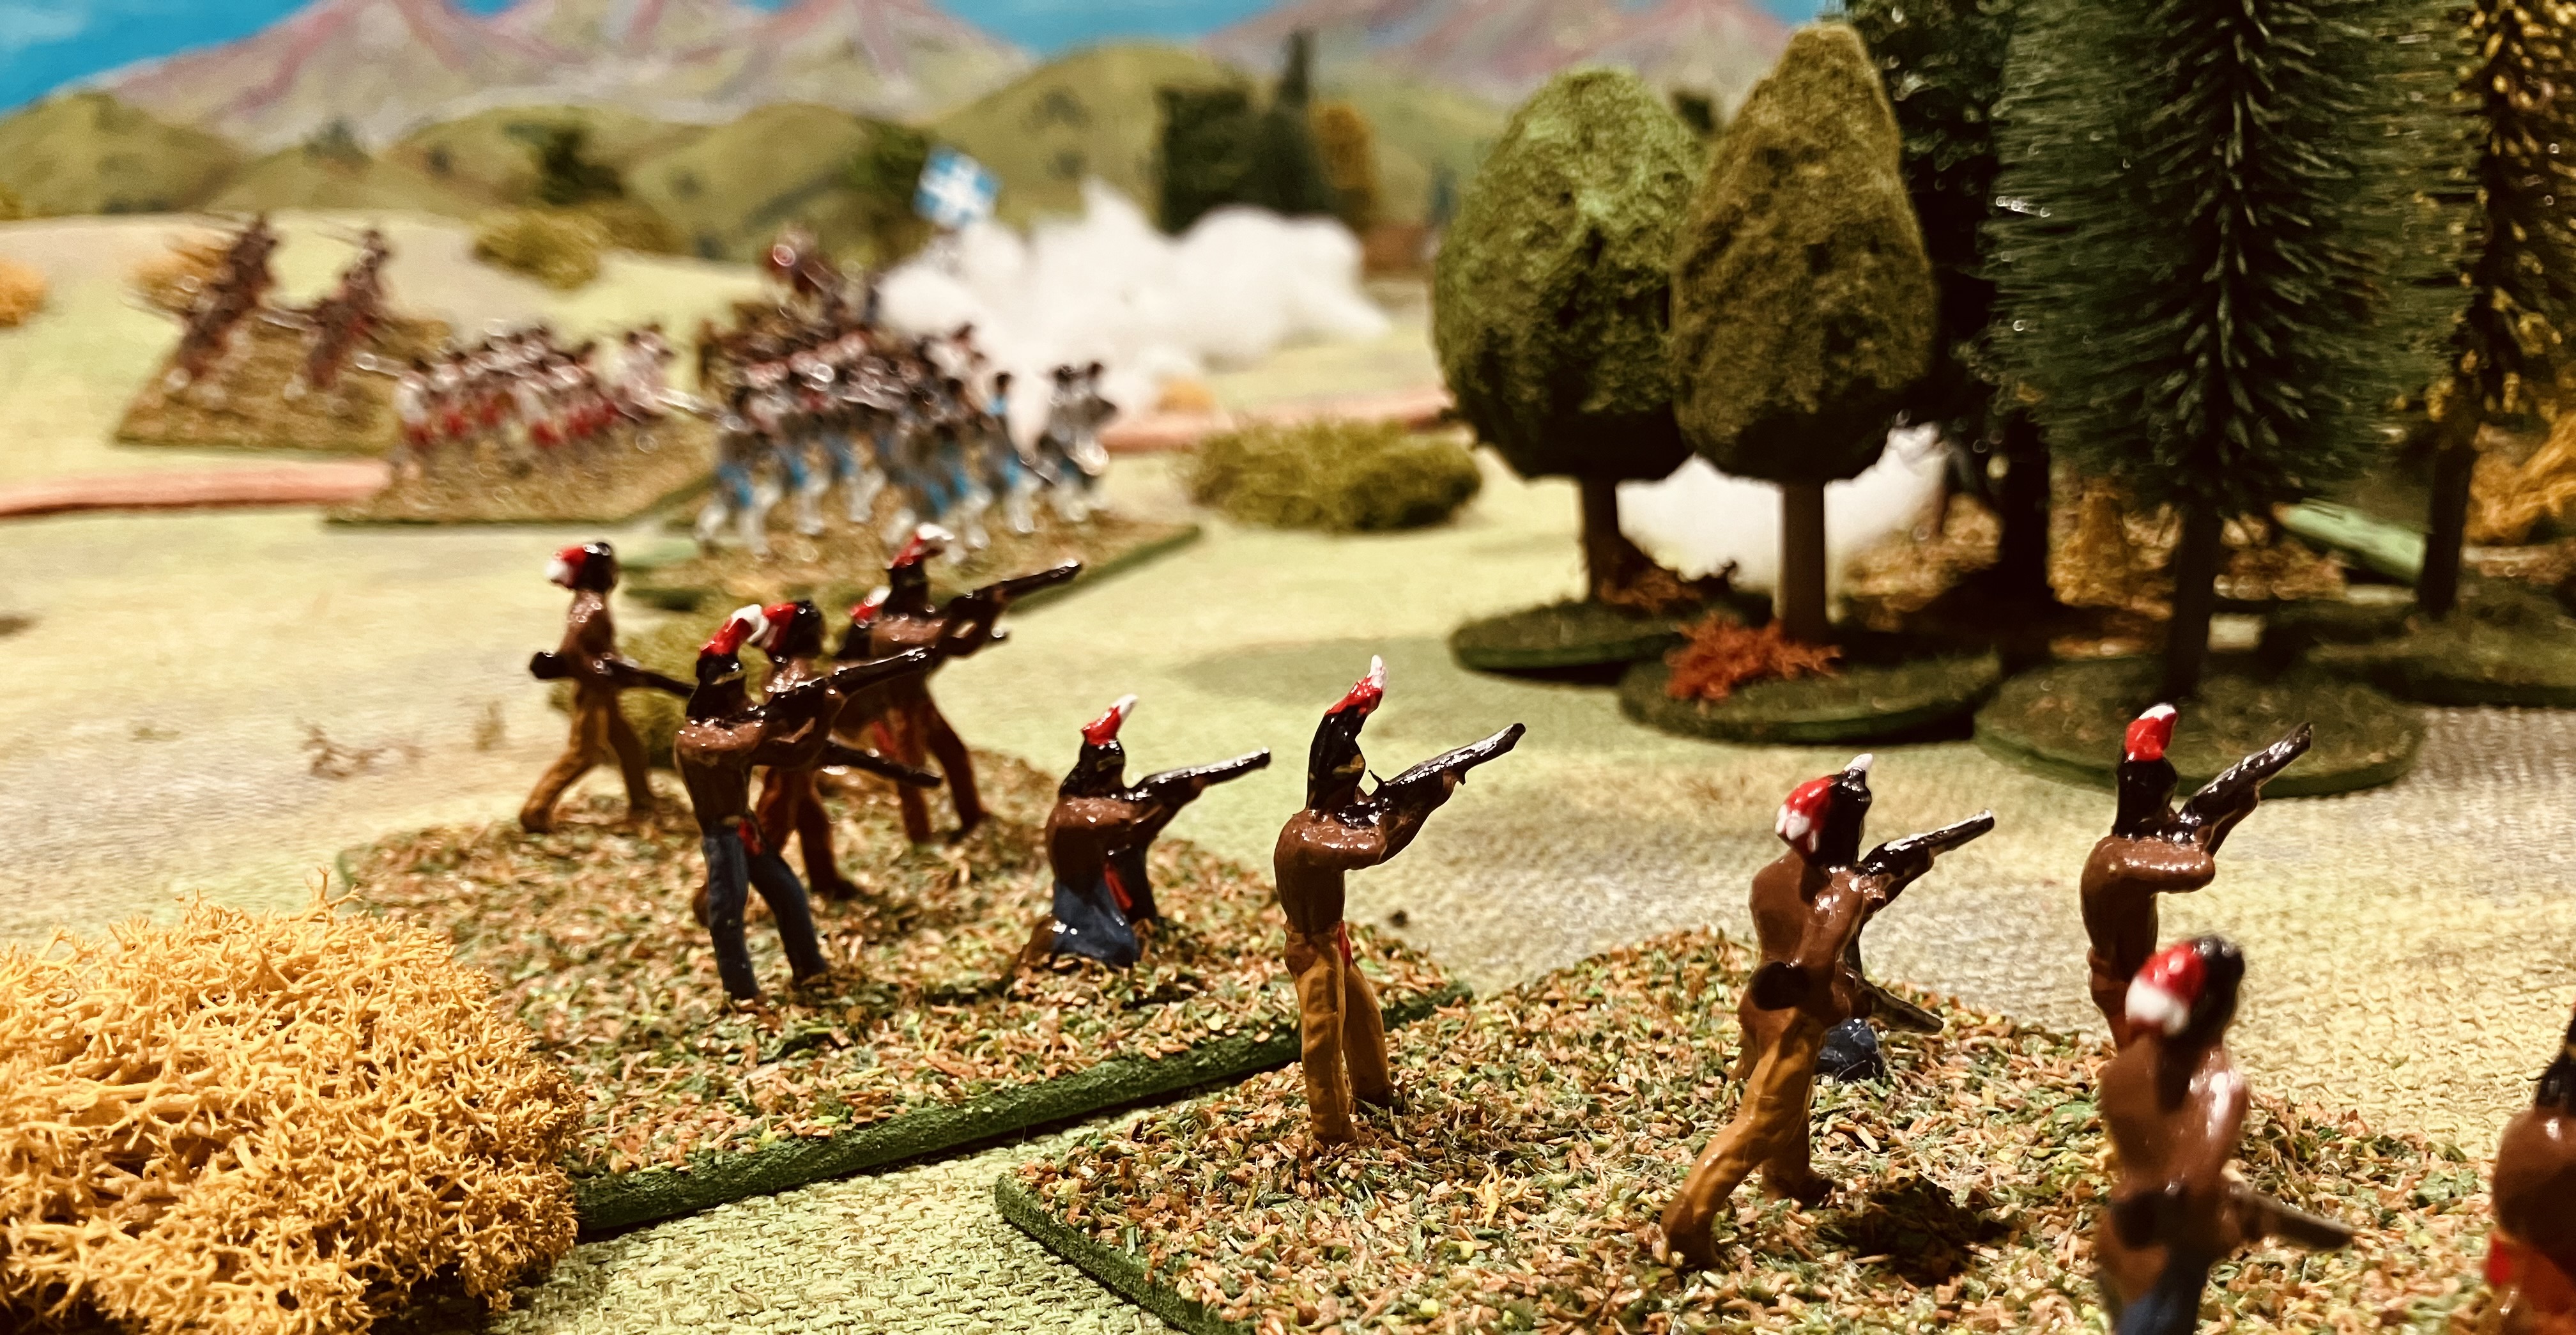
| British troops crossing the ford and advancing towards French troops in the distance. |
Game Report…
The British advance guard fords the river at an unguarded crossing, pressing on without resistance. Their presence has become known as they spot a band of Indian warriors in the distance. They move to secure the nearby woods as elements of the main British force began to arrive in support. Messages of this incursion has been sent to a nearby French camp. Realising the gravity of the threat, the French began mustering all available forces, marching them with urgency toward the crossing to deny the British from establishing a bridgehead.
 |
The British advance guard at the unguarded river crossing.
|
 |
The British advance guard take up position in the nearby woods as Indian warriors arrive in the distance.
|
 |
| The main British column cross the ford as more French reserves arrive. |
The Indian warriors keep their distance as they move towards the woods, whilst fresh reserves of French regulars advance directly towards the newly arrived British troops. As the French infantry draw near and open fire upon the enemy, several bands of Indian warrriors continue to skirt around the edge of the woods, seeking to turn the British flank.
 |
The British hurry across the ford and begin to deploy.
|
 |
| The British guns arrive. |
All the remaining French reserves had taken the field and deployed in a line facing the bridge, ready for the advancing British. Meanwhile, the Indian allies had pressed into the wood, where they were skirmishing fiercely with British militia. At last, the final elements of the British force appeared, their artillery, which was brought up and positioned on the right flank, across the river, to lend their fire in support of the attack.
 |
Indian warriors and militia skirmish in the woods.
|
 |
All units deployed and the fighting is fierce.
|
 |
| British artillery deployed across the river. |
A fierce exchange of musketry ensued between the opposing lines, each side striving to gain the advantage. Over time, the French line began to prevail, whilst the British artillery proved to be rather poor shots. Seeking to gain the initiative, a British unit made a bold charge from the woods, crashing into the French line. For a fleeting moment, it seemed the French might falter, but the French were able to rally and hold fast.
It was within the tangled woods that the fate of the battle was sealed. There, the British militia, sorely pressed, finally gave way before a series of Indian warrior charges. Routed and in disarray, they fled, leaving the British flank exposed. The warriors, seizing the moment, surged forward, threatening to sever the British force from the river crossing. Stricken with panic and fearing encirclement, the British were compelled to make a hasty and disordered withdrawal.
 |
The British make a bold charge from the woods.
|
 |
The Indians take the woods, threatening to cut off the British retreat.
|
 |
| The Indian attack on the woods was to be key to French success. |
A French victory! And with this final battle, the mini-campaign draws to a close. The French achieve a marginal campaign victory having two victories against the one British victory.
 |
| A map of the campaign. The circles show the battles, blue for French victories and red for British victories. |
The campaign ends…
The British plan had been bold from the outset, General William Colchester was to march his forces along the coast and seize Fort Orleans. The campaign started favourably, with the British securing the river crossing and the settlement of St. Paul, aided greatly by the Royal Navy, who landed troops behind the French lines.
With momentum on his side, General Colchester pressed onward toward Fort Robert. The French, under the able command of General Lucien Duvall, had not been idle. The intervening time had been well spent repairing the fortifications and reinforcing the garrison. When the British arrived, they were met with staunch resistance. Fort Robert held firm, delivering the first setback to the British advance.
Thwarted on the coast, Colchester turned inland, seeking to secure an upriver crossing that might open a new path toward Fort Orleans. Had he succeeded, it would have been judged a marginal British victory. But fortune did not favour the British and the French triumphed forcing the retirement of General Colchester and his British force.
Details of the mini-campaign setup can be found here.