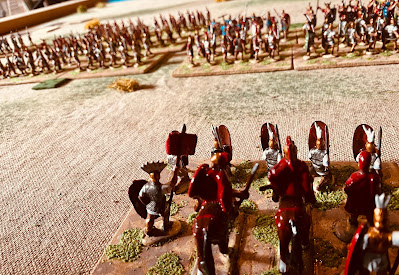
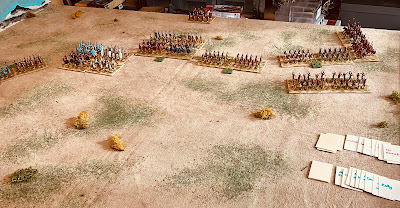
This next game in this mini-campaign moved from being a solo game to a remote game with Jon of Palouse Wargaming Journal. Details of the setup can be found in the previous post.
 |
| The Roman commander’s view point. |
Background…
Having rallied his forces following the setback at Cassiopeia, Roman commander Marcus positioned them on the plains outside Helios. Meanwhile, Carthaginian leader Mago, compelled to retreat back to the city of Helios due to a damaged bridge, readied his army for a fierce confrontation that would determine the next stage of the campaign.
Battle Report…
Both armies stood deployed, locked in a tense standoff across the Helios plains. Reluctant to initiate the first move, they made slight adjustments to their formations. Rome reinforced their left flank, prompting Carthage to mirror the action by strengthening their right.
As the armies advanced, Roman catapults and light infantry focused their efforts on the Carthaginian elephants positioned in the centre, swiftly panicking them. The Carthaginians responded by pushing their cavalry wide on their right flank to support their Gaul Warbands as they surged forward. Meanwhile, there were cavalry clashes on the left flank.
Despite the setback of losing their elephants, Carthage made notable progress on their right flank, launching fierce assaults against the Roman line and using their cavalry to attack the Roman flanks. In the centre and on the opposite flank, neither side had gained a clear advantage.
As the battle progressed, the Roman right flank began to gain ground, but their left was under increasing pressure as casualties mounted.
Carthage maintained a defensive stance on their left flank while sending forward their second line of heavy infantry into the fray on on right flank. The momentum was definitely in favour of Carthage, resulting in the gradual of Roman units and the eventual collapse of their entire army. The day belonged to Carthage, securing a resounding victory on the battlefield.
 |
| The initial deployment of armies. |
 |
| A view from behind the Carthaginian lines. |
 |
| Gaul Warbands surge forward supported by cavalry on their right. |
 |
| After the initial setback |
 |
| The Roman left flank is under threat. |
 |
| The Roman left flank is starting to buckle. |
 |
| The Roman line collapses. Victory to Carthaginian forces. |
The game proved to be highly enjoyable, with the event cards presenting small yet intriguing, or frustrating, dilemmas for both players, without unduly favouring one side or the other. A well-deserved win to Jon, who commanded the Carthaginian forces.
Peter, a lovely sized game and good looking game, that opened, as it should with good old Roman flanks threatened :-) and I really do like the idea of event (and no event!) cards.
ReplyDelete10 units per side seemed to work well. The tabletop was 4x5 foot, rather than 4x6 foot so I could put my camera somewhere and Jon gets a full view of the tabletop. The event cards are based upon the approach used in OHW solo Wargaming chapter with a few of the cards modified to suit the campaign.
DeleteSo much for what I thought would a battering ram of heavy infantry! The Roman centre seemed unable to break through, where did it all go wrong?
ReplyDeleteI was a bit slow off the mark not pushing ahead and engaging as quickly as possible.
DeleteAnother great game Peter and I guess a Carthagian win helps keep the campaign moving along!
ReplyDeleteAfter a shaky start the campaign is progressing well for Carthage. The campaign map is mainly used to provide a narrative as the Carthaginian army marches towards its goal of Aurelia.
DeleteGreat looking game Peter. Looks the part.
ReplyDeleteThanks. The 20mm plastic figures do look nice in bigger units.
Delete