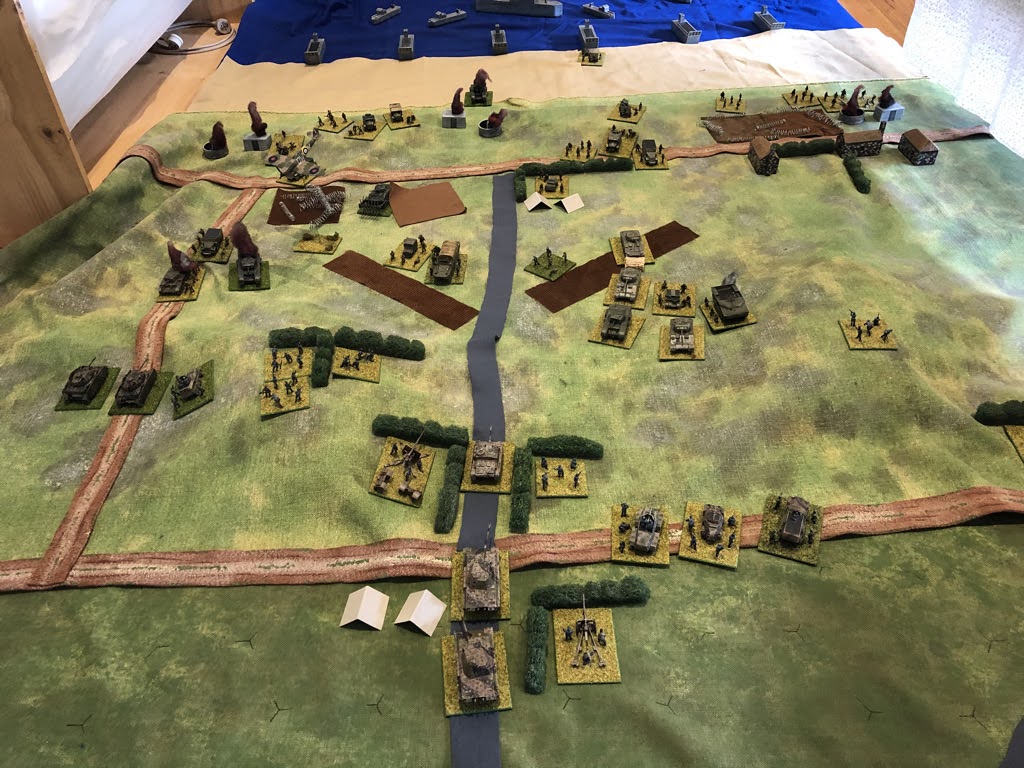
This is the last post on my WW2 floor wargaming efforts from a week ago. It relies on quite a few photographs to tell the story.
The Plan...
A quick reminder of the Allied plan. There are three objectives in the game:
- The buildings on the beach
- The crossroads
- The village
The Allies aim first to control the beach them secure the objectives in the order above.
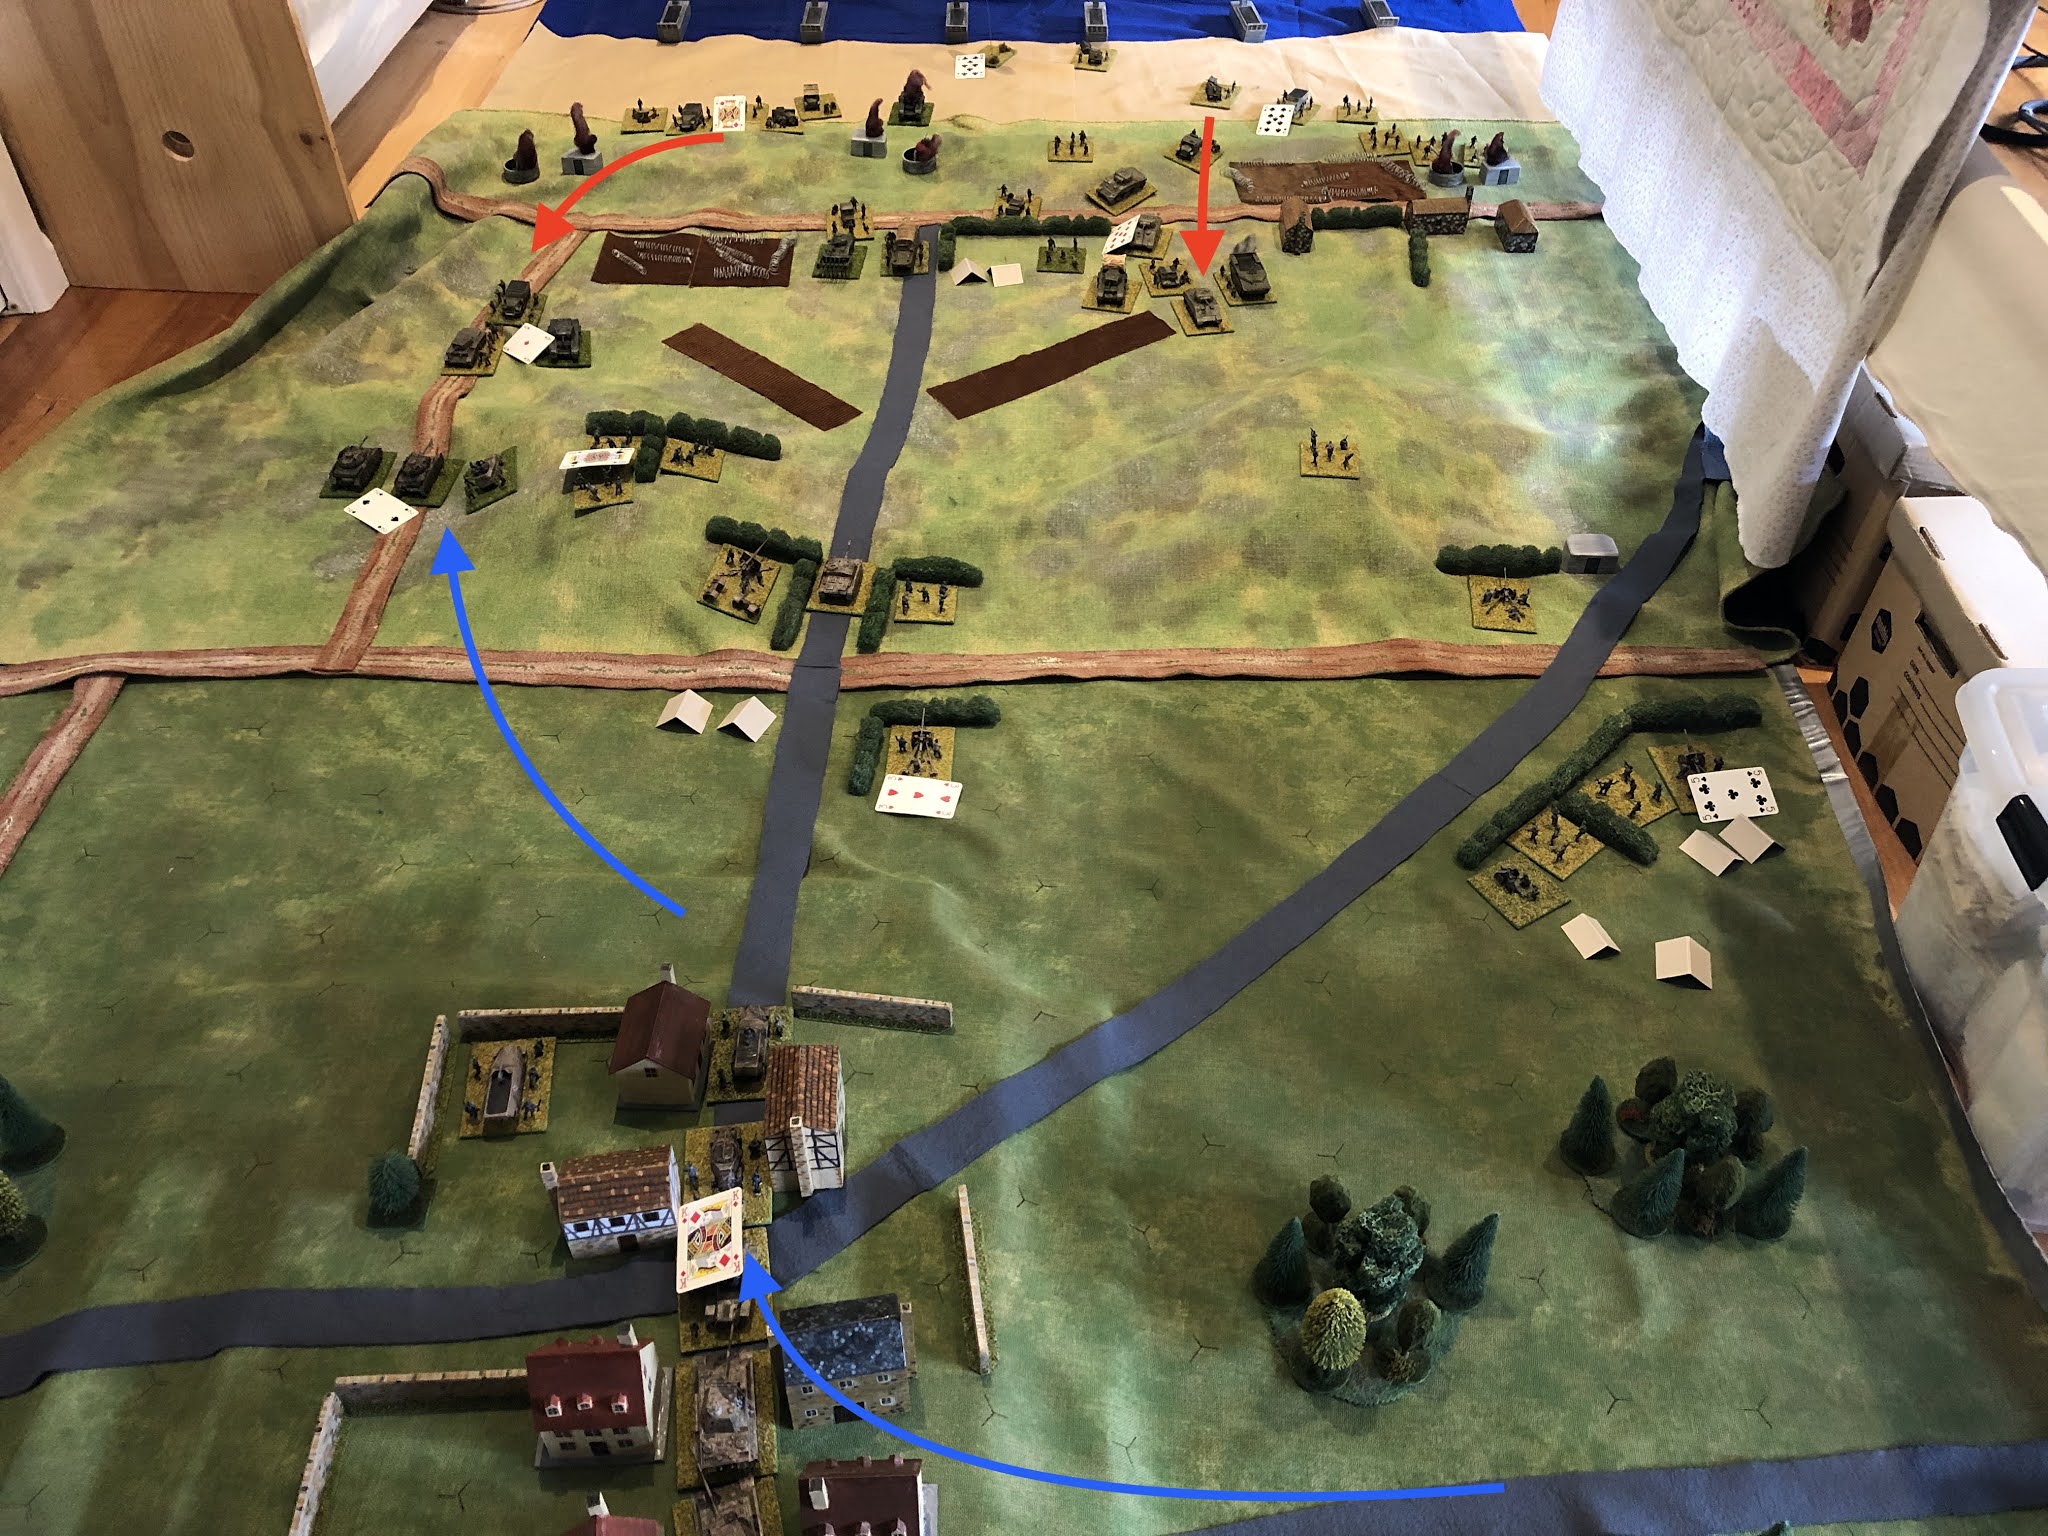
 |
| Map of the game area (6 x 12 foot) and Allied plans |
The funnies...
What D-Day style game would it be without some funnies? The Allies have a Sherman flail tank to help deal with the minefields and a hastily made Churchill AVRE Fascine Carrier to deal with the tank trap.
The Landing...
The beach landings began at 6am and went reasonable smoothly with only a few units from the first wave having to make second attempts to land. Each unit in a wave rolls a dice and arrives at one of the 6 landing craft representing landing areas on the beach. Only two units can arrive in a landing area in a single turn.
 |
| The first wave arrives and begins to engage the beach defences. On the left had side of the beach a lack of armour is making progress difficult. |
 |
| Progress on the right hand side of the beach as the second wave arrives. |
 |
| Activation cards are placed and revealed. Units within 6 inches are able to activate to move or shoot. At the early stages of the landing the Allies had to prioritise between: 1) moving up the second wave arrivals to clear the area for the third wave, and 2) engaging beach defences. |
 |
| Two-thirds of the beach is now controlled and the Allied units prepare to take the left hand flank defences with support from naval gunfire (which was treated as artilley in the rules). |
 |
| On turn 6 (9am) the beach is secured as the third wave units start to move off the beach. From this point on the Allies have air support which can attack if a black activation card is revealed. |
The Counterattack...
While the Allies had been securing the beach the defending Germans pushed up all available tanks into the second defensive line around the crossroads. More armoured reserves arrived on turn 5 and started moving forwards.
 |
| German reserves arrive turn 5 and move through the town. As with the Allies, the Germans were having to make priority decisions with their activation cards, whether to move up reserves or use their artillery to its fullest extent. |
 |
While the first line of defences had delayed the inward advance of the Allies. The Germans started to bolster their second defence with all available units and to prepare to launch a counterattack.
|
 |
| German tanks counter attack on their left flank. |
 |
The counterattack began well, the initial advance of Allied tanks were stopped in their tracks.
|
 |
| Reserves are quickly pushed up into the line. The Germans were pretty much putting all their units into the second line defence. |
The second line of defence...
The German counterattack was a surprise to the Allies and further progress inland was not going to be easy. The loss of tank units was a blow and forced them to organised their armour and artillery into groups for the next advance. Grouping units together helped reduce the number of activation cards expended to provide artillery support and advance units.
 |
| The defending Germans move up their reserves into their second line of defence. While the Allies prepare to continue their advance and push along towards the second crossroads objective. |
 |
| German reserves move to take up their positions at the crossroads. |
 |
The Funnies in action with the Churchill AVRE deploying its Fascine to bride the tank trap and a Sherman flail tank clearing a minefield in the background.
|
 |
| The Allied advance on their right flank is stalled by the German counterattack and units have taken up defensive positions. The only area to advance is the centre and units push through the gap between to two steep hills. These hills can only be occupied by infantry units and the advancing units will be channelled into a narrow front. |
 |
| Steep hills channel and delay the Allies advance as German reserve units take up defensive positions. |
 |
| Allied infantry with all available artillery support attack the hill. The German counterattack had stopped advancing, but remained a threat. This was around turn 13 when German activation cards were reduced to 4 cards (rather than the original 5 cards) due to having a third of their units eliminated. |
 |
| The Germans had a choice of continuing their original counterattack, or pulling back some of the units to help with the defence around the crossroads. The reduction to 4 activation cards would make maintaining an attack and defending the crossroads a difficult proposition. In the end the decision was made for two units to retire and support the crossroads defense. |
 |
| The fighting around the crossroads was most interesting. Neither side wanted to be too aggressive and take heavy losses as this would turn the game. Having removed the German infantry from the hills with a number of artillery bombardments the Allied tanks eventually moved forward to attack the crossroads. |
 |
| Air support which in previous turns had been ineffective, this time proved to be very useful. The Allies gained the upper hand in the fight for the crossroads. Though their tanks had suffered hits and would be vulnerable to attacks. |
 |
| With no threat on their left flank a German tank unit is rushed to the crossroads to hopefully tip the balance of fighting in their favour. It never arrived due to air support which was all of a sudden proving its worth. |
 |
| The remaining German units defending the crossroads are mopped up. This was around turn 20 (4pm). |
The third line of defence...
 |
Having gained control of the second objective, the crossroads, the Allies had to hurry up and get their artillery into position for the assault on the village. The Sherman flail tank moves up to help the attack as it is the one remaining Allied tank unit which has not taken a hit.
|
 |
| Allied units line up ready for the attack on the village which is lightly defended with a single unit. The Germans having committed most units to the defence of the crossroads. |
 |
The attack begins
|
 |
| The town is cleared of defenders and is open to the Allies. |
After game thoughts?
This was such an enjoyable game. I set up the game Saturday morning and began the game Saturday afternoon and finished Sunday morning with lots of breaks to rest and do other things. It was great fun and a rare thing to get many of my 20mm WW2 units out and in a game at one time.
The rule changes worked and provided an entertaining game. The combat results table (see previous post here) provided quick results when units engaged, particularly when they have an advantage. I definitely plan to apply the combat results table replacing the D3 dice I use in the rules.
The other change limiting the number of activation cards worked well, and introduced a number of priority calls into the game for both sides. They also kept units together as attacking or defending groups, rather than having individual units moving all over the gaming area.
From a game perspective there were a few decisions caused by the rule changes and size of gaming area:
1) The limited activation cards meant both sides needed to group artillery and mortar units together to minimise the need to issue too many cards, and these groups delivered what seemed like bombardments.
2) The Allies took a very methodical approach of bringing up all available units, get the artillery in position, then attack. This took a few turns, but paid dividends in overwhelming defensive positions.
3) One of the most interesting decisions was whether the German counterattack should have pushed on rather than stopping and redeploying units to the crossroads. By pushing ahead there was a risk of losing the crossroads, but the reward would have had a tank units running amok in the landing area. It was one of those moments where it would have been interesting to replay from that point in the game.
In the end it was a victory to the Allies taking the town at 6pm as evening arrived on turn 24 (each turn is assumed to represent 30 minutes).


Well done the Allies and three cheers for the RAF's timely intervention.
ReplyDeleteHow are your knees?
The air support certainly did come in to play at a critical time, and my knees survived the game. Thanks.
DeleteGood game and nice AAR on it!
ReplyDeleteA great battle report read. Glad your rules worked out for you to produce a game with some difficult decisions.
ReplyDeleteGlad you enjoyed the report. While the rule changes were originally aimed and making a floor game more practical from a getting up and down point of view, they also did add to the game itself.
DeleteA marvellous looking game Peter and a most interesting and entertaining report. Beaut photos too!
ReplyDeleteThe allied control of the air seemed crucial (as it was in reality)? It seemed really important in enabling the landing to proceed fairly easily too, is that right?
Thanks for such reporting such an interesting game.
Regards, James
Air support was not available until the third wave arrived at the beach. It was problematic for a few turns, a red card was always revealed, but proved decisive at the crossroads engagememt. Thanks, Peter
DeleteA cracking game Peter.
ReplyDeleteThank you. It was a most enjoyable game to play.
DeleteFantastic stuff.
ReplyDeleteSome real subtleties at work in the rules too - I love the observations re. artillery and pushing forward with an attack. You've achieved what most ww2 rules don't: (1) the decision as to artillery use - when and how much (2) the tenuous nature of the attack and the perils of pushing too hard - all done with simple yet subtle mechanisms. Great stuff
Thank you kindly. The long, and larger, playing area helped to highlight those areas of the game.
Delete