This Battle of Britain campaign update is from a game played a couple of weeks ago. It has simply taken me a little while to get around to writing it up, as other games, activities, and projects have taken priority.
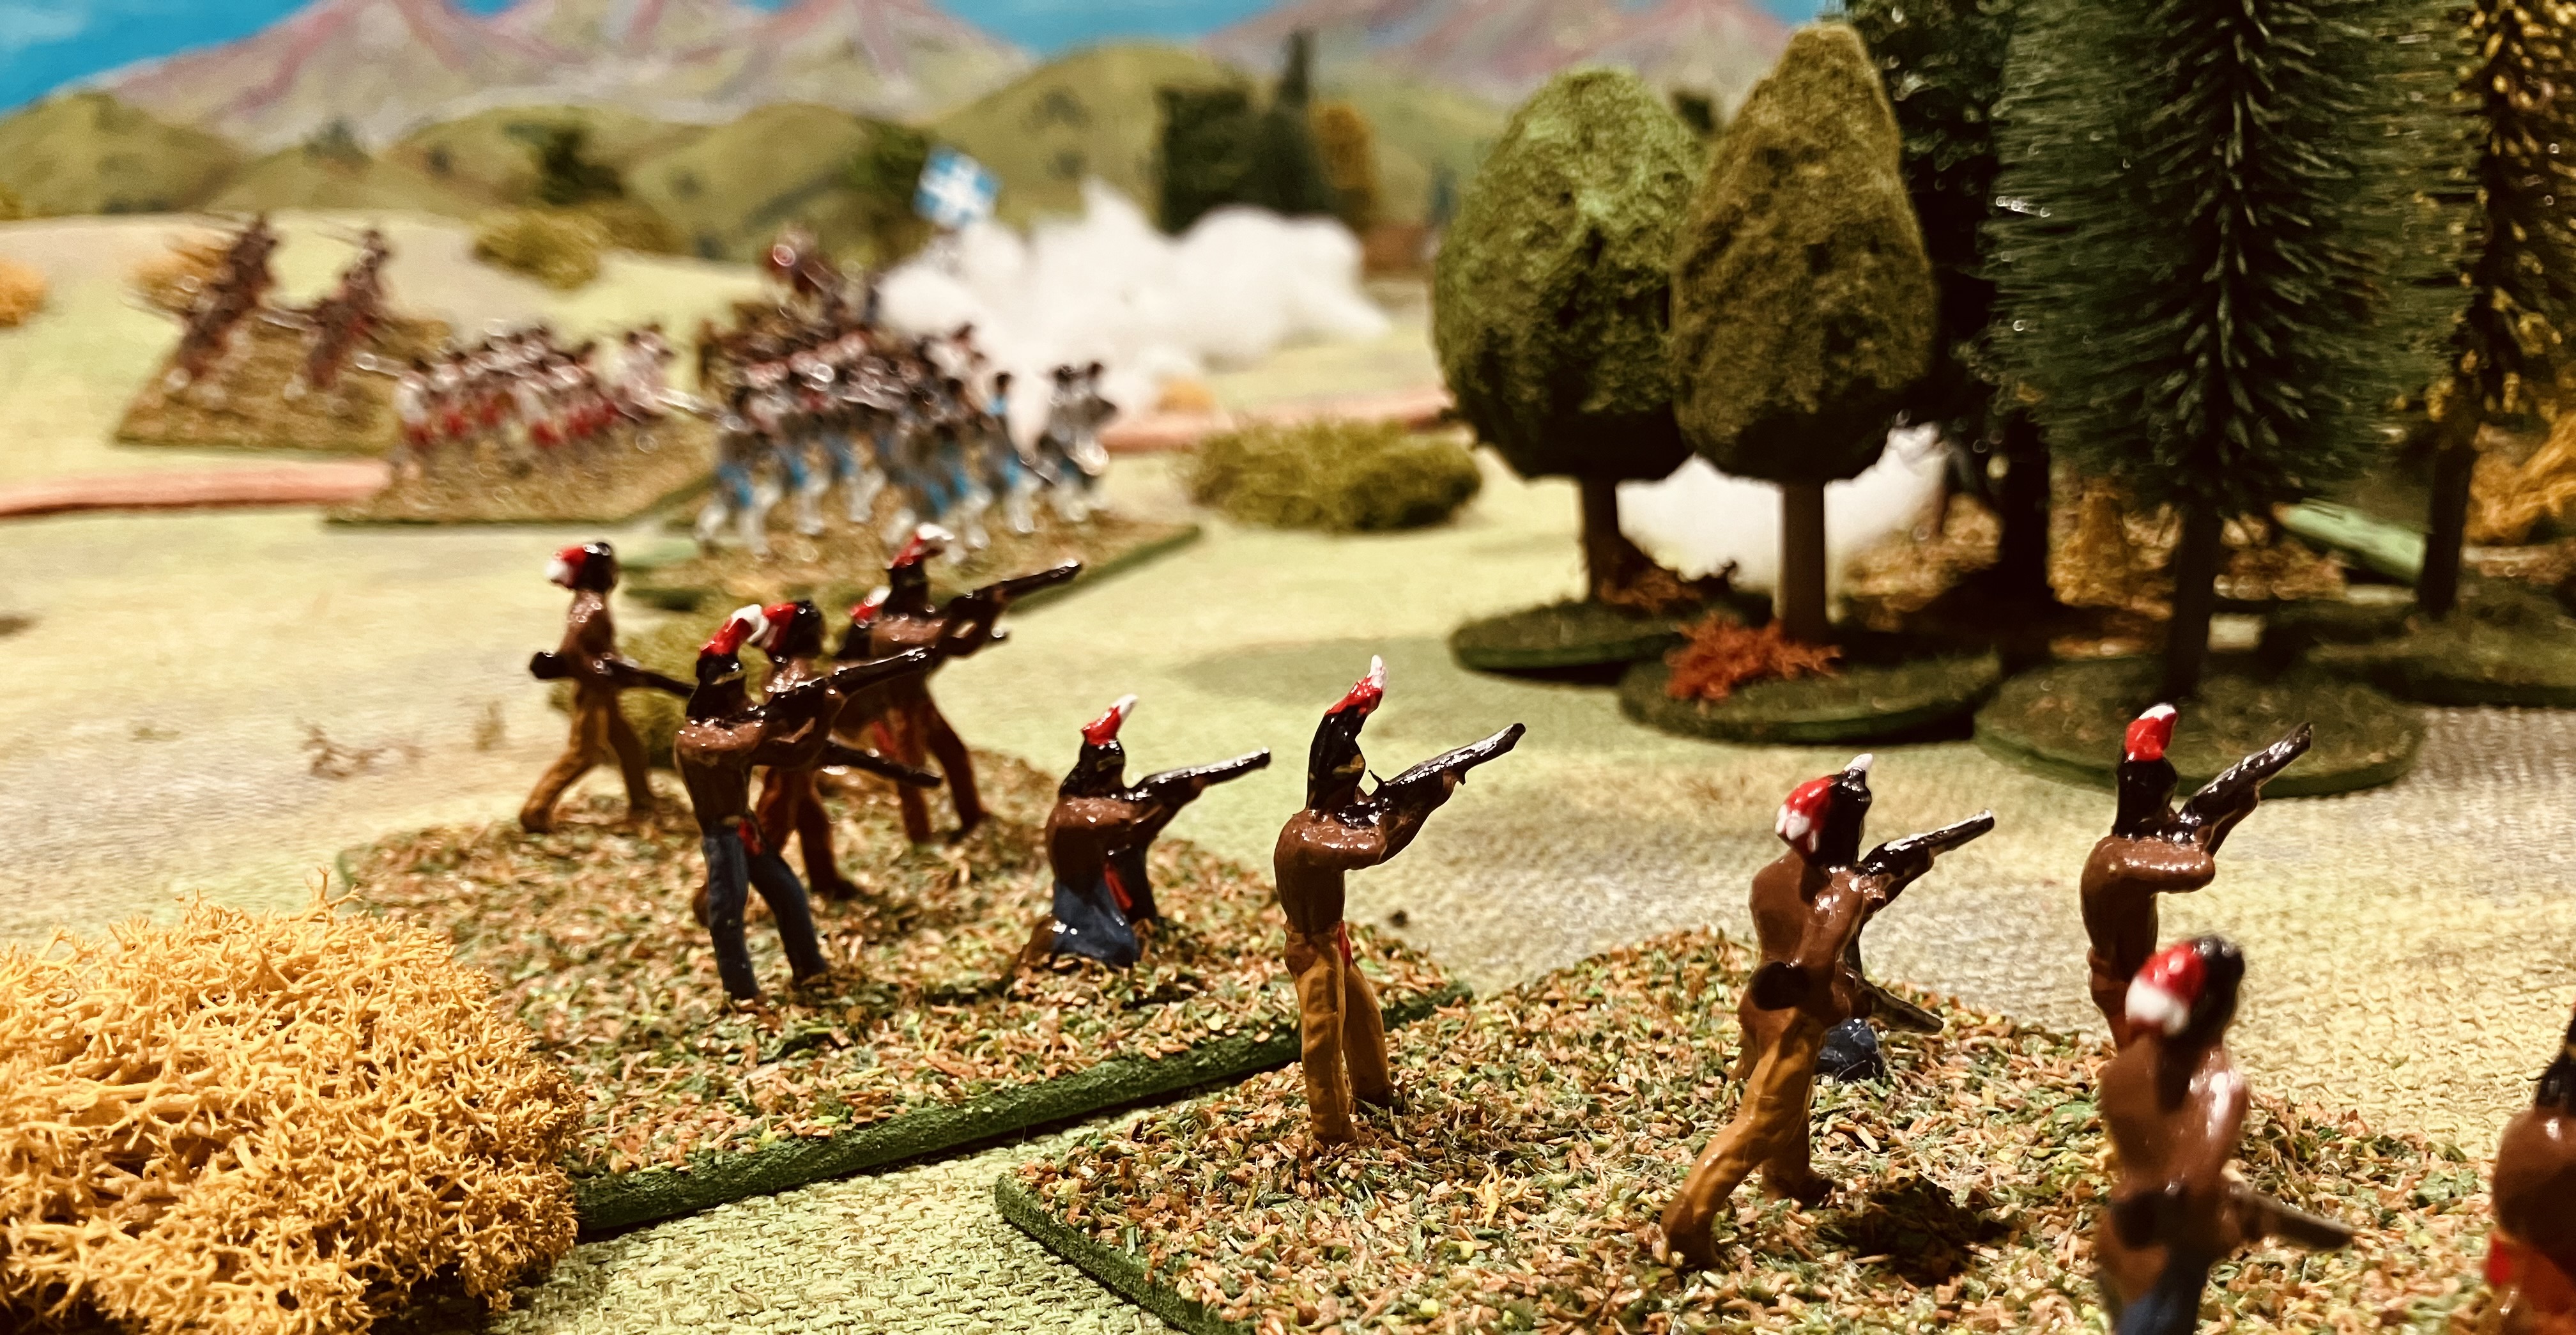
 |
| A game in progress. |
The campaign uses the Blood Red Skies (BRS) rules and has now reached the week of 19–25 August 1940. For this seventh campaign turn, the dice determined that the Luftwaffe's mission was to bomb RAF airfields. A successful attack on the airfields does not earn any campaign victory points, but it can have an important impact on the following game. If the mission succeeds, the RAF fighters begin their next battle with one Boom token, putting them at an immediate disadvantage. In Blood Red Skies, accumulating Boom tokens eventually forces aircraft to break off combat, so even a small head start can be significant.
 |
| Dicing for the mission. |
The game was set up using the standard campaign sequence (which can be found here):
- Select aircraft based on the mission.
- Place barrage balloons and flak.
- Check the weather and place clouds.
- Deploy the aircraft and determine their starting altitude.
- Allocate pilot skill levels.
I have kept the battle report fairly brief, as I am finding that most of these games seem to follow a similar pattern. Hurricanes concentrate on attacking the bombers while Spitfires engage the German escorting fighters. This is followed by a dogfight as the RAF fighters try to position themselves for a second attack on the bombers. Occasionally, if they have managed to shoot down one or more German fighters, one or two RAF aircraft may even get a third attack run.
Battle Report...
 |
| German bomber and escorts heading to their target. |
 |
| RAF intercepting aircraft. |
The position of a cloud bank meant that the intercepting RAF force, two Hurricanes and two Spitfires, failed to spot the bomber as it passed through the cloud cover. As a result, the opening engagements were fought against the escorting Luftwaffe fighters.
The RAF held a clear advantage in pilot quality. They fielded one Ace, one Veteran and two Regular pilots, while the Luftwaffe consisted of one Ace and three Novices. This experience paid dividends early in the battle, with the RAF shooting down a Messerschmitt 110.
 |
| The initial dogfight as the fighters wait for the bomber to emerge from the clouds. |
 |
| A Messerschmitt 110 is downed. |
Once the Dornier 17 emerged from the clouds, the Hurricanes began their attack and quickly inflicted damage on the bomber. However, the RAF did not have everything their own way, as the German Ace managed to line up one of the Spitfires and shot it down.
 |
| A German Ace hits a novice Spitfire pilot. |
 |
| The Dornier 17 emerges from the clouds. |
 |
| After a couple of attacks the Dornier 17 takes multiple hits and crashes. |
Pressing on towards its target, the Dornier came under a second wave of attacks after the RAF fighters had regrouped. This time they succeeded in bringing the bomber down before it could complete its mission.
Afterthoughts...
Pilot skill is a major factor in these rules, increasing both the number of dice rolled when shooting and the number rolled to dodge any hits. The Luftwaffe's three Novice pilots were at real disadvantage and, on several occasions, they failed to capitalise on favourable shooting positions.
The cloud cover also played an important role, shielding the Dornier during the opening stages of the battle and delaying the RAF interception. In the end, however, the better experience of the RAF pilots proved to be the decisive factor.
The version of Blood Red Skies I use is the one included in the Airfix Battle of Britain set. It is a streamlined version of the Warlord Games rules, omitting the advanced rules and aircraft trait cards. Instead, aircraft effectively have access to their traits at all times.
I also play the game on a hex grid, with each hex representing 3 inches. To accommodate this, movement values have been rounded to whole hexes, for example, aircraft with movement allowances of either 6 or 7 inches both move two hexes. This inevitably removes some of the subtle distinctions between aircraft performance, but I find the hexes help keep the game moving along quickly.
One house rule I have introduced concerns the Messerschmitts' Great Climb ability. Under the BRS rules, any enemy aircraft within 12 inches (four hexes) of a Messerschmitt must pass a manoeuvre test before it can gain altitude. I found I was always forgetting this rule, so I replaced it with a one I can remember. Messerschmitts that are at Advantage altitude may make a turn during their Pilot Action phase. It is easy to remember, adds a little tactical flexibility to the German fighters, and hopefully still reflects their superior climbing performance.
Anyway, that is all for now, and I will post this and wait to see how long it takes Google to update their blog feeds.