Showing posts with label WW2 Rules. Show all posts

Wednesday, 17 January 2024

Returning to using scatter dice and templates

Over the last week I finally got around to painting and basing a couple of British mortar units that had been sitting on my shelf for a year or two. The motivation behind painting them is because of my current testing of some World War II rules. The rules could be considered a bit old school, they are heavily influenced by various rules by Donald Featherstone and Charles Grant. While I have settled on the mechanism for direct fire I wanted to use a different mechanism for indirect fire by artillery and mortars using scatter dice and blast templates. There reasons for this approach are:

  • It encourages units to be dispersed, as a miss on a target may result in a hit on nearby units if they are bunched up.
  • It introduces the risk of hitting one's own troops when calling in indirect fire on enemy units close to your own.

Furthermore, artillery and mortars require observation by their Forward Observation Officer (FOO) for targeting. This approach limits the ability to switch artillery fire quickly across from one side of the tabletop to the other, and I get to use my scout cars and jeeps for a purpose in my games.


Recently painted British mortars.


Scout cars are put to use as FOO to direct indirect fire.

Once a target is observed, the template is placed, and the scatter dice are rolled. Successful hits occur a third of the time, but if fire is off target, the template is moved 6 inches as indicated by arrows on the scatter dice. The effects of hits vary depending upon the type of target:

  • A direct hit eliminates any non-armoured unit covered by the blast centre, while hits on armoured units result in immobilisation. 
  • Non-armoured units covered by the template, but not its centre, are suppressed unless in cover; while armoured units remain unaffected.

Scatter dice and templates.


When representing the weight of fire from an artillery or mortar unit. Units with one base use a 3-inch template. For each additional base, increasing the weight of fire, the template used is increased by 2 inches. For instance, a two-base artillery unit would use a 5-inch template, and a three-base unit a 7-inch template.

Friday, 22 December 2023

Immobilised tank markers (update)

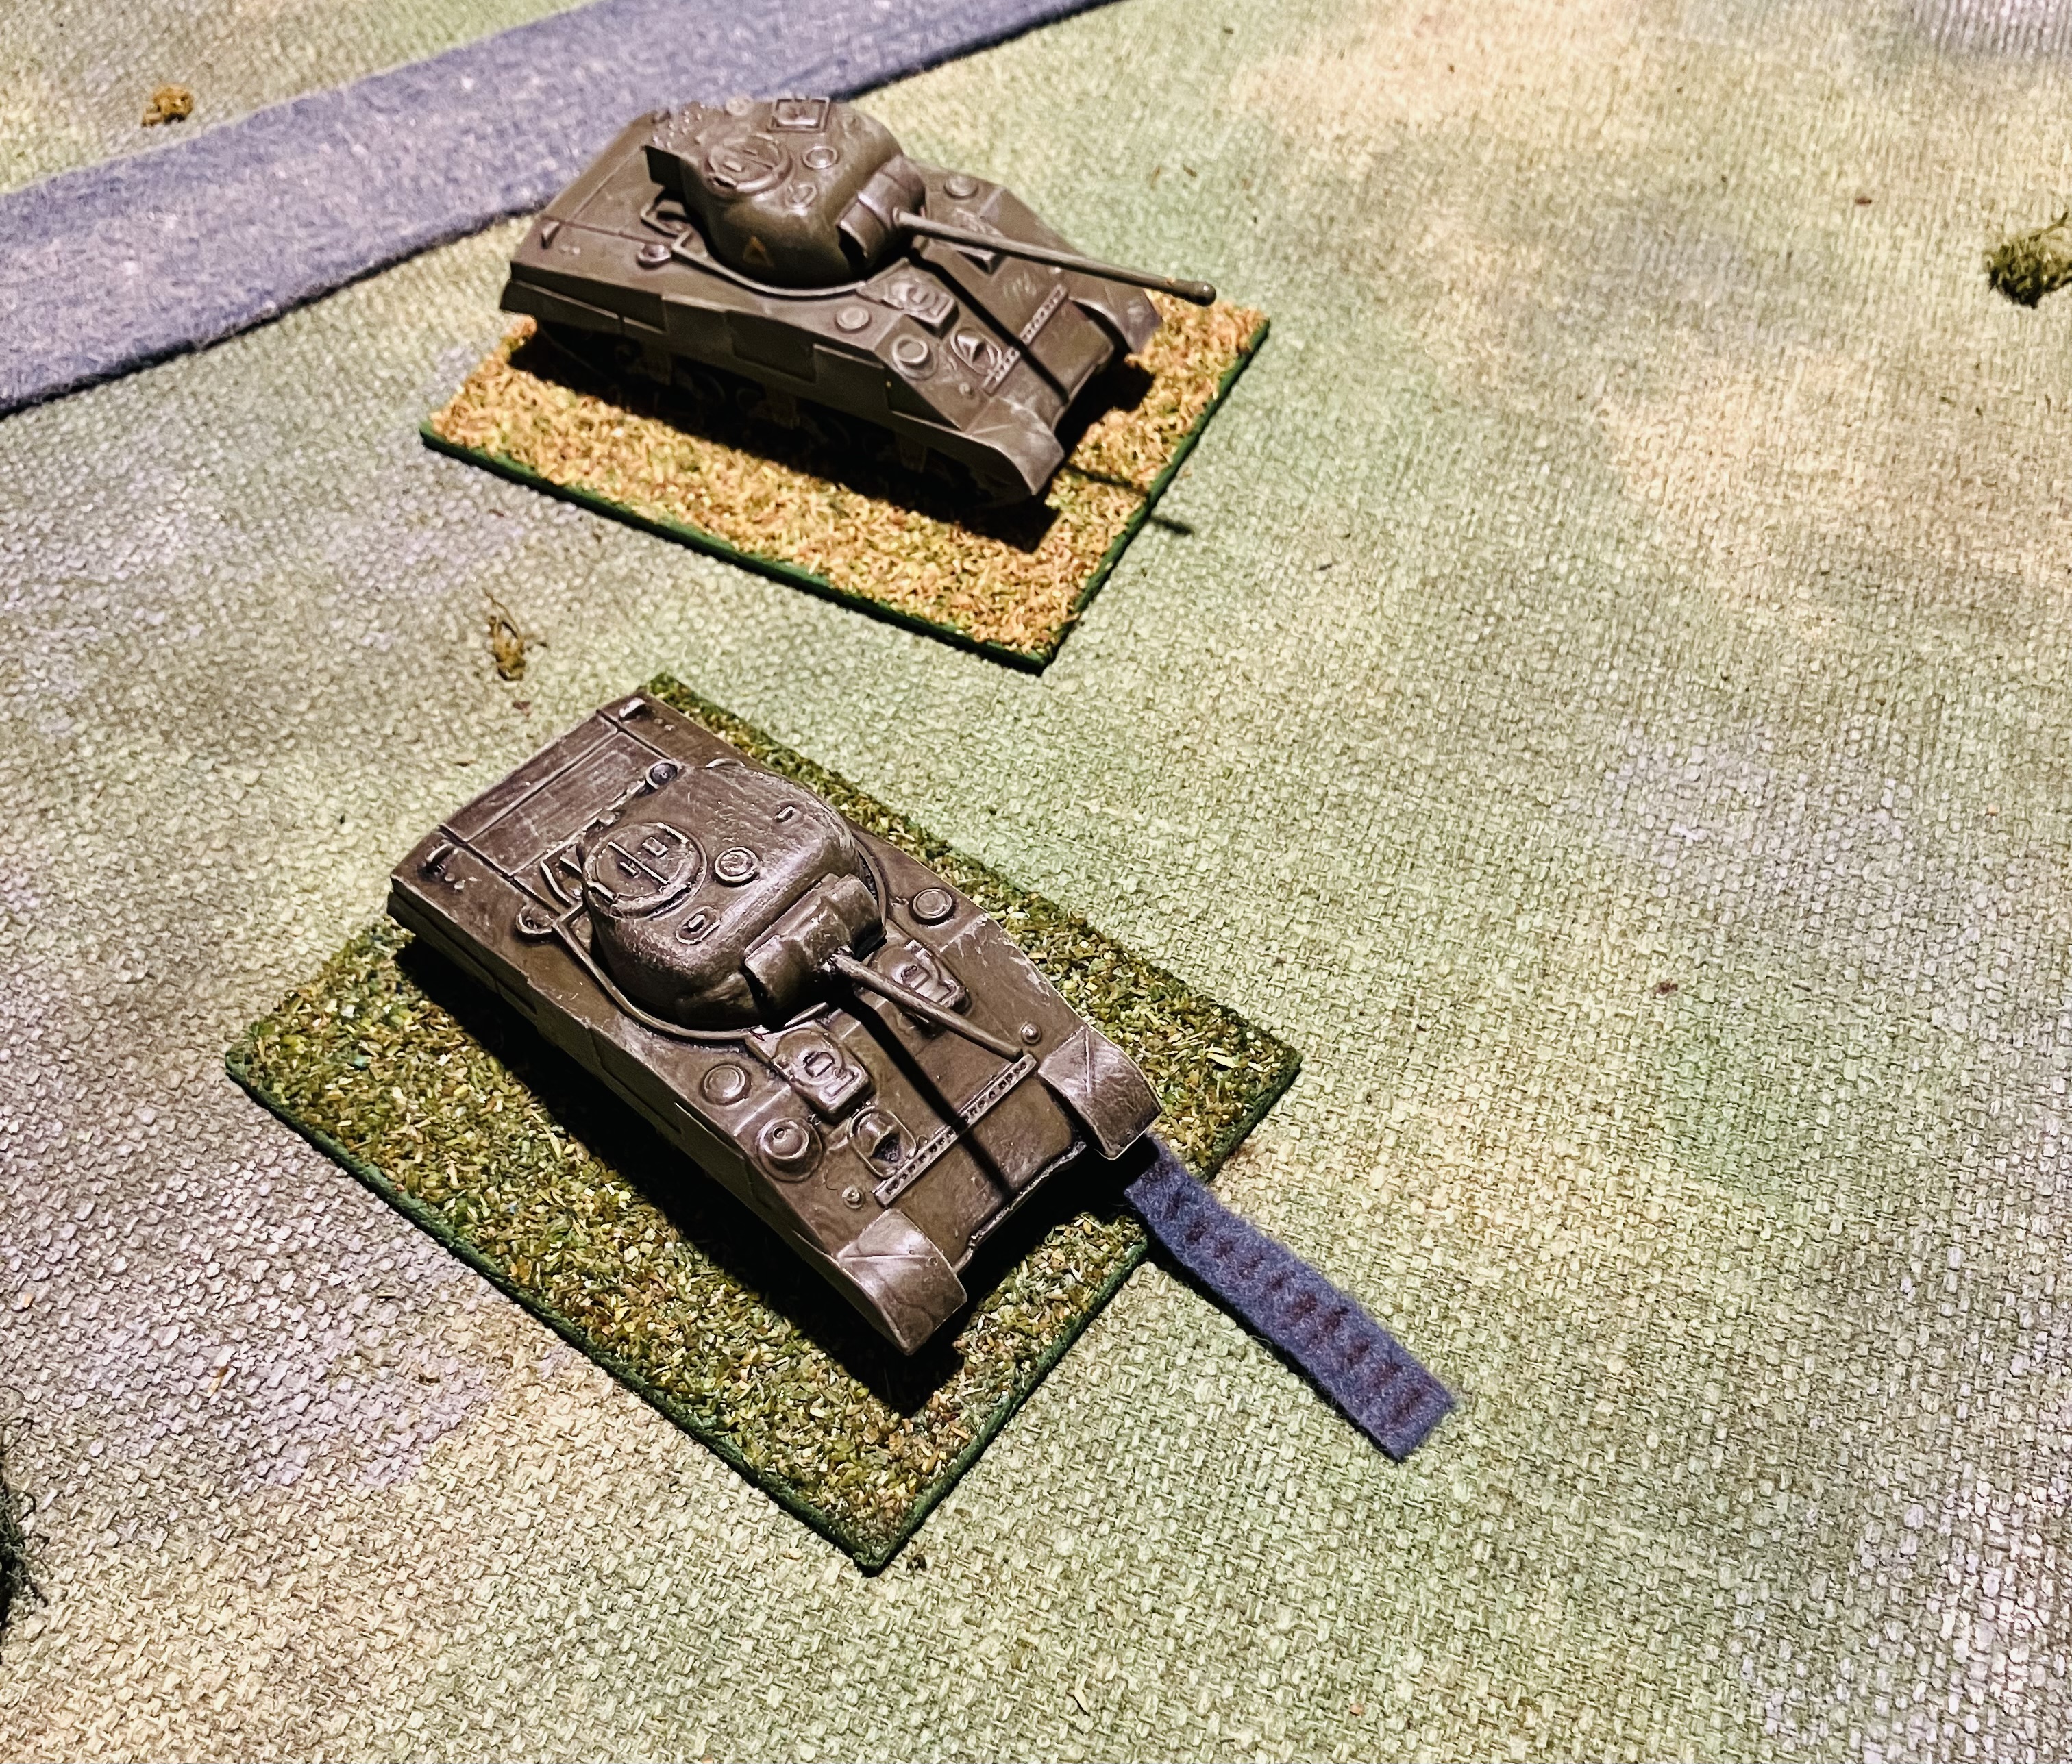
While writing and testing some simple WW2 rules inspired by Featherstone, Grant, and other sources over the past few weeks (see recent posts). I have decided to include immobilised tanks in the rules. To indicate a tank is in an immobilised state, I opted for a visual marker using a thrown track as a suitable representation. 

The tank in the foreground is immobilised - marked by a thrown tank.

I found the easiest and fastest way to create a thrown track marker was using felt and add some drawn lines with a permanent marker. I might look at some other materials for this purpose in the future.

The plain cut felt on the left and marked up on the right with a permanent marker.

UPDATE

I have tried some brown corduroy material which seems to work better for the tracks.

Brown corduroy material seems to work better.

I will probably dry brush some sand colour paint onto the corduroy.


Sunday, 31 July 2022

A couple of distractions

Upon my return from Wellington, New Zealand, I had planned to get back and play through the next stage of my WW1 Palestine campaign. However, this was not to be as WW2 and Medieval forces made it (at different times) onto the tabletop. All this was initiated by the reading and thinking time which comes with travel. I read Medieval Warfare by Terry Wise and also thought of some changes to the current variation of WW2 Western European rules. These rule changes were influenced by the WW2 rules from Donald Featherstone's "Tackle Model Soldiers This Way".

The latest Minifigs unit to leave the painting desk.

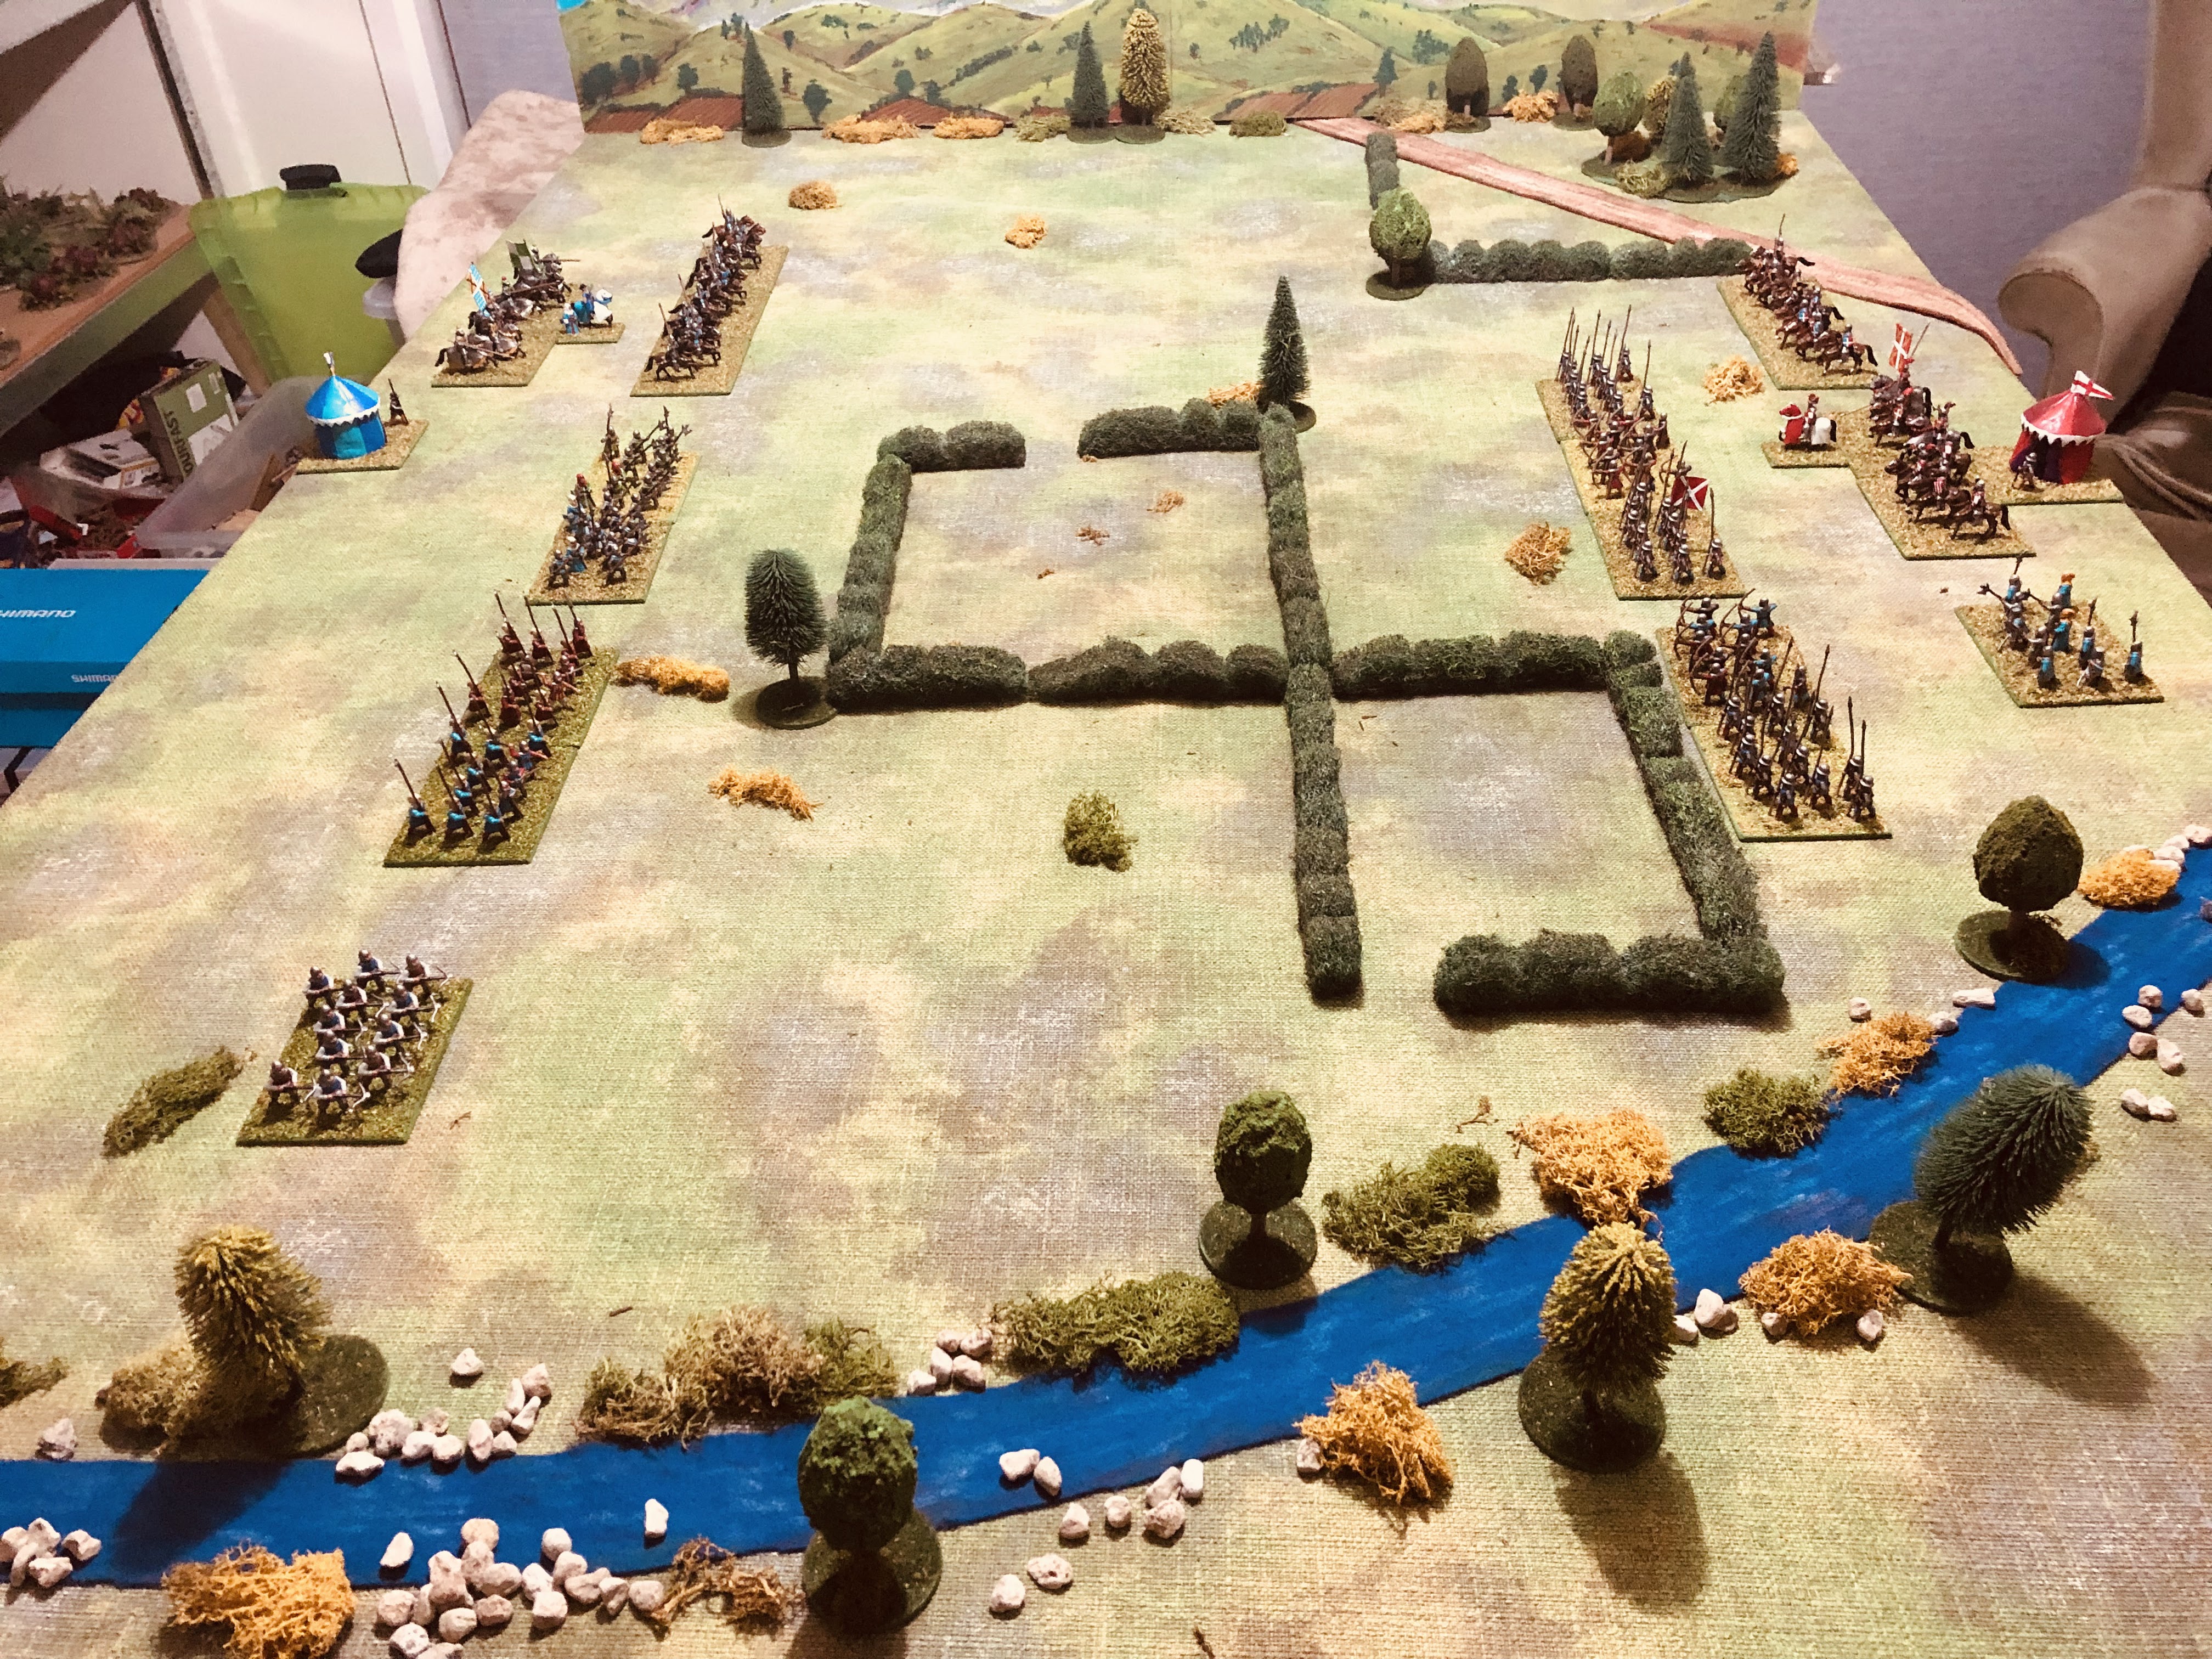
A Medieval game setup and ready to begin

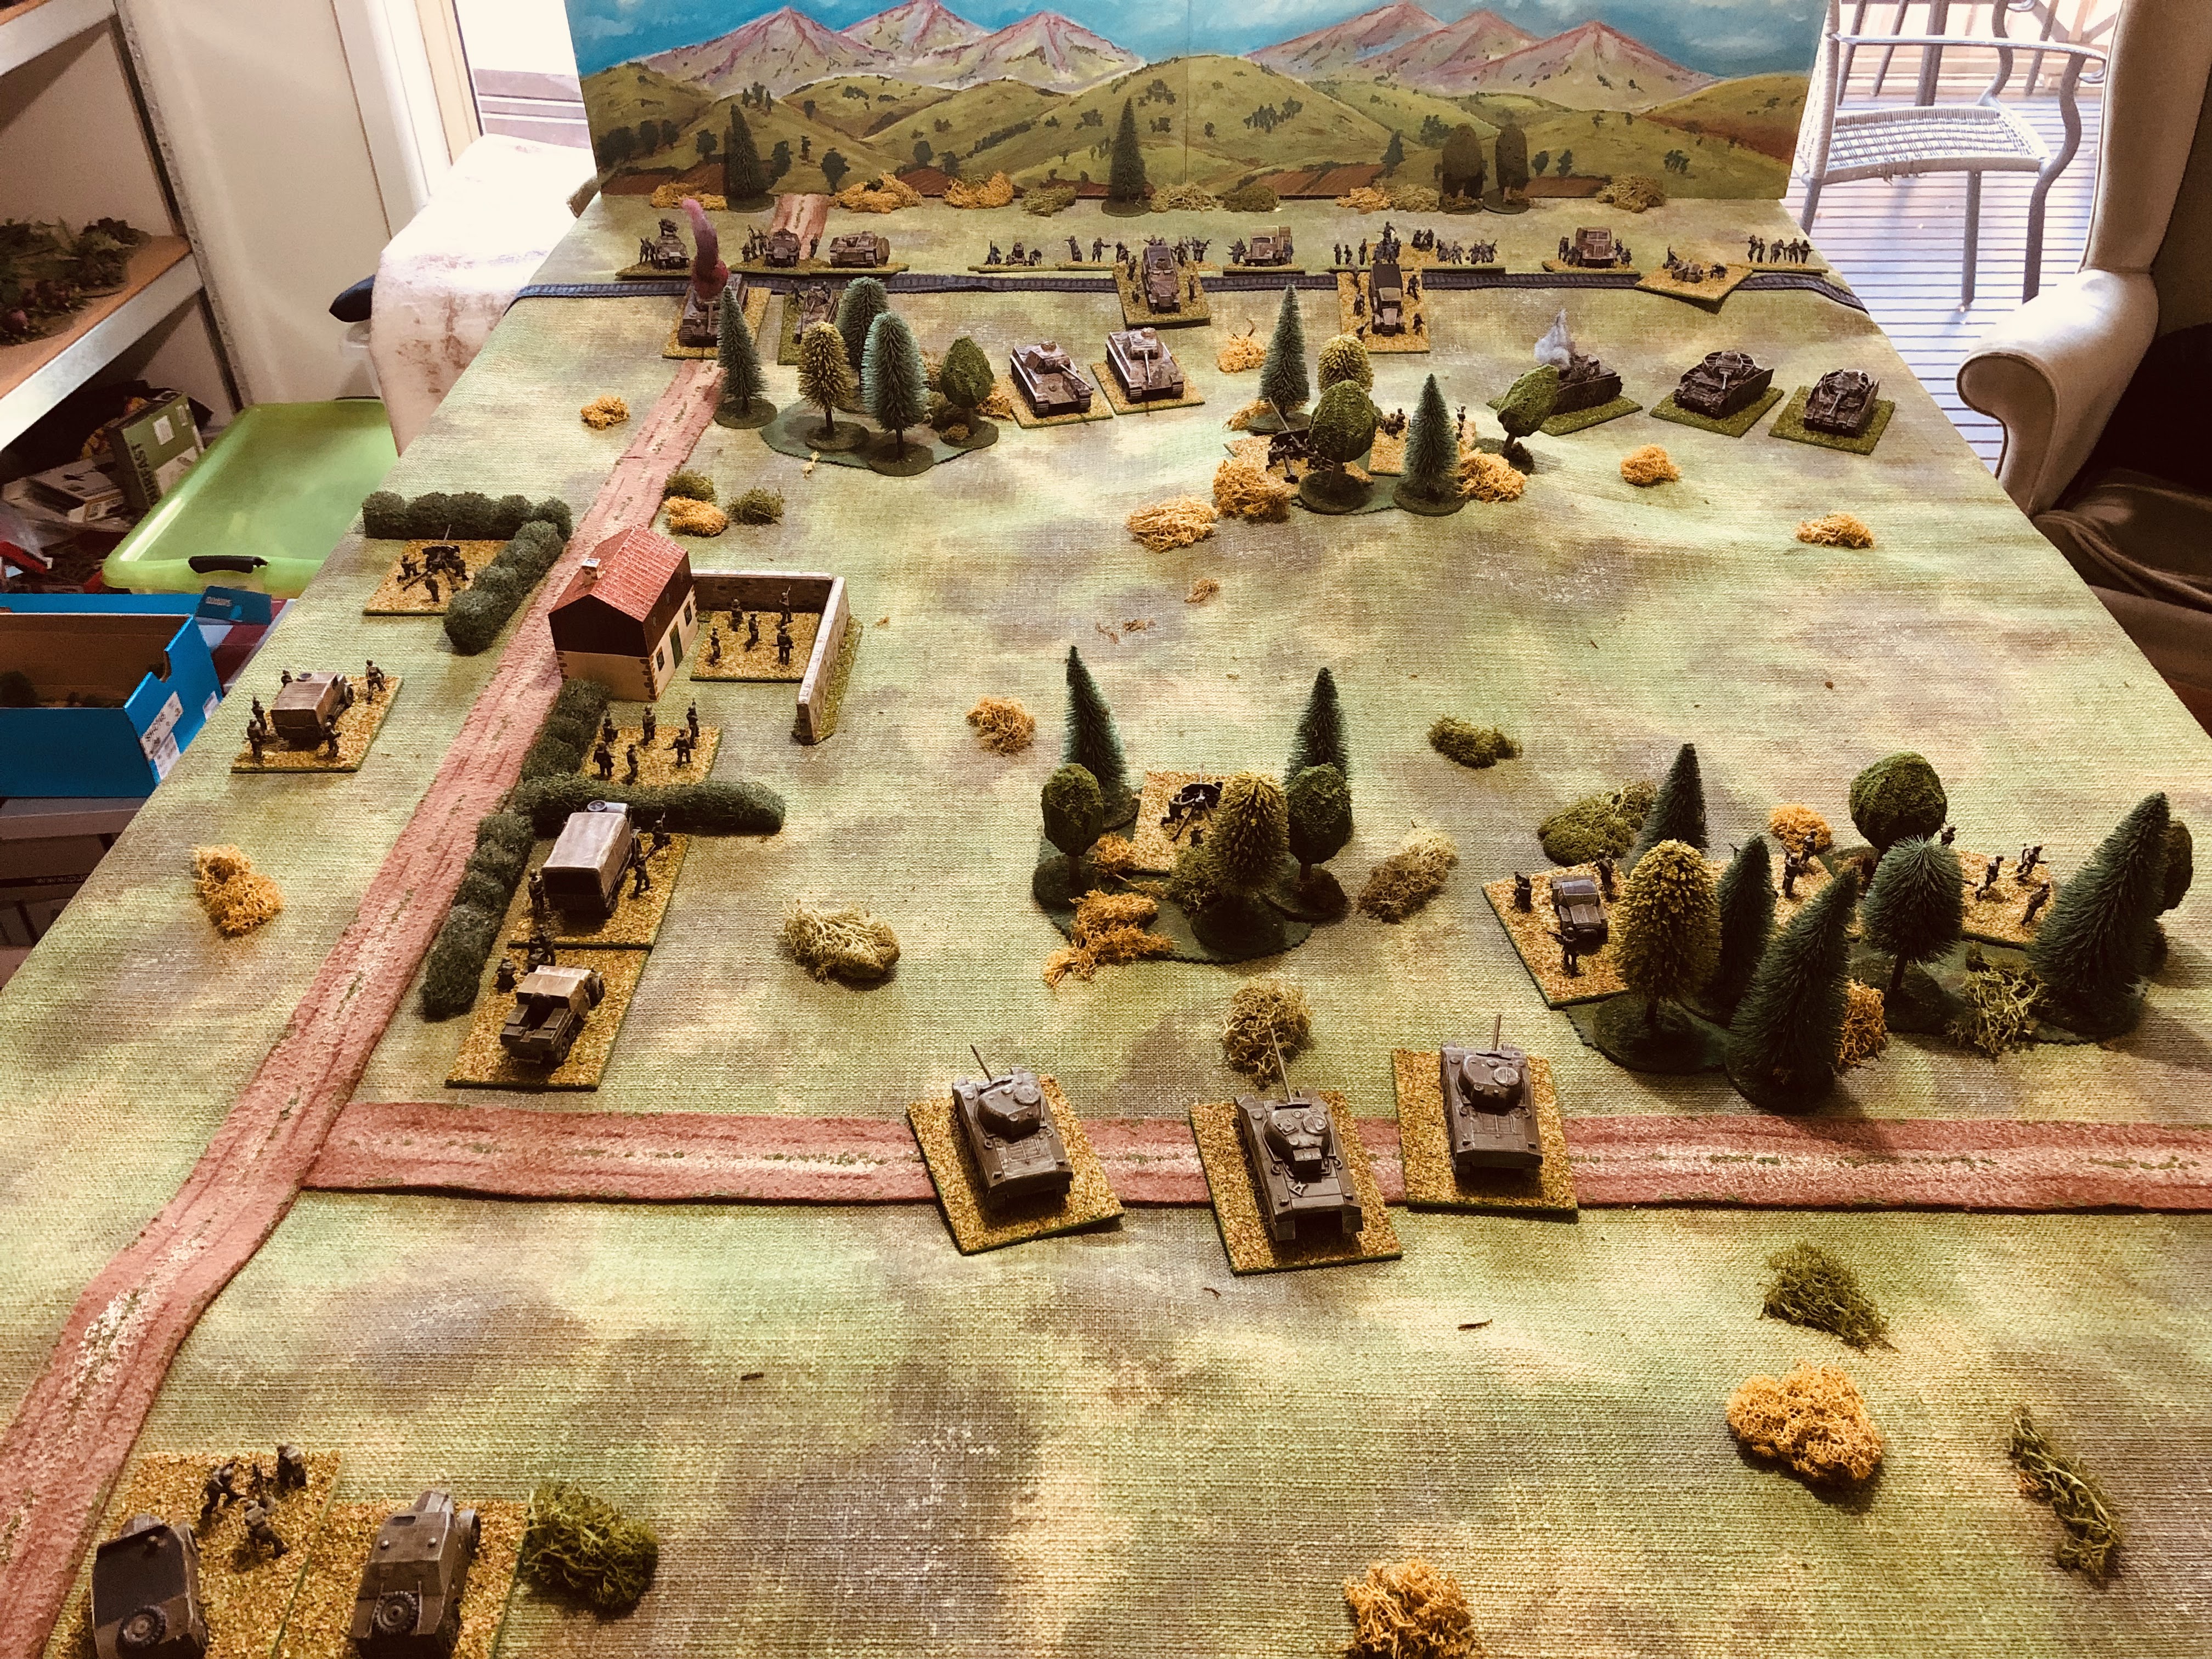
The WW2 game was based upon the St James's Road scenario from Donald Featherstone's War Games book. The rule changes included having tactical units of one to four bases that can be a combination of types (eg, infantry and AT guns) which must maintain their coherency. Rather than track hits, bases are removed when a hit is taken.

The start of the game

The attack begins

Sherman's waiting for the attacking forces

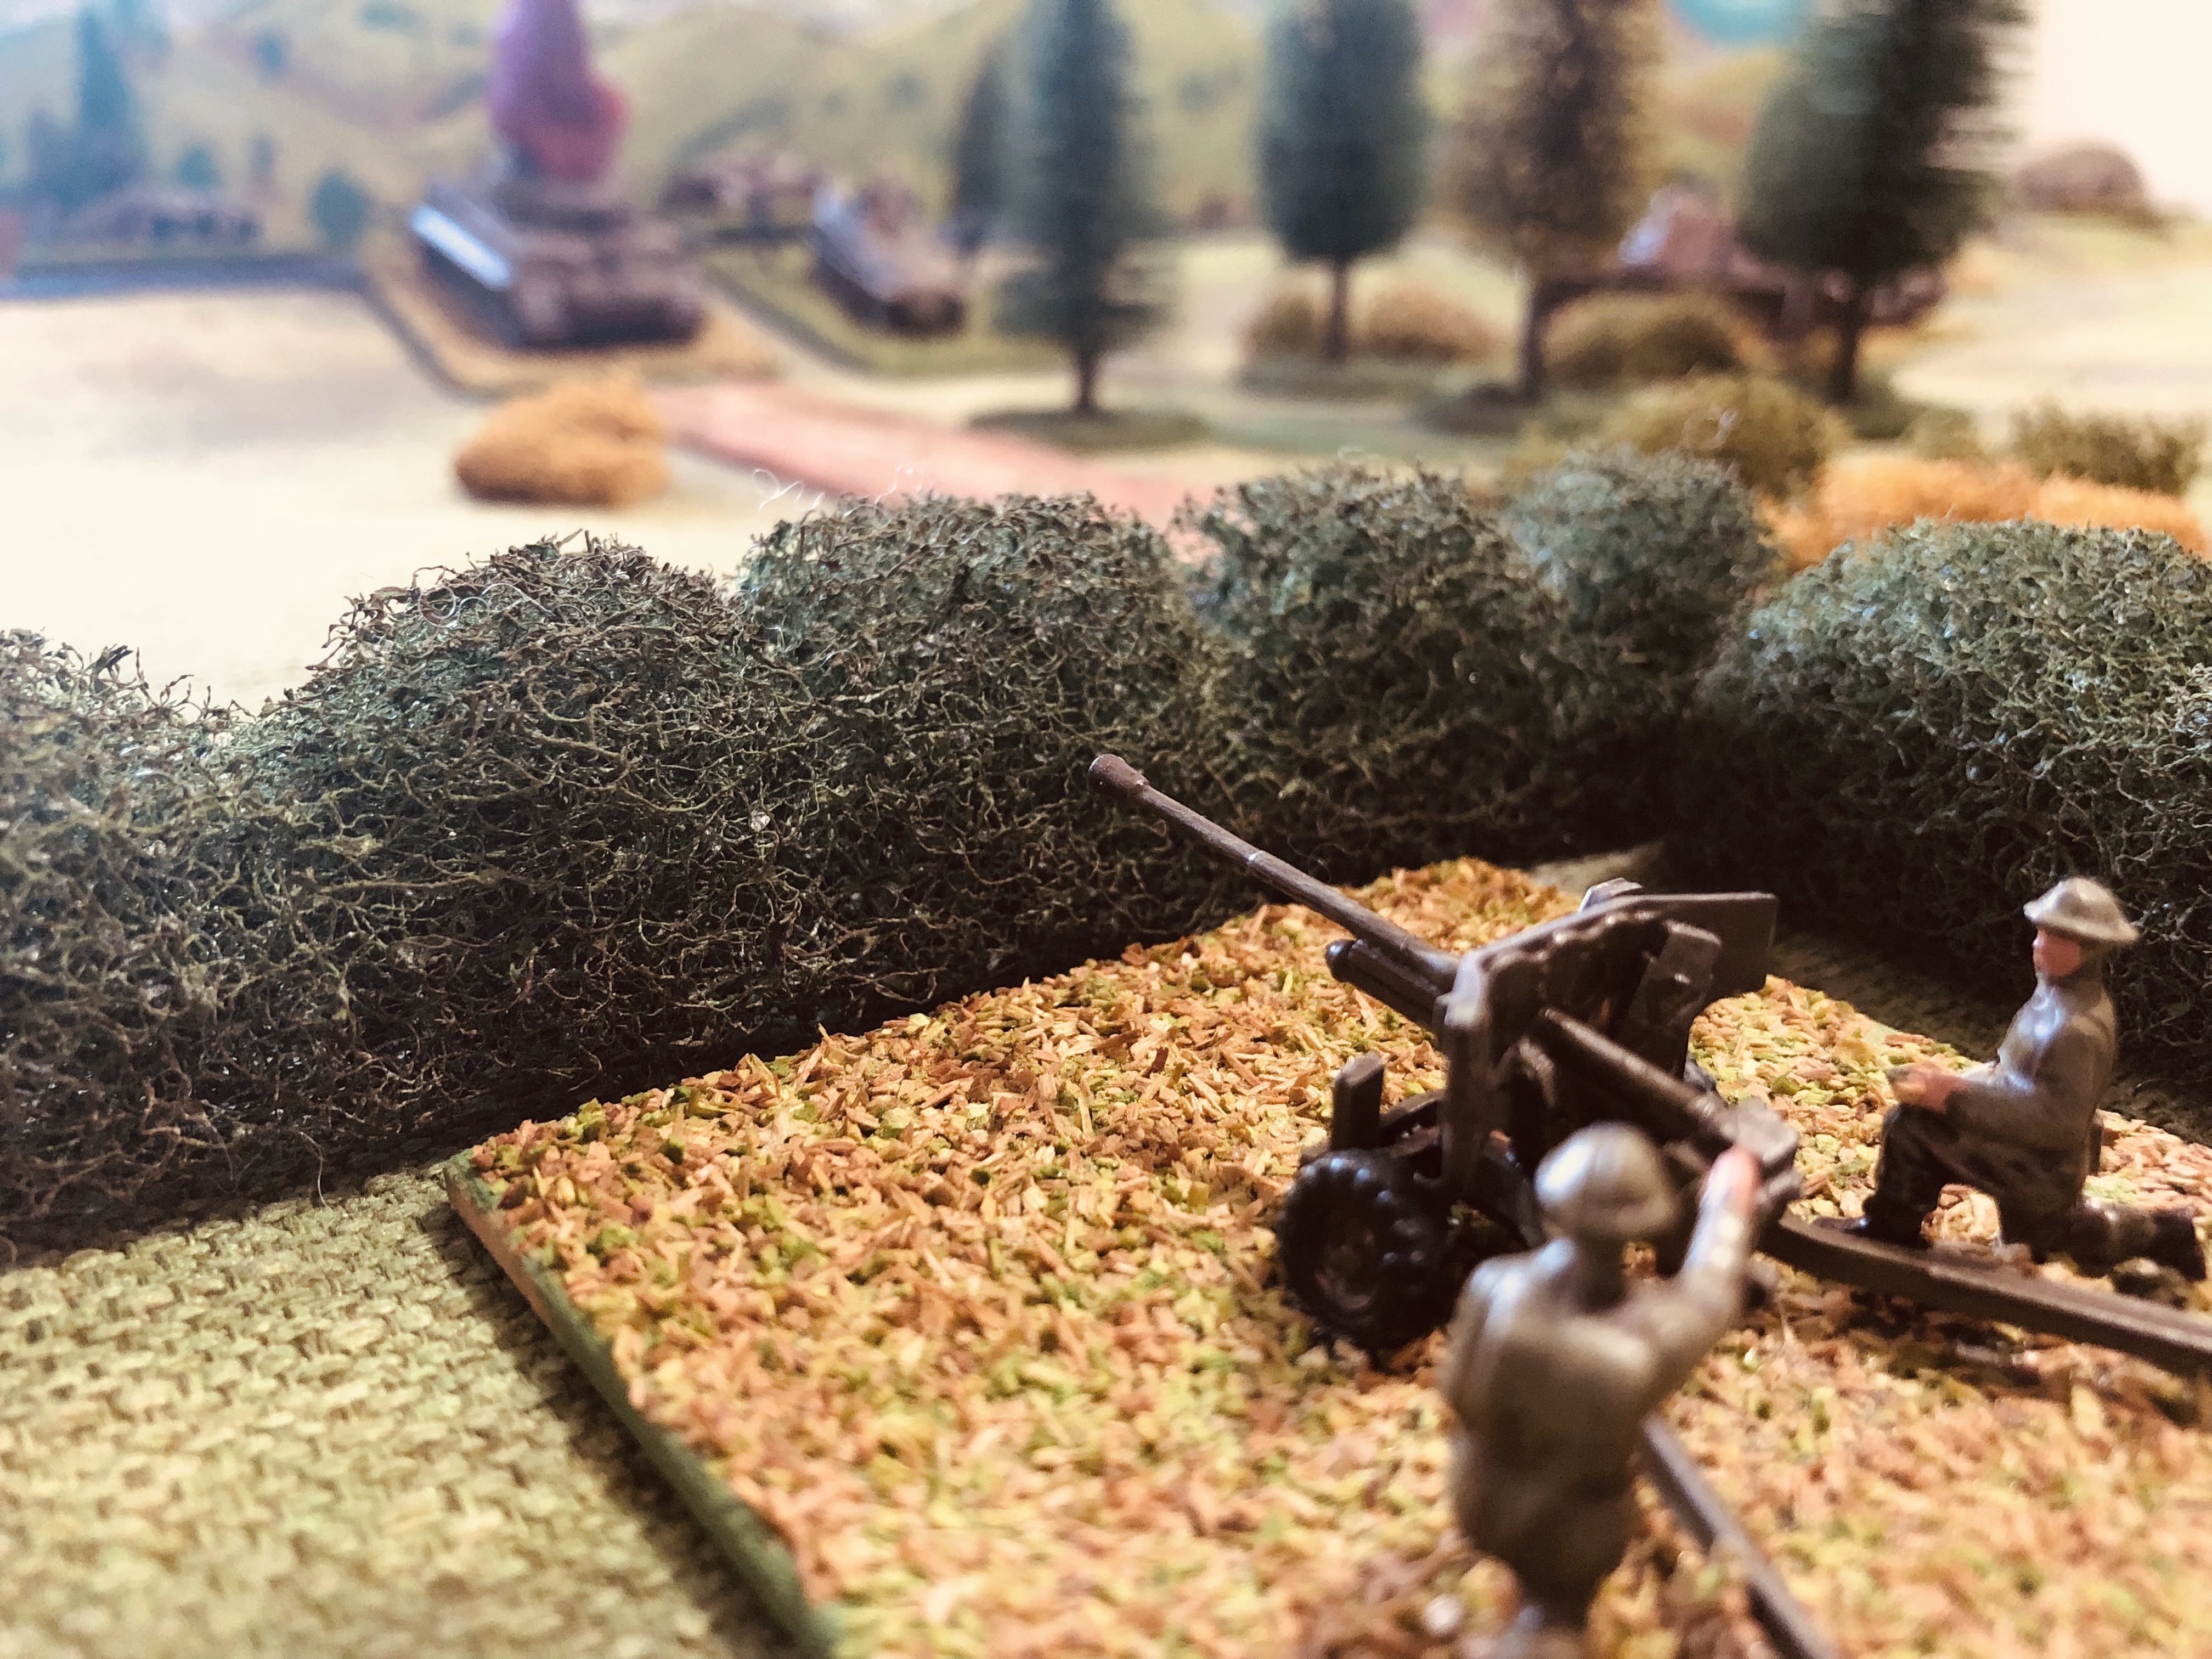
An Airfix 6 pounder opens fire

During the week I will be returning to the WW1 Palestine campaign.


Friday, 4 June 2021

WW2 Western Desert Campaign Wrap Up

Well, the WW2 Western Desert campaign finally finished last week with an AXIS victory.  Possibly not the result I was looking for but an enjoyable campaign nonetheless. I did a quick count back on the campaign turns and games played. In all there were 11 campaign turns and 27 tabletop games played. This all occurred over a period of 15 months between March 2020 and May 2021.

Campaign Map

Campaign Diary

Keeping a campaign going over a long period of time can be problematic, even with a solo campaign where the only dependency is upon myself and my motivation. The linear campaign approach, based upon the KISS Rommel campaign rules, allowed me to easily pick up the campaign after a few weeks break. I would just have to look at the photos of the last blog posting to quickly set up the campaign map and get going. My blogging was essentially my campaign diary and key to tracking progress and for referring back to any rule amendments.

Campaign Rules

The campaign rules were adjusted a couple of times as the campaign progressed, and finally settled down halfway through the campaign. For those interested they can be found here. There are a couple of areas I would revisit if running the campaign again:

  • The supply rules were applied evenly for both sides. I would tweek this if running the campaign again. I would use a set of chance cards for each side with the number of supplies and a brief description explaining why the supplies were lower or higher than expected to help with the campaign narrative. By using cards it would be easier to reflect the AXIS difficulty in obtaining and delivering supplies. Additionally, there could be conditions on the cards such as - “If Tobruk is not held, reduce supplies by 1”.
  • Another area I would modify would be in the use of minefields. They were widely used and it was a rare occurrence in my tabletop games. I would allow two of the defending infantry divisions to deploy mines at no supply cost. The divisions would have to be selected prior to placing the defensive division counters face down on the campaign map.

Tabletop Game Set Up

The terrain cards worked well, a carry over from my English Civil War campaign, with additional rules that allowed:

  1. Defenders to swap two adjacent cards on the first game to make the terrain set up more advantageous for defence.
  2. In the second game both players had to accept the cards as they were laid out.
  3. In the third game the attacker was allowed to swap two adjacent cards to their advantage.

Example of the terrain cards.

The type of game to be fought (frontal assault, flank attack, or escalating encounter) was influenced by whether it was the first, second, or third game. This worked well and I would have liked to introduce some more types of attack or variations of the existing types of games. The tabletop game setup rules are here.

Tabletop Rules

One of the reasons I like to run campaigns is to test out some new home-brew rules or test variations I have concocted for an existing ruleset. The campaigns force me to work away at the rules (or variations). This can be rewarding, if you get it right, or frustrating when things don’t work out to one’s own expectations. However, the campaign encourages me to be persistent.

The rules used and only slightly modified by the end of the campaign.

Tabletop rules started as the Tank on Tank rules (living rules which are downloadable from Lock ‘n’ Load games). I really like these rules and their games, East Front and West Front, which are available as online games through the Steam gaming platform. Both games are geared towards the latter part of WW2. So I began the campaign using these rules with minor modifications to the unit defence and range values. 

Gradually as the games progressed I tried out using D10 rather than the 2D6 dice from the rules. This then morphed into using opposing dice mainly because I don't like the way D10 dice roll (a personal quirk). I also tried having units taking two hits before elimination. Eventually, it was a big circle where towards the end of the campaign I returned to the original rules using 2D6, but with a rule that moving units do not get the +1 to their dice score, whereas stationary units do get the +1. 

For those who have not come across Tank on Tank rules, to make an attack add all shooting units in range to the 2D6 score and if equal or higher than the target defence value the unit is eliminated. So wonderfully simple, but there was one area of the rules that bothered me. It allowed units to rush up and attack without penalty, the change meant an attack could still be made, but not a coordinated attack with multiple moving units.

Dust and burn wreck markers in use.

Other rule modifications which stuck included: having dust from moving units block line of sight, and burning wrecks which were treated as difficult terrain costing an extra movement point to be consumed when moving through.

Settling on the home-brew rules changes was one of the objectives for the campaign, so regardless of the result I was happy with the campaign. Yes, I was hoping the Allies would have a comeback from behind win in the campaign. Anyway I will be writing up the rules either fully or as a quick reference sheet over the next few weeks and will post them.

Tabletop Games

The games themselves were played on a 4x4 foot tabletop with a homemade hexed gaming mat. I was pleased with how it all turned out, I even added a scenic backdrop. Originally my idea was to use a 6x4 foot tabletop with 17x13 hexes, but ended up playing small sized games, 11x11 hexes. These smaller games proved to be much more enjoyable and no less challenging. Smaller and quicker games can make a campaign less onerous to complete.

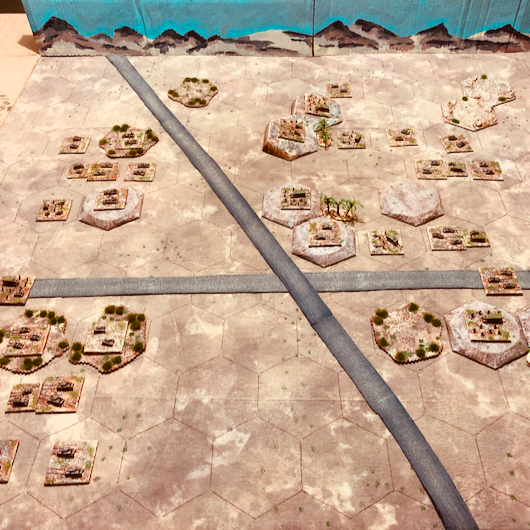
Tabletop set up for a game

As you can see my tabletop rule variations and campaign rules evolve as the campaign progress. As a solo gamer this adds to the enjoyment of a campaign as you work through ideas and refine the rules. (Although not a good approach if other wargamers are involved.)

Now it is time to start thinking about progressing the Ancients Campaign which will have both sea and land games to play.


Tuesday, 16 March 2021

WW2 Floor Wargaming - Part 2 the Rules

People's comments on my previous post highlighted some of the difficulties of wargaming on the floor. Aside from the careful tip-toeing to avoid standing on the miniatures, there is the constant getting up and squatting down to measure and to move units and measure shooting ranges. With that in mind I was using some very simple rules to make things easier. These rules have their origins in the One-Hour Wargaming WW2 rules. The two major changes are in the sequence of play which uses card activation, and shooting which has units eliminated upon taking two or more hits.

German reserves move up to bolster defensives

My current WW2 rules for the tabletop has individual activation of units. At the start of a game turn a card is dealt for each unit on the tabletop. Then units from both sides are activated one at a time starting with the unit with the highest value card (Kings) working down to the unit with the lowest value card (Aces). Using suit order for similar value cards - Spades, Hearts, Diamonds, Clubs. This works fine when there are only 12-20 units involved in a game, but I had more units than cards in a deck.

I do like the card activation approach as a solo gamer, it gives quite a tense game where you are not sure if the enemy will get the jump on your units. So the question was how to keep this activation approach without it being too onerous?

I chose to activate a units in groups. A up to 5 cards per side are placed on single units to represent orders to this unit and any nearby units within 6 inches. When it is time to activate the group, they all activate choosing to move or shoot as desired. The total number of cards is reduced based upon loses. When a force loses a third of their units only 4 cards are used, and this is reduced again to 3 cards when two-thirds of units are lost.

Once all activations are complete the game turn is complete. Deal out the cards again reshuffling the pack of cards if necessary.

Cards are used to activate groups of units

The limited number of cards meant units tended to move as groups and in a staggered way as one group moves forward, then waits for support to catch up. There was also a need to prioritise between activating artillery support and keeping units moving forward.

Movement was kept simple. Units may move some or all of their movement allowance and may turn during their movement without penalty. There are no adjustments for moving through terrain and friendly units may pass through each other freely.

  • Foot infantry and mortars - 6”
  • Towed artillery and AT guns - 8”
  • Mechanised Infantry, Tanks, Self-Propelled Guns - 12”
  • Reconnaissance (armoured cars and jeeps) - 15”

With combat normally I would track up to 8 hits on a unit before it is eliminated. With the number of units involved this needed to change as it would make combat a fiddly affair with tracking hits. Opting for 2 hits and you are eliminated would make tracking easy.

  • Units may only shoot at units they can see within 12", or in the case of artillery and mortar indirect shooting is allowed where there is a friendly sight the target for them.
  • Artillery and mortars had a range of 48" and other weapons 12".

The procedure for combat is as follows:

1) Determine any advantages and disadvantages - The table below shows if the attacking unit has an advantage or disadvantage, or neither.

2) Assess the effects a D6 and use the following combat results table. The first figure is used if the target is in the open and the second figure if the target is in cover. This combat table is based on the work done on on https://johnswargames.wordpress.com/2020/07/15/here-we-go-again-again/ with a few slight changes.


Units are eliminated after accumulating 2 hits, or more. Use a marker to indicate this, I use grey smoke to indicate units with 1 hit. I like leave armour in place when destroyed and mark them with red/black smoke.

To destroyed Allied tanks

By keeping the rules simple my aim was to keep the game rolling along at a reasonable pace and limit the need for me to move around the game areas too much by having group activations close together.

Next up is the game report as I sort through the photographs...


Saturday, 3 October 2020

Parcel arrives and WW2 Western Desert rules

This post was going to be focused on the WW2 Western Desert rules update and games, as I have two game reports still to be write up for the latest campaign turn. However, a parcel arrived during the week containing a few boxes of Ancient figures, and when you get new toys you have to post the news. Well, I think those are the rules. 

The parcel from Hannants arrived a lot quicker than I expected, a very swift service indeed.

Contents of the parcel

Carthaginian Soldiers box contents

These new arrivals, a few starter sets of plastic Carthaginians Soldiers and Roman Soldiers should help me field on the tabletop two armies approximately 200 figures apiece. The next steps for me are to determine how I want them based and painted. From a basing point of view most of my other armies have units with a 4 inch frontage and 3 inch depth. This size base fits nicely into a 6 inch square grid without crowding out any terrain features. My thinking right now is to stick with this size and go for units of between 15 to 20 figures depending on unit type. This hopefully will give the impression of a large block of troops.

This is the first time I have purchased HaT figures and they are well posed. I hope to be able to utilise most, if not all, of the figures. As for painting them, I am going to simply paint them with no washes or dry brushing, and complete them with a glossy finish. A test group will be on the painting table this weekend.


Returning to the WW2 Western Desert campaign which is taking up most of my available wargaming time. After a bit more work on the rules during the week, or more specifically the combat rules, I moved from the idea of opposing combat dice to a simple combat resolution table with the outcomes of:

  • No effect
  • Disordered
  • Eliminated

Previously the outcome had been no effect or eliminated. Having played a few small games with these rule changes, I have updated the rules (see here) and will continue with the campaign games. Below are the combat section changes:

=============================

COMBAT

To shoot at an enemy unit, a player must satisfy these conditions, they must:

  1. Be in their firing front arc unless turreted
  2. In range
  3. Have a line of sight (LOS) to the target
  4. The target has not been fired at already this turn

Any number of units can fire at the designated target, providing each unit satisfies these conditions and has not already fired this phase.

RANGE

To determine if an enemy unit is in range, count the hexes between them and add one for the target’s hex. If the total is equal to or less than the unit’s range value, it can fire.

LINE OF SIGHT (LOS)

To determine if there is line of sight to the target, trace a line from the centre of the firing unit’s hex to the centre of the target’s hex. If the line does not cross blocking terrain, there is a valid LOS. Blocking obstacles are any unit (friendly or enemy), Hill, Rough Ground and Town hexes.

Units on Hill hexes can see (and be seen) over units on clear-terrain hexes.

LOS down a hex spine: If the line travels exactly between two hexes, it is only blocked if there is blocking terrain on both sides.

A unit does not have line of sight when a target is more than 4 hexes away, or 5 hexes if on a hill or escarpment.

ARTILLRTY SUPPORT

An artillery unit does not require LOS to the target if at least one other firing unit has a valid LOS. Artillery must still be within range of the target.

Artillery support cannot be used against moving units, unless the artillery unit has a LOS to the target.

HQs can call in artillery strike even if they are not firing so long as they have LOS.

COMBAT RESOLUTION

Use the following procedure:

  1. The attacking player determines the attacking value by adding up the number of attacking units and subtracts the target’s defensive value. When adding attacking units unsuppressed units count as 1 and suppressed units as 0. Essentially this means suppressed units can attack on their own at a reduced effectiveness, but are ineffective in combined attacks.
  2. Roll the dice and consults the combat results table using the attacking value column.
  3. Apply the results. If the target unit is disordered place a marker with the unit (I use burning wrecks). If the attack is successful and the target unit is destroyed, remove the unit.
  4. Any attacking unit in an adjacent hex to the destroyed target has the option to move into the vacated hex at no AP cost.

Note:

  • Remember to use the second defence value if the target is in cover.
  • Add 1 to the attacker’s score if any of the attacking units occupy a hex flanking the target and are not artillery support.


Disordered Units and Reorganising

Disordered units can still attack as an individual unit, but are less effective counting as zero when adding up the attacking units. This represents a level of disorder in the unit due to casualties and stops them being effectively involved in coordinated attacks.

Units can recover and reorganise from disorder at a cost of 1AP, but a player cannot use either of their first two free APs in a turn to recover a unit. This means a unit can be reorganised with the 3rd or 4th AP. Representing the time to reorganise and participate in an attack. For example, a unit can be unsuppressed on the 3rd AP and involved in an attack on the 4th AP, but the chances of that happening are reduced.


=====================

I have two game reports to write up next, and play through a 3rd deciding game for the current campaign turn. The reports may be a tad brief as I have limited photos of the games, too wrapped up in the new rules to pause and take photos.


Thursday, 24 September 2020

Reworking rules and ordering figures for new project

I have been playing around with the combat rule mechanism in the WW2 Western Desert rules I am using for my campaign games. These rules themselves are a slight variant on the Tank on Tank rules from Lock n Load publishing. The recent changes have the combat mechanism using opposing D6 dice rolls. After working through the percentage chances of hits I found they were exactly the same as the original rules. This was both interesting to do and made me laugh. I will keep the changes as I do quite like the opposing dice rolls.

The other change made is the introduction of chance cards using a very similar approach to those described in One Hour Wargames (chapter 22) which has about a third advantage cards, a third disadvantage cards, and a third no effect cards.

When making these changes I had started the next campaign turn and have decided to loop back and replay with the turn with the modified rules. I have yet to write up the rule amendments, which will be one of this weekend's activities.

The next campaign game on the tabletop

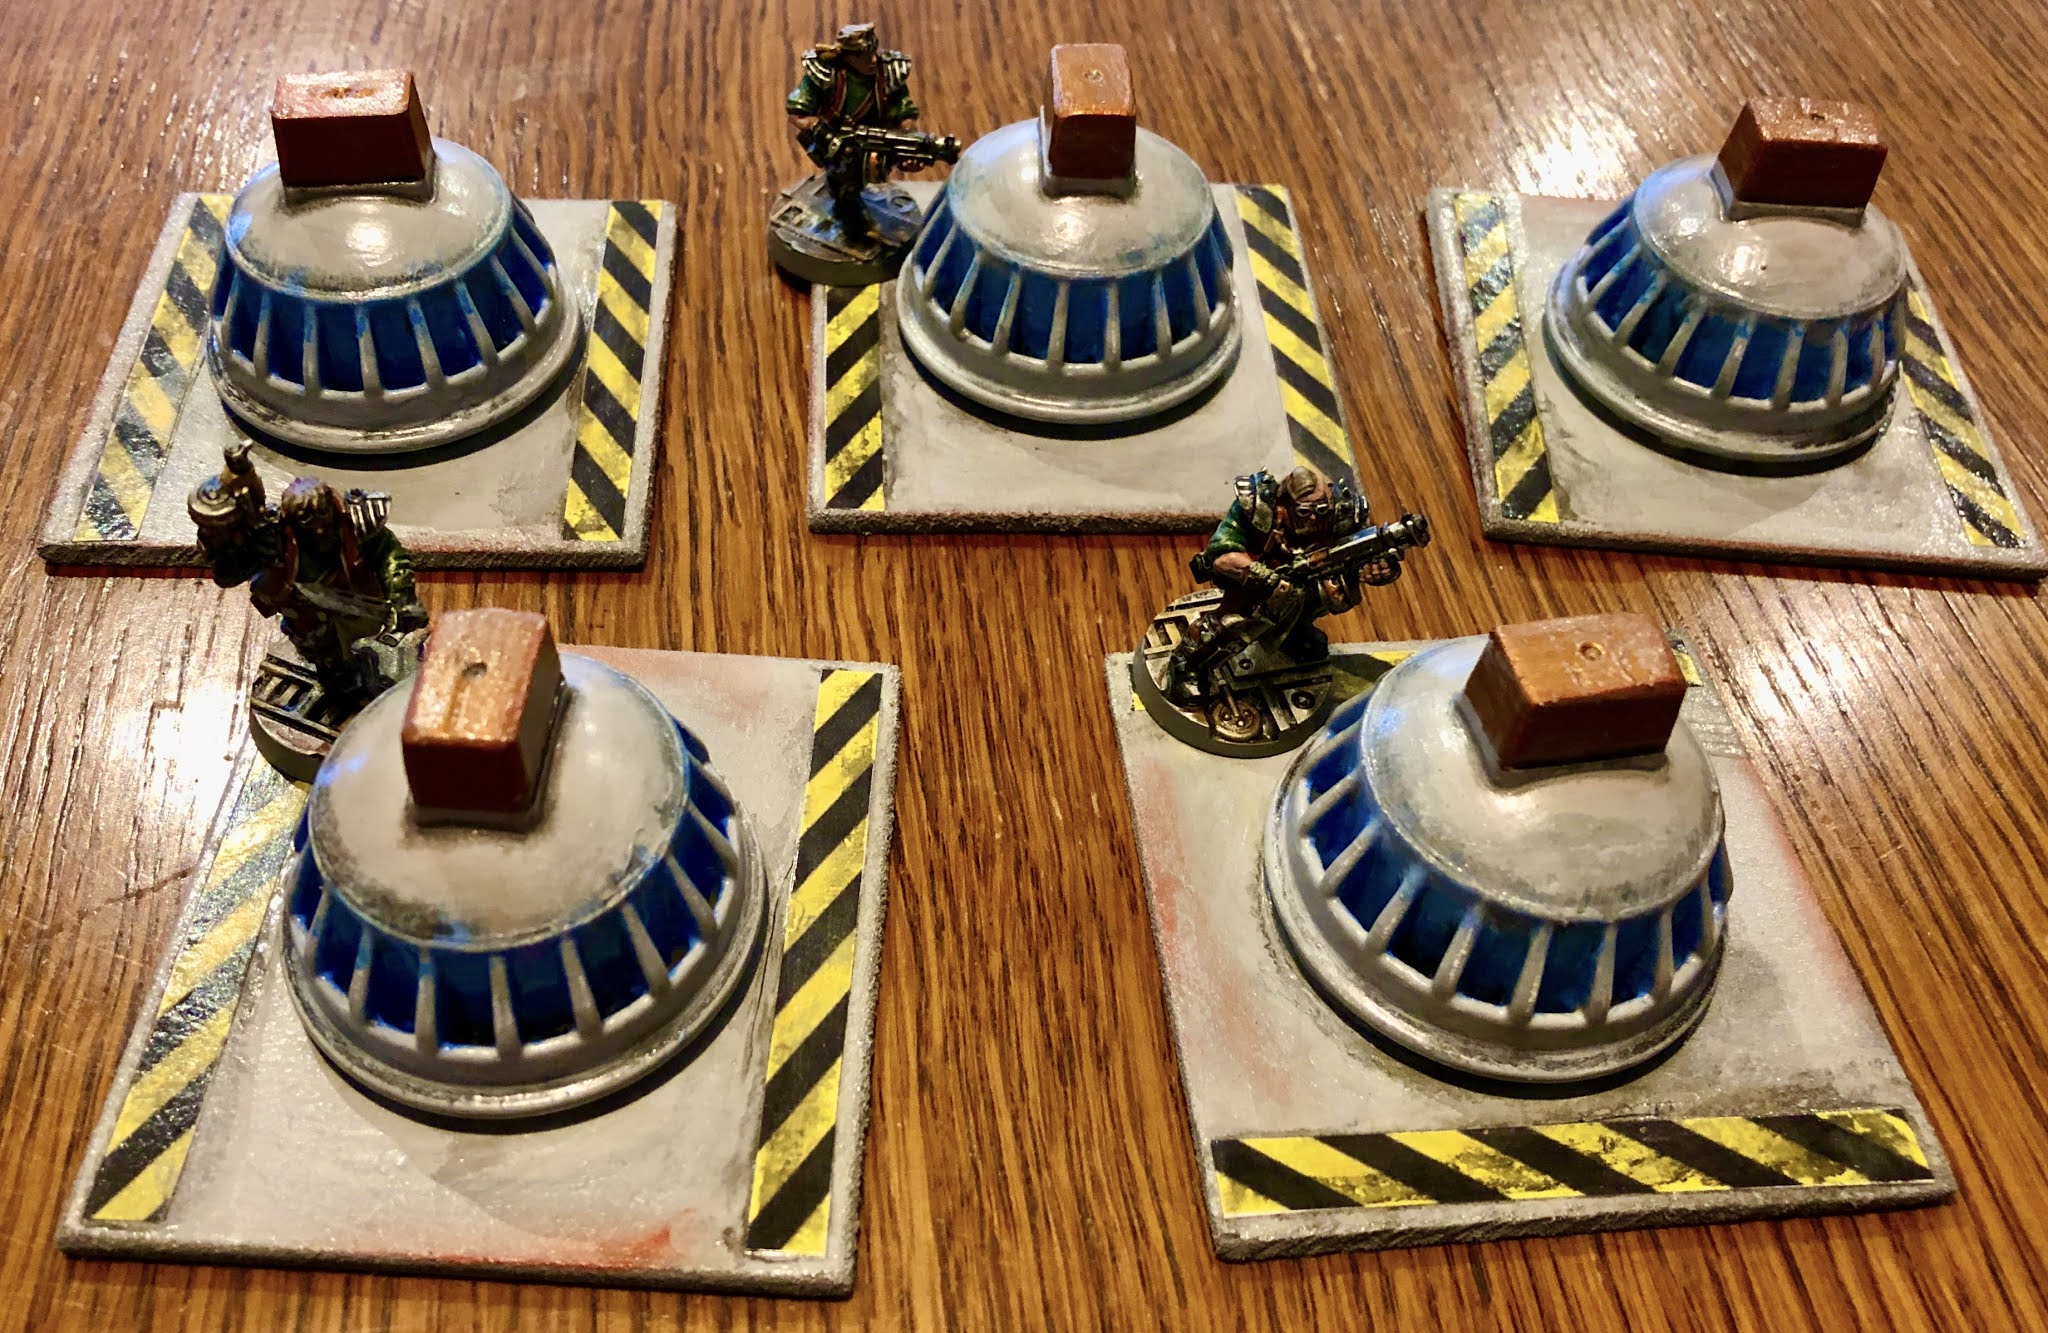
A few expired down-lights converted to scatter terrain for my Necromunda games have now been painted. I must be getting close to the end of this terrain project and will soon be starting a mini skirmish campaign as I have sufficient figures painted to begin with three gangs. I just need to decide how best to run this campaign, and will most likely be using a snakes and ladders approach as I did with my Jacobite campaign.

Scatter terrain representing some sort of vent.

For a while now I have been thinking about dabbling in the ancients period. The furthest back I go with my collections are: a One Hundred Years War Minifigs collection and 1066 paper soldier collection. The idea of collecting a couple of ancient period armies was cemented after reading Airfix's Guide to Ancient Wargaming.

recent reading

My first efforts at wargaming in this period go back to when I was just a teenager, or maybe a fraction younger, and was with Airfix's Romans and Ancient Britons and a few Robin Hood figures thrown in for good measure. The book "Introduction to Battle Gaming" by Terry Wise was my inspiration at the time, and I used to look at the old black and white photographs time and time again.

Wonderful battles with Airfix figures.

With this in mind I opted to go with soft plastic figures for nostalgia and to keep the costs down. Looking around at what was available online I opted to go with a few Roman and Carthaginian army boxes by HAT Industrie figures

HAT Roman Soldiers

HAT Carthaginian Soldiers

As for rules I have not given it a lot of thought, but I am very tempted to go with DBA as I do have a copy of the rules (version 1.1), and I am sure OHW rules will also get a go.

Rules in the cupboard waiting to be used

Saturday, 12 September 2020

A WW2 game using a scenario from Scenarios for Wargamers

During the week I was able to squeeze in a WW2 North West Europe game. The game used the scenario Holding Actions (1) from the book "Scenarios for Wargames". One of the reasons for playing this game was to see how my WW2 D3 dice rules would work on the hex grid I had marked out a good few weeks ago (see here). The hexes are quite large being 8 inches diameter to accommodate based units and scenery.

Holding Actions (1) from Scenarios for Wargames

One of the challenges of using scenarios from this book is they appear to be for use with larger tables, 8 x 6 foot table is my guess. Using my large hex grid adds to this challenge were I have a table top of 6 x 9 hexes. That said, a number of the One-Hour Wargames scenarios are inspired from scenarios in this book, and they are geared to a 3 x 3 foot tabletop. So it should be possible to adjust (or is it scale down) the scenario from a space and unit numbers.

I thought I would try a layout using Google Slides to workout the best tabletop arrangement. The defending Germans in my version of the scenario are deployed North-West of the red line A-B, and Allied forces arrive randomly on the roads in the South-Eastern corner. The Allied aim is to push along the road and exit the road at point C.

Hex map of the tabletop layout

The order of battle...

German defenders:
  • 1 x Tank unit (Panther)
  • 1 x AT gun unit (75mm)
  • 3 x Infantry units
  • 1 x Mortar unit (Nebelwerfer)
Allied attackers:
  • 4 x Infantry units (3 Half-Tracks and 1 Bren Gun Carrier)
  • 3 x Tant units (Shermans)
  • 1 x Armoured Car unit
  • 1 x Mortar unit
The Allies quickly appear and push their reconnaissance unit towards the northern wooded area. They were soon engaged by infantry and AT fire and quickly retire. The Allied commander had been expecting an encounter with enemy forces and quickly pushed forward his infantry to engage the enemy in the woods, while his tanks took up position on the road.

Allied units arrive

The armoured car unit comes under fire from the woods

Allied unit push into the woods and prepare to attack along the road

Having moved into the woods and set up their mortars in the town, the Allies started pushing forward along the road. At this point the Panther positioned hull down on the other hill fired at the advancing tanks. With a combination of infantry and tanks the attacking Allies were able to eliminate the Panther unit, but took heavy casualties in doing so.  

With only a few weakened infantry units to push on the Allied commander called off the attack. The two remaining German units remained until dusk before retiring. They had done their job in holding up the Allied advance.

The attack is in full swing

A weakened Allied attack decides to retire

An enjoyable game which was not decided until the last few turns. From a rules point of view they worked well using the hex-grid. One thing I allowed during the game was to permit two units to occupy a hex providing it contained no terrain and tank wrecks. Both units receive an activation playing card and can opt to use one or the other card if they move together or shoot at the same target. I have updated the rules (see top of blog).

A messy tabletop when the action cards are allocated


Tuesday, 14 January 2020

St. Nazaire Raid - deciding the rules

Having completed the terrain, ships and a few commando units it was time to consider the rules to be used. Once upon a time I owned the boardgame Raid on St. Nazaire by Avalon Hill. This was a solo boardgame which had the German defenders moving to a set of rules. This is an approach I want to include in the rules.

The rules have been kept very simple to make the action swift, and I have called them "Attack on the Iron Coast" after the film which was loosely based on the St. Nazaire raid. As an aside, I do remember going to see this film at the cinema and enjoying it when I was young and still wearing shorts. So I had a quick look at the trailers for the film on Youtube. My memory and the trailers viewed 50 years on don't quite match, but I do like the film's dynamic poster.


Anyway, back to the game rules as they currently stand after a couple of test games...

The game starts with the landing of the commando parties and the ramming of the dock gates by HMS Campbeltown. The game's challenge is focussed on the commandos running amok and demolishing all their targets before re-embarking on ships from the Old Mole to escape. While the Germans continually feed in more and more reserves making the commando's task increasingly difficult as the turns go by.

A map of the 6x4 foot tabletop showing the German reserve entry points and commando landing areas. The map is a slightly cut down version from "Battle Notes for Wargamers" by Donald Featherstone.

Units

Units represent commando raiding parties and German patrols. On the raid commandos were organised into demolition parties, protection parties or assault parties. For the purpose of the game I have combined the protection and demolition parties into single units. Only the four demolition units can blow things up, and are is no limit on the number of attempts at demolition. The remaining eight commando assault units are used to form a bridgehead and put out of action: searchlights, gun emplacements, and pillboxes.

I am using ten German patrol units and two armoured cars. The infantry unit get reused as they are eliminated returning as reserve units at one of the reenforcement points on the map. At the start of the game a German patrol is placed at each reenforcement point.

Sequence of Play

The game is played in turns with the commando player attempting to activate each commando unit first. Then followed by the German unit activation and re-enforcements.

Each unit gets to make a variable number of actions, including no action (more on that later).

During the German turn the following rules are applied to each unit:

  • Any deployed German unit must move towards the closest commando unit until within shooting range. As soon as they are within shooting range they must shoot. 
  • If they begin an activation within shooting range, they must only shoot at the closest commando unit. Until all enemy unit within range are eliminated they cannot move.
  • Pillboxes only get one action, and must shoot at the closest commando unit.

A single German reenforcing unit arrives each turn after all German units have attempted activation. Roll a D6 to determine which of the three re-enforcements points their unit arrives (see map). If a unit is arriving from second point (dice roll 3 or 4) then roll a second D6 and if a 6 is rolled, change the infantry unit to an armoured car. This only occurs twice during a game, otherwise it is just infantry units arriving. Any eliminated German unit is reused, so reserves are endless.

Commando landings in the first turn:

  • Move the ships to their target landing areas
  • To represent the ships not making their landing areas due to sinking and casualties sustained from German fire. Roll 1D6 for each of the four motor launches and HMS Campbeltown. If a 6 is rolled one commando unit is eliminated, player’s choice.
  • Start activating commando units to exit the ships.

German starting positions first turn:

  • Three German units start the game on the tabletop. One is place at each reenforcement point (see map).

Unit Activation

Each unit in a player's force is activated once during the player's turn. Assuming a successful activation a unit can move, shoot, attempt a demolition of a target*, or engage in hand to hand combat**.

Roll a D6 and adjust the score:
-1 for German forces to represent the confusion
-1 if a unit has sustained a hit

If the adjusted score is:
  • Less than 1 = no action allowed
  • 1-2 = one action allowed
  • 3-4 = two actions allowed
  • 5-6 = three actions allowed
Pillboxes always have one shooting action until they are destroyed.

* Commando demolition units only
** Commando assault units only

Movement

A move costs one action and units when moving must move in a straight line. If a unit is moving it must perform all its move actions together, a unit cannot move, shoot, and move again.

Commando units and German infantry units move 6” for each move action. There are no deductions for moving in built up areas.

Armoured cars move 12 for each move action, but cannot move into built up areas.

Units may pass through friendly units without penalty.

Shooting

To shoot costs one action. As with the moving all shooting actions must occur together. With each  shooting action all units roll a D6. A unit with two shooting actions would roll twice, once for each attack.

  • A score of 5 or 6 causes a hit on infantry units in the open, and gun emplacements/searchlights.
  • A score of 6 causes a hit on units in cover, armoured cars, and pillboxes

All units, pillboxes, gun emplacements/searchlights are eliminated on taking a second hit.

To attack a pillbox, gun emplacement, or searchlight the attacking unit must be within 3”. Otherwise all ranges are 12".

Gun emplacements cannot fire at ground units and for the purpose of the game they are targets for being put out of action.

Demolition

A demolition attempt takes two actions and can only be carried out by a commando demolition unit. The unit must be touching or on the target to attempt a demolition. 

Roll a D6, if a 5 or 6 is scored the explosives were successfully set, then the unit moves 3 inches away. Yell bang! And place an explosive looking marker to show the target has been successfully destroyed. If the explosives were not successfully set and the unit remains in place (and you don't get to yell).

Hand to hand combat

Hand to hand combat can only be initiated by commando assault units. A unit must first move into contact with an enemy unit. It then costs one action to engage in hand to hand combat.

To determine the outcome commandos roll a 2D6 selecting the highest score. German units roll 1D6. Compare scores the highest score eliminates the opposing units. Re-roll any draws. A bit risky, but a very effective way for commando assault units armed to the teeth to quickly clear out enemy units in cover.

Commando re-embarkment (escape)

A secondary objective for the commando player is to re-embark any surviving commando units off the Old Mole. Extraction can only take place if the 3 gun emplacements and 2 searchlights are destroyed. If this has occurred, commando units are re-embarked as soon as they are able to move on to the Old Mole.

A test game in progress. The green flocked bases are at odds with the dockyard terrain.
B&W photos disguise the flocked bases and look more atmospheric.
A few more test games to play before a game report. So far the rule mechanisms are working for me and have delivered some fun games. Just need to finalise victory points.


Sunday, 15 September 2019

WW2 rules used in recent campaign

During the WW2 mini campaign I used the following rules to play out the actions on the tabletop. They are very much based upon the WW2 rules from "One-Hour War-games" by Neil Thomas. No surprise there, as this book got me back into historical wargaming with its pared down rule systems and small tabletop needs. However, they do use a different activation mechanism with movement and shooting having very similar rule mechanisms.

The rules started out as a series of notes which have finally been written up and is a first draft, and will no doubt include the usual typos and spelling errors. I am not a good proofreader and my eyes are starting to glaze over.

The choice of these simple rules were so the tabletop action, or actions in some cases, could be played quickly in an evening or weekend. This way the campaign would not get bogged down with the resulting loss of interest on my part.

Units

Each player’s army has a selection of units representing platoon and troop size units. Each unit has two bases which must remain within 1” of each other during the game. Base sizes do not matter in this game providing there is a level of consistency.

All units have an assigned class which is used when determining shooting results.

Infantry types:
  • Infantry units
  • Armoured infantry after 1 base loss

Gun types:
  • Mortars
  • AT Guns
  • Artillery

Armoured types:
  • Armoured Infantry
  • Armoured Cars
  • Tank
  • Self-Propelled AT Gun/Tank Destroyer

An armoured infantry unit with two bases. The unit is treated as armoured until the first base is lost, then the half-track base is removed and the remaining base operates as infantry.
AT gun unit with a transport base and gun base. Only the AT gun base can shoot. Hits are taken against the transport unit which when removed will reduce movement to 6".
Mo rtar unit with a transport base and mortar base. Only the mortar base can shoot. Hits are taken against the transport unit which when removed will reduce movement to 6".

Sequence of Play

Using a shuffled set of playing cards deal a card for each unit, placing the card face up beside each unit.

Units are then activated from the highest value card to the lowest. When activated a unit can move or shoot.

Off-table artillery and air support can only shoot when receiving a red suited card.

Unit Movement

All units must move in straight lines.


Any unit moving into cover can only move a maximum of 6” for an activation.

Terrain

Open Terrain - no effects
Buildings - all units can enter, but only infantry can claim cover
Woods - only can enter infantry and claim cover
Marshland/Lakes - are impassable to all units.
Fields - all units can enter, but only infantry can claim cover
Rivers - Units may only cross rivers at bridges & fords. Rivers do not block line of sight.
Roads - no effect.
Hills - block line of sight & Tank units are able to be “hull down” & treated as in cover for combat.

Observation

Units may only shoot units they can see. All units can observe units at a range of 12” providing their line of sight is blocked by terrain or smoke.

Units have a 90 degrees of observation from the front edge of either unit base.

The exception to the observation rule is indirect fire from Artillery & Mortars, which can attack units they cannot see providing a friendly infantry or reconnaissance unit can observe the target & radio in the coordinates.
Both bases have individual 90 degree fields of fire. This allows a two base unit to increase its field of fire by careful positioning of both bases. Single base units and AT guns only have the single 90 degree field of fire.
An example of the AT guns single 90 degree field of fire compared to an armoured and mobile AT unit.

Shooting

Units cannot move and shoot.

Direct shooting bases have a 90 degree field of fire. Only one base needs to observe a target in the field of fire for a unit to shoot or call in artillery support.

Artillery and mortars when not direct shooting don't use a field of fire. However, after targeting a unit they cannot switch to another target in the following turn without a break of one turn.

Determine if in range.


To determining damage roll 1 D6 and make adjustments in the table below. When increasing or reducing by 50% any fractions are rounded up to the attacker's advantage.


The result is further reduced by 50% for:
  • Infantry in woods, buildings, or positioned behind armoured units.
  • Tanks (not other armoured units) hull down on a hill.

An infantry unit seeking cover behind an advancing tank unit.
Target units which cannot claim cover and are yet to be activated at can sacrifice their card and take evasive action. They are then treated as being in cover reducing the hits by 50%. For infantry that is going to ground, other units must retire out of range. However, the attacking unit must be in their field of fire to take evasive action.

An infantry unit (9 spades) has been flanked by the armoured car unit (Queen diamonds) and cannot take evasive action. Having a narrow field of fire and this rule to evasion encourages flanking moves on the tabletop.
The this example an infantry unit (9 spades) positioning of its bases means it can sacrifice its card and take evasive action to reduce the shooting hits from an armoured car unit (Queen diamonds).
Split units, such as armoured infantry, will always be treated as armoured until the half-track base is removed. Then on after they are treated as infantry and operate like infantry when taking hits.

This armoured infantry unit will now be operating as an infantry unit only.

Elimination

Units are eliminated after 14 hits. When 7 hits are taken remove one base. This means hits can be recorded on a single dice as the 7 or 14th hit removes a base.

The removal of one base limits a unit’s field of fire as the combination of two base's field of fire when carefully positioned increase the field of fire.

Optional Rules

Smoke ScreensArtillery & Mortar units may provide smoke screens. On a score of 4+ place 6” of smoke which blocks line of sight. All smoke is removed at the start of turn.

Aircraft SortiesOn a read suited card air support can attack any unit not in woods or buildings. Air support attack as AT guns.

AA GunsIf there is an AA gun within 12” of the unit being shot at by air support reduce hits by 50%.

Wrecks - Mark eliminated armoured based with smoke. If behind these wrecks units can be treated as in cover. The wrecks do not block line of sight.