Showing posts with label AWI Rules. Show all posts

Saturday, 11 September 2021

A quick AWI Game

This afternoon I was able to set up and play a quick American War of Independence game using scenario 8 (Melee) from the One Hour Wargames book. A small American force holds a hill and the British are making a surprise attack. The objective is to capture or hold the hill. Both forces have units arriving during the game.

For this game I am using two bases to represent a unit. The majority of units are made up of Peter Laing 15mm figures.

Opening moves as the British arrive.

For the rules I am using a variation of One Hour Wargames Horse and Musket rules by Neil Thomas. The rules use D3 dice to determine hits rather than D6 and minus 1 instead of halving the hits. Units are eliminated after 9 hits. I also use a simple activation system to create increasing friction as units take hits. Units have to check to activate when attempting a move or shooting. 2D6 are rolled, if the score is greater than the unit’s accumulated hits, the unit is activated to move or shoot.

Page 1

Page 2

The British plan is to move swiftly down the road to block any reserves arriving down the road and attack the hill around the woods to avoid the American artillery position on the hill.

British move down the road and are faced by American reinforcements arriving to support the hilltop position.

British light infantry have occupied the woods and are engaging the hilltop defenders. While more British troops arrive.

British artillery engage their counterparts on the hilltop.

The last arriving American units are quickly engaged in the battle. A skirmish unit makes it way to the hilltop where the units are under pressure from artillery and shooting from the woods. 

Both sides are suffering losses and the American forces are tenuously hanging on to the hilltop. 

The hilltop is cleared but the British forces are weakened and are not well positioned to take advantage.

By game's end both forces are able to get a unit to occupy the hilltop. A drawn game.

The activity check rule worked well, causing a few problems as the game progressed and units accumulated hits. I will be keeping the activation rules for another game.

Saturday, 31 December 2016

A return to the AWI campaign

It seems to have been quite a while since I played a game from my solo American War of Independence (AWI) campaign. My last post was back at the end of November. The campaign does not have a set number of battles, but has the possibility of 24 battles dependent upon the weather and ability forces coming into contact (both decided by dice rolls). The winner will be the side with the most victories.

Campaign map tracking the battles. Red crossed swords a British victory and Blue an American victory
A quick recap:
  • British land at New York to make it their base of operation.
  • May 12th - Battle of Flattop Hill - British victory
  • May 24th - Battle of Smith;s Creek - American victory
  • June 16th - Battle of Barwon Hill - British victory
  • West Point is secured by the British
  • July 29th - Battle of Blake's Farm - American victory
  • August 12th - Battle at Lightman's Wood - British victory
  • August 16th - Battle of Reynold's Farm - British victory
  • New Brunswick and surround area in British hands. They now start their move towards Philadelphia.
  • September 28th - Battle of Rosston - American victory
A closer look at the theatre of operations
During the campaign I have been refining my AWI house rules (which are based on One Hour Wargame rules). Over the Christmas period I have been able to gather up my notes and write them up. They can be found on the pages tab at the top.

I now have my board setup ready for the next game and plan to get a game in this weekend.

Friday, 23 December 2016

A lack of time to focus on wargaming

A few days ago I took a break from both my Hundred Year War (HYW) and American War of Independence (AWI) tabletop gaming. It has actually been quite a while since I played a game from the AWI campaign. This is mainly due to switching most of my efforts to completing my HYW models and terrain before Christmas. I will be returning to the AWI campaign after all the festivities are over and life settles back to normality again.

I am looking forward to some more of this after Christmas
That being said I did get a couple of quick SciFi games last weekend. I have been tinkering with the rules (again) trying to get a quicker game which will last for only 30-45 minutes. The rules are geared towards units and ideally I would like to have all the figures based on larger bases rather than based individually. So for the moment I just clump the figures closely together, terrain permitting, and I may try and create some bases to slot the figures into should my rules ever become settled. It will also speed up the movement part of the game, which is something I am really liking about the other periods I play which all have biggish bases.

A quick encounter SciFi game using my W40K

During the Christmas holiday any free time I get will be used to update my AWI rules. There are a multitude of notes and changes I have made during the course of the campaign so far. So here is an excuse for another AWI photo taken from a game about a month ago.

American forces line up for battle


Sunday, 27 November 2016

AWI Campaign - August 16th, 1776, continued...

With the new shooting and elimination rules in place (jotted down on a note pad) and with a few final tweaks based on comments received from my last post, it was time to test the rules out.

British line up for battle
A very quick recap of the rules with their modifications.

When shooting units roll a number of dice (D6) depending the unit type and hitting on 4+ regardless of whether the target unit is in cover.

Artillery and Light Infantry and Frontiersmen roll 1D6
Line Infantry, Grenadiers and Militia roll 2D6
Cavalry roll 3D6 when charging

Once a unit has exceeded the limit of hits allowed they are eliminated. However, a unit's staying power is increased by 2 when they are in cover.

Militia - 4 hits in open and 6 hits in cover (Militia get cover when in fenced fields and buildings)
Artillery - 4 hits and 6 hits in cover (fortifications only)
Frontiersmen - 4 hits in the open and 6 hits in any cover
Cavalry - 5 hits
Light Infantry - 5 hits in open and 7 hits in any cover
Line Infantry - 6 hits in open and 8 in cover (buildings only)
Grenadiers - 7 hits in open and 9 hits in cover (buildings only)

Having decided hills would not increase a units staying power. Any unit shooting down from a hill is allowed to re-roll one failed to hit dice. This deliberately helps artillery and skirmish type units more so than line infantry.

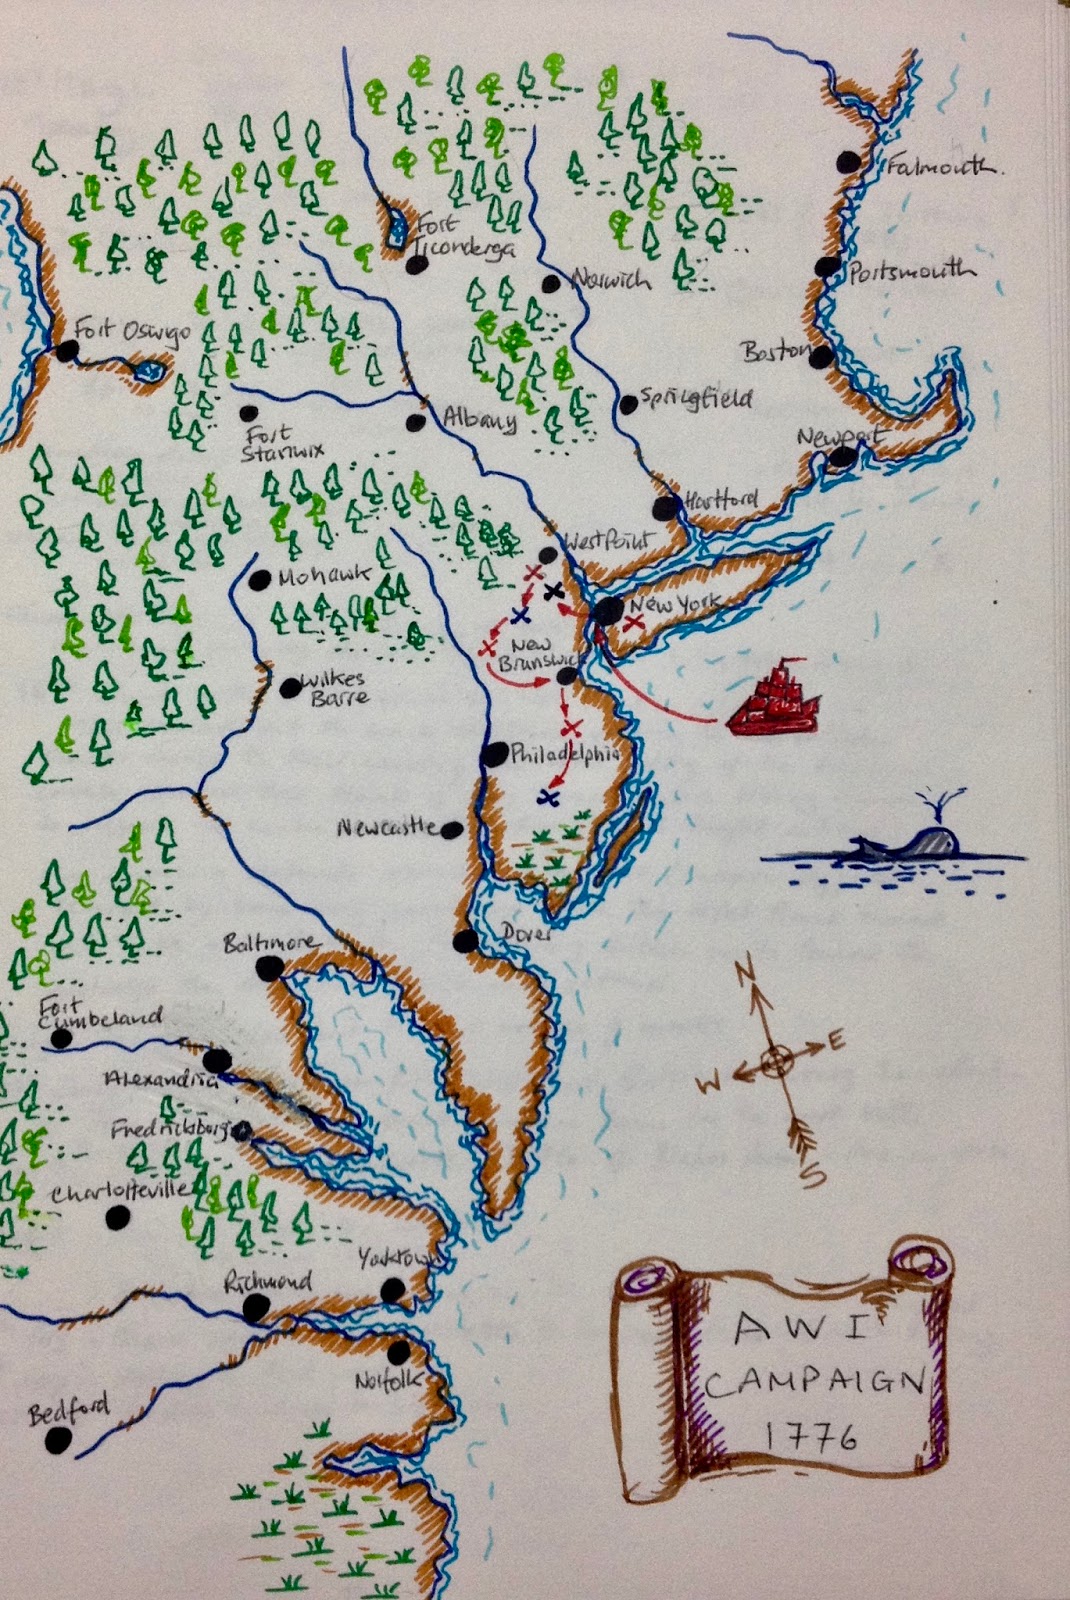
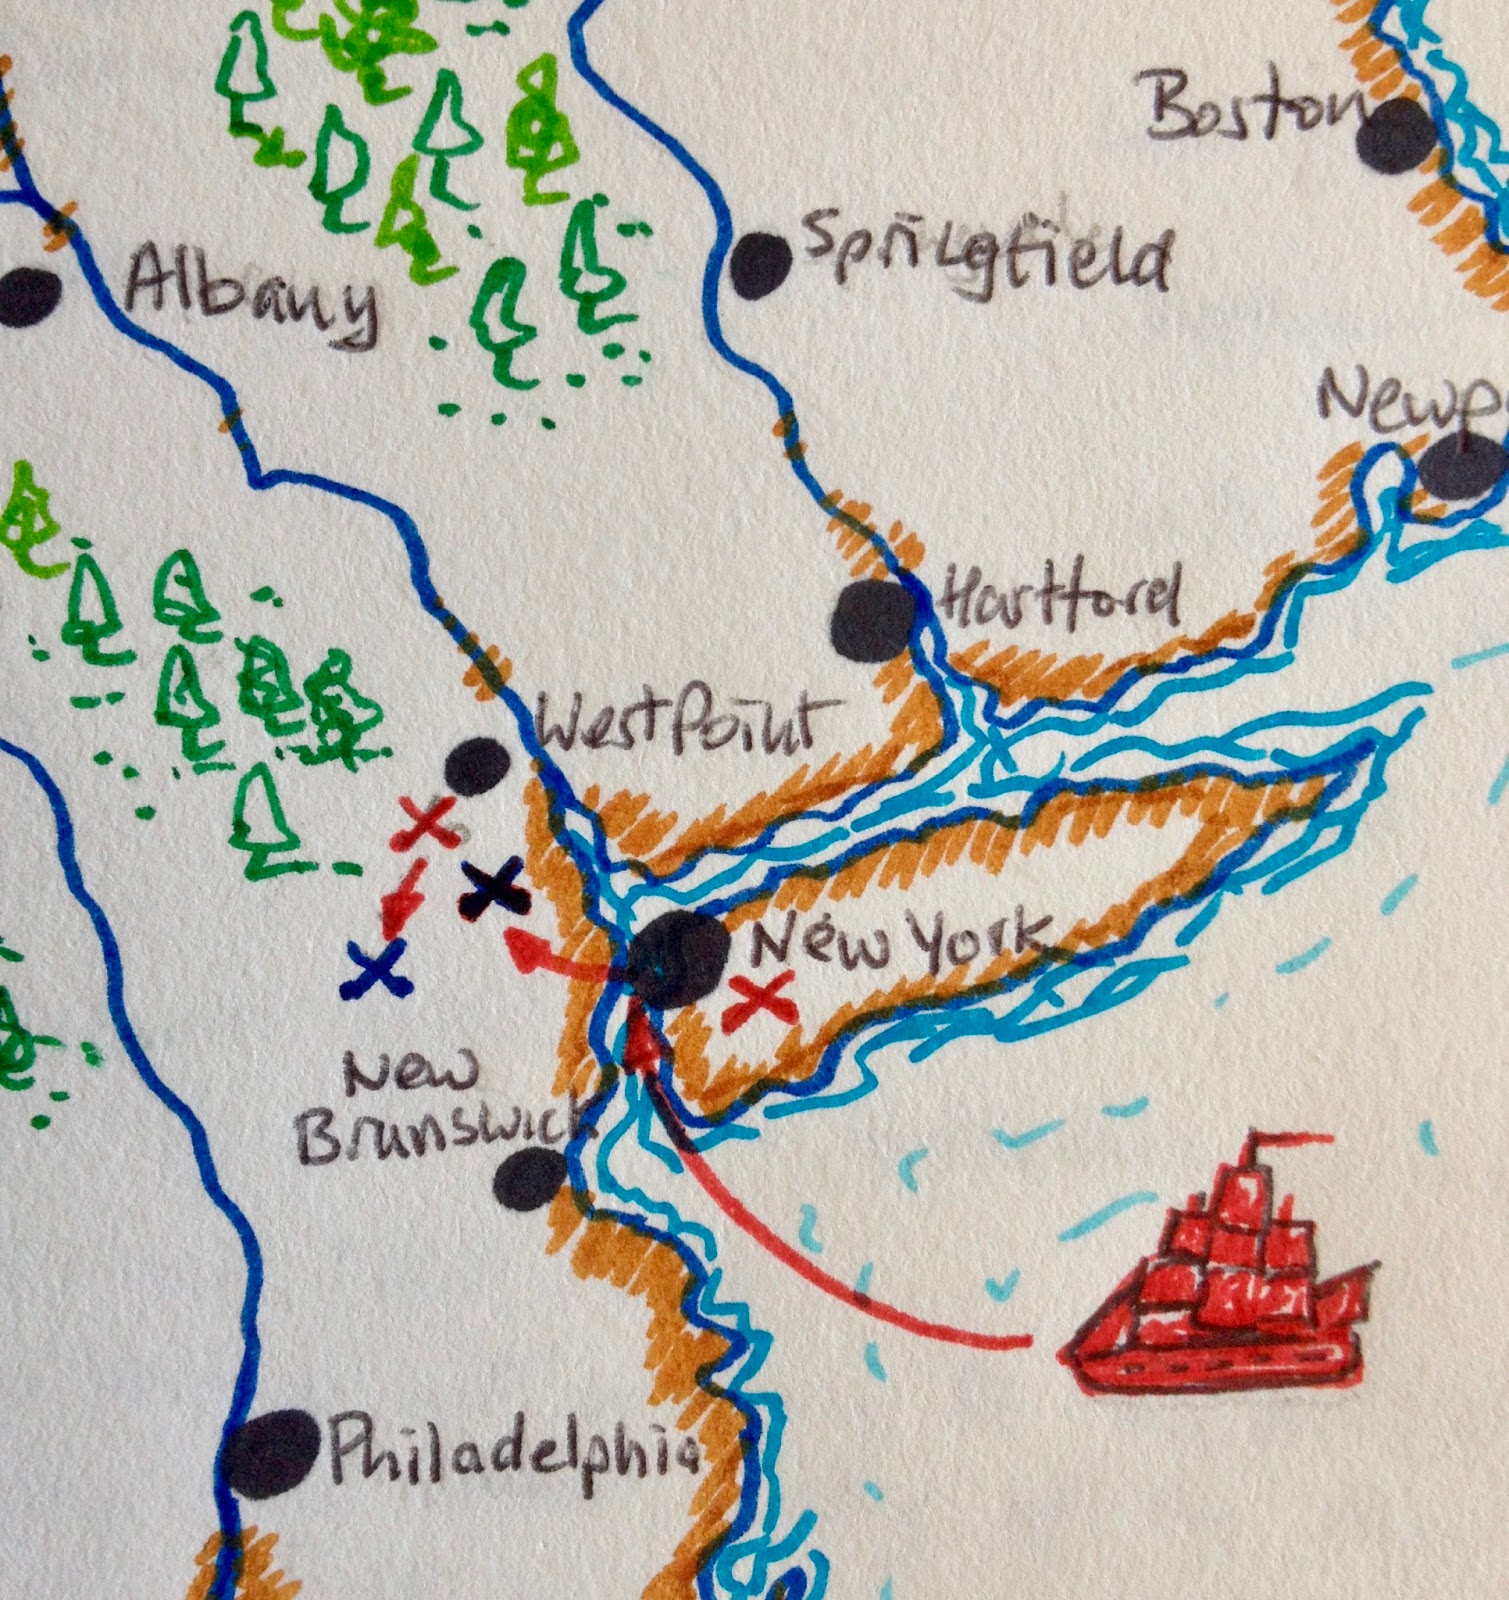
So on to the game - the battle of Reynold's Farm...

Turns 1 and 2
The American commander started the game with a resolve of 6 having gained 2 resolve points with holding the farm and one on the hills. American forces decided to hold the farm and nearby fields placing their militia units in fields to benefit with an increase staying power (6). Their other forces made a flanking move on the British left flank.

The British for their part quickly raced to hold the two hills to their centre and left flank. Gaining 2 commander resolve points (resolve = 6).

Note - hills and building squares when occupied increase a commanders resolve being key terrain features.

American forces deployed and in the background they start their flank move
Turns 3 and 4
The British force was surprised by the speed of the American flanking move and came under some ineffective fire from their artillery. The hill on their left flank was shaping up to be the crucible of the coming battle.

American forces can be seen moving up on the British left flank
Turns 5 and 6
British and American forces had deployed a good portion of their forces around the hill and were exchanging volleys of fire. While the British artillery were finally deployed.

Volleys being exchanged between sides
Turns 7 and 8
Units on both sides were suffering hits, but neither side had yet lost any units. While American artillery was focused on the hill, British artillery was firing upon their counterparts with a good level of accuracy delivering a number of hits.

The view of the battle from Reynold's farm
Turns 9 and 10
Both sides started to suffer unit casualties. The British losing a line infantry unit and the light infantry on their left flank. This quickly drew the cavalry reserve into the battle to shore up the left flank. The American forces lost an artillery unit and line infantry.

The commander resolve of both sides was reduced to 4 a piece. Note - commander resolve is reduced by one whenever one or more units are lost during a turn.

British cavalry move in to shore up their left flank
Turns 11 and 12
While American forces continued to be lost in the attack upon the hill, the British grenadiers were lost in its defence. Meanwhile on the left flank the remaining British forces had started to advance upon the farm buildings.

The American attack starts to wane as casualties take their toll
Turns 13 and 14
With the attack losing momentum and British advancing upon Reynold's farm, addition loses saw American command resolve reduced to 1. British resolve was only fractionally better sitting at 2, but their remaining units in better condition the tide of battle was now definitely in their favour.

The American attack finally crumbles
Turns 15
The American commander concedes and the remaining units retire.

The rule changes appear to work ok and need some more games to be tested, but they will remain for the present and will need to be written up. My next task in the coming weeks.


Friday, 25 November 2016

AWI Campaign - August 16th, 1776

As I work my way through a number of the battles in my American War of Independence campaign. I am making adjustments to various areas of the rules. The latest adjustment is to combat, shooting to be more precise, and the number of hits a unit can absorb before it is eliminated.
Getting ready for another game
When shooting units roll a number of dice (D6) depending the unit type and hitting on 4+.

Artillery, Light Infantry and Frontiersmen roll 1D6
Line Infantry and Militia roll 2D6
Grenadiers roll 3D6

Previously when a unit was in cover a 5+ was required instead of a 4+ to hit. The rule change will try the approach of always hitting on a 4+ regardless of cover and instead increase the number of hits a unit can take (absorb) when they are in cover. Once a unit has taken their limit of hits they are eliminated.

Militia - 4 hits in open and 6 hits in cover (Militia get cover when in fenced fields and buildings)
Artillery - 4 hits and 6 hits in cover (fortifications only)
Frontiersmen - 4 hits in the open and 6 hits in any cover
Cavalry - 5 hits
Light Infantry - 5 hits in open and 7 hits in any cover
Line Infantry - 6 hits in open and 7 in cover (buildings only)
Grenadiers - 7 hits in open and 8 hits in cover (buildings only)

This does mean units are required to remain in cover once they exceed the number of hits allowed outside of cover.

The intent of these rule modifications is to even up Militia and Line Infantry when there is cover available, and limit the effectiveness of skirmishing units (Light Infantry and Frontiersmen) out of cover to a role of harassment and delaying tactics.

Next game in the AWI campaign with Militia convieniently placed in fields
So I have the next campaign battle game lined up to try out this shooting rule approach.

Thursday, 17 November 2016

AWI Campaign - in a bit more detail

The AWI campaign is now moving into August and the British forces are making a second push on New Brunswick after suffereing a marginal defeat. From the rules perspective the first dice roll was for the weather. This produced a 6 - Rain!

April - June 1-4 clear, 5-6 rain
July - September 1-5 clear, 6 rain
October - December 1-4 clear 5-6 rain
January - March 1-2 clear, 3-4 rain, 5-6 snow

The impacts of weather are.

Clear - no impact
Rain - Remove one artillery unit and two other units of the players choice from the marching columns.
Snow - battle on 5+

The British Commander observes the gathering American troops

The next dice roll was to determine if there will be a battle in the first half of August. A 5 was rolled and so a battle there will be as a 4+ is required. A quick roll on a D20 provided the date, 12th August 1776.

The next step is to line up the forces into three columns and roll the dice for each column. The lowest scoring column does not make it to the battle. Any ties and the player chooses. The British go first as they are advancing and are followed by the American's.
British have 3 balanced columns. The centre column with the lowest score does not make it to the battle
The Americans take a slight gamble and stack their centre column. With the tied result they are able to choose the centre column.
Then the tabletop terrain was randomly generated and produced an interesting setup with one or two challenges. Whichever side wins the roll to layout their forces first, would get the advantage of quickly securing three terrain objectives (which are always hills and buildings). Taking objectives adds to the Commander's resolve score which during the game is whittled down by 1 each time they lose 1 or more units in a turn. I use this determine the winning side.

Dice generated terrain

The British score highest in the dice roll to pick the tabletop side and get to choose the side and layout their forces. This will possible compensate the advantage the Americans with having cavalry. In the next post I plan to do more of a battle report - I just need to play the game.

British forces march into place


Saturday, 12 November 2016

AWI campaign continues into July 1776

Following on from their victory at Barwon Hill, British forces marched on and secured West Point, resting up for a few weeks. From a campaign gaming point they failed to roll a 4+ for the first two weeks of July 1776 meaning no battle. They did successfully roll a 4+ for the second half of July as they marched on New Brunswick and were met by a defending American force on July 29th. Where the battle game of Blake's farm was fought out.

The A4 sized campaign map

The area of campaigning
Here are the only pictures I took of the game (a phone recharge was required) which saw an American victory.

British forces advance
The presence of American cavalry, while not that active in the battle itself they were able to tie down 2 British units to cover their flank. This along with a good defendable position allowed the defending American forces to weather the initial British attack and later successfully counter attack with their line infantry.

American forces meet the advancing British
The British command resolve at the end of the game was lower than the American commander so they retired from the field of battle. The commander resolve rule was introduced in the previous game. A commander loses a resolve point for each turn they have one or more units eliminated, and they gain one point when a terrain objective (hills or towns) is first occupied. The army with the better command control at game's end wins. From a campaign narrative point of view a one point difference is a marginal victory, two points a victory, and three points a major victory.

I may well introduce some campaign implications for the level of victory, but as this is a new rule mechanism I am still in a wait and see situation.

American forces quickly with draw and were to successfully defend their position
In this game I had made two changes to the house rules I use. The first was not all units are eliminated on the same number of hits. Now for example, militia can take up to 4 hits before elimination, regular troops 5 hits and grenadiers 6 hits.

The second change is in relation to the commander who, providing they are in an adjacent square, can attempt to rally one eliminated unit per turn. This is done by rolling one dice and scoring greater or equal to their maximum number of hits for the unit quality. So a militia unit having taken more than four hits would normally be eliminated, but if next to a commander can be rallied by the commander rolling 4+. If rallied they remain with 4 hits with the other hits being ignored.

I am using this approach to represent the different quality of troops and the ability for militia in particular, who fought in less rigid formations, to withdraw and reform.

Monday, 7 November 2016

AWI Campaign - June 1776

The Battle of Barwon Hill, 16th June 1776, occurred while British forces were making another attempt to cease West Point and encountered American forces. This battle turned out to be a marginal victory to the combined British and Hessian force.
The British assault on Barwon Hill begins
The British victory was mainly due to their cavalry who were able to successfully defend their flank, with the support of some light infantry, and defeat their counterparts before moving to support the centre attack on the hill.

After a series of hard fought actions the American defenders were forced to retire and let the hill fall into the hands of the British forces. While on the British right flank the American defenders were more successful and made the attacking British units to retire before they took unnecessary losses.

Heavy fighting for control of the hill
The start of the unsuccessful attack by the British right flank. Matchsticks are used to track hits
As I am progressing with this campaign I am taking the opportunity to fiddle around with areas of the rules the house rules I use (based on One Hour Wargame rules). One area of change, fiddling, or meddling is the combat phase. Originally, I had

  • Units in the open are hit on a 3+.
  • Units in cover (woods, towns or entrenched) are hit on a 5+.
  • When shooting at Cavalry a 5+ is required to hit.

The number or dice rolled depended on the type of unit. For example, skirmishers rolled 1 dice, line infantry 2 dice, artillery 1 dice, etc. The number of dice is rolled is doubled when attacking the rear or flank of a unit.

I have made two changes to: 1) slow down the effects of hits on units in the open, and 2) reduce the effectiveness of artillery at long range. Units now hit on a 4+ with the following modifiers:

  • -1 if in cover
  • -1 if target unit not in adjacent square (or more than 6 inches away).
The number of dice rolled by a unit remains unchanged. 

After more that six hits a unit is eliminated. Although I am now modifying this ever so slightly for the next game.

Wednesday, 2 November 2016

AWI campaign second game

Following their first victory of the campaign, 12th May 1776, British forces consolidated their New York base and started their move on to West Point. On the march they encountered an American force near Smith's creek.

Both forces had three columns which were diced for and the two highest scoring columns were available to deploy for battle. The terrain was then setup (all dice generated) and included a river due to the proximately of West Point to a river on the map. I made sure the river was fordable in a number of locations, otherwise the game would be over rather too quickly.

Opening moves of the game
The British quickly advanced on both flanks. A limited attack was made on Smith's farm to hold American forces there, while on the other flank their remaining forces crossed the river at various fordable places.
British forces push across the river
British forces were able to successfully cross the river and attempt to out flank American defenders. American second line reserves were quickly repositioned and used their cavalry to block the flanking move.

With American reserves committed to defending the attack on their left flank. British forces made a second attempt to take Smith's farm. While the Hessians successfully dislodged the defenders the last American reserve unit of skirmishers moved in to hold the farm.

Final moves of the game
The failure to occupy the farm and overall losses sustained meant the British commander's resolve failed and their forces retired. An American victory, they held a strong position by quickly moving on the two terrain objectives (the hill and farm) and then played a good defensive game.

Campaign map
The battle was duly noted on the campaign map. British forces are now regrouping before making their next march. Will they continue to push on West Point or redirect their march to New Brunswick?

For this game I used amended rules for combat, and also introducing a commander resolve factor which will be the determining factor for who wins the battle game. The resolve mechanism is adapted from the ruleset "The Age of Gunpowder" by Chipco which had a moral clock for an army.

The resolve factor is set at the beginning of the game, at present I am going with 5 which over the course of the game generally goes down, but on occasion can be increased with the capture of terrain objectives. At the end of each turn the player who has lost the most units during the turn loses one resolve point. Where both sides have lost the same number of units neither lose any points. When a commander has zero resolve points the game is lost.

A commander can gain 1 resolve point if during a turn their forces occupy any terrain objective. However, they may never exceed 6 resolve points, so a quick occupation of terrain objectives early in the game, while useful to deny the enemy will only get them 1 point (assuming there are no unit losses).

Sunday, 3 January 2016

Planning a mini campaign and AWI battle

While I’m reasonably happy with my SciFi house rules (based on One Hour Wargame format) they are not on a gridded table. So I will be continuing to play with the non-gridded rules while thinking about how to convert them to a 12” grid to fit in with my existing SciFi terrain and table.

A couple of posts back I mentioned I had read “The Solo Wargaming Guide” and now want to set up a mini-campaign. I tried a solo campaign back in May 2015 (see featured post) which was a simple ladder campaign which worked out well. I now want to plan something similar between Space Marines and Imperial Guard vs. Necrons, but I want to add I little bit more variety with the types of battles. The campaign ideas in "Operation B WW2 rules" by Old Trousers (link to blog here) look pretty nifty in the way it uses the one-hour war-game scenarios and will provide the variety I'm looking for. I just need to do a little bit of work creating a campaign narrative to a galaxy in the grim dark future.

When selecting the forces for a campaign battle I be using the following steps.

  1. Both sides select 12 units (troops, non-troops and characters)
  2. Roll an average dice (2,3,3,4,4,5) and add 5 to determine the number of units to be involved in the battle
  3. Based upon the commanders capability (poor, average, good) a number of units can be guaranteed to be part of the battle (poor selects 1, average 2 and good 3). Set the selected units aside.
  4. Use a deck of playing cards to determine which of the remaining units are to be used up to the number determined in step 2 (including those units set aside by the commander). If 5 units are to be selected from 8 units, select 5 red and 3 black cards from the deck, shuffle and assign to the 8 units. Those with red get to the battle in time.
Of the remaining units the commander can select 1 to be emergency reserves which can be called upon should to swing the battle in their favour. The use of emergency reserves can only be called upon once during the campaign.

I'll be writing more on this in the coming weeks as I progress.

American War of Independence Game

Yesterday I managed to squeeze in an AWI game. No real planning behind the game, other than the American commander was asked to defend both the town and hill. Two sets of entrenchments were available on the hill to help with the defence.

The British Arrive
The American line was spread too thin with no reserves to support the centre. Not that I spotted this when setting them up. The British attacked the centre of the line and after a few turns and losses on each side, the American forces were split in two, those defending the town and the rest static on the hill. (The rules require units in entrenchments to remain static.) 
British advance on centre of American line
The small wood on the British left flank defended by some light infantry was enough to hold off an attempted flanking attack by American skirmish units supported by cavalry.

British troops breakthrough the centre - splitting the American line
With taking hold of the centre British forces were able to assault the hill from the flank, while bombarding the town with their artillery. The American commander chose to retire at this point to avoid further losses.
Grenadiers supported by light infantry assault the hill defences
The restricted movement of line infantry and command ranges make it essential to give more thought to the initial set up of forces. Something I didn't do when setting up the game. Having had a break from AWI gaming I was able to re-read the rules with a fresh pair of eyes. I noted down a number of typo and grammar errors, but no real rule changes. I have updated the rules with the corrections I spotted and reloaded them (link at top right of blog page).


Monday, 28 December 2015

AWI One-Hour Wargame Rules

Over Christmas I found time to write up some AWI house rules based on the Horse and Musket Age Wargaming rules from the book “One-Hour Wargames” by Neil Thomas. There are other ideas included, such as: command ideas from Volley and Bayonet, and combat mechanics from the blogs The Stronghold Rebuilt (GNW rules) and John's Wargames Page (combat mechanic options). 

The game is played on a 6" square gridded war-game table. I tend to use a 6' x 4' table with 8 to 15 units depending on the size of game wanted. With fewer units I reduce the table to a 4' x 4' area.

I have added the draft rule write up (5 pages) to my rules page (Rules Page - click here or  the link at top right of page). Based on previous experience I will be modifying these over the next couple of months with clarifications and removing typos. I am a solo wargamer and it can take a while knock rules into shape. I lack that independent view and input of different ideas. Anyway, here are a couple of ideas introduced to the OHW AWI rule format.


Command Ideas
Units can only move if they are within 2 squares of their commander at the start of their move, or are moving as part of a line which has units within the 2 square command range of their commander.
Command range for movement
The dotted line shows the 2 squares from the commanding officer (CO). Unit C is outside of the command range and cannot move. Units A and B are able to move as they are part of a line and are performing the same move as units within command range.

The use of command ranges places the reliance on linear formations to move units and reflects some of the difficulty in coordinating movement often in difficult terrain.
The command range does not restrict combat as those decisions left more to the units commander.
Moral
Moral checks occur whenever a 6 is rolled when shooting or for cavalry charges. Only one moral check is taken for any attack regardless of the number of 6’s rolled.
Roll 1D6 with the following modifiers:
+1 if in cover
-1 if skirmishers
-1 if militia
A score of 2+ and the unit stands. Otherwise, the unit retreats directly away 1 square and takes 1 hit. If the unit’s retreat is blocked by a friendly unit, then retire behind them and the blocking unit also takes 1 hit.
If a units retreat is blocked by an enemy unit it is eliminated.
Other stuff....
At Christmas one wargaming present was the book "The Solo Wargaming Guide". I have quickly read this and really enjoyed it. It is geared towards solo campaigning and has many good ideas in its 120 pages. I am now enthused in the new year to do some small campaigns to add some context to my games.