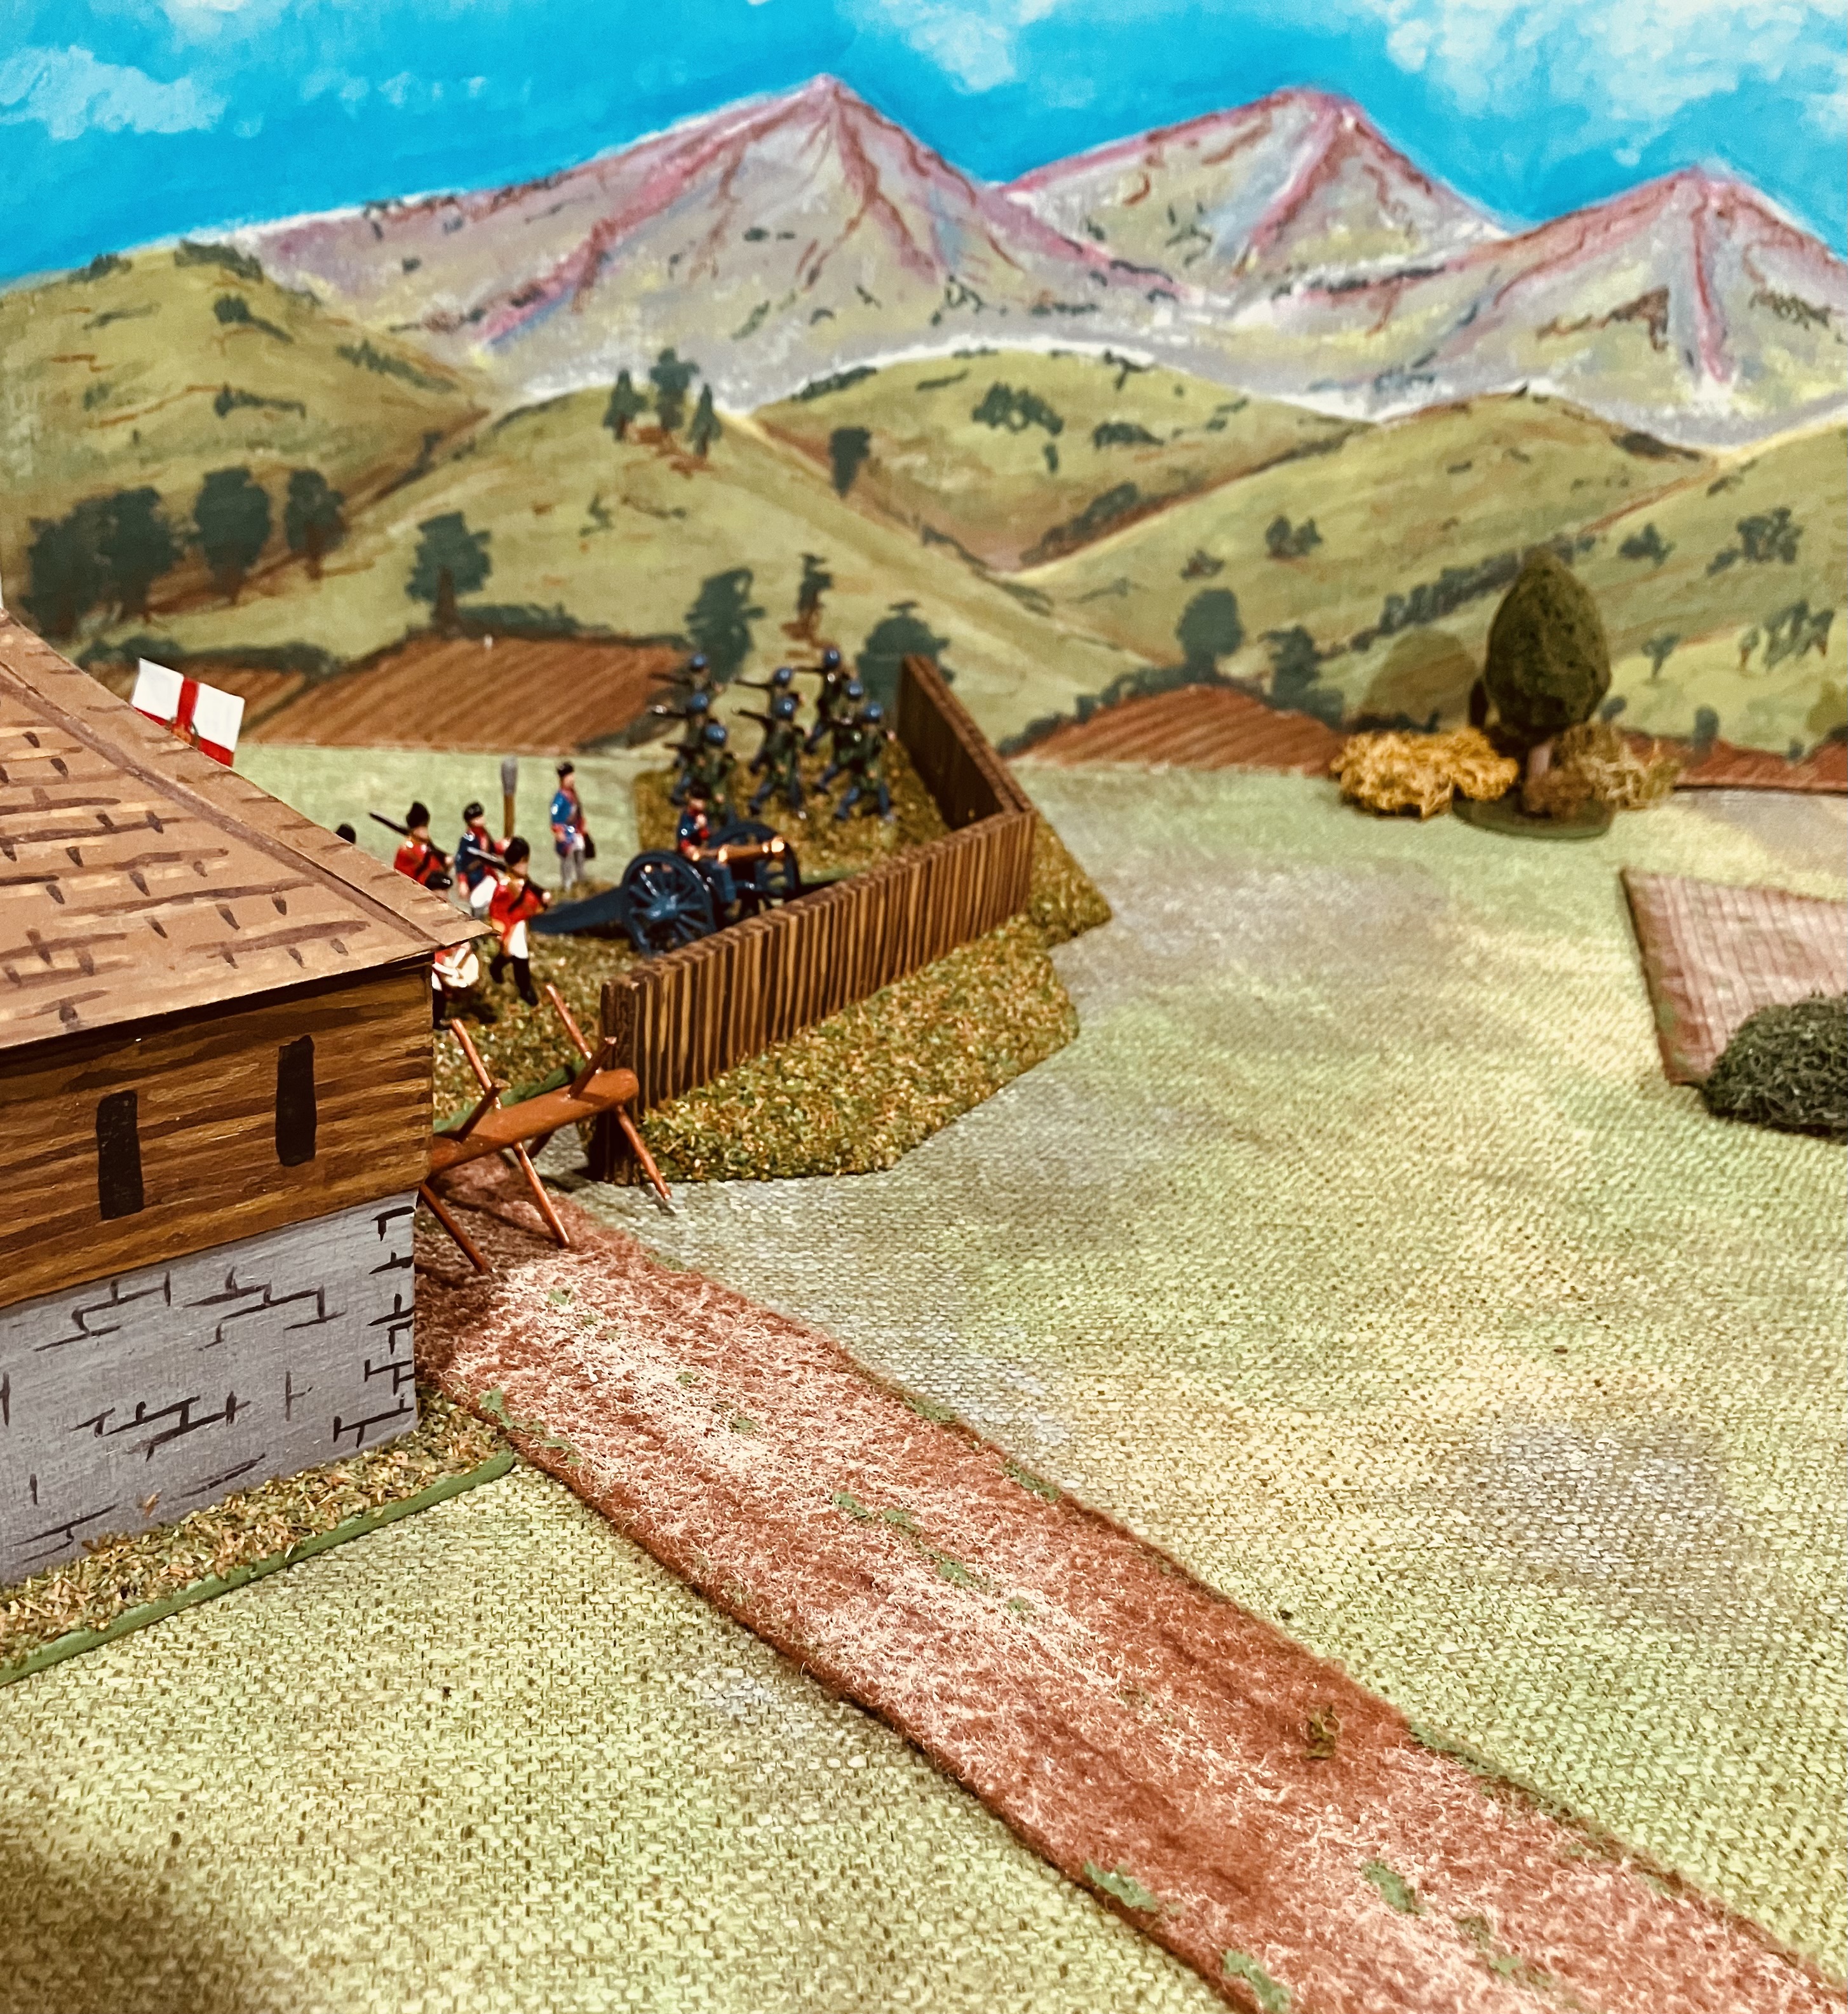
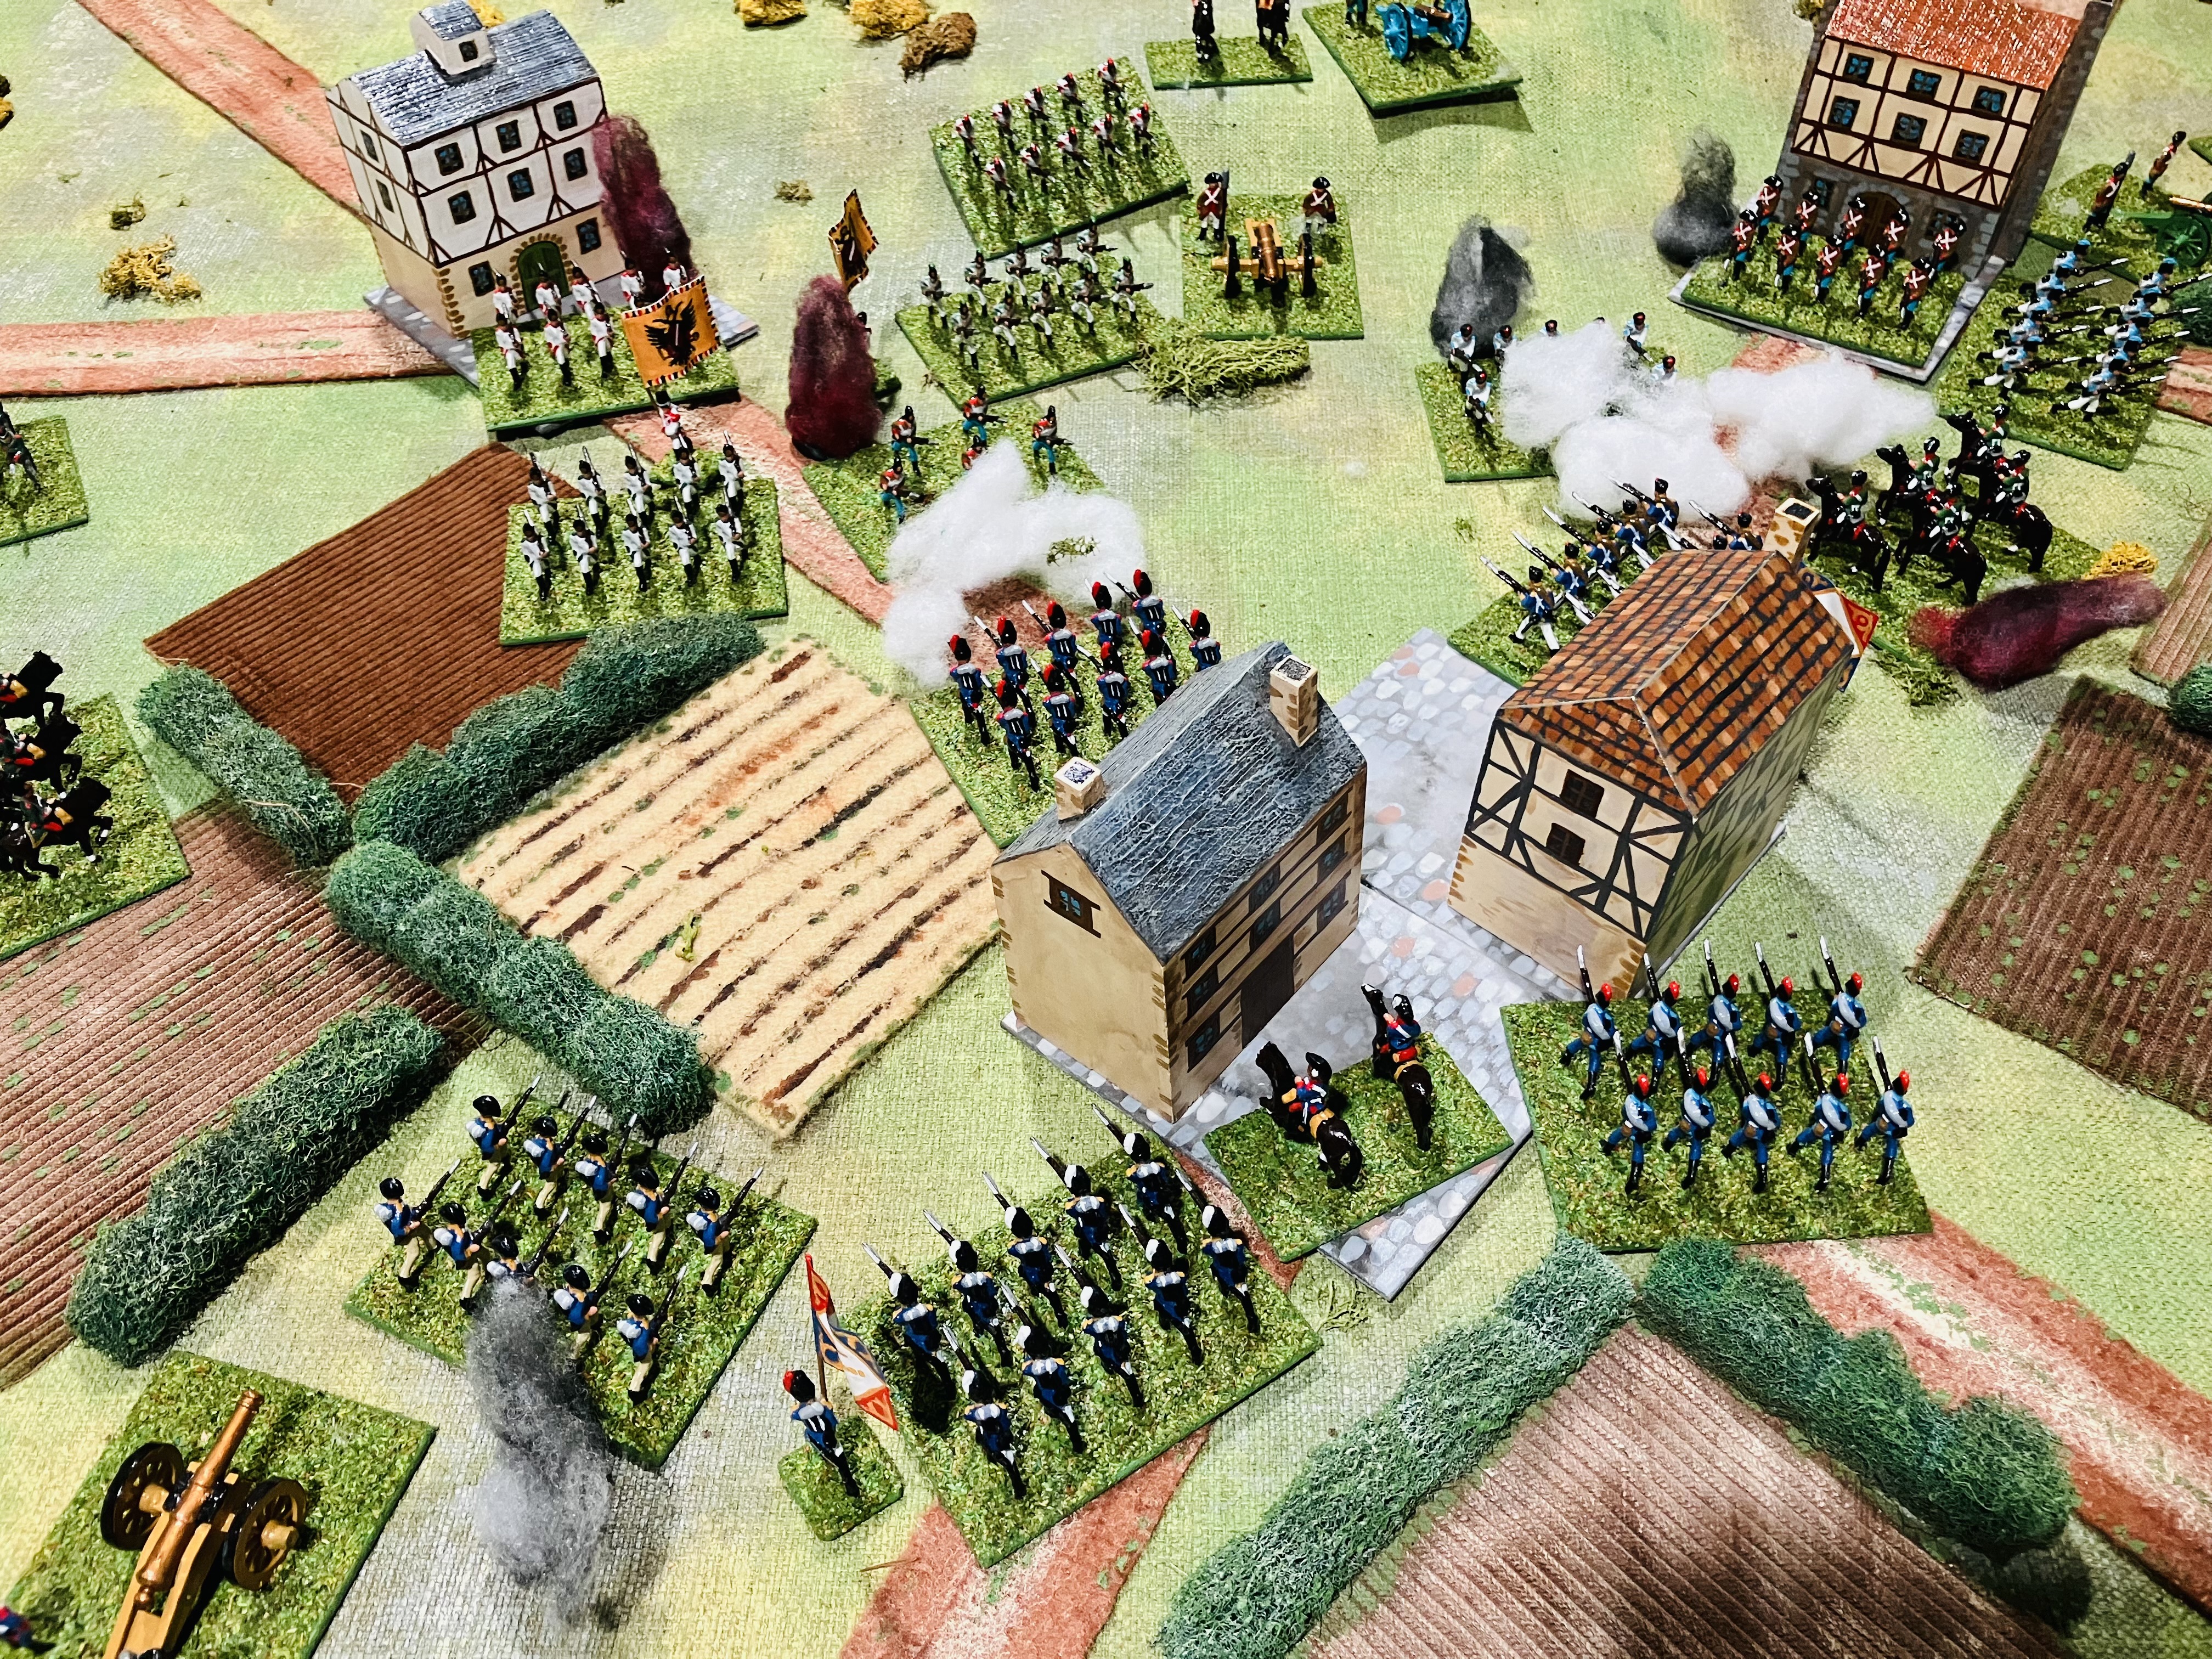
Showing posts with label Spencer-Smith. Show all posts

Wednesday, 12 March 2025

French and Indian War Campaign - Game 1

This is a report on the first game of my French and Indian War (FIW) campaign. The scenario is based on One-Hour Wargames (OHW) book scenario number 19 (A Blow from the Rear) modified to include an amphibious landing.

All the figures are used in the game are old plastic Spencer Smith miniatures. Some have been converted to wear round felt hats and bonnets, and there are also a few of their American Civil War miniatures converted. They are all simply painted with a gloss finish. 

The rules used are a variation of the OHW Horse and Musket rules and the chance cards.

Some of the troops in action.

Background

General William Colchester has been tasked with leading an attack on Fort Orleans. His forces have been recently reinforced and he also has the support of a Royal Navy ship. He plans to advance up the coast, using naval support to conduct amphibious landings where possible and lay siege to Fort Orleans.

French General Lucien Duvall is aware of the British troop buildup to the south, but unaware of their naval support. He has positioned part of his army near the settlement of St. Paul in the hope to delay any British advance along the coast. His goal is to buy time so he can prepare Fort Robert which has fallen into disrepair.

Details on how the campaign was set up can be found here.

The campaign map showing the British plan.

A close up of scenario from the campaign map.

The British intend to launch their campaign by attempting to cross the river near the settlement of St. Paul. With naval support, they plan to land half their force on the French left. Their objective is to secure and control both river crossings. This will allow them to continue their quick advance along the coast and get to Fort Robert before the French can fully reinforce and prepare the fort. Failure to do so will force them to march inland, exposing them to the risk of a French counterattack with their Indian allies.

Order of Battle

French

Positioned at the settlement of St. Paul:

  • 1 x Gun
  • 3 x Indian Warriors

Positioned along the river at the two crossings:

  • 5 x Line Infantry
  • 3 x Militia
  • 1 x Trusted Officer
  • 1 x Commander

British

Landing Party:

  • 1 x Gun
  • 5 x Line Infantry
  • 1 x Trusted Officer

Main Force:

  • 2 x Line Infantry
  • 4 x Militia
  • 1 x Commander

Special Rules

  1. French reserves positioned at the settlement cannot be activated until turn 7.
  2. French units may not cross the river.
  3. British land party arrives on turn 6 and can only land 3 units per turn.

Other Notes

  • A trusted officer is assigned to a unit and must remain with them for the duration of the game. They improve the unit's combat capability. 
  • A commander can join and leave units. When attached to a unit the unit reduces the number of hits from combat.
  • When attached to a unit, any enemy combat dice rolls that have a natural 6 will remove the trusted officer or commander.

Victory Conditions

The British must control both river crossings with no French within 6 inches of them at the end of the game.

The tabletop setup. The two river crossings are circled and the red arrows shows where the British advance and land.

Game Report

The British main force, led by their commander, advanced toward the left-hand bridge, where they soon encountered French militia and a unit of regulars under the command of a trusted officer. Musket fire quickly erupts across the river. The French militia are holding their ground, refusing to be easily driven back.

The main British force arrives and is soon engaged by the French defenders.

Soon a British naval ship appeared off the coast, and its landing party quickly came ashore. This caught the French by surprise as a British force has a beachhead to the French rear. Meanwhile, the main British force was beginning to gain the upper hand against the French militia at the other upstream river crossing.

The British begin their landings.

The main British force is starting to get the upper hand.

In response to the British landing, the French forces stationed near the second river crossing downstream swiftly turned to face the new threat. At the river crossing upstream, the French had suffered heavy casualties, with some units routing. Despite this, the regular infantry, led by their trusted officer, continued to hold the main British force at bay, refusing to give ground.

The French have about faced and move to engage the British landing party.

The French gallantly hold on at the river crossing.

The landing party is soon engaged.

Somewhat belatedly the French reserves began to move towards the action, and their artillery was quickly positioned to target the British landing party. The gallant French unit was still holding back the main British advance at the river crossing, hoping desperately their reserves would arrive. With their primary force stalled, the British seized the opportunity to send a militia unit toward the downstream crossing in an attempt to outflank the French defenders.

French reinforcements start to arrive.

The landing party is engaged.

A unit of British militia can be seen moving to the river crossing downstream. 

The British landing party, supported by their gun, began to gain the upper hand against the French defenders. A series of musket volleys and canister fire had struck with deadly accuracy, forcing the beleaguered French units to break and retreat into the woods for safety.

The French defenders are struggling under some withering British volleys.

The lone militia units is almost at the second and undefended river crossing.

The French reinforcements, primarily composed of Indian warriors, arrived too late to turn the tide of the battle. Despite making several brave charges and routing a few British units, the battle was lost and the remaining French units were forced to retire, leaving both river crossings firmly in British hands.

British forces gain the upper hand at both river crossings.

Summary

A British victory. From a campaign perspective, this will allow them to continue their march along the coast towards Fort Robert.

While the British victory was no walkover, I could have made things much more difficult for them had I concentrated the majority of the French forces on the river crossing furthest from the coastline. This approach would have delayed the British landing force involvement fas they marched to the upstream crossing, and their flank would have exposed to the French reinforcements coming from the settlement.

This game provided the opportunity to use my scratch built ship and landing boats. It is always fun getting newly completed models into a game.

Wednesday, 5 February 2025

A surprise package and some horse models

Today, I received a package in the mail containing some plastic Spencer Smith Hussars. They were a generous gift from Neil of the aufklarungsabteilung.blogspot, who reached out after I mentioned in a recent post needing to use some 28mm Hussar figures having run out of Spencer Smith Hussars (see here). He had some spare and kindly offered to send them my way, an offer I gladly accepted. These will be soon moving up the painting queue! 

New recruits.

At the moment, my painting table is occupied by a scratch-built two-dimensional ship and a couple of boats for my French and Indian War (FIW) games, where I’m adding an amphibious element. More on them in the next post.

A recent purchase to be used for some more carts, wagons, and limbers.

Additionally, I bought some horse models to build more wagons and artillery limbers, continuing on from my recent scratch-building efforts to add carts to my FIW armies (see here).

Finally, some photos of an English Civil War game…

The tabletop all laid out ready for a game.

A view of the infantry all lined up.

The cavalry stand ready.


Sunday, 26 January 2025

French and Indian War convoy scenario

Having recently completing two scratch-built supply carts for my French and Indian War forces (see previous post), I was keen to see them in action on the tabletop. This post outlines the game setting and order of battle, while the next post will have the game report. The game scenario is inspired by two sources: 

  • “Convoy (1) Wagon Train” from “Scenarios for Wargamers” by C.S. Grant and 
  • “Scenario 25: Infiltration” from “One-Hour Wargames” by Neil Thomas.

Supply carts on the move.

Background

A guarded supply convoy has been sent to deliver much needed supplies to a fort. On the march the convoy has spotted enemy forces and expect an attack before they reach the fort.

Map of the tabletop.

Forces

British forces in the fort. 1 unit can leave the fort on turn 6.

  • 1 Militia Unit
  • 1 Gun
  • 1 Regular Unit

British Convoy

  • 3 Militia Units
  • 3 Regular Units
  • 2 Carts

French Blocking force

  • 2 Indian units

French northern reinforcements arriving turn 3

  • 2 Indian units
  • 2 Militia unit

French southern reinforcements arriving turn 6

  • 3 Regular units

Special Rules

The convoy carts can be captured or destroyed if a French unit makes contact with them and no British unit is within 3 inches of the cart.

Victory Conditions

The British forces achieve victory by escorting both convoy carts to the fort, while the French forces win by capturing or destroying both carts. Anything else is a draw.

Fort awaiting supplies.

Tabletop setup with convoy arriving.


Monday, 20 January 2025

Scratch building some supply carts

I plan to set up a small campaign for the French and Indian War (FIW) in the near future. As I don't have any supply carts, I decided to scratch-build some for my armies. I used to have some spare plastic cart wheels stored away, but over time they became brittle. I considered buying replacements, but they would take time to arrive, so I chose to make my own by making a mould from one of the broken wheels. Nothing fancy, just something basic that resembles a wheel on one side and can be attached to scrap wood shaped to look like carts. I used a polymer clay to make the wheels which stays flexible until baked in the oven to harden, after which it can be sanded and painted.

A completed supply cart.

To create the wheels, I began by making a simple mould using Milliput epoxy putty. I pressed the broken wheel into the putty to form the shape. Since the putty takes overnight to set, I had plenty of time to widen the spokes, make gaps for the missing ones, and make sure everything looked ok.

A mould is made from Milliput using a broken wheel.

The next steps involved pressing the polymer clay into the hardened mould and cleaning up the wheel ready for baking.
  1. Lightly dusted the mould with talcum powder.  
  2. Soften the clay by working it until it becomes malleable, then pressed it into the mould.  
  3. Carefully removed the clay from the mould.  
  4. Trimmed off any excess around the edges.  
  5. Straighten the spokes and ensure the wheel is circular (as it does become slightly misshapen during removal from the mould).
  6. Baked the clay in the oven to harden.  
  7. Once hardened, the wheel is sanded for a smooth finish.  
I chose polymer clay over epoxy putty because it's easier to handle and doesn't stick to surfaces as much.

The polymer clay is pressed into the mould.

The clay comes out of the mould slightly misshaped, but this is sorted out later.

The excess clay is trimmed off.

Spokes are straighten and the wheel made circular with modelling tools. 

After baking, the set wheels are sanded.

The cart is made from a piece of wood sawed into shape, with additional items like a canopy or a variety of bits added to represent barrels and crates. The horse an unused cavalry horse from a kit, with its saddle filed off and a collar made from Green Stuff.

Bits of balsa and beads are added for the stores.

A horse and handler are prepared.

While the painting is very simple, I do paint on a few highlights, especially the spokes. A final coat of gloss hides the many imperfections. 

Now the carts are made. I plan to make a ship and some boats for some amphibious scenarios.

The carts can be used by either army.


Wednesday, 15 January 2025

Blurring the Detail

I have a collection of 30mm Spencer Smith Napoleonic plastic figures the bulk of which were gifted to me by a very generous wargamer back in 2017. I really liked the look of the figures and soon had a couple of small OHW type armies painted up. I had opted to paint them with a simple toy soldier style with a gloss finish as it seemed to suit the figures. Their uniforms only bear a slight resemblance to those of the period, as I selected uniforms online which I liked and then painted something similar. Very reckless! 

Anyway, since then I have been able to add to the armies with a few purchases and added in a few plastic Seven Years War (SYW) and converted American Civil war (ACW) figures.

Plastic Hussars from the SYW range. I really like the movement in these miniatures.

Some converted ACW figures

There are still gaps in my Napoleonic armies, with some areas feeling understrength, for example a lack of Hussars. I currently only have one unit of SYW Hussars and just three spare miniatures, too few to complete a full unit of five. Since the chances of me finding more Spencer Smith Napoleonic plastic figures are increasingly remote, as a search eBay again, I decided to see if some 28mm plastic figures would suit to fill out the gaps in my armies.

A game in progress.

The local hobby shop had a pack of 28mm French Hussars by Warlord Games. I suspected the new figures would be chunkier and more detailed compared to the slender 30mm Spencer Smiths. They turned out to be not only chunkier and detailed, as expected, but also taller. That is scale creep for you!

Undeterred, I went ahead and glued the figures together. In an effort to help them blend in with the Spencer Smiths, which are not highly detailed miniatures, I filed down some of their prominent details, then went about blurring the remaining details on the model by applying a mix of gesso primer and PVA glue. This gluggy mixture fills in smaller areas and crevices to create a smoother surface. Once everything is dry, I started the painting with a simple, glossy toy soldier style to fit in with the painting approach used for the Spencer Smith figures.

The completed Hussars.

A side on comparison between the old and new Hussars.

A view head on.

One other pack of figures I purchased was some 28mm Prussian infantry marching manufactured by HAT. While not as detailed at the Hussars, they still got the blurring of detail treatment of Gesso primer and PVA glue. 

HAT 28mm marching figures.

Comparison to Spencer Smiths on the left, HAT on the right.

On the tabletop the new figures look fine, particularly the HAT infantry, they fit in very well. With one more Hussar unit to paint and two more infantry units, I am now eyeing up some additional artillery.

Saturday, 21 December 2024

First game in the new wargames room

After setting up the wargame room, finishing the unpacking, and reorganizing everything, I was finally ready for a game. The question was: which period to choose? In the end, I decided on a French and Indian War game using some old plastic Spencer Smith figures. When I unpacked them, I realised it had been many years since they last saw action on the tabletop. The tabletop was prepared for the Battle of the Monongahela River, fought on July 9, 1755, using a scenario from C.F. Wesencraft’s book "Seven Steps to Freedom".

Old Spencer-Smith miniatures finally in the tabletop again after many years.

Background

The battle was an early encounter in the French and Indian War (1754–1763). General Braddock commanded a British force of around 1,300 regulars and militia and led an expedition to seize Fort Duquesne from the French. However, his troops were about to be ambush by a smaller force of approximately 900 French and allied Native American warriors led by Captain de Beaujeu.

Tabletop Setup

The Monongahela River borders one side of the battlefield, with British units beginning to arrive on Turn 2, crossing at the ford. The French, however, have the advantage of arriving first, entering from the opposite end of the tabletop on Turn 1 and without the obstacle of a river crossing. The majority of the battlefield is covered in woods, with a road (or track) cutting diagonally across the terrain. 

The British must move along the road until attacked or they spot an enemy unit.

The French arrive on turn 1 (blue arrow) while the British force arrives on turn 2 (red arrow)

Order of Battle

French

  • 2 Line Infantry units
  • 4 Warrior units

British

  • 5 Line Infantry units
  • 3 Militia units
  • 2 Gun units

The Game

The French swiftly advance along the road and across the open ground before moving into the woods on either side of the road. Meanwhile, the British progress is delayed by the challenge of crossing the river. As the British units move along the road, their leading unit comes under fire and is soon routed by a charge from one of the warrior units.

French units advance quickly along the road and the open ground before positioning themselves either side of the road ready for an ambush. 

Led British units come under fire and one unit is routed by a charging warrior unit.

As additional British units arrived, rough battle lines began to take shape, with British artillery positioned in the centre to provide supporting fire. On the right flank, the British line infantry managed to repel the Warrior units threatening their position with a series of well-aimed volleys. Meanwhile, on the left flank, British militia units started advancing along the river.

French line infantry join the battle.

General Braddock is lost as the British try to regroup.

Along the road, the British struggled to maintain their line as both French line infantry units moved into position, adding their weight to the battle. The situation worsened when General Braddock was lost, caught in the rout of a unit he was leading. Despite this setback, the remaining British forces, supported by their artillery, managed to retire in good order and form a defensive line. While the French had yet to lose any units, several were significantly weakened by the engagement and unable to continue their attacks. Nevertheless, their smaller force had successfully ambushed and halted the advance of the larger British force.

French line infantry advance and threaten the British centre.

A ground level view of the battle.

The British finally form a defensive line and avoid a full rout.

Summary

The game was undoubtedly a French victory, with support from their allied Native American warriors. The British force was left incapable of advancing and additionally had lost their commander. 

Historically, the British suffered heavy losses, with nearly 1,000 men, including many officers, killed or wounded, and their artillery abandoned. During the battle, Captain de Beaujeu was killed, while General Braddock was mortally wounded and succumbed to his injuries a few days later.