Showing posts with label Wooden Ships. Show all posts

Saturday, 8 February 2025

French and Indian War ship and landing boats

As part of my preparations for a French and Indian War (FIW) campaign, I have made a two-dimensional ship using leftover MDF sheets from a shelving project. I cut the basic hull shape from two MDF pieces and glued them together. After attaching the masts, I cut out some furled sails from a thin 3mm MDF board, which I typically use for model bases. Finally, I painted the ship.

A landing party.

The ship was intentionally designed in two dimensions (or perhaps 2.5, as it has some depth) to keep to a minimum the tabletop space occupied by a river or the sea in any given scenario. So the model had to fit on a 6-inch strip of blue felt without looking like it had become beached. After completing the ship, I thought it would add to the look by adding a couple of landing boats. The same space constraints applied, the boats were also kept relatively flat and were also scaled down for perspective.

Additional troops are brought ashore.

To create the landing boats, I took a screenshot from a painting titled “The Taking of Quebec” from the National Army Museum's online collection. I focused in on one of the boats unloading troops in the picture. Then imported the image into Google Slides, made a copy and flipped it, before aligning the two halves in a mirror image.

The two halves of the same picture lined up as mirror images.

The image is then folded and sandwiched around some thin card.

After printing, I folded the images and glued them around a piece of cardboard to add strength. Once the glue was dry, I trimmed around the image and attached two 3mm MDF pieces to either side, shaping them to match the boat.

After cutting out the image. Two bits of 3mm MDF were cut and shaped to match the boat. Very fiddly!

It was tempting to leave the boat as just a printed image, but my printer is not that good at printing colour, it all looks a bit faded. So, I decided to brighten up the crew with some paint, almost like colouring by numbers, but in a loose painting style.

A comparison between the painted and printed versions.

The final steps involved using a grey felt-tip pen to go around the edges so they were not white and tidy up any rough areas of the painting. I then added some round plastic rods for the oars and applied a layer of PVA glue to seal everything and give it a nice glossy finish.

Some final touches and oars were added.

Landing parties being taken ashore.

I might use the ship and boats in a scenario before starting the campaign.

Wednesday, 29 January 2020

Landing craft production in full swing

Having recently completed a commando raid game of St. Nazaire. It got me thinking about a D-Day style game and this idea was soon reenforced after re-reading Chapter 28 "Landing in Force" from War Game Campaigns (Donald Featherstone) and Chapter 8 "Disaster at D-Day - and other big games" from Operation Warboard (Gavin Lyall). However, I lacked any landing craft to undertake a game of this sort, and decided to take a similar approach to the St. Nazaire game by using bits of wood and MDF board to create some very basic landing craft.

The landing craft themselves are constructed by cutting a 42mm x 30mm wood to shape with one end angled, adding MDF board on top and for the ramp, and finally adding a pilot house made from some 10mm x 20mm wooden dowel.

The models are painted grey and receive a light sanding to remove any obvious rough areas of wood grain.
Once all the bits were cut out (and I included a gun emplacement) they were such together using PVC wood glue. The wooded models were given a coat of grey and lightly sanded once dry. Then the major details were painted. As you can see from the photos the cargo bays are painted black to give the impression of a cargo area when the models have none to simplify their construction.

Rather than building models with a cargo bay. The bay area is represented by painting them black.
Using the same chalk pastel approach I did with the St. Nazaire models. A light shading of black and blue was drawn over the grey paint before using a light grey pastel to blur and blend in some of the blues and blacks. A white pastel was used to highlight the landing craft edges and corners. Finally, a light shading of dark brown and dark green was used to soften the black representing the cargo bay.

A coat of PVA glue is applied to seal the pastel colours
The finished product made from 4 bits (2 bits of MDF board and 2 bits of wood)
I now need to plan a series of games with some paratroopers capturing a bridge to delay reinforcements, a beach landing, a counter attack, and maybe a final breakout game assuming the landings are successful.

Here are a few photos of the landing craft on the tabletop to show off the models and how the beach landing game may look.


Sunday, 18 November 2018

Wooden (MDF) ships of the line

This weekend has been one focussed on modelling as it was some nice to be outside (and it was dusty modelling work). My next English Civil War campaign will have to wait until tonight.

Back to the modelling. A couple of months ago I bought Naval Wargames by Donald Featherstone, a bit of an opportunistic buy, and it is one of those books where I enjoy reading the odd chapter here and there and looking at the various old black and white photos. Anyway, as I have been adding a few units to my Spencer Smith Napoleonic armies I though it would be quite useful to add some ships for a future campaign. One of the photos in the book was of some home cast flat ships of the Napoleonic period.

Now I do not have any casting experience (yet) but do have a bit of modelling with balsa wood, MDF and cardboard. So with that in mind I thought I would attempt to create a semi-flat ship inspired by the original photo.

Finished MDF ship
The inspiration from Naval Wargames
The following are a series photos going through the process for creating wooden ships.

First I cut out a couple of cardboard templated 
Not a good photo of the MDF with outline to be cut out, but the templates help creating consistency between models 
Using a jig-saw I cut out the ship centre.
Next I cut out bits to show the rigging and make the two side bits for the hull. Using the templates again to mark out the hull pieces ignore the rigging.
The two hull pieces are stuck on.
Everything gets sanded and the bow and stern are shaped. Finally, a toothpick is added for the bowsprit. 
Bases are added
That is the end of the MDF and toothpick work and it is time to move to the cardboard and painting phase.

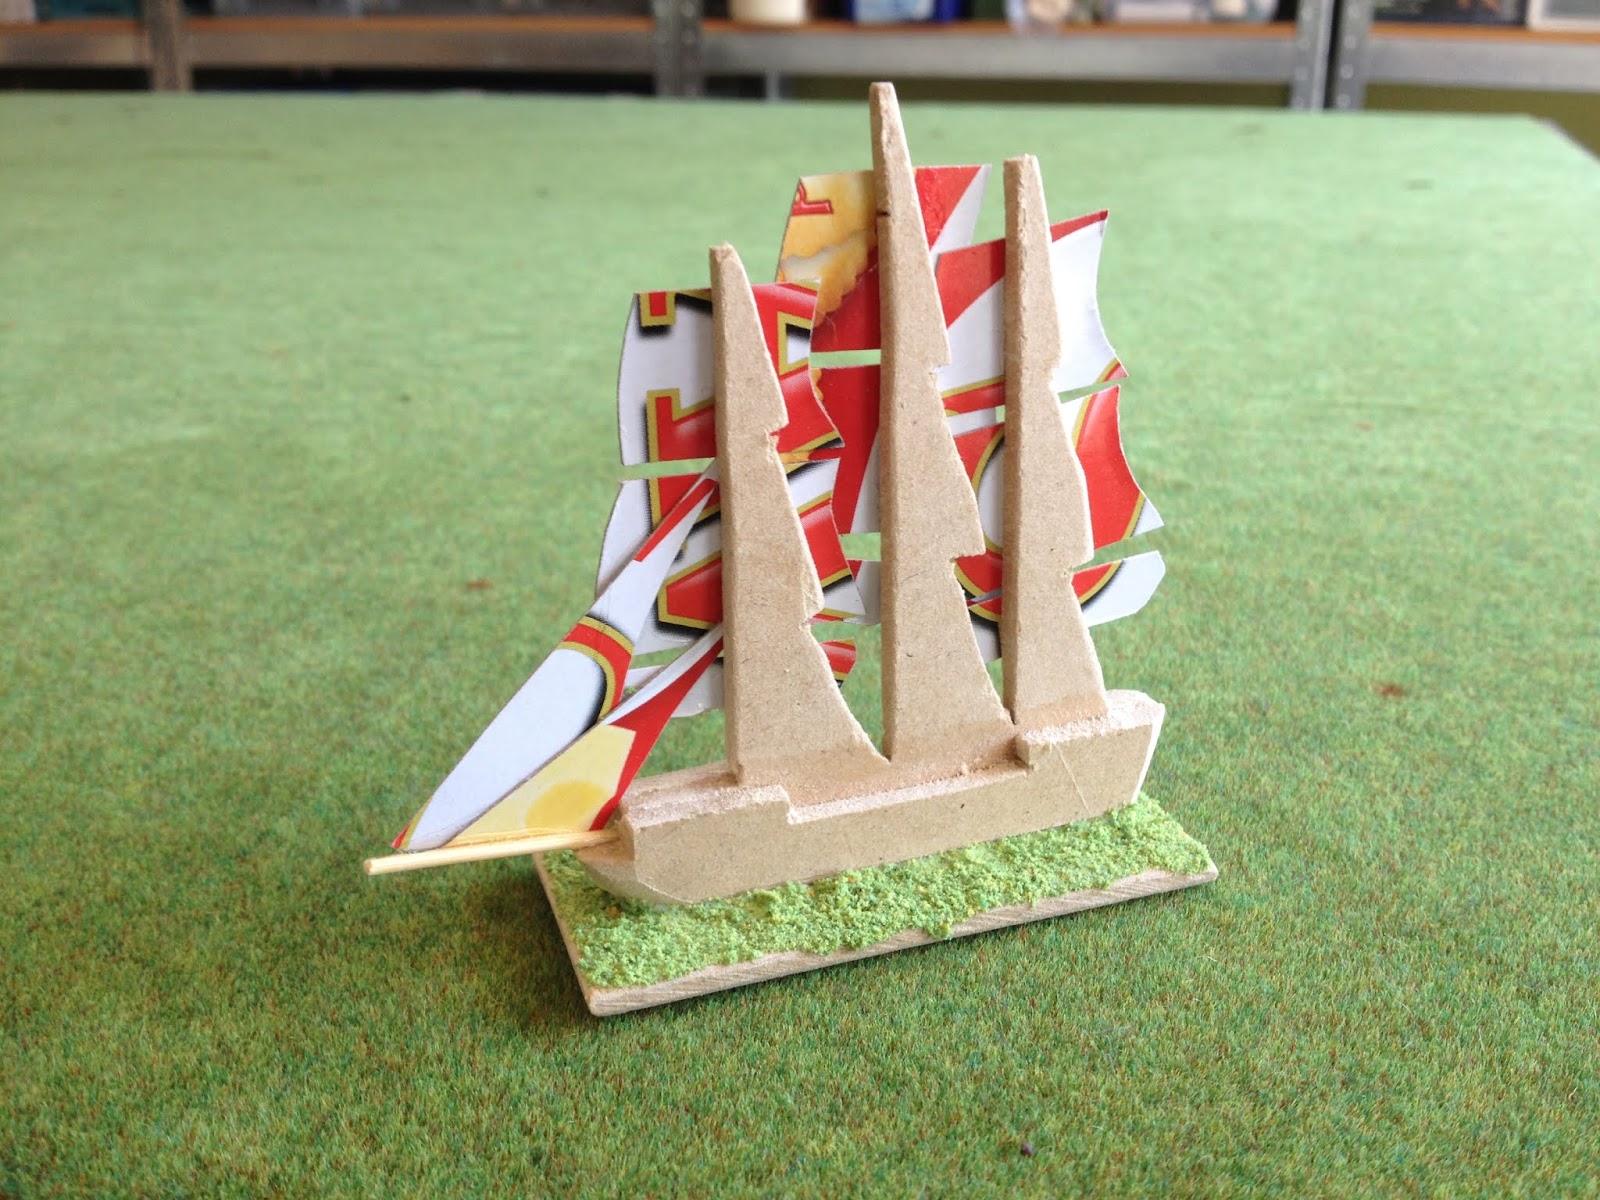
Sails are added. Again I use a templates to help speed things up. 
Cereal and snack boxes come in very handy for the sails. The based get flocked to help provide some texture for painting later.
The whole model get a good coating of PVA glue before a coat of grey undercoat.
Painting begins and the rigging is drawn on with a pen. 
I won't go through the whole painting process. Once painted the whole model got a coat of PVA glue to seal it and make it glossy. The finished ship...


So far the production line has seven ships of the line and a couple of frigates all ready for adding sails and painting. Cost? Less than $5.