Showing posts with label Rule Changes. Show all posts

Saturday, 16 November 2024

Painting and rule changes

Wargaming continues to take a back seat as pretty much every day I am driving to the house and spend my time painting rooms (not models alas). This gives me plenty of time to think about and ponder the mech rules. However, the downside is that when I do manage to fit in a quick game, I often have new rule changes I want to test, which is slowing down the progress of my mech campaign.

A random mech photo made to look cartoonish.

Rule Changes…

I have tried various activation methods over the past few weeks while developing some simple mech rules and may have now settled on a playing card-based activation system (I hope). In this activation approach, the cards are shuffled, and each mech is assigned a card. Activation begins with the mech holding the highest card and continues in descending order until all mechs have been activated. Mechs that are attacked but have not yet had the chance to activate can take defensive countermeasures to reduce the effectiveness of combat, but must sacrifice their card and be treated as activated. The main drawback of  the cards is they do clutter up the tabletop. To address this, I might create numbered counters to draw from a bag or look to purchase some very small playing cards to use instead.

A test game using the card activation.

Another rule change I tried out previously which has returned, is the critical system failure check. This check occurs whenever a mech takes a hit. A D6 is rolled and if less than the total number of hits accumulated, the mech has a critical systems failure and is eliminated. The mechanism adds a greater level of uncertainty to taking hits where a well aimed shot can eliminate a mech.

A mech now with 4 hits passes the critical failure test. Requiring a 4 or more for the number of hits a 5 is rolled.

Painting…

Returning to the topic of painting, I am halfway through painting the house and one of the rooms completed is my wargaming room. A photo of which can be seen below.

The wargames room painted and waiting to be filled with shelving units loaded with models and terrain.


Saturday, 11 May 2024

English Civil War - Battle of Nantwich Game Report

This past week I played out the Battle of Nantwich, 1644, scenario from the book “With Pike and Musket” by C.F. Wesencraft. This is the second time I have played the scenario, this time I was using the English Civil War (ECW) rules I have been working on and posting about over the past few weeks. One area of the rules I was wanting to test is the organisation of the armies into commands and the sequence of play, which limits the number of commands in an army that a player can move.

Hurry up lads! We need to find the river crossing before turn 6 of the game.

By having rules for army organisation and limiting the number of commands that can move, the aim, or hope, is to make deployment decisions important as they were for commanders of that era. Moreover, manoeuvring the army after deployment was far from straightforward and often time-consuming. So, restricting players to two orders to move command(s) or conduct artillery bombardment prevents armies from being overly responsive. Coupled with the movement rule, which reduces movement to 3 inches for any unit making a turn. 

Here are snippets from the rules on organisation and sequence of play…


One of the reasons for choosing the Battle of Nantwich scenario was it was not the standard pitch battle with infantry in the centre and cavalry on the wings, and it would be a good test of the organisation and the moving of command(s) rule mechanisms.

Battle Report…

Background

The Royalist infantry have been separated from their cavalry by the flooding or the River Weaver. The Parliamentarian force has used the opportunity to attack the Royalist infantry who are positioned just north of the village of Acton. Additionally, Parliament will get support from the Nantwich in the form of a regiment of infantry arriving from the south east (turn 6). Meanwhile, the Royalist cavalry are expected to arrive from the north east having found a river crossing (turn 2).

Order of Battle

Royalist:

  • Centre Command - 3 x Infantry plus commander
  • Infantry Reserve - 2 x Infantry plus overall Commander
  • Artillery Command - 2 x Artillery
  • Cavalry Command - 6 x Cavalry plus 2 commanders (arriving on turn 2 from the north east).

Parliament:

  • Centre Command - 2 x Infantry plus overall commander
  • Reserve - 1 x Infantry arriving on turn 6 from the south east.
  • Artillery Command - 1 x Artillery
  • Left Wing Command - 3 x Cavalry plus commander
  • Right Wing Command - 3 Cavalry plus commander

Tabletop Setup and Objective

The Royalist infantry has positioned their centre command infantry in front of Acton village, with a secondary reserve of infantry stationed behind them. Their two artillery units deployed at either end of their centre. Parliament has stationed their infantry in the centre, formed in two lines, with their cavalry evenly distributed on both wings. Their artillery is positioned to the right of their centre.

The initial deployment.

Parliament forces are aware of possible Royalist cavalry appearing on their left flank and will be pressing home their numerical advantage as quickly as possible, with the objective of securing Acton village before the Royalist cavalry can intervene.

Both armies will receive addition units during the game.

The Royalist cavalry will arrive on turn 2 and will have to move north of a marshy area before being able to join their infantry defending Acton. While Parliamentarian forces will receive support from the south east with a unit of infantry on turn 6.

Opening Game

Parliament advance their right-wing cavalry with the aim to outflank the Royalist infantry, simultaneously bombarding them with their artillery. The Royalist infantry maintain their defensive positions, retaliating with artillery fire as they anticipate the arrival of their cavalry.

The Royalist cavalry arrived, having discovered an alternative river crossing, and posed a significant threat to Parliament's left flank. Parliamentarian cavalry from the left wing, reinforced by infantry, were positioned to counter the threat. Parliament’s defensive response to the cavalry resulted in delays in advancing their infantry centre toward Acton to support their right flank cavalry, which had initiated an assault on the Royalist infantry.

The left flank cavalry be seen advancing while artillery fire is exchanged.

Royalist cavalry arrive.

Parliament’s cavalry continue their outflanking move.

Parliament’s cavalry come under fire from Royalist artillery as they slowly turn in readiness to charging.

The cavalry begin their charge as the Royalist reserve infantry are moved to face them.

Parliament’s centre is yet to advance as the attention has been directed to the charging Royalist cavalry is the distance.

Middle Game

The cavalry stationed on Parliament's left flank were proving their mettle in clashes against the Royalist cavalry. Both cavalry forces engaged in repeated charges, each trying to gain the advantage. Meanwhile, the defenders of Acton village were standing resolute against the flank attack by Parliamentarian cavalry,  while watching the steady advance of the enemy infantry in the centre and along the road from Nantwich.

Support from Nantwich arrives for Parliament.

Royalist cavalry try and force their way through.

End Game

The Royalist defenders of Acton village soon found themselves pressed as Parliament's infantry centre launched their assault. Despite initial setbacks, the Royalist cavalry eventually routed the Parliamentarian cavalry and found themselves facing a line of infantry. With the Royalist cavalry effectively delayed further by the infantry, Parliament's cavalry and infantry were able to rout the defenders of Acton, securing the village. They were soon reinforced by the arrival of additional infantry from Nantwich.

The assault on Acton underway by both Parliament’s infantry and their cavalry.

Royalist cavalry prepare to charge Parliament’s infantry. In the background the assault on Acton is underway.

Acton village is secured as the Royalist defenders are routed.

Summary

The game was played out over 12 game turns and the outcome mirrors history with a Parliamentarian victory. The Royalists face an uphill battle to secure victory, relying on the swift breakthrough with their cavalry or having the Parliamentarian player fail to balance their forces effectively between attacking Acton village and delaying the Royalist cavalry.

Regarding the rules, the army organisation approach worked for the scenario. I did overlook assigning a Parliamentarian commander to the reserve infantry arriving on turn 6, but this mistake did not impact the game's outcome. The rule limiting the moving commands or conducting artillery bombardment, presented the attacking Parliamentarian player with choices, having to decide between defending their left flank against the Royalist cavalry's flank attack or pushing forward the centre infantry to offer timely reinforcement for the right flank cavalry's assault.

Sunday, 15 October 2023

Planning a solo commando raid game - Part 3

This post the third of a series of posts on planning and gaming a commando raid where I need to decide how to decide the orders to the defending Germans in this solo game. I will be using the same mechanisms as I used in the St. Nazaire game, with one or two changes. But before getting into that, it may help to first  look at the tabletop and where the German defenders, including pillboxes, start the game.

Defender’s Starting Positions

The position of infantry units are circled in red and pillboxes in yellow.

At the beginning of the game, the German defenders are placed on the tabletop as follows:

  • Pillboxes are placed at key strategic points to defend against attack from the sea.
  • German 5 infantry units, one with an truck, are placed in cover key positions: the gun emplacement, radar installation, rail sheds, harbour, and costal defence HQ building.

Defender's Reaction Rules

These rules define how the defending Germans will operate during the game. They cover the tactical operation of individual units on the tabletop and the arrival of reinforcements. These rules are written to fit in with the simple UGO-IGO sequence of play used in the main rules. As with any predefined set of reaction rules, units can on occasion seem to make odd moves, which from a narrative point of view can be put down to the confusion of the raid and night time combat.

German Unit Activation

During the German turn, the following rules are applied to each unit on the tabletop:

  1. Any German unit must move towards the closest commando unit using only the roads until within shooting range. As soon as they are within shooting range, they must shoot.
  2. Any German unit which cannot shoot at a commando target and cannot move along a road due to other units blocking the way, will leave the road and move towards the closest commando unit until within shooting range.
  3. Once German units have left the road and there are no commando units to shoot at, they are no longer constrained with moving along the road and must move towards the closest commando unit until within shooting range. As soon as they are within shooting range, they must shoot.
  4. If German units begin a turn within shooting range, they must only shoot at the closest commando unit. Until all enemy units within range are eliminated, they cannot move.

Pillbox Fire

Pillboxes must shoot at the closest commando unit.

A pillbox positioned to defend the harbour.

Reinforcements

A single German infantry reinforcement unit arrives each turn after contact with a commando unit is made by the defenders. Roll a dice to determine which of the three reinforcements points a unit arrives:

  • 1-2 Arrive near the gun emplacement
  • 3-4 Arrive on the south road
  • 5-6 Arrive on the east road.

The photograph shows the entry points for reserves.

The next post will be the battle report.

Saturday, 14 October 2023

Planning a solo commando raid game - Part 2

This post describes the rules to be used for the commando raid game. The defender's reaction rules will be in my next post. The rules for this game are different from the original St. Nazaire game I played 3 years ago in two main ways. First, instead of tracking hits, units are now eliminated after failing a saving throw which means the shooting rules were reworked. Second, officer rules have been introduced, allowing units with officers to improve another unit's activation by foregoing their own activation.

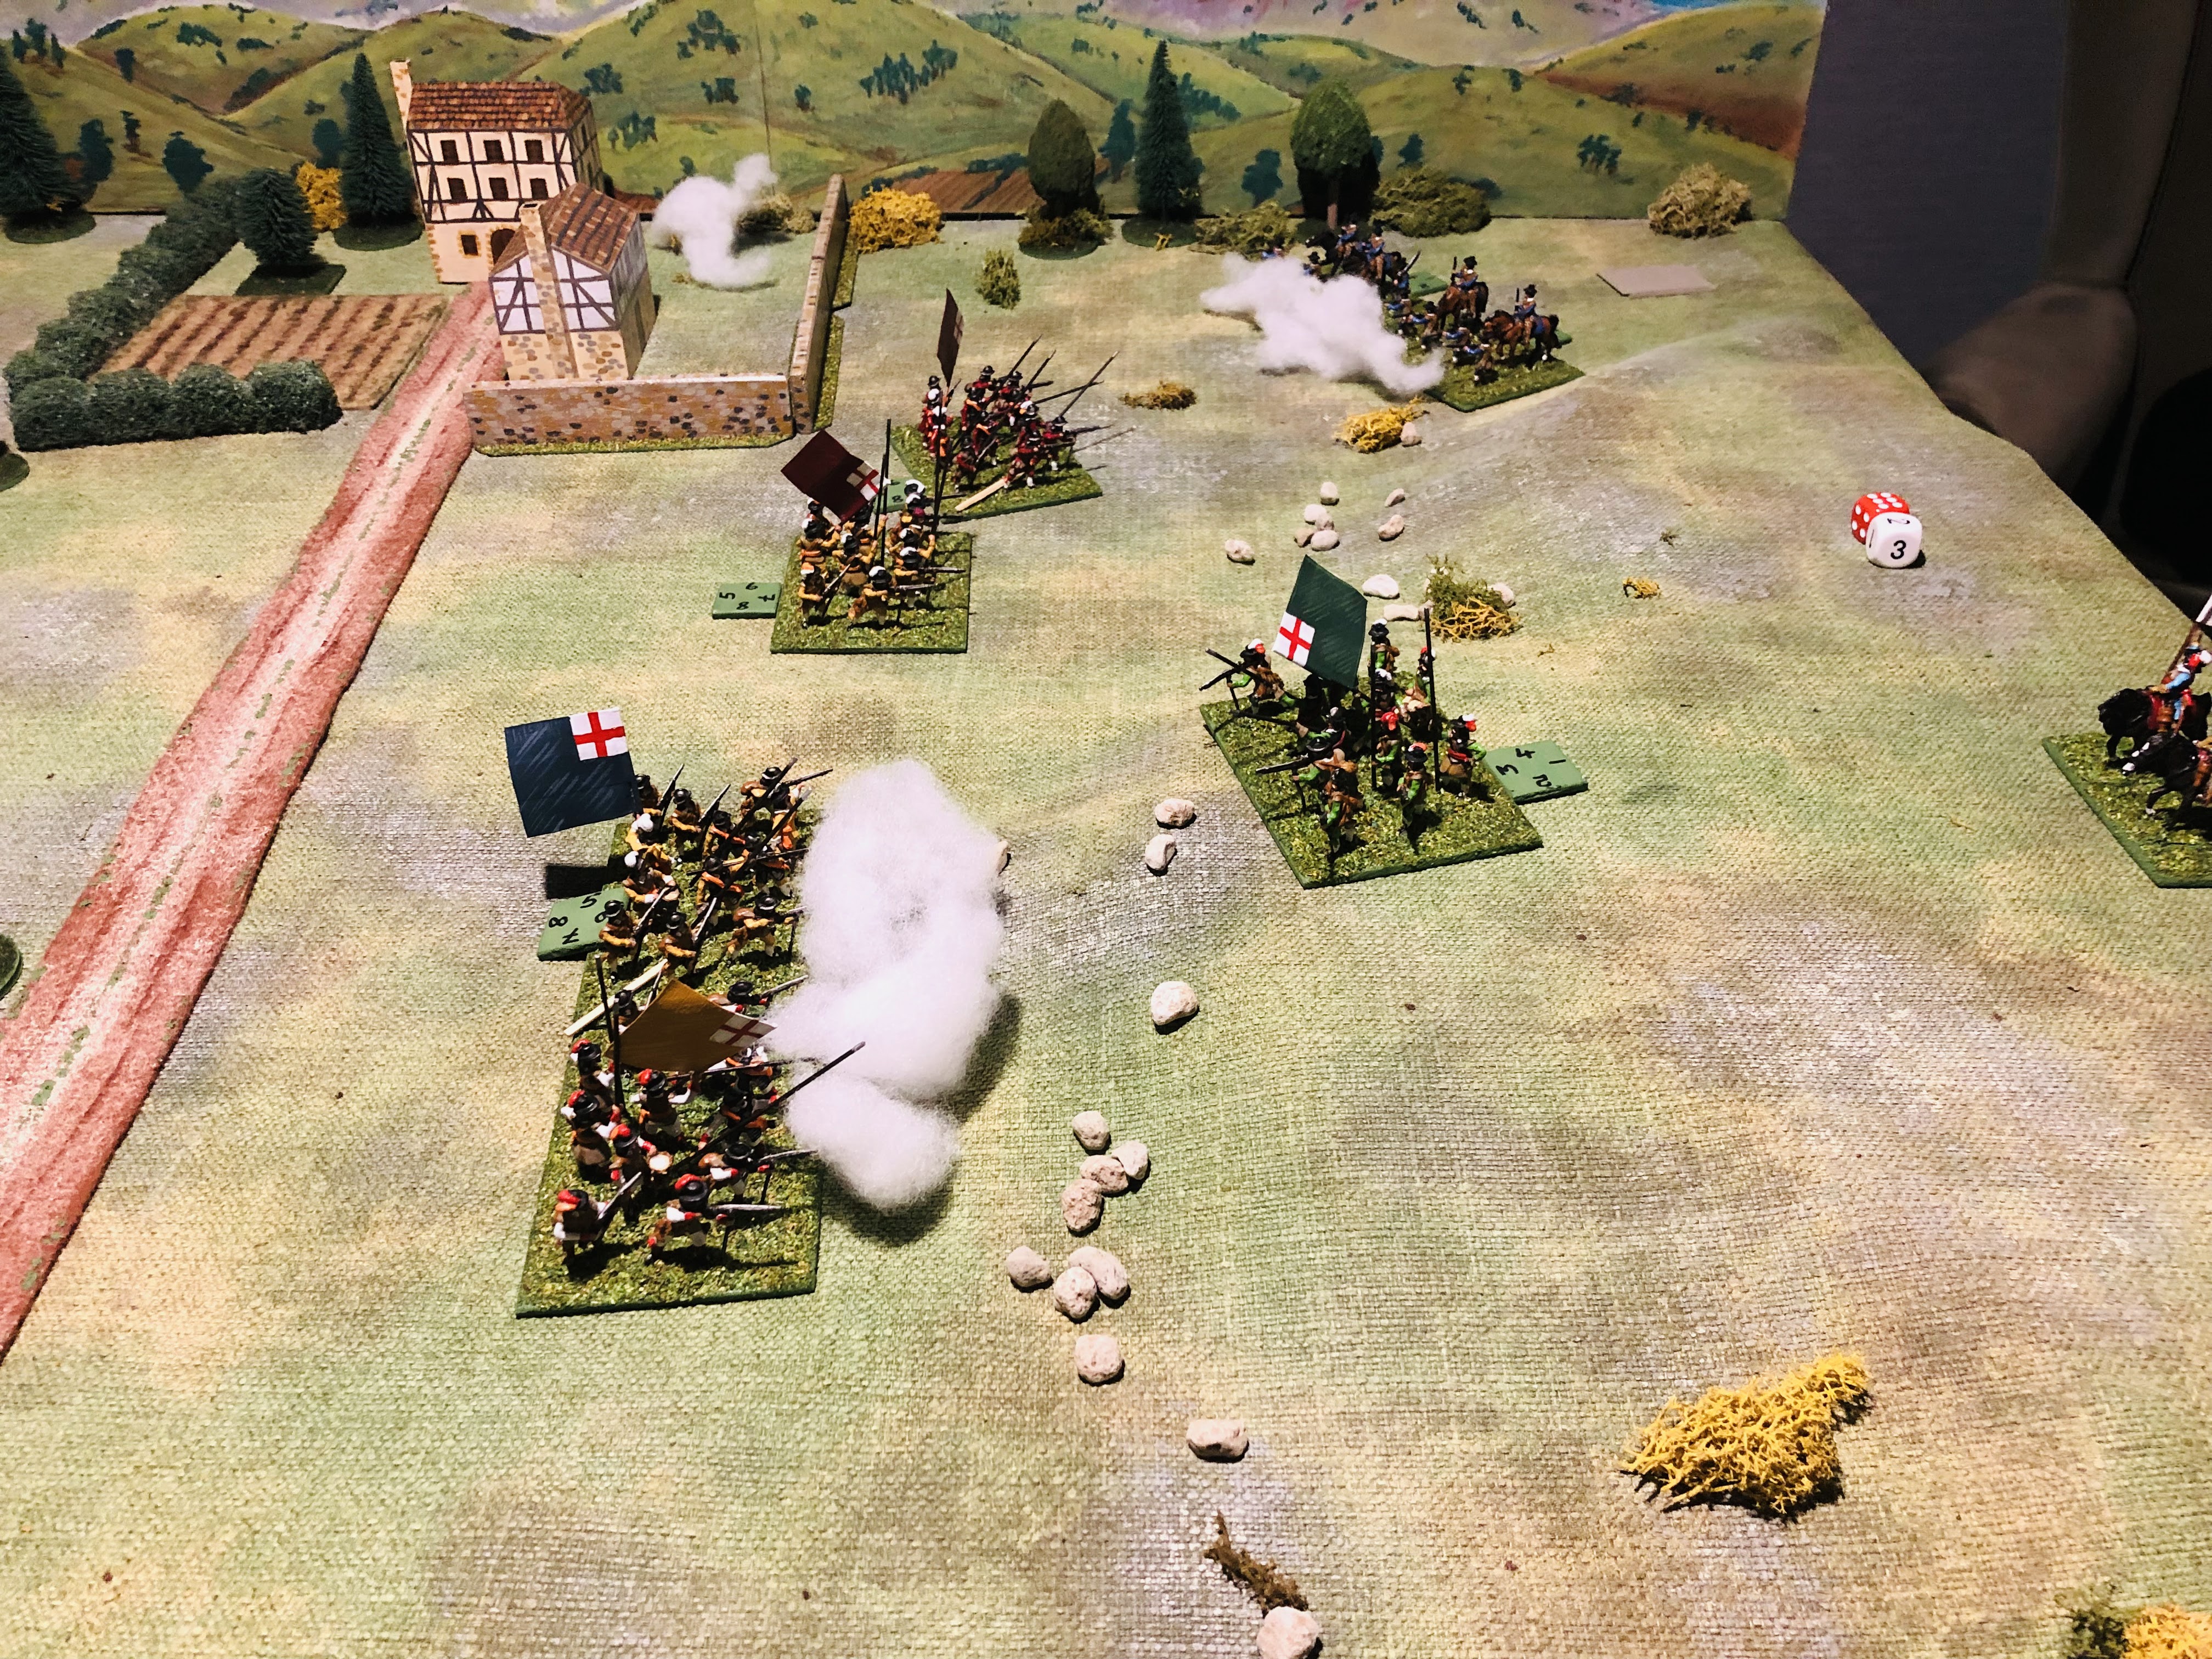
Raiding commando units creating havoc.

Turns

The game is played in turns with the commando player attempting to activate their commando units first. Followed by the German unit activations and reinforcements using the defined reaction rules (in the next post - part 3).

Unit Activation

Each unit in a player's force is activated once during the player's turn.  Assuming a successful activation a unit can move, shoot, attempt a demolition of a target, or engage in hand to hand combat.  

Note: German units don’t engage in hand to hand combat or demolition.

Activation Roll

For each activated unit roll a dice and adjust the score:

-1 for German forces to represent the confusion

+1 Officer direction (see Officer rule)

-2 if seen by searchlight (see Searchlight rule)

If the adjusted score is:

Less than 1 = no action allowed

1-2 = one action allowed

3-4 = two actions allowed

5+ = three actions allowed

Note: Pillboxes do not need to activate, they always have one shooting action until they are destroyed.

Units with officers and demolition units are labelled to avoid confusion. I use little tabs for marking books from the local stationary store.

Movement

A move costs one action and units must move in a straight line for each action. If a unit is moving it must perform all its move actions together.  A unit cannot split its move actions to move, shoot, and move again.

Commando units and German infantry units move 6 inches for each move action. There are no deductions for moving in built up areas, cover, or pivoting a stand during a move action.

Armoured cars, trucks, motor-cycles, and half-tracks move 12 inches for each move action.

Units may pass through friendly units without penalty.

Units must cease movement when within 6” of enemy units or pillboxes, unless the movement is to assault a unit or move directly away from the unit or pillbox.

Shooting

To shoot costs one action. As with the moving, all shooting actions must occur together. With each shooting action all units roll a dice. A unit with two shooting actions would roll two dice (one for each attack) with the following modifications:

-1 if the target unit in cover, is armoured car/half-track, or a pillbox

-1 if shooting more than 6”

If the modified score is 4+, then the target unit or pillbox must take a save test. Roll a dice, on a score of 1-3 the unit or pillbox is eliminated.

All units have a 360 degree firing arc and pillboxes a 180 degree firing arc.

To attack a pillbox the attacking unit must be within 3”. Otherwise all ranges are 12".

Gun emplacements cannot fire at ground units and for the purpose of the game they are targets to be put out of action.

A commando unit ambushes an armoured half-track unit. They roll a 5 (black dice) which allows 3 shooting attempts. The target is armoured and a 5+ is required, 2 hits are achieved (red dice). The half-track unit must get 4+ to save, 1 hit is saved and 1 failed (green dice) so the unit is eliminated.

A raiding party tries to close to within 3” of a pillbox to allow attacks.

2” Mortar

2” Mortar can be used and requires two actions to fire.  Roll one dice and on a 5 or 6 the target is eliminated with no save roll.

Hand to Hand (Assault) Combat

Hand to hand combat, or assaults, can only be initiated by commando assault units against all units except Pillboxes.  A unit must be able to move into contact with an enemy unit. To determine the outcome, commando units roll a 2 dice selecting the highest score. German units roll 1 dice. Compare scores, the highest score eliminates the opposing units. There are no saving rolls. Re-roll any draws with a single dice for each unit.

A commando unit decides to assault a German unit in cover that is holding up their advance. Assaults can be risky with one good dice roll by the defenders eliminating the attacking unit, but they are an effective way of dealing with units in cover. Above the commanders are successful with a score of 5 from their 2 dice. The German unit only rolled a 4 and will be eliminated.

Searchlights

The closest commando unit within 12” of an active searchlight, will always subtract 2 from their activation dice role. Searchlights can be eliminated just like any other unit.

The nearest unit to a searchlight still in action will deduct 2 from their activation dice roll.

Pillboxes

Pillboxes always have 1 activation to shoot. Their shooting arc is 180 degrees. They can only be attacked from within 3”.

Barbed Wire

Barbed wire cannot be crossed by units. Any unit can remove a section of barbed wire by touching it and using 2 actions.

A landing party in contact with a barbed wire section can remove it with two actions.

Demolition

A demolition attempt takes two actions and can only be carried out by a commando demolition unit.  The unit must be in contact with the demolition target.  Roll a dice, if a 4, 5 or 6 is scored the explosives were successfully set, and the unit moves 3 inches away. Yell bang! And place an explosive looking marker to show the target has been successfully destroyed. If the explosives were not successfully set and the unit remains in place (and you don't get to yell).

Officers

Units with an officer can choose not to activate for a turn and add 1 to the activation dice roll of a single friendly unit within 6” inches of their position. They cannot apply the activation benefit to themselves.

An officer can improve the activation dice roll of 1 unit within 6”. Above units with officers are labelled. 


Saturday, 24 September 2022

An ECW game report with some modified rules

An English Civil War game report for this weekend's post. The game setup is loosely based upon the scenario "The Battle of Fiddler's Bottom" from Charles Grant's book "Wargame Tactics". Regular readers may remember a few weeks back I was messing around with the D3 ECW rules looking at the activation of units and order of activation by troop type. In the end I found two types of activation seemed a bit too much after playing the game. After reading the posted comments and ideas (thank you to those people) and a bit more reading I have opted for one activation approach based upon organisation of an ECW army into commands (eg centre, flanks, reserve, etc.)

The tabletop all prepared, armies organised and deployed.

The activation mechanism on along with deployment approach was influenced by the book “With Pike and Musket” by C.F.Wesencraft, and in particular one paragraph where an English Civil War battle is rather nicely summarised.

“In battle, the infantry usually were formed in the centre, opposite the enemy infantry, the cavalry forming the two wings. The guns were run out in front of the infantry. Thus four distinct actions were fought. First, the guns bombarded each other, then the two wings would clash, and finally the infantry met. Often each action was unaided by any other supporting one, even victorious troops often preferring to chase their own particular foe from the field instead of going to the assistance of another section.”

With that in mind, there are a couple of pre-battle steps:

  1. Organise the forces into commands
  2. Deployment of the commands

Organising Armies into Commands

The units available to Parliament and Royalists are selected:
  • Parliament: 5 Foot units, 1 Dragoon unit, 1 Artillery unit, 1 Commanded Shot unit, and 6 Horse units
  • Royalist: 4 Foot units, 2 Dragoon unit, 1 Artillery unit, 1 Commanded Shot unit, and 6 Horse units
These selected units need to be organised into command groups which represent part of the army organisation on the battlefield. Commands group together one or more units which must be in most cases the same unit type (the exception being independent units, such as: artillery, commanded shot and dragoon units. 

There are a maximum of five commands, but not all need to be used by a player:
  • Centre - can only be made up of Foot units.
  • Right Flank - can be made up of either all Foot or all Horse units.
  • Left Flank - can be made up of either all Foot or all Horse units.
  • Reserve - can be made up of either all Foot or all Horse units.
  • Independent Units - are any Dragoon and Artillery units and is the only command these units can belong to.
Where there are multiple units in a command a unit must always remain within 6” of at least one unit from that command. This rule forces a command to operate as a block of units. This rule does not apply to independent units who do not need to remain in contact with other units within the command. 

All commands get the opportunity to be activated once during a game turn, and all units within a command can move, shoot, or melee when their command is activated. More about the sequence of play used later.

The Royalists organised themselves so:
  • Centre Command - 4 Foot units.
  • Right Flank Command - 1 Horse unit.
  • Left Flank Command - 4 Horse units.
  • Reserve Command - 1 Horse unit.
  • Independent Units - 2 Dragoon, 1 Artillery and 1 Commanded Shot units.

Royalist Centre Command

Royalist Independent Units

Royalist Left Flank, Right Flank, and Reserve Commands

The Parliament organisation decided upon was:

  • Centre Command - 5 Foot units.
  • Right Flank Command - 4 Horse units.
  • Left Flank Command - not used.
  • Reserve Command - 2 Horse units.
  • Independent Units - 1 Dragoon, 1 Artillery and 1 Commanded Shot units.
Parliament's Centre Command

Parliament's Right Flank and Reserve Command

Parliament's independent units

I made up a card for each command as the cards will get used during the game. They help with determining the sequence of events. Set aside any command card which is not used.

Deployment of the Armies

Deploying the armies on the tabletop takes an step by step approach which is intended to constrain what the players can do with their commands and independent units:

  1. Players roll a D6 (re-rolling ties), the highest scoring player deploying first in all the steps.
  2. Deploy all centre command units (if there is a centre command).
  3. Deploy all right flank command units to the right of the centre if there is one.
  4. Deploy all left flank command units to the left of the centre or left of the right flank if there is no centre command.
  5. Deploy all reserve command units behind any of the deployed commands (remember to leave room when deploying the other commands).
  6. Deploy all independent units. Artillery are deployed either in front of the centre or on hills for artillery. Dragoons and Commanded Shot can be deployed in front of the flanks or beside a flank unit.
  7. Deploy Commanders, preferably in a safe position.

Here are the commands getting deployed for the game. Parliament won the dice-off and will start in each deployment step.

The centre commands are deployed first.

The right flank commands are next to deploy.

The left flank commands are deployed. Parliament does not have a left flank command so passes for this deployment step.

Reserve commands are deployed, they must be positioned behind the other commands.

Independent units are deployed and do not have to adhere to being within 6" of another unit.

Other independent units are deployed around the table. Artillery in front of the centre command, and dragoons and commanded shot either in front or beside the flanks.

Note - I forgot to take a photograph of the deployed commanders.

Sequence of Play

The armies are now all deployed and ready to begin the battle. 

Ready for battle

At the start of each game turn each player takes their command cards and places them in the order they want their commands to be activated. Only the player knows the order, so place the cards face down with the first command to be activated on top. 

Then both players roll a D6 with the highest scoring player activating their command first (re-rolling any ties). Players then alternate activating their commands in the order of their command card decks by taking the top card from their deck of command cards.

Constructing a command card deck. In this case the order of activation is: 1) independent units, 2) right flank, 3) left flank, 4) centre, and 5) reserve. The cards remain unknown from the other player are placed face down to be drawn one at a time.

When a player’s command is activated all units in the command can: move, shoot, and melee. Once both players have activated all their commands, start the sequence again with players ordering their command cards and dicing to see which player activates first.

This approach of a player having commands activated is trying to reflect the difficulty of commanders trying to coordinate the various parts of an ECW army.

If playing a solo game, try just shuffling the opposing army’s command cards and always give them the initiative. This is the approach I took with the game below.

And Finally the Battle Report...

The Horse on the nearest flank move forward to engage around the woods. Meanwhile independent units engage.

The Horse engage and Parliament's centre advance after their artillery run out of ammunition and retire. They also shoot at the Royalist right flank Horse which had advanced.

The reserve Horse from both sides clash (just seen behind the wood) and Parliaments centre continues to advance.

The Royalist commander's view

The Royalist Horse are gaining the upper hand, but are impetuous and charge off after each routed Parliamentarian Horse unit.

The Royalist centre are holding the hilltop, but are under pressure. meanwhile the Royalist Horse (the near flank) definitely have the upper hand.

Dire straights in the centre for Royalists.

The Royalist Horse are blocked by Parliament's reserve Horse who had fallen back as a precaution. They fail to stop the charging Royalist Horse who charge off after them rather than attacking Parliament's commander (Doh!)

Time for the Royalist's to cede the field. A victory to Parliament!

Having played a few games using this activation and deployment approach I am finding they are giving me the type of ECW I am expecting. Having to plan and organise your command groups before the battle, deploying them in an ordered fashion, and activating units in blocks with their command. 

I have updated the rules (found at the top of the blog or here) and included a couple of deployment examples, including a Horse heavy army with minimal Foot units.