Showing posts with label WW1 Rules. Show all posts

Monday, 20 June 2022

WW1 Palestine Campaign draft rules

The rules I am using for my WW1 Palestine Campaign games are a variation of One-Hour Wargames Machine Age rules by Neil Thomas which were the starting point. They have been modified in include a unit activation rule and to have cavalry charges. These are a draft variation and I have added a few notes on the variation choices after the rules.

An attack on a train in progress

Unit Types

The game features the following units which need to be consistently based:

  • Infantry
  • Infantry with attached machine guns
  • Cavalry
  • Camel Corps
  • Camel Corps with attached machine guns
  • Artillery
  • Tanks
  • Armoured Cars
  • Aircraft

Sequence of Play

Players take turns alternatively. During a player’s turn they follow a sequence of phases and attempt to activate their units:

  1. Movement
  2. Shooting
  3. Hand-to-Hand Combat
  4. Eliminating Units

Activation of Units

For units to move, shoot, charge, or continue hand-to-hand combat. They must successfully pass an activation check.

The procedure is: roll a D6 and multiply the score by 4. If the total is more than a unit’s hits, it can carry out the activity. Otherwise, the unit cannot carry out an action this turn.

Aircraft strafe infantry

Movement

Successfully activated units may move up to the distances listed below during their movement turn:

  • Infantry, Artillery, and Tanks - 6”
  • Cavalry, Camelry, and Armoured Cars - 12”

Dismounting/Mounting - Cavalry and Camelry halve their move when dismounting or mounting. They cannot shoot unless dismounted.

Turning - Units turn by pivoting on their central point. They may turn at the start and/or the end of their move.

Interpenetration - Units may pass through other friendly units. However, units which are passed through must be inactive for the turn, no moving or shooting.

Terrain - Units are affected by terrain as follows:

  • Towns - All units except for vehicles may end a move in a town. Unless they are on the road. Only infantry, camel corps and cavalry benefit from cover when positioned in a town.
  • Difficult terrain - only infantry and dismounted unit may enter. All movement is 6”.
  • Trenches - provide cover to infantry.
  • Marsh/Lake - impassable.
  • Wadis - Can be only crossed via bridges or agreed crossings.
  • Hills - all units can move onto hills and artillery can shoot over other units if on the hill or firing at the hill.
  • Roads - Units moving by road increase their movement distance by 3” if their entire move is spent on the road. The bonus cannot be used when charging.

Moving and Shooting - Units may not shoot if they have moved during the same turn.

Charges - Only cavalry (not Camel Corps) may charge by moving the unit into contact with the defending unit. The following restrictions apply:

  • Turning - A charging unit may turn once, up to 45 degrees at the start of its move.
  • Towns, Hills, and Difficult Terrain - Cavalry cannot charge units in towns and on hills.
  • Fighting - Combat is resolved in the hand-to-hand combat phase.
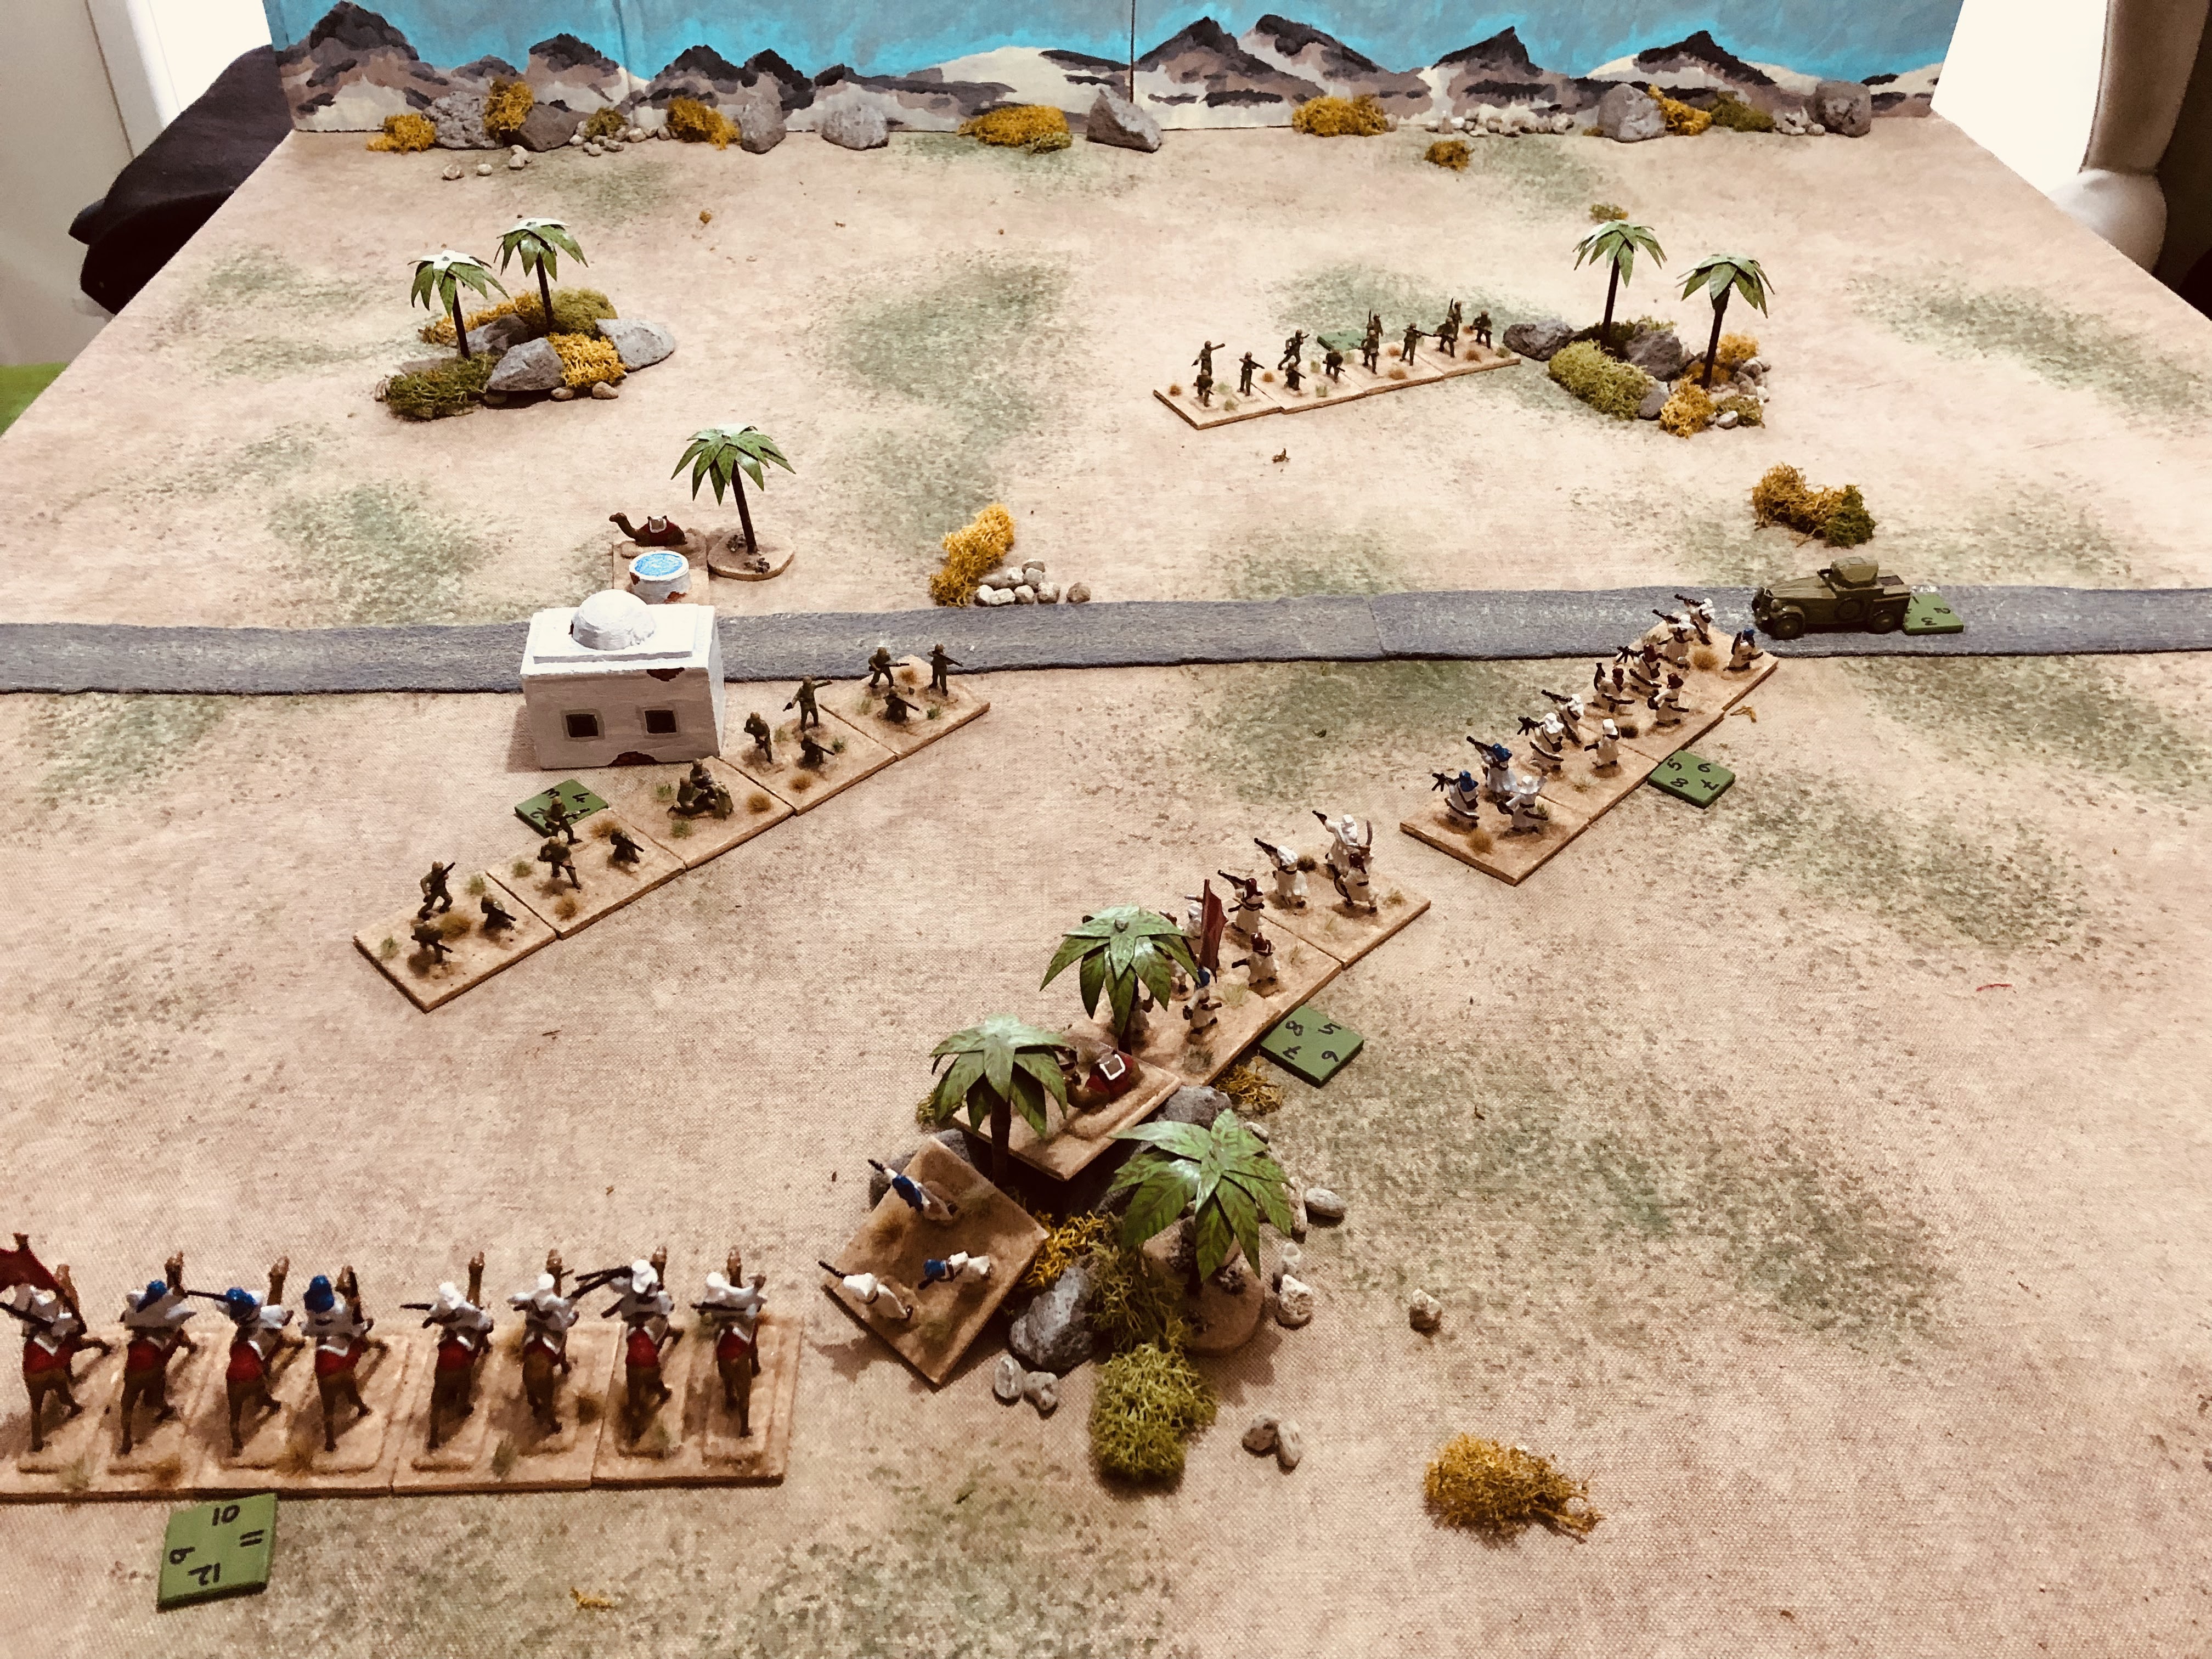
Game in progress

Shooting

For shooting the procedure is as follows:

Check the field of fire - Units may only shoot at a single unit within 45 degrees of their frontal facing, while units in town have a 360 degree facing.

Check the range - Measure the distance from the front centre of the shooting unit to any part of the target unit. Small arms have a range of 12” and artillery 48”

Artillery bombardment - Artillery units may only shoot at units that are not being attacked by small arms.

Determine casualties - To determine hits:

  • Dismounted cavalry or camelry units roll a D3
  • Infantry and artillery units roll a D6
  • Infantry or camalry with supporting machine guns roll an additional D3 to add to their hits.

Check for cover - If the target is in cover, then halve the number of hits (round up fractions).

Note - Cavalry and Camel Corps units must be dismounted to shoot.

Hand-to-Hand Combat

Only cavalry units may charge into combat. However, once a unit is engaged it must activate for hand-to-hand combat. Tanks and Armoured Cars cannot be engaged in Hand-to-Hand combat. 

The procedure is as follows:

One Sided Combat - Only the attacking unit inflicts hits.

Determine casualties - All units excluding Artillery roll a D6 for the number of hits. Halve hits if the defender is in trenches.

Movement within combat - Units remain in contact after combat until one side is eliminated. Units may turn to face an enemy unit unless already engage frontally.

Note - Machine guns and artillery may not be used in hand-to-hand combat.

Eliminating Units

Units are eliminated after taking 17 or more hits.

Train ready for trouble

Notes on Vehicles

Tanks - A few were used in the Palestine campaign with limited success. The rules for using tanks:

  • Halve all hits
  • Shooting arc is 180 degrees and range 12” with D6 hits
  • Movement is 6”
  • Any failed activation checks and the tank is eliminated.

Armoured Cars - These were used quite successfully throughout the campaign being used in raids and supporting the Arab Rebellion. The rules for armoured cars:

  • Halve all hits
  • Shooting arc is 360 degrees and range 12” with D3 hits
  • Movement is 12”
  • Any failed activation checks and the armoured car is disabled.

Aircraft - Were successfully used throughout the campaign for reconnaissance, sighting for artillery, and bombing. The rules for aircraft:

Agree how many sorties can be performed in a game or roll a D3+2.

  • During movement roll D6 and a sortie occurs with a 5+. Identify the unit being attacked by placing a counter or model aircraft next to it.
  • If the aircraft is being used for spotting, the bombarding artillery unit (only one unit) can re-roll the hit D6, but must accept the second score.
  • If the aircraft is being used for strafing and bombing. The aircraft can attack the enemy unit with D3 with no cover saves.
  • Remove the markers or aircraft at the end of a player’s turn and not one sortie has been used.

General Notes

Artillery bombardment limitation - The limitation of artillery not being able to attack units being attacked by small arms (other units) is to reflect how artillery was used to soften up enemy positions prior to attacks by other units.

Activation - The conditions for troops in the Palestine campaign were harsh and supplies of water were as important as ammunition. The activation approach tries to show this by making activations more difficult for units that have accumulated hits. 

Single Models - Artillery, tanks and armoured car units are vulnerable to early elimination after taking hits and failing an activation.

Cavalry Charges - The rules allow charges by cavalry. During the Palestine campaign there were occasions where cavalry were involved in successful charges. The Australian Light Horse at Beersheba being one of the better known charges.

Hits to Eliminate - All units were quite dispersed and in skirmish formations so rather than reduce the hits I opted to increase the hits required to eliminate a unit to 17.

Sunday, 13 May 2018

ECW painting project and Napoleonic games

A mixed bag of a post this week. On the painting side I was able to complete an English Civil War foot unit to add to the mounted unit from the previous week. This brings the ECW project painted total to 4 foot and 3 mounted units.

Mounted unit from last weekend
Foot unit completed this weekend
During the week I was able to get in a couple of Napoleonic games and continue trying out and clarifying the reserve rules. The reserve rule allows reserve units at the end of their turn the ability to reduce all hits from one infantry, grenadier or skirmish unit within 6 inches and forward of them. This is only allowed once per game for each reserve unit. I use standards attached to a unit to indicate which units have reserves. Removing the standard once reserves are used and the attached unit is then treated as a normal unit.

Reserves indicated by the standard are well positioned to be fed into the line. 
Alternatively, rather than feeding reserves into the line, they can instead be used by the attached unit itself to strengthen an assault using the unit. A useful approach when the attached unit is a veteran or guard unit.

If the unit with attached reserves is destroyed before the reserves are used, then they are lost.

If the unit is engaged in combat, then the reserves cannot be used, other than on the attached unit itself.

No game reports this week, just a few photos of the current game in progress. Once completed I will be able to setup for the tabletop ready for the next French Indian War campaign game.

Early stages of a game with some forces still to arrive
Reserves positioned to support units
French infantry advance supported by artillery
A game in full swing. Reserves have been used by the advancing French, while Austrian  forces hand on to their reserves.

Wednesday, 9 December 2015

Grid-based Machine Age WW1 - or not

This weekend gone I tried a grid-based version of my WW1 house rules (derived from One-Hour Wargames - Machine Age rules) this was a second attempt. The last being a month or two ago. I have come to the conclusion for this period a grid based approach does not work for me. There are certain aspects of the movement rules that work best without using a grid. The proposed changes I mention in a previous blog post played ok, but they had lost part of the flavour and messiness of variable moves. Unable to quite put my finger on why, I will be staying away from grids for this set of house rules.
Barbed wire entanglements
While messing around with rules I revisited the barbed wire rule, around how its deployed and artillery attempts to destroy it. So with some wire and a pencil I set about twirling wire around the pencil, creating a fair number of 3" to 4" lengths of barbed wire for a game to represent the barbed wire entanglements often used and key features in battles.
Bombarding a 12" length of barbed wire - scored a 5
The attacking barrage rule allows a 12" length of wire to be damaged. At the start of play the attacking player identities the 12" section being bombarded, then rolls a dice and removes wire pieces equal the dice score within the 12" length being attacked. Providing a piece of wire is in (or straddles) the 12" section the attacking player choses which individual wire pieces to remove. For every 12 pieces of wire deployed on the table one barrage attack is permitted.

5 pieces of wire removed to create a gap
During the game tanks still destroy pieces of wire they cross. Infantry units take one turn to remove any length of wire they are in contact with. All other units cannot cross a length of wire.

Sunday, 29 November 2015

Machine Age wargaming and AWI with Peter Laing Miniatures

While messing around with trailing some one-hour wargaming rules for science fiction. I found one of the rule mechanisms of allowing veteran unit re-roll their "hit" dice gave me the solution for representing shock troops in my WW1 1918 house rules based on OHW Machine Age. I'm using shock troop units to represent: 1) German Strumtruppe units trained for infiltration, and 2) Canadian and ANZAC units which gained a reputation for aggressive and innovative tactics. Shock troops when shooting or assaulting can re-roll their dice if not satisfied with the score rolled. However, any re-rolled score must be used even if worse than the original score rolled. The rules are now at the point where I expect few changes (hmmm - we'll see) and I will now think about running a little campaign based around the Hundred Days offensive, which I am currently reading about.

My current reading
In the background I'm still chipping away with painting my old Peter Laing miniatures. In the next couple of weeks I hope to complete enough to play a quick game using the horse and musket rules from the One Hour Wargame book.

AWI units painted and based so far for OHW


Tuesday, 24 November 2015

WW1 battle report

This WW1 1918 war-game has German forces counter attacking British lines. A 6'x4' table is used longways to allow for some defence in depth. There are seven objectives worth different points, three first line objectives worth 1 point each, two second line objectives worth two points each and finally two third line objectives worth 3 points. The game uses WW1 house rules (link on the right) that are a variation of the OHW rules by Neil Thomas.
Table layout and objectives
British defending force
On the first half of the board defending first line objectives are 1 x heavy infantry, 2 x infantry and 1 x field howitzer.

On the second half of the board defending second and third line objectives are 1 x heavy infantry, 2 x infantry and 1 x field artillery.

Reserves are 1 x armoured car 2 hours away and 1 x heavy infantry and 2 x infantry all 3 hours away. A dice roll will determine their re-enforment arrival area (a 50/50 dice roll).

German attacking force
Wave 1 arriving at 6:00am - 1 x strumtruppen, 1 x AV7 tank, 1 x infantry and 2 x heavy infantry.

Wave 2 arriving 6:30am - 1 x armoured car, 1 x field howitzer, 1 x field artillery, 2 x heavy infantry and 1 x infantry.

Wave 3 arriving 7:00am -1 x infantry, 2 x heavy infantry, 1 x engineers with pontoon bridge, 1 x field howitzer and 1 x field artillery.

The Germans have 6 zero hour barrages and 2 box barrages to delay reserve arrival. The box barrages can be all be used on either reserve entry point or split between them.

Pre dawn is prior to 6:30am with 12" visibility and 24" visibility until dawn at 7:30am. Aircraft can appear after 8:30am when normal aircraft rules apply.
Table set up with British units in place
Game report
6:00am - The Germans used their zero hour barrages to attack each of the objectives containing British units, and split the 2 box barrage between each reenforcement point causing a 30min delay for  any British re-enforcements. The German attack plan is to advance along their left flank and the centre road, then move on the centre town and bridge. The British called up their re-enforcements which after a dice roll are due to arrive on the flank road.
Wave 1 advancing as wave 2 arrive
6:40am - Wave 1 continues its advance on the left flank town and wave 2 arrives on the road. Minimal casualties so far due to the limited dawn visibility. Although wave 1 was soon under fire from the occupants of the town.

7:30am - Waves 1 and 2 continue to advance slowly on the town and entrenched positions (due to some high average dice rolls on the game clock) so the German wave 3 arrives and its all looking very congested.

7:50am - German attacks with artillery support clear the entrenchment positioned on the road and town. Their armoured car moves through a gap in the wire and looks menacing, causing the British howitzer to up sticks and retire towards the centre town area.
German advance moves on the first two objectives
8:40am - Remaining British units retire to the area around the centre town as German units continue to advance.

9:00am - The first of British re-enforcements arrive, an armoured car which quickly breaks down. The Germans also had no luck with their armoured car either which is destroyed.

9:40am - The remaining British re-enforcements arrive and move along the road towards the centre town. The British armoured car engages advancing German units which are taking hits, sufficient to lose a forward infantry unit. Meanwhile, German aircraft strafe British defenders with little impact.
British defence consolidates around the centre town and nearby woods
10:00am - German attacks eliminate British resistance on the hill opening up their right flank to advance on the bridge and centre town. British defence consolidates around the centre town and woods on either side of the town.

10:20am - The German advance is slowing with the help of British aircraft which attack an advancing strumtruppen unit which had been making rapid progress towards the bridge.

10:50am - Germans advance on centre town and the surrounding woods eliminating a British unit.  However, the defenders are starting to take their toll on the advancing Germans who are hampered by a lack of available artillery which has not kept up with the advance.
German assault around centre town
11:30am - The British armoured car is destroyed as German units intensify their attacks on the town while moving up their artillery for a final assault. British reserve units help bolster the centre town defence as they lose units.

12:00am - The German tank advances on British artillery positions which are being very effective at causing losses on the assaulting German units.

12:50pm - British defenders destroy the German tank and repulse assaulting units with rolling successive 6's with the dice (four 6's in all!). On the left flank Germans engineers successfully deploy a pontoon bridge and advance across.

1:30pm - The German assaults are now faltering with most of their infantry units sustaining more than 12 hits which cause them to retire when further hits are taken.
Final positions with British hanging on to the centre town
2:00pm - Germans successfully occupy the left flank town having crossed the river via the pontoon bridge. So while their artillery arrive, all bar one of their infantry has sustained 12 or more hits so any further advances will be impossible.

After adding up points for the objectives occupied, the Germans have 8 points of a total 13 points available. A German minor victory, 1 point away from a major victory.

I will be making a couple of updates to the rules to clean them up, but no actual rule changes per se.


Wednesday, 28 October 2015

WW1 OHW Battle Report

This game was used to try out some of the recent rule additions for the game clock, barrages and tanks. The setting is an assault in 1918 on two German held towns and overlooking hill by British forces. The assaulting side was set three objectives:

1) Capture the two towns in the centre and on their left flank
2) Take on hold the overlooking hill behind the centre town
3) Capture the bridge on the right flank.

A sketch of the battlefield and objective order
The attack was to commence at 5:40am with dawn at 7am, and provide 1 hour 20 minutes of game time where visibility would be 12". The attack would be proceeded with two barrages, one preliminary barrage at zero hour attacking the entrenched units, and the second box barrage behind enemy lines attacking there communication lines. The result of barrage on the communication lines was to delay all reserves by 1 hour and add +1 to the German resupply difficulty calculation.

Aircraft support is increased between 9am and 11am for the British and will appear to strafe and bomb on a 4+ dice roll.

All German reserves would roll to determine which road they would enter the table on (1-3 at point A and 4-6 at point B).

German defence force

On the table: 2 x infantry, 4 x heavy infantry (additional machine guns), 2 x pillboxes, 1 x field artillery, and 1 x field howitzer.

Reserves within 1 hour (plus any delay due to attacks on communication lines): 2 x heavy infantry, 1 x field artillery and 1 x field howitzer.

Reserves within 3 hours (plus any delay due to attacks on communication lines): 1 x heavy tank detachment and 1 x Strumtroppen unit.

British assault force

Wave 1 arriving at zero hour: 2 x heavy infantry, 4 x infantry, 2 x heavy tank detachments, and 1 x medium tank detachment.

Wave 2 arriving at +1 hour: 2 x heavy infantry, 2 x infantry, 1 x field howitzer, and 1 x field artillery.

Wave 3 arriving at +3 hours: 3 x cavalry, 1 x armoured car, 1 x field howitzer, and 1 x field artillery.

A game clock was made to track game time from zero hour at 5:40am
5:40am (Zero Hour) - The assault began with wave 1 British forces being placed on the table and calculating the effects of barrages on the entrenched units and communication lines.
5:40am wave 1 arrives with tank support
6:30am - The British forces advance on objective 1 the two towns in the centre and left flank. One tank detachment was delayed to to mechanical difficulties (they rolled a 5 on the average dice roll for movement).

7:10am - With dawn lifting German artillery placed on the hill behind the centre town were able to add their firepower to the attacks on the advancing British troops.
Wave 1 assaulting the towns with wave 2 just appearing
7:40am -  The assaults were progressing well and weathering the fire from the defences. Tank units were used to clear a path through the barbed wire and overrun the entrenched German infantry. While behind the British second wave arrived to support the attacks on the towns. The German reserves arrived, delayed by 1 hour from the barrage on communication lines, two infantry and a howitzer arrived at point A and one infantry and field artillery arrived to strengthen defences around the bridge.
The Germans counter attacking on the British left flank
8:10am - The left flank town is captured and German defences retire from centre town after an assault. A counter attack is be prepared on the British left wing as German reserve units move up.
British units force the defenders out of the centre town
8:50am - Germans attempted to recapture the centre town where some of the supporting British units are forced to retire with 13+ hits. (A new rule where units in the open with 13+ hits must retire a  an average dice roll each time they have more hits.) Meanwhile, British artillery moved into position to support their troops against any counter attack in the centre.

British forces push on from the centre town towards the bridge
9:20am - Both sides were starting to lose units in the fighting around both towns. The British were starting to put pressure on the Germans in the centre and towards the bridge, while the two heavy tanks moved on the hill, their second objective.

10:00am - As German unit loses were mounting and the bridge looked like being lost, but last minute reserves arrive in the form of an AV7 heavy tank. On the left flank a battalion of SturmTroppen arrived to support the defence of the hill. British casualties were rising with the loss of a heavy tank and infantry units were being forced back due to accumulated hits.
The bridge is secured for the Germans with the arrival of the AV7 tank
10:40am - The last British tank was destroyed attacking the hill, while on German counter attack on the British left flank was in full swing and forcing them to relinquish control of the town.
The British are forced out of the town by a German counter attack
11:00am - The British were able to reoccupy the left flank town while artillery support helped to nullify the German counter attack.
British regain the town and only one unit made it to the hill
11:20am - While a single British unit advanced to the hill it was countered by the arrival of a Sturmtruppen unit. This marked the end of the game with the British achieving their first objective of the two towns, but failing to take the hill and bridge. Both sides were running out of steam with most  remaining units having accumulated too many hits to carry on with the assault or counter attack.


Thursday, 22 October 2015

OHW Machine Age House Rules - Adjustments Continue

While I decide how to paint and base my AWI miniatures. I continue to play a game or two of WW1 using a modified set or Machine Age rules from One Hour Wargames. During these games the opportunity to tinker with the rules is hard to resist. One area which was bothering me was the use of aircraft, and how the rule of having three turns of their use lined up with the game clock. Quite possibly you could have aircraft for two and a half hours. So I've amended the rule for aircraft to arrive just for one turn with greater frequency.

A neutral looking plane used a a marker for the aircraft strafing rule
The other rule I amended is about limiting what units can do when they exceed 12 hits. (Note - the house rule has 18 hits before a unit is eliminated.) Having units hold out to the bitter end in the open without giving up ground didn't seem right. So units with more than 13 or more hits cannot assault, and if in the open will automatically retire each time they acquire any more hits. The number of inches they retire is determined by an average dice (2-3-3-4-4-5) role. Units in cover do not need to retire.

Anyway, the rule details are in the downloads - found top right of page.

Saturday, 17 October 2015

WW1 rules updated

Yesterday I was able to update the WW1 house rules based on One Hour Wargames. The link is on the right hand side of the page if interested. I am finding the rules provide an enjoyable game often over within 40 minutes to an hour, given I've doubled the table size and number of troops from the original One Hour Wargaming rules.

My one (minor) frustration is not with the rules themselves, but with a suitable method for tracking hits on units. At the moment I'm using dice positioned behind the unit to track the hits, which can start to look messy as the game progresses and units accumulate hits.
Use of dice to track hits
So I'm going to use unit labels and a units track their hits on paper to see how that goes.

Labeling units

Thursday, 15 October 2015

Continuing to refine WW1 rules

Playing a WW1 game using a 6" gridded table meant I had to drop the variable movement and assault rules. As I quite like those aspects of the rules, after the game I decided not to progress further with migrating the rules to a grid system.
Game in progress using a gridded table

Reflecting on this little foray in to WW1 wargaming, the whole thing started backwards for me. Normally the steps are: 1) being inspired after reading a book, 2) looking for suitable miniatures, 3) paining models, and 4) searching or writing rule sets.

This time I started with finding my 30 year old painted Peter Laing WW1 miniatures and an interesting set of rules ("One Hour Wargames"). So finally, after a visit to the local library, I'm now reading more about the period with "The Western Front" by Richard Holmes. I'm halfway through the book and already I will be trying out rule changes with the introduction of a game clock and weather.

Game Clock
The game clock provides a better narrative to the game when planning and writing up the games in battle reports. A planning example could be:

6:30am - Attack starts with a 30 minute barrage and arrival of the assault's first wave.
7:20am - Wave 2 of the assault arrives
9:30am - Cavalry arrive as wave 3.

For the defence, reserves may be 3 hours away, so would arrive 3 hours after receiving orders.

The way the rule works is at the end of both player's turn an average dice (2,3,3,4,4,5) is rolled and the score multiplied by 10 for the minutes to be added to the game clock. If a 4 is rolled, then 40 minutes is added and the clock moves to 7:10am for turn two.

In turn 1 the defenders would have called for reserves, now due to arrive 10:10am. The assaulting waves cannot arrive until the clock is greater or equal to their expected arrival.

Often with reserves variability is created with rules such as, on 4+ dice roll reserves arrive as planned on turn 4. The game clock creates that variability along with a a more interesting narrative.

I know other rules use this approach. I recall one example the free WW2 rules "Tigers at Minsk".
http://battlefieldswarriors.blogspot.com.au/2014/07/free-wwii-hex-based-rules.html

Weather
At the present I'm using three weather types: rain, fog and mist. The likelihood based on the time of year.

Of the three rain lasts all day, and fog and mist last for 3 hours from sunrise on the game clock.

  • Rain effects visibility, movement and supply difficulty
  • Fog effects visibility
  • Mist effect visibility to a lesser extent.

At present both these rules are scribbles on paper which I need to write up and update my rules.


Sunday, 11 October 2015

Additional House Rules to OHW Machine Age

Over the last few weeks as I've scratch built a few models to add to my WW1 collection and added new house rules to Neil Thomas's (One Hour Wargames) machine age rules. Here is a quick summary of them.

Armoured Cars

Movement: 9" + score of an average dice. If not on the road, roll a normal dice (D6),  a 1 or 2 means  the armoured car cannot move. This reflects their unreliability.
Shooting: D6-2 hits with 6" range.

Heavy Tanks

Movement: 3" + score of an average dice. Before attempting to move roll a D6, if a 1 or 2 rolled, then tank cannot move. This reflects their unreliability.
Shooting: D6+2 hits with 6" range.

Medium Tanks

Movement: identical to heavy tanks.
Shooting : D6 hits with 6" range.

Pioneers

Must be attach to an infantry unit until used. They take 2 moves to set up a pontoon bridge.

Howitzers

Movement: 3" + score of an average dice.
Shooting: 24" range D6-2 hits with no cover saves allowed, to reflect their shell's high trajectories and steep angle of decent.