Sunday, 15 January 2017

Space marines vs. Necrons Battle Report

Sergeant Rostoc of the sons of the sword space marine chapter has been entrusted with an armed reconnaissance mission. Better known to us as Flank Attack (1) from One-Hour Wargames. His forces are to push though on the road to colony X-374 which dropped off the grid a few days ago.

A force of Necrons is waiting for any who would travel down this road. They have units strung out across the road and hidden in the alien vegetation to attack on the flank of any on the road. So on to battle using the forces described in the previous post.

Turn 1

The first activations were with the Necrons as they are the one's laying in wait. They quickly eliminated one of the oncoming jet bikes. Who returning fire to cause a destroyer to be shaken. 

Surprise attack has one jet bike in flames

Turn 2

The Necrons recovered their shaken destroyer and placed a warrior squad into overwatch once it had reached cover of the shell craters broken ground.

The jet bikes continued to shoot at the destroyers causing another shaken result. Sergeant Floric with his flamer squad disembarked from the Rhino APC using his free AP as a veteran. Then the squad went on to eliminate the heavy destroyer with automatic advancement into the vacated square.

The start of Sergeant Floric's heroic rampage

Turn 3

Nercon forces continued to focus their attacks on the two remaining jet bikes causing one of them to be shaken.

The Space Marines jet bike was quickly recovered and Sergeant Floric's squad continue their advance which resulted in the elimination of a warrior squad. With supporting fire from their Rhino APC there was no stopping them!

Attacked by flamers which ignore cover the warrior unit is eliminated

Turn 4

Necron units concentrated their shooting efforts again on the jet Bikes. This time with success and another one was eliminated. The overwatch unit of warriors lending their support to the attack. 

The flyer unit entered the fray and attacked Sergeant Floric's squad without success.

Nercon flyers attack on 2 AP
No Necron flyers were going to stop Sergeant Floric's heroic charge. Within a blink of an eye they succumbed and were a blazing set of wrecks. Alas, this event was not captured on camera (I was obviously too absorbed by the action).

Emboldened by success, Sergeant Rostoc charged out of this Razorback APC attacking the scarab horde, halving their number (hordes take two hits in the rules).

Turn 5

Necron attacks had no effect. With support from the remaining jet bike and the Razorback, Sergeant Rostoc's squad charged and eliminated the remaining scarabs. Meanwhile, the unstoppable Sergeant Floric continued has rampaging charge and eliminated the Nercon warlord. Then moved into the vacated open ground.

Turn 6

Revenge for their lost warlord the Necrons eliminate in a devastating show of shooting the last jet bike and the heroic Sergeant Floric who was caught in the open. 

The last Space Marine squad, containing a heavy bolter, disembarked and took up position on the rock outcrop to gain an addition square to their attacking range.

Taking up position on a rocky outcrop

Turn 7

With reducing number Necron warrior units make sure they are in cover and the destroyers moved up in line for their final attack. 

Sergeant Rostoc and his squad chance it and advance into cover and attack one of the advancing destroyers. The attack was partly successful with a destroyer being shaken.

Sergeant Rostoc chancing his arm

Turn 8

Necron attacks were focussed on Sergeant Rostoc's squad which they successfully eliminated. The Space Marine force is now in dire straights.
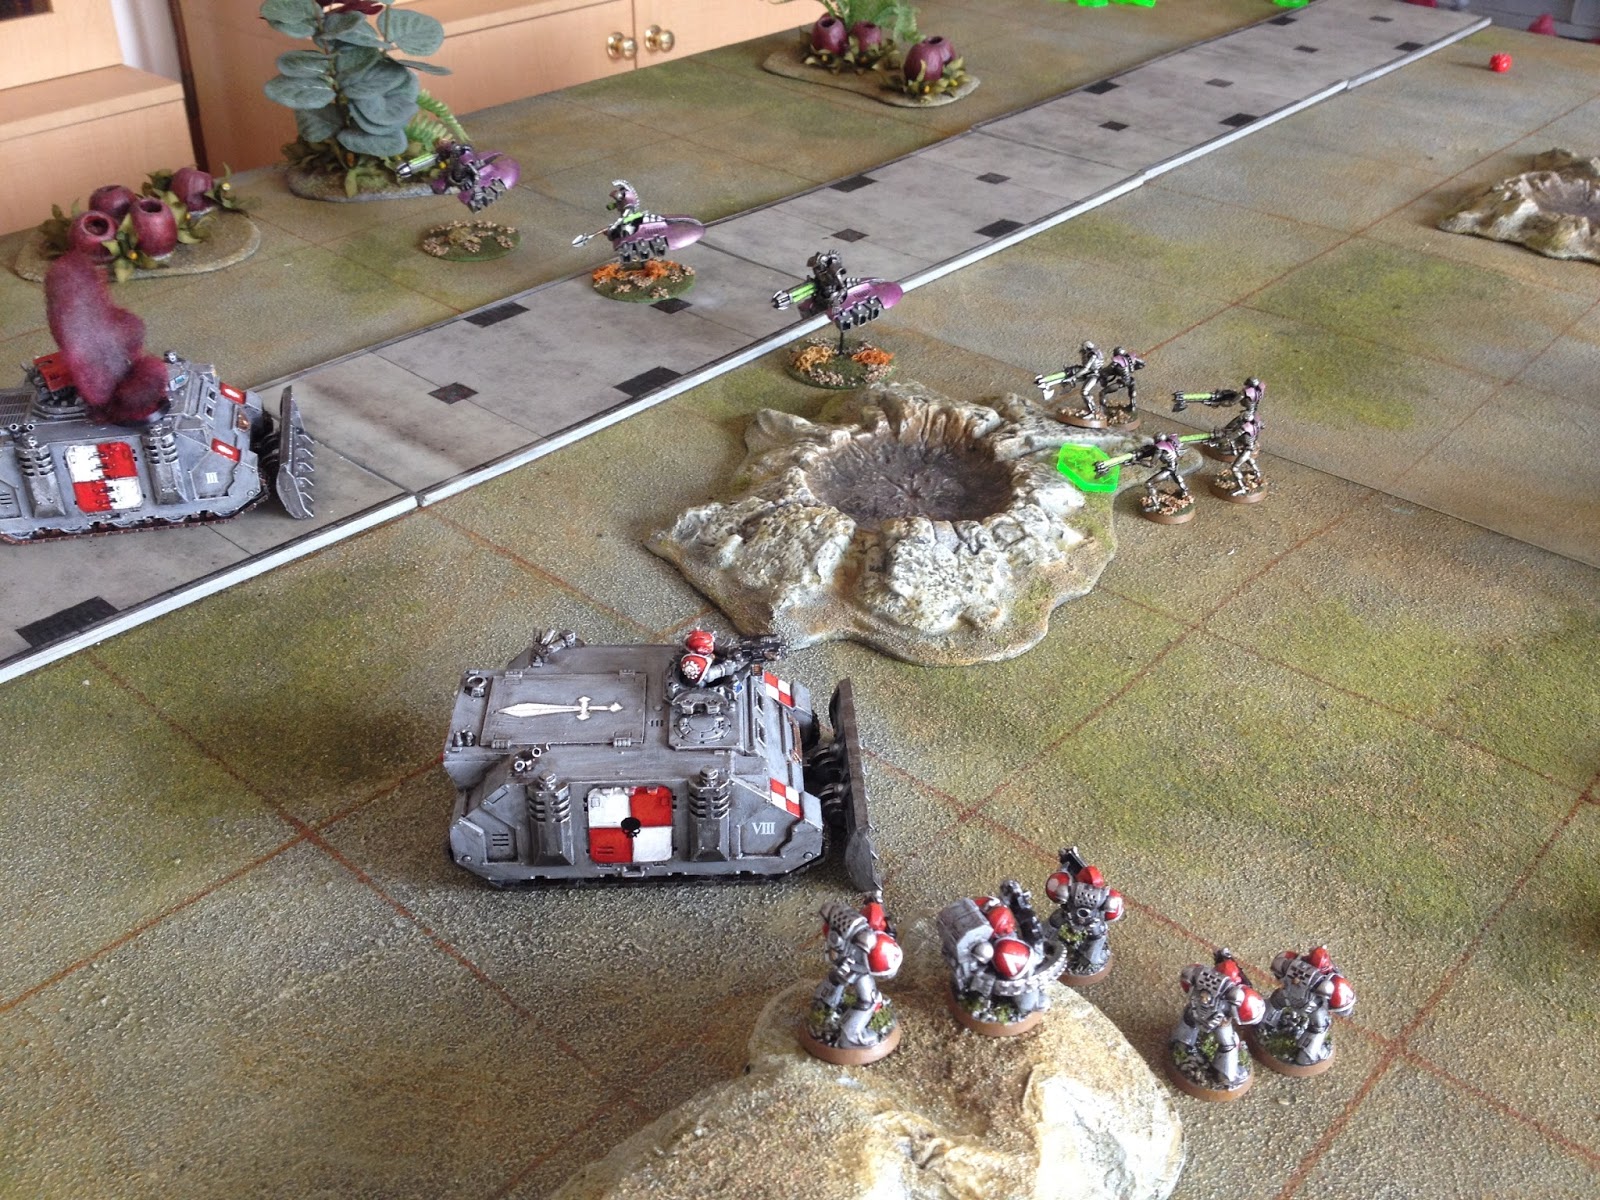
A Necron victory is at hand!

Turn 9

The elimination of the Razorback APC saw the remaining Space Marine squad retire.

After Game Thoughts...

The rules provided a reasonable and close result. They took 30 minutes to play in my estimation if I take out time spent making notes for this post.

I will be treating missile launchers (Sergeant Rostoc's squad had one) as a blast weapon when coming up with unit details in the next game.

Man of the match was an easy decision - Sergeant Floric and his squad for their advance.

So the first game of the 6x6 challenge ends, and a thank you to Kaptain Kobold for proposing the challenge idea (here).

Saturday, 14 January 2017

Beginning the 6x6 gaming challenge

I have finally been able to get around to the 6x6 gaming challenge (see here for info). There were a few options to go with Dark Ages and Hundred Years War, but I still have a little bit more preparation to start a series of games for these periods. So to start I am starting with a few SciFi games using a variation on Tank on Tank board game rules (downloadable here) and my variation is available on the tab above.

In a series of games, 6 in all to meet the challenge criteria, I am following the trials of Alpha company of the space marine chapter sons of the sword. They have been sent to an outer rim mining planet to investigate some odd going ons on the world of Dranus. Upon their arrival the world authorities are trying to contact the mining colony of X-374 which has worryingly ceased all communication. All attempts to contact them have been unsuccessful.

Sergeant Rostoc has been entrusted with an armed reconnaissance mission to push though along the road to colony X-374 while the remaining units of Alpha company disembark. Unbeknown to the good Sergeant a force of Necrons is waiting ready to launch a flank attack on any trying to move down the road.

The scenario is based upon Flank Attack (1) from One-Hour Wargames and fought out on a 6 inch gridded tabletop.

The forces involved...


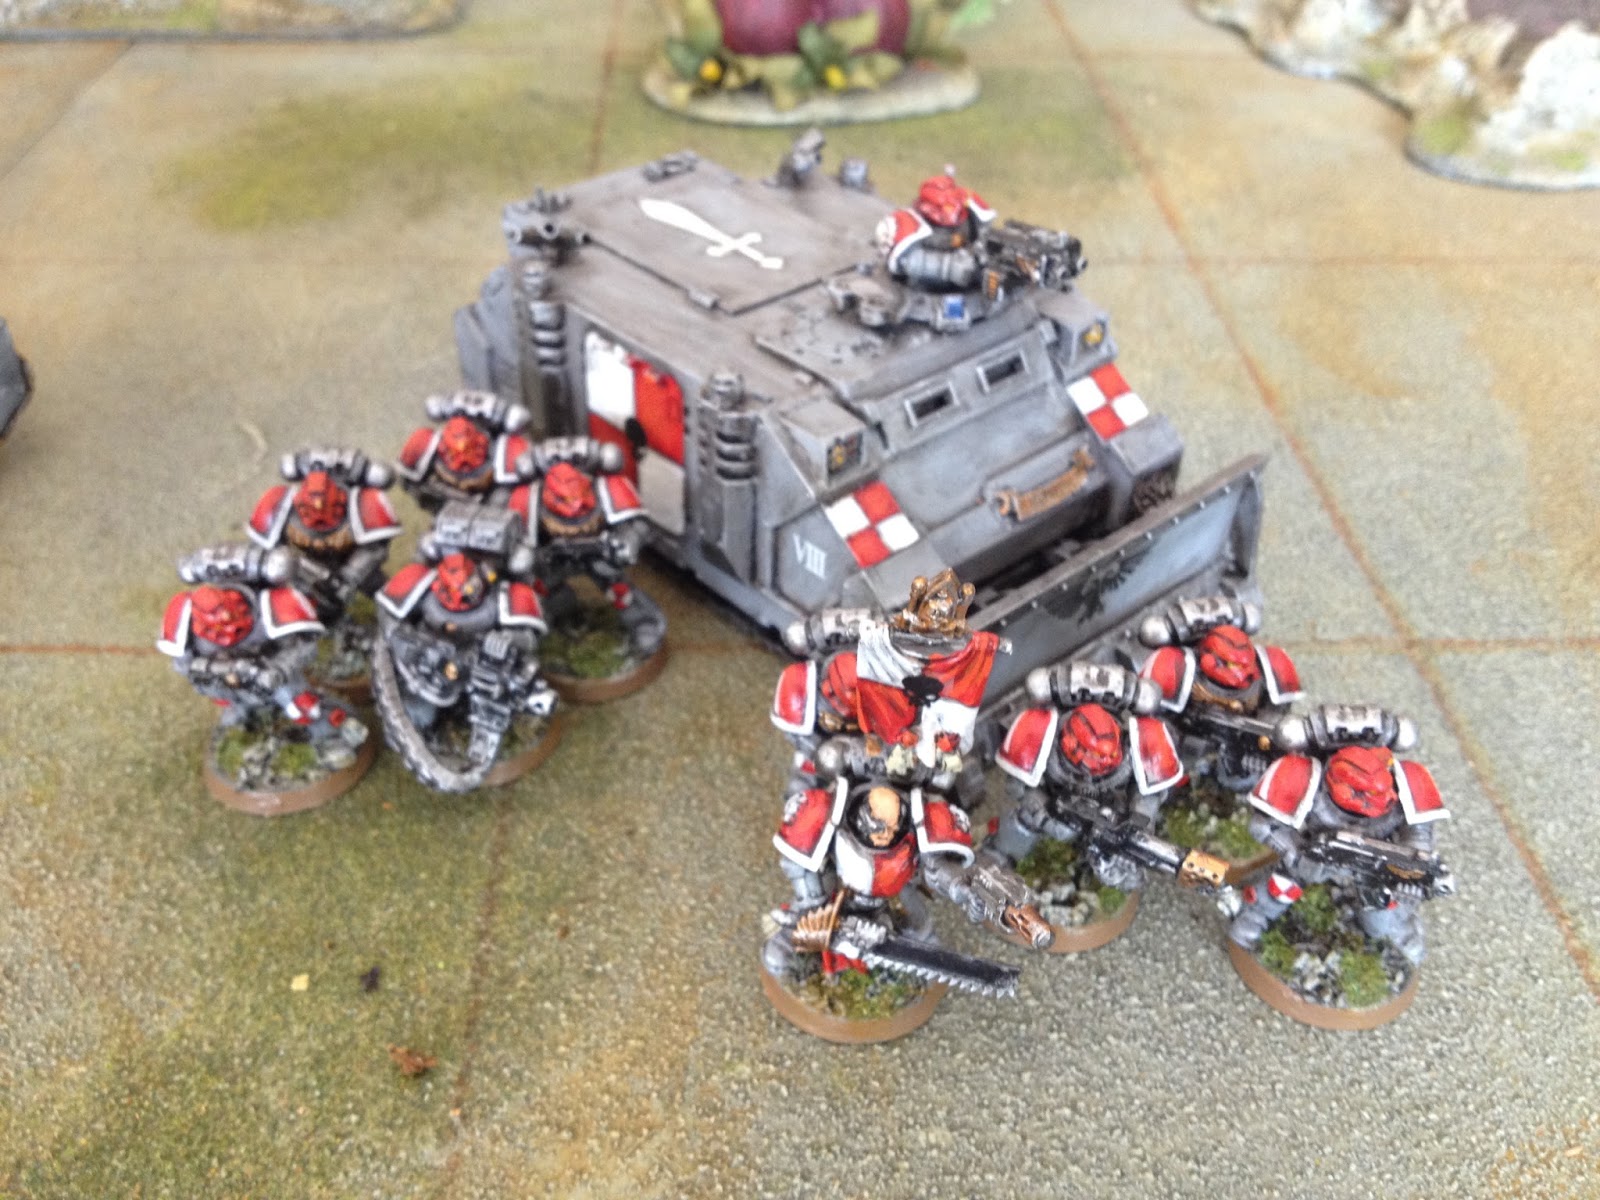
Sergeant Rostoc and his command squad (move = 1, range = 2, armour = 8, troop unit, leader, power weapon). Behind is his transport a Razorback (move = 2, range = 3, armour = 11, non-troop unit, power weapon).


The reconnaissance force has the support of Corporal Lutek on his jet bike (move = 3, range = 2, armour = 10, non-troop unit, veteran, power weapon, skimmer). He is supported by two companions (move = 3, range = 3, armour = 10, non-troop unit, skimmer).


The final part of this little force is Sergeant Floric and his section riding in a Rhino APC. Sergeant Floric is commanding the flamer squad. As a veteran he will get a free action and can move the squad up quickly into the enemy (move = 1, range = 2, armour = 8, troops, veteran, flamer). The other squad will provide fire support with the heavy bolder (move = 1, range = 3, armour = 8, troops). Both squads are transported in the Rhino (move = 2, range = 2, armour = 11, troops).

They face a small, yet powerful, Necron force with two warlords...


The first warlord above with a unit of pariahs (move = 1, range = 2, armour = 9, troops, leader, power weapon) and three warrior squads (move = 1, range = 2, armour = 8, troops).


The second warlord (move = 3, range = 2, armour = 10, non-troop unit, leader, power weapon, skimmer) leads a couple of destroyers (move = 3, range = 3, armour = 10, non-troop unit, skimmer) and heavy destroyer (move = 3, range = 3, armour = 10, non-troop unit, power weapon, skimmer).


In support is a unit of scarabs, you can ignore the old style wraith he is making up the numbers and I like the model because it looks so sinister (move = 2, range = 1, armour = 7, troop unit, horde).


Finally, starting off-table in reserves, is a unit of Necron flyers (move = unlimited, range = 2, armour = 9, troops).

The game is set up and ready to play - more on my next post.
Stand and deliver?

A flank attack lays in wait


Thursday, 12 January 2017

Paper Armies and Rules

While I am still assembling my dark age forces (Saxons, Vikings and Normans) I am averaging 10 units of paper soldiers per week. The rule set I plan to use, Due Bellorum, arrived this week. I have yet to read them all the way through, but I see no reason why they cannot be adjusted to playing on a square grid.

Recent arrivals
Along with the rules I also purchased a physical copy of One-Hour Wargames by Neil Thomas. I have the eBook, which I am constantly referring to and also use the scenarios. I have found this book so refreshing I felt it deserved to by on the book shelf.

A few more Paper Figures completed
I took the opportunity this week to purchase some second hand WW2 vehicles and English Civil War (ECW) artillery from Hinds Figures. I received an email notification saying they were having 20% off in January, and the opportunity to pick up the odd model was too great. The WW2 vehicles are really just expanding the variety of models I have. While the ECW is to complete my artillery needs for my yet to be painted ECW figures. They will be my big project this year. I started collecting them (mostly Hinchcliffe) when I was 13 years old and made a number of attempts to paint them in my teens, all of which failed. So this year they will be eventually finished some 40 odd years later.


Saturday, 7 January 2017

The World is Flat

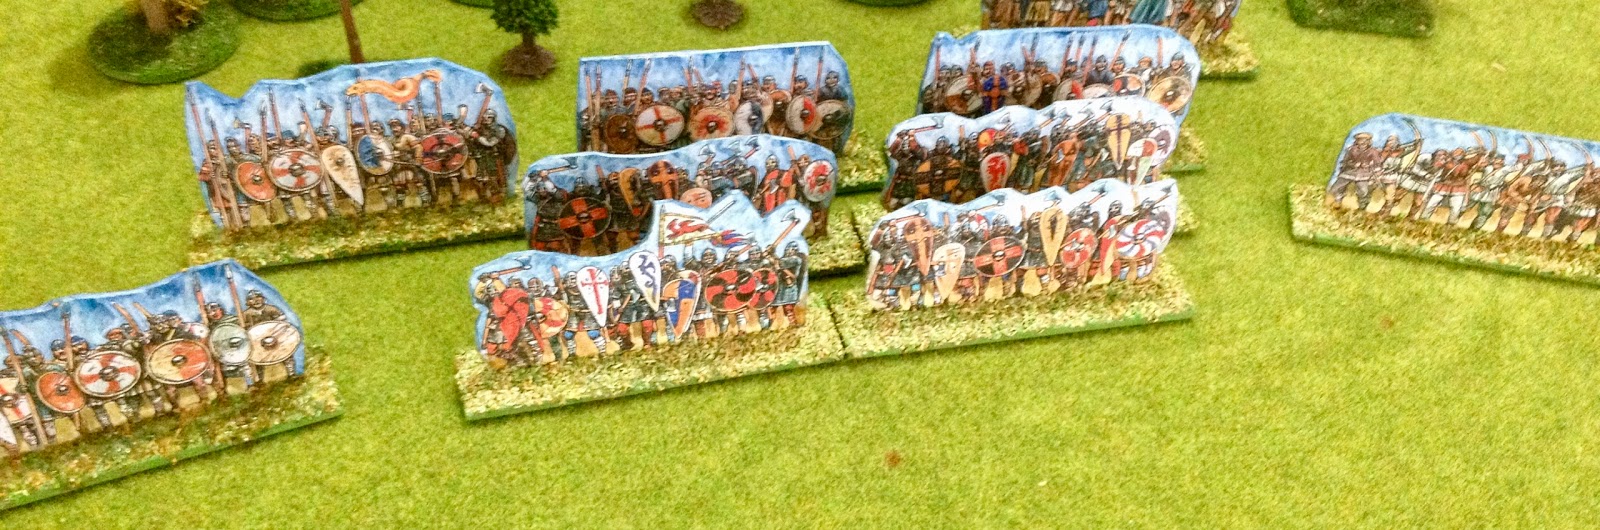
This week has seen me continue with building up of my Saxon and Norman armies using paper soldiers. The method for making them is here. I now have enough for a One-Hour Wargame after just over a week of making them, but I do need to continue making them as my aim is for 25 to 30 stands per army. Not forgetting I have also to make up some Vikings.

Norman Army (enough for a OHW)
Norman Cavalry
Norman Spearmen and Crossbows
Saxon Army
Saxon Archers
The armies line up - a view from behind the Normans
One of the advantages of paper armies is they pack up quite compactly into one box. There is no need to be overly careful with them, plus they weigh next to nothing!

They pack up small
I am trying to make very quickly a medieval ship for a short campaign of 6 battles using Lion Rampant rules. This is to help complete one part of the 6 by 6 game challenge set out by Kaptain Kobold (here for details).

The beginnings of a Medieval ship
The ship is really only going to be used for scenery, but while the world if flat for my modelling I though I would continue the theme. There will be more on my success or failure with the ship in coming posts. So coming back to the medieval campaign. My intention is to use the Agincourt campaign described in Donald Featherstone's as background to creating a 6 battle campaign.


I intend to convert the associated map into a point to point campaign map where the English army try and make it back safely to there ships before being cut off my the French forces.

The original campaign map


Wednesday, 4 January 2017

AWI Campaign game report

On October 28th British forces pushing on to Philadelphia were confronted by American force and so the battle of Turnpike Road took place. The game was played using my One-Hour Wargaming variant rules (see tab above for rules).

Turns 1 and 2

Both forces moved ahead along the road. American forces to seize and hold the hill and British forces to occupy the buildings. On the right flank Hessian units moved towards the far hill.

Commander resolve at this point was in favour of the American commander (7 points) as the American cavalry had positioned itself on the far hill. British resolve stood at 5 points with the occupation on the buildings.

Turns 1 and 2 as forces advance to occupy key terrain features to boost their command resolve.

Turns 3 and 4

The exchange of artillery fire began with American artillery shelling the town and one of the British batteries targeting infantry positioned on the hill.

On the far side two units of Hessians saw of the cavalry who wisely retired. The seizing of the hill added to the British commander's resolve. However, the lost of the hill did not dent the American resolve as losing key terrain features does not impact the resolve points. (The rule assumption is if the feature was important to a force they would fight for the feature and have lost resolve points with unit losses.) 

British resolve was 6 and American 7.

British artillery firing upon the hill in turns 3 and 4.

Turn 5 and 6

American forces consolidate upon the hill, while British forces are delayed due to poor order point dice rolls and bad positioning of the commander (who stopped for refreshments).

Artillery units on both sides continued to shell enemy units.

American forces wait for the slow moving British units.

Turn 7 and 8

The battle started to hot up with the British line finally engaging the waiting American units. In the British line are the Grenadiers who supported by effective artillery fire charged down the road and eliminated the defending American unit. (In the rules only Grenadiers and cavalry can charge.)

American cavalry were quickly moved from the far flank to counter the treat in the centre. The American commander is reluctant to advance his militia who are well positioned to gain cover in the fields.

Resolve - British = 6 and American = 6

Turn 7 as battle lines close.
Turn 8 has Grenadiers successfully charging down the road.

Turn 9 and 10

Both infantry lines continued to exchange volleys of fire. British shooting was proving to be a tad more accurate and caused the loss of an American unit defending the front of the hill. But not all was going their way. The cavalry charged into the Grenadiers who were still disorganised from the charge and eliminated them.

The positioning of American artillery was starting to prove a problem, they could only support one side of the engagement on the hill (which was blocking line of sight). The British on the other hand had split their artillery who could support combat on both hill sides.

Resolve - British = 5 American = 5

The battle hots up with casualties on both sides.

Turn 11 and 12

Things were starting to turn ugly for the American forces. Their cavalry with the bit between their teeth after eliminating the Grenadiers, charged on into the British line and were themselves eliminated. Solid shooting by the British eliminated another unit and allowed them to gain a foothold on the hill (and another commander resolve point).

Resolve - British = 6 American = 4

Turn 12 saw the British advance on to the hill

Turn 13 and 14

The British ascent of the hill was short lived as their attack was spent. However the hill's defence had cost the American commander dearly with most of his line infantry lost or with many hits. As much as the American commander rallied the units, accurate artillery fire disrupted his efforts.

In the centre the Britsh line advanced and other than skirmishing from the Frontiersmen they were now ready to push ahead.

Resolve - British = 5 American = 3

The successful American defence of the hill was to prove costly in the long run

Turn 15 and 16

Both side exchange volleys and losses, while British artillery continued to pound the remaining American units on the hill.

At turn 16 - games end - British resolve was at 4 points and American at 3. So a British marginal victory, reflecting they still had available 7 infantry units and 2 artillery units vs. 4 infantry units and 2 artillery units.


Depleted units defend the hill
Final view of the game
An enjoyable game which I thought the American were going to win or get a draw. It was not to be and the poor positioning of artillery was to prove costly. The rules are working well and are now pretty much set for the remainder of the campaign.

Monday, 2 January 2017

Saxon, Viking and Norman Paper Soldiers

With no other modelling or figure painting in progress, I have been able to get working on my Saxon, Viking and Norman paper soldiers. I am using the "Battle of Britain - Wargame 1066" by Peter Dennis as the source book for these figures. The book allows you to photocopy the pictures and create your own paper army. Instructions are provided within the book on how to cut out and base your figures.


In my first tests I used the suggested approach and decided it was all a bit too flimsy for wargaming and would (in my clumsy hands) overtime become all bent out of shape. So I went with a simpler approach of decoupage with the cut out figures to make them look like a unit, then touch up the surrounds and flock the bases which would be geared to my normal basing of 3 to 4 inches.

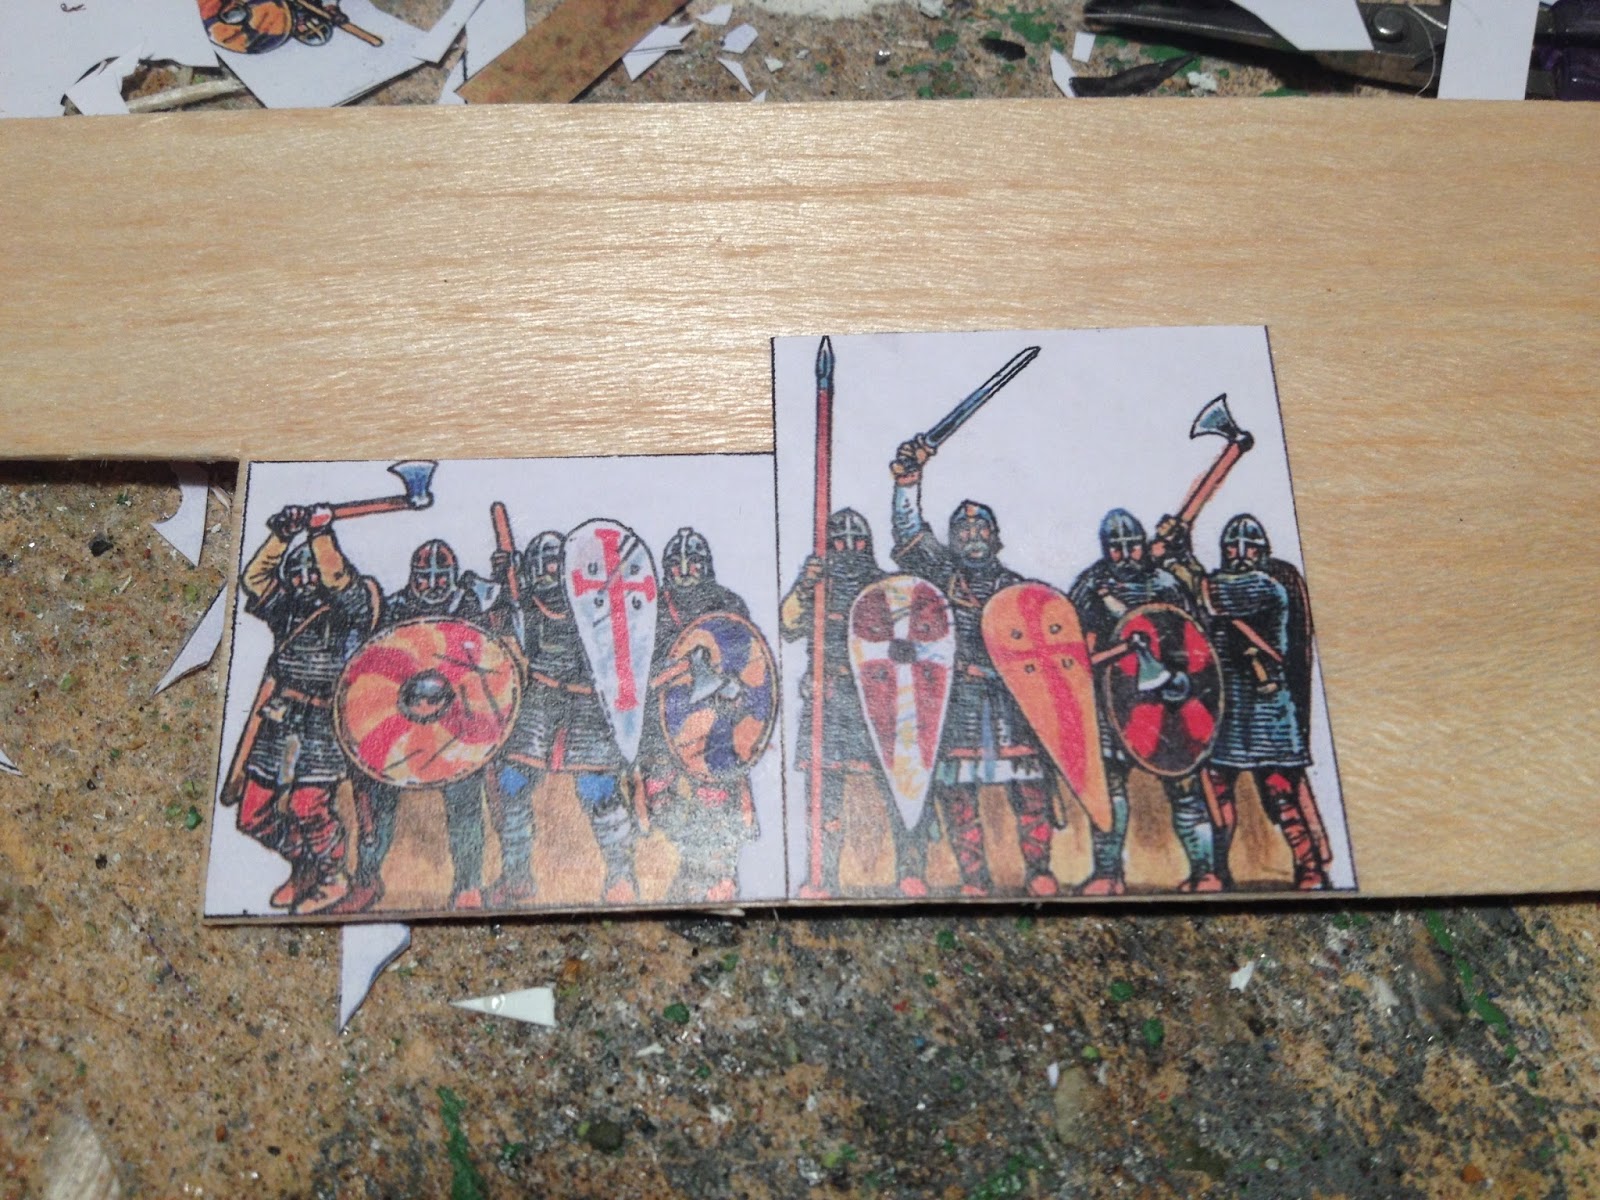
Using 0.75mm balsa wood sheet (1.5mm will also work) I cut out and stuck two of the picture blocks onto the balsa sheet. These look like a very thin line of troops and more work is required to give the impression of a block of troops.

Stick on two pictures on side by side
Reverse pictures stuck on the other side
The next step is to cut out and around individual groups of troops, or even a whole block, and stick them on to the front and rear to give the impression of a block of troops. On my more recent units I have been cutting around the whole block rather than individuals or groups of figures. This seems to work best and is also the quickest.

Cut out individual or groups of men to add to the front and back
If you are wondering what glue I use, it is just the standard PVC glue from the hardware store which dries clear.

The decoupaged unit
Using white paint I touch up any lines which should not be there. Then I cut around the edges with a sharp craft knife before sticking the units on to MDF stands. When stick to the bases I use a thin strip of balsa wood to help strengthen the connection.

Tidy up any lines between the cut out blocks.
Base the units
Once all they glue is thoroughly dry, I paint in the white boarder around the edges using a watered down dark blue paint. This can be done very quickly and any mistakes are just wiped off. Having a mottled effect is fine, and in many ways is preferable.


Once the blue is dry a watered down white paint to break up the blue and highlight around the troops. I also use the same approach near the bottom with browns and sandy yellows to tie in with the rest of the picture.

Once all is dry I paint the base green and use flock. Finally, I paint on an acrylic varnish to seal the unit.

Background boarder painted and base flocked.

Ready for a game
While these will never look as impressive as units of painted figures, they do look pretty good from the right angle (always the case with flats). They allow me to try and wargame a period very cheaply as I expect to get three armies from the book: Saxons, Vikings and Normans. Each of about 20-30 stands in total of various troop types.

Cost of the book $20
Cost of balsa wood sheets $8
MDF sheet (for stands) $2
Cost of profession photocopying on weighted paper $40

Throwing in some paint costs, flock and a new sharp blade the cost per army will work out at about $25.


I do like the style these figures are painted in and will be getting a copy of the book covering the Roman Invasion (out in May 2017).


Sunday, 1 January 2017

Having a go at the six-by-six wargaming challenge

I have decided to join in the six-by-six wargaming challenge set by Kaptain Kobold. The aim is to play, and record in a post, at least six individual games of each of your chosen six rules or boardgames. All is explained here -  http://hordesofthethings.blogspot.com.au/2016/12/six-by-six-challenge.html

My choice of games are:
  • One Hour Wargames (OHW) SciFi Variant - this will force me to work through the rules in a series of games.
  • Dark Ages with Dux Bellorum (Osprey) - my new project and with the rule book ordered and in the post.
  • WW2 Naval (Pz8 rules) - a good quick game I can use if struggling with the challenge.
  • WW1 OHW - it has been a fair while since I played this period and a good excuse to get the old Peter Laing figures out again.
  • Galleys and Galleons (Ganesha Games) - I purchased these rules a while back and have not got around to making the model ships, which should not take too long to build the 5-6 models required for a game.
  • Hundred Years War using Lion Rampant (Osprey) - Recently completed the painting of these armies.
Meanwhile on the modelling front work is progressing on my paper solder Saxon army.

Saxon Housecarls

I will post more on the paper soldiers next time...