Monday, 12 February 2018

Sci-Fi Skirmish Games

Now that all figures from the Necromunda starter set are painted. It was time for a couple of larger skirmish games with 10 figures each side. Rather than use the Necromunda rules, which come with the starter game and are just too complicated or detailed for my taste, I am using some house rules. I really prefer rules to be sufficiently simple to memorise, particularly for skirmish rules, which I believe are best played quickly with no pondering the next move or action to take. Having to look up rules or figure stats just slows the pace of a game for me.

Defending the supplies
Since last playing a game with my house rules with approximately 5 figures per side. Where each figure got an opportunity to perform their actions, I found with 10 figures I was losing track with which figures had taken their actions. My initial reaction to this was to add an activated counter, placed as each figure was activated and collected at the end of a turn. The unfortunate effect of this is to slow down the game turn, not by too much, but it sufficiently irked me to try out other activation approaches.
A gang on the prowl searching for the enemy
The activation approach I eventually settled on assumes there will never be more than 10 figures per side. This is meant to be a game of small scale skirmishes between gangs. At the beginning of each turn both players roll a D6 dice which indicates how many figures they may activate. Like Player Initiative Points (PIPs) from DBA. However, the player with the lower score activates all their figures first, followed by the player with the higher score. This helps to even out the effects of the higher score and introduces the uncertainty of activating first or second in a turn.

Some long range targets
To begin with I started having players re-roll the dice whenever there was a draw, but decided draws could be treated as a lull in the fighting and allow players to remove wounds from injured figures depending upon the scores of the drawn dice. So if two 3s were rolled, three figures per side could recover from wounds, and if two 4s then four figures could remove wounds, etc. This is a very gamey approach, but I liked the unpredictability it introduced, rather than have figures spending actions to remove wounds.

Close combat
Having had a couple of fast paced and enjoyable games using this activation approach. I am now in the process of writing up the rules to fit on to one page. 

As a painting project there are some additional figures I will be adding to provide more variety to my games. These include...
Local Adeptus Arbites to add interference to gang fights
A bit of muscle to support the local Arbites
Local wild life to randomly enter the games?

Friday, 9 February 2018

A few more Necromunda figures painted

A few more Necromunda figures have been painted. There are five more on the painting table, which once painted will be all 20 figures from the boxed set completed. After that I will add one or two extra figures from the bits box to add into the mix.

It as taken quite a bit of readjustment to get into the swing of painting these very detailed miniatures after many months of painting units of the simpler Spencer Smith miniatures.


This weekend I hope to get them all onto the tabletop.

Wednesday, 7 February 2018

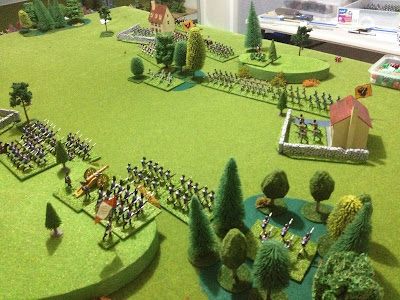
Napoleonic game - A fighting retreat

For this Napoleonic game I decided to pick scenario 20, a fighting retreat, from One-Hour Wargames (OHW). The choice of game also allowed me to use my recently completed scratch built bridges.

The Austrian forces start south of the river and must retreat across to the north of the river by the end of turn 2, which is when French units start to arrive south of the river. To win a side must control the hill by turn 15.

For my rules I am using some house rules which are a variation of OHW napoleonic rules, but geared to D3 dice for assessing hits and have unit elimination when 7 hits are taken. To compensate for units being eliminated slightly quicker the number of units selected are doubled from 4 to 8 for defending Austrians and from 6 to 12 for French attackers.

Beginning of the game with Austrian units set up south of the river. 
Austrian units successfully retire across the river.
French forces arrive and battle begins
French units arrive at the west bridge.
French attacks were successful on the East bridge.
French forces desperately try to force a crossing of the West bridge.
French units finally move across the bridges.
Austrian units organise their lines of defence. Skirmishers are placed in the woods.
The Austrian second defence position between the marsh and woods holds up the congested French units as they try and advance across the river.
Austrian Forces consolidate their position on the hill to wait for the French assault.
Skirmishers remain in the woods to hamper any swift advance.
French units keep Austrian skirmishers at bay while forces are marshalled to assault the hill.
A final charge by Austrian cavalry in an attempt to delay the advance upon the hill.
French units bypass Austrian skirmish units located in the woods. 
Combined French forces successfully capture control of the hill on turn 14.

The French artillery proved the difference in allowing hill to be taken. The combination of cavalry, artillery and infantry proving very effective against the Austrian defenders who were hampered throughout the game by a lack of guns to soften up any attack.

This was the second game I have played using D3 dice and the rules seem to be providing enjoyable games. Time to write up the rules from all my notes.

Saturday, 3 February 2018

Second hand book purchases

A couple of second hand books have arrived from www.paulmeekins.co.uk. "Practical Wargaming" by C.F.Wesencraft was a book I used to borrow on a regular basis from the local library. I remember copying out by hand the rules from the chapter "The army corps in action" into an old school exercise book. These rules had 3 based figures representing a battalion and allowed for larger battles to be played. Up until then my plastic Airfix napoleonic figures all represented the traditional 1:30 ratio of the time where one figure represented 20 actual men.

I bought the book for two reasons. First was for a bit of nostalgia, and second was the high praise the book gets in further reading appendixes of Neil Thomas's books. Having read a number of the chapters you can see some of the influences. Here are a couple if quotes about rules that stood out for me in the early part of the book:

 "Very few dice are required for the games described in this book. I have seen the day when I have fought battles in which I have had to throw thirty of forty dice in what were called saving throws, having already thrown seven or eight dice to see if any hits were scored. What a waste of time when the result probably boiled down to a mere handful of kills in the end. Obviously it was the rules that were at fault. Time is everything to a wargamer. Rule 1 of any game should be: if it wastes time, throw it out!"

"Often unnecessary details are added in the name of accuracy, resulting in time being spent on trivialities that only delay the eventual outcome of the battle."

"The effect of weather on a battle can be crucial and yet in the main is ignored by the average wargamer."


The second book "Napoleon's Campaigns in Miniature" by Bruce Quarrie was purchased to help me with settling up a napoleonic campaign. Having quickly flicked through the book, it is jammed packed with details on organisation, lines of communication, medical services and prisoner of war, attrition and desertion, etc... All looking very useful to shape some simple rules to govern a small campaign, and also to provide a background narrative to the campaign games.

Monday, 29 January 2018

A couple of cheap bridges completed

While I was making my stone walls a couple of weeks ago. I also made up a couple of small bridges with the intent of painting them up once I had worked out how best to create a painted stone effect. With some free time this last weekend I completed the two bridges.

The bridge arch is created be gluing some very thin balsa wood to the underside of some cardboard and then gluing it across a balsa strut placed in the centre. 
The arch glued in place. In addition two little cardboard cutout arches were stuck to the bridge walls. This will act as guides later on. 
More paper towel was added to hide the gaps and little thing cuts of balsa wood added to the tops of the wall and across the arch along the arch guides previously stuck on. One thing I did with the bridges (a learning from doing the walls) was to sand the balsa bits to give them a smother look.
A coat of light grey was applied. 
A dark grey wash was added and once dry a mid brown wash was applied over the top.
Unfortunately there is a bit of a gap in photos of the painting process as I whipped through the painting very quickly as it was drying very fast in Melbourne's heatwave. The same process was used as with the walls (post here).

Once the stones were all dabbed on with an old paint brush. The extra step I did with the bridges was to use a half watered down blue/black and small brush and go around some of the stone dabs to give the impression of mortar and a more solid look that the stone walls.

The bridge deck is dry brushed with sand and brown before dabs of paint are added to represent stones.
The watered down blue/black is used to in-between the dabs to create a more solid looking  appearance 
The finished bridge on the tabletop.

Sunday, 28 January 2018

Getting to use some D3 dice

Having finished off a couple of games during the week to try out some WW2 rule amendments. It was time this weekend to have a game with my recent purchase of some D3 (1,1,2,2,3,3) dice. I opted for using my draft Napoleonic rules which are as usual influenced by One Hour Wargames (OHW) rules.

One of my frustrations with OHW rules is the tracking of hits. By using D3 dice I was hoping to reduce hits before elimination to greater than 6 and track most units with only one dice. (I would still have one or two Guard units being able to take up to 9 hits.)

I know the Maths is not quite the same when comparing to OHW, but by have a few extra units on the tabletop I was hoping this would compensate while still providing a good game.

  • Elimination on 15+ hits with a D6 score averaged at 3.5 would have the unit at exhaustion point (14 hits) after 4 rounds of combat. (The average is calculation is 1+2+3+4+5+6=21 and 21/6=3.5)
  • Elimination on 7+ hits with an average D3 score of 2 would have the unit at exhaustion point (6 hits) after 3 rounds of combat. (The average is calculation is1+1+2+2+3+3=12 and12/6=2)

The combat conversion is to use +1 or -1 rather than +2 or -2 as in OHW. Also, rather than halving a score for units against units in cover, a one subtract instead.

Having played through two games with D3 dice, I am finding the combat phase in the games comes to a conclusion more quickly, as expected, which does not detract from the game. Rather I have found it emphasises the need to have those extra units available in reserves to plug any gaps in the line.

So far I am quite liking the idea of less granularity with combat. There is more distinction between units operating above or below expectations (a D3 score of 1 is poor, a 2 is average, and a 3 is good).

While there was nothing stopping me apply the above D3 approach with a D6 (halve and round up) having the D3 somehow just made it easier. Anyway, time for some photos of some shinny Spencer Smith figures in action.

Terrain and models all set up for a game. 
French cavalry move forward in the foreground. Not the smartest move by me to have all my cavalry together in a game that tries to  reward combined arms.
French forces advance upon combined Austrian and Russian forces. My recently completed walls go a showing in this game. 
The assault is underway.
The French General watches the assault.
At this point my phone battery required a recharge. The game was moving along at an enjoyable pace so no more photos alas. The French were to have a marginal win, which could have been more convincing if their were cavalry available to follow up as Austrian/Russian units become exhausted. Poor tactics applied by me when setting up the units.

WW2 games and trying out rules

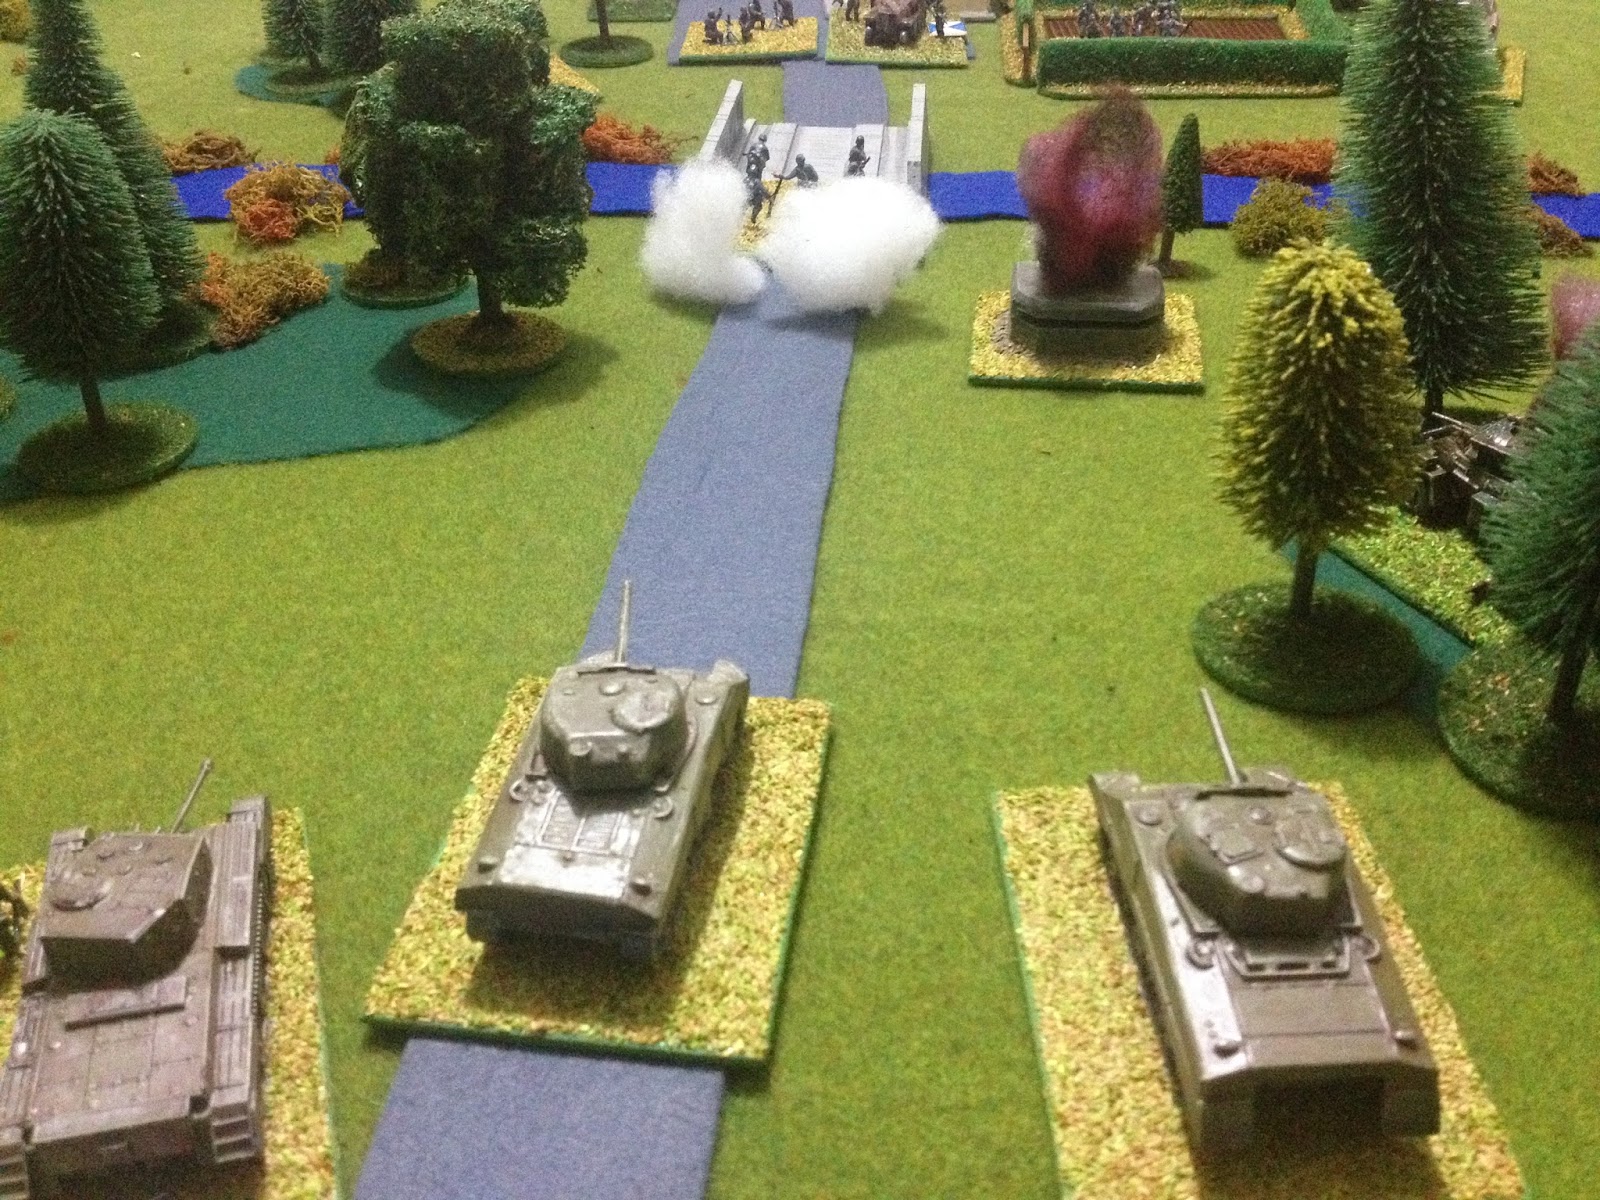
During the week I played a couple of games based upon the scenario Pont-de-la-Croix from the book Operation Warboard. The purpose for playing the games was to try out some rule changes.
Both games had similar results with the Allies failing to get control of the bridge.

Allied tanks move up after a lead Armour Car was destroyed
The remaining units arrive to support the attack
An attack is mounted on the pillbox 
The pillbox is eliminated and the remaining infantry unit retreats across the bridge under cover of smoke. 
Allied tanks make a rush for the bridge
The tanks become easy pickings for the AT gun and Panther
I am still not convinced of the rule changes. The second game worked more like I hoped, but I will park the rules for a while and return to them another time.