Sunday, 15 July 2018

A few Sci-Fi games

In between playing French Indian War campaign games. I thought this week I would get some of my Warhammer 40K figures onto the tabletop. The reason for this choice was I had a few rule ideas for a One-Hour Wargame style Sci-Fi game. These were thought up while walking on my lunch breaks. I am yet to find or write a simple set of Sci-Fi rules that work fully to my satisfaction. This proving both enjoyable, as I get to test out different rule mechanisms. Yet at the same time frustrating, as the new rules often don't work out they way I expected.

In this game a group of Space Marines prepare to defend against the advancing Tyranid horde.
Another game where each side tries to take and hold objectives.
Anyway, it is so far so good with these rules, and it is now time for me to take all my notes and write them up. All being well I should be able to write the rules in a sufficiently concise way, so that I can create a little booklet of the rules. Just like I did with my WW2 house rules.


 Soon it will be time to clear the tabletop for the next instalment of the French Indian War campaign.

Monday, 9 July 2018

French Indian War Campaign - Game 17

The French Indian War campaign continues apace with the Battle of Trois Rivieres, where we have a French force under the command of Montcalm take up a defensive position as the pursuing British commanded by Wolfe continue to apply pressure.

Tabletop randomly generated and setup. The French have built defensive earthworks and are positioned with the St. Lawrence River protecting their right flank.
French forces in their defensive positions
British forces take up position under the command of Wolfe.
The original orders of battle (see Jonathan's Palouse Wargaming Journal) has Wolfe with 3 Regiments and Montcalm with two Regiments. Each campaign Regiment is represented by 3 units on the tabletop. In addition both sides have an artillery piece.

British
6 units of Regulars
2 units of Light Infantry
1 unit of Grenadiers
1 artillery unit
Commanded by Wolfe (A4D4)

French
5 units of Regulars
1 unit of Grenadiers
1 artillery unit
Commanded by Montcalm (A4D4)

The British plan was to attack frontally and push a third of their units around to attack on the French left flank. The French have been able to throw up some earthworks which will provide cover for their centre units.

Part one of the British plan sees a detachment of units move around on the flank.
French defenders become aware of the threat to their flank with the appearance of British Light Infantry.
French artillery open fire at the British line.
British light infantry advance through the trees
The British right flank start to move around and Montcalm orders his Grenadiers forward to counter the threat.
The British centre starts to move forward, but are struggling to hold their lines with some units falling behind.
After seeing off the light infantry, the attack on flank begins in earnest.
Having reorganised their lines the British finally begin their centre attack.
The French are able to concentrate their defences against the flank attack. Seeing off all bar the Grenadiers position in the woods.
The British centre attack has cleared the woods and is ready to move on the earthworks. Casualties are starting to mount on both sides as the Battle of Trois Rivieres enters a critical stage.
The French throw their last reserve unit into the fray.
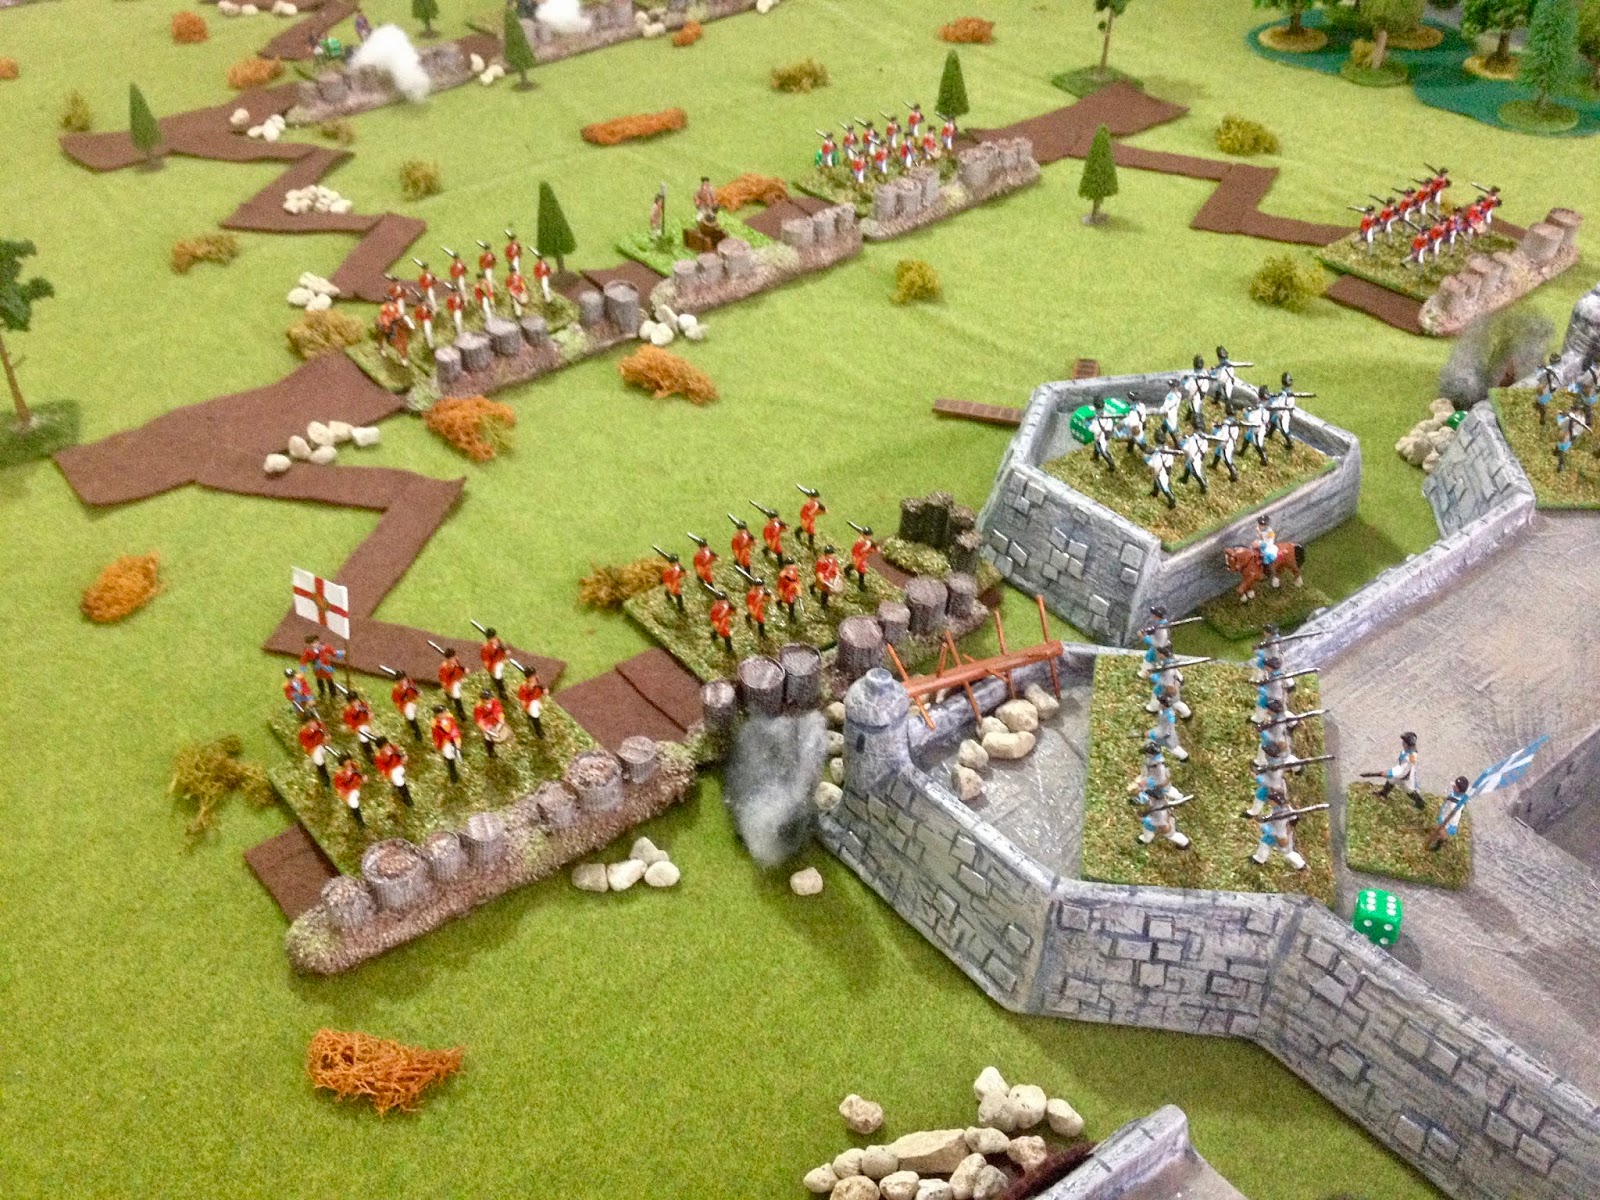
The French prepare as the British line moves up. The limited space between the woods means their own troops block their artillery's line of sight.
In a fierce final assault the French just hold on and the British retire.
A marginal win to the French and Montcalm who were able to just hold on. Critically for the British they struggled to coordinate their attacks and the positioning of their artillery meant its line of sight was blocked when the centre finally advanced.

From a campaign perspective casualties were high on both sides. The French losing one Regiment and the British lost two Regiments.

Tuesday, 3 July 2018

French Indian War Campaign - Game 16

Game 16 of the French Indian War campaign has the British commanded by Wolfe pursuing Montcalm in an attempt to destroy the French force before they can reach safety. Jonathan is running the operational aspects of the campaign and his posts covering these moves are found on his blog Palouse Wargaming Journal.

Order of battle...

British
Commander Wolfe (A4D4)
3 x Regulars

French
Commander Montcalm (A4D4)
1 x Regulars
1 x Militia

The forces are being increased by a factor of two for the tabletop, and Montcalm has been allowed to deploy some hastily constructed earthworks to provide cover. Because of their commander ratings four units on each side have increased capabilities which allow them to absorb additional hits before they are eliminated.

Tabletop set up. The British are deployed with French units waiting behind earthworks and in wooded areas. The brown felt areas represent difficult terrain.

The British plan was to divert a couple of units to cover their left flank and any threat posed by French militia units, while the remaining bulk of their units move swiftly on the earthwork defences.

An early exchange of musket fire as the French militia try and disrupt the British advance. 
The British line moves up in readiness to attack the earthworks.
The defending French open fire as the British come with range.
Solid volleys from British units are slowly wearing down French militia units.
Succumbing to pressure the militia retire deeper into the woods.
British press forward their main attack.
It was at this stage it was becoming apparent that the dice Gods were not going to smile on the French. As string of 1's on the D3 dice had taken the sting out of their defensive fire. While British rolls were consistently 3's or 2's and never a 1 to be seen.

Both sides were starting to lose units.
As the British start to move up their Grenadiers Montcalm decided to retire before he lost a regiment.
A British victory with neither side losing any units from a campaign perspective.

Sunday, 1 July 2018

A Medieval Game

After spending a fair ration of this week's free time messing around with some Sci-Fi skirmish rules with some progress, but not quite what I am after. So it was time for a change. One set of armies I have not played with for quite a while, since completing a campaign last year, was my Hundred Years War armies.

Game Setup

The game set up had a slightly stronger French force surprising the English. Not all the foraging English units arrived in time for the battle. To add to the their woes, the French have selected the better side to defend with a village to protect their left flank. An awkwardly placed wood on the English left flank forces them place a few units well out on their flank to protect against any French mounted units skirting around the outside and threatening their flank.

The tabletop setup with Minifigs HYW figures

First Moves

With their superior numbers and better position the French make the first move. Their mounted men at arms charge towards the English centre supported by men at arms on foot and mounted knights.

The French assault on the English centre begins.
As the attack progresses the English left flank units move across in support while their bowmen occupy the wood.
The attack viewed from the French lines 
While the French attack is becoming fragmented from the English bowmen and English supporting mounted men at arms. It is not without success, breaking the English line and eliminating a unit of men at arms on foot.  
The English mounted knights (with commander) counterattack successfully sealing the gap in their lines and putting the French attack on the back foot.
Buoyed by their successful counter attack the English push ahead as the French attack looks in a perilous state.
The French mounted knights charge in putting an end to the English counter attack which had over stretched itself. In the ensuing combat the English commander is unhorsed and is carried away hurt. 
The attack quickly resumes as the English reorganise and word is passed along the lines that their commander survives.
At the risk of losing their remaining units in the attack, the French retire their centre. The English line holds.

Flank Attack

With the English line weakened and a wounded commander. The French now opt for a flank attack using forces positioned in the village.

English bowmen are forced out from the woods, but not without causing French casualties.
The flank attack progresses slowly, but the English are not in a position to launch any counter attacks this time. 
The English line starts to see the threat to their flank grow.
A gallant charge my mounted men at arms against the French commander came so close to paying off, but it was not to be and they are exhausted as a force and removed from play.
Pressure continues to mount on the flank.
The Game is over and the English retire from the field of battle.
A fun game. I use a mash up of Lion Rampant rules and One Hour Wargaming (OHW) Medieval rules. Applying a simplified sequence activation and rally from Lion Rampant and combat mechanisms from OHW to determine hits.

Meanwhile on the painting front another English Civil War unit is completed as I attempt to complete 1 unit per week. I am now within a few units or having a sufficient mix of units for a 6 unit aside OHW game.

ECW foot unit

Sunday, 24 June 2018

French Indian War Campaign - Game 15

Game 15 of the French India War campaign has delivered a full on siege game, the siege of Quebec - June 1758. For details of campaign narrative and the context to this game, read Jonathon's Palouse Wargaming Journal.

My rules for siege warfare when starting this game were at best a series of notes. So before beginning the game I ran a quick test game which helped out with a couple of areas I was unsure about. These were:

Limiting Parallel Trenches
There is a limit to how many parallel tranches can be built. This stops the besieging side over fortifying their parallels and making it next to impossible for a defender launching sorties. Should a defender choose to fortify their 1st parallel too much, they will struggle to have a solid 3rd parallel platform from which to launch their assault.

Siege Turns and Tactical Turns
At the end of each siege turn either side can launch a sortie (if defenders) or a surprise assault (if besieging). The jump off points are either the fortress walls or a parallel gallery. Up to 3 units can participate in a sortie or assault.

To effect surprise a single D6-1 is rolled for each unit participating to determine the number of squares they can advance before being detected. Then a small engagement occurs using my standard tactical rules. At any point on the start of turn the attacker can choose to call off their attack and both side's units return to their defences.

Artillery and Mortars
During siege turns artillery can only attack other guns or mortars. Only after the opposing artillery are eliminated, only then can fortress walls or galleries can be attacked. Taking 6 hits to breach a fortress or destroy a parallel gallery.

Also, artillery during a siege turn have a range of 6 squares and mortars 3 squares.

I will be writing up these siege rule mechanisms and others used in later posts, but in the game report I have included notes on the effect of some of the rule mechanisms.

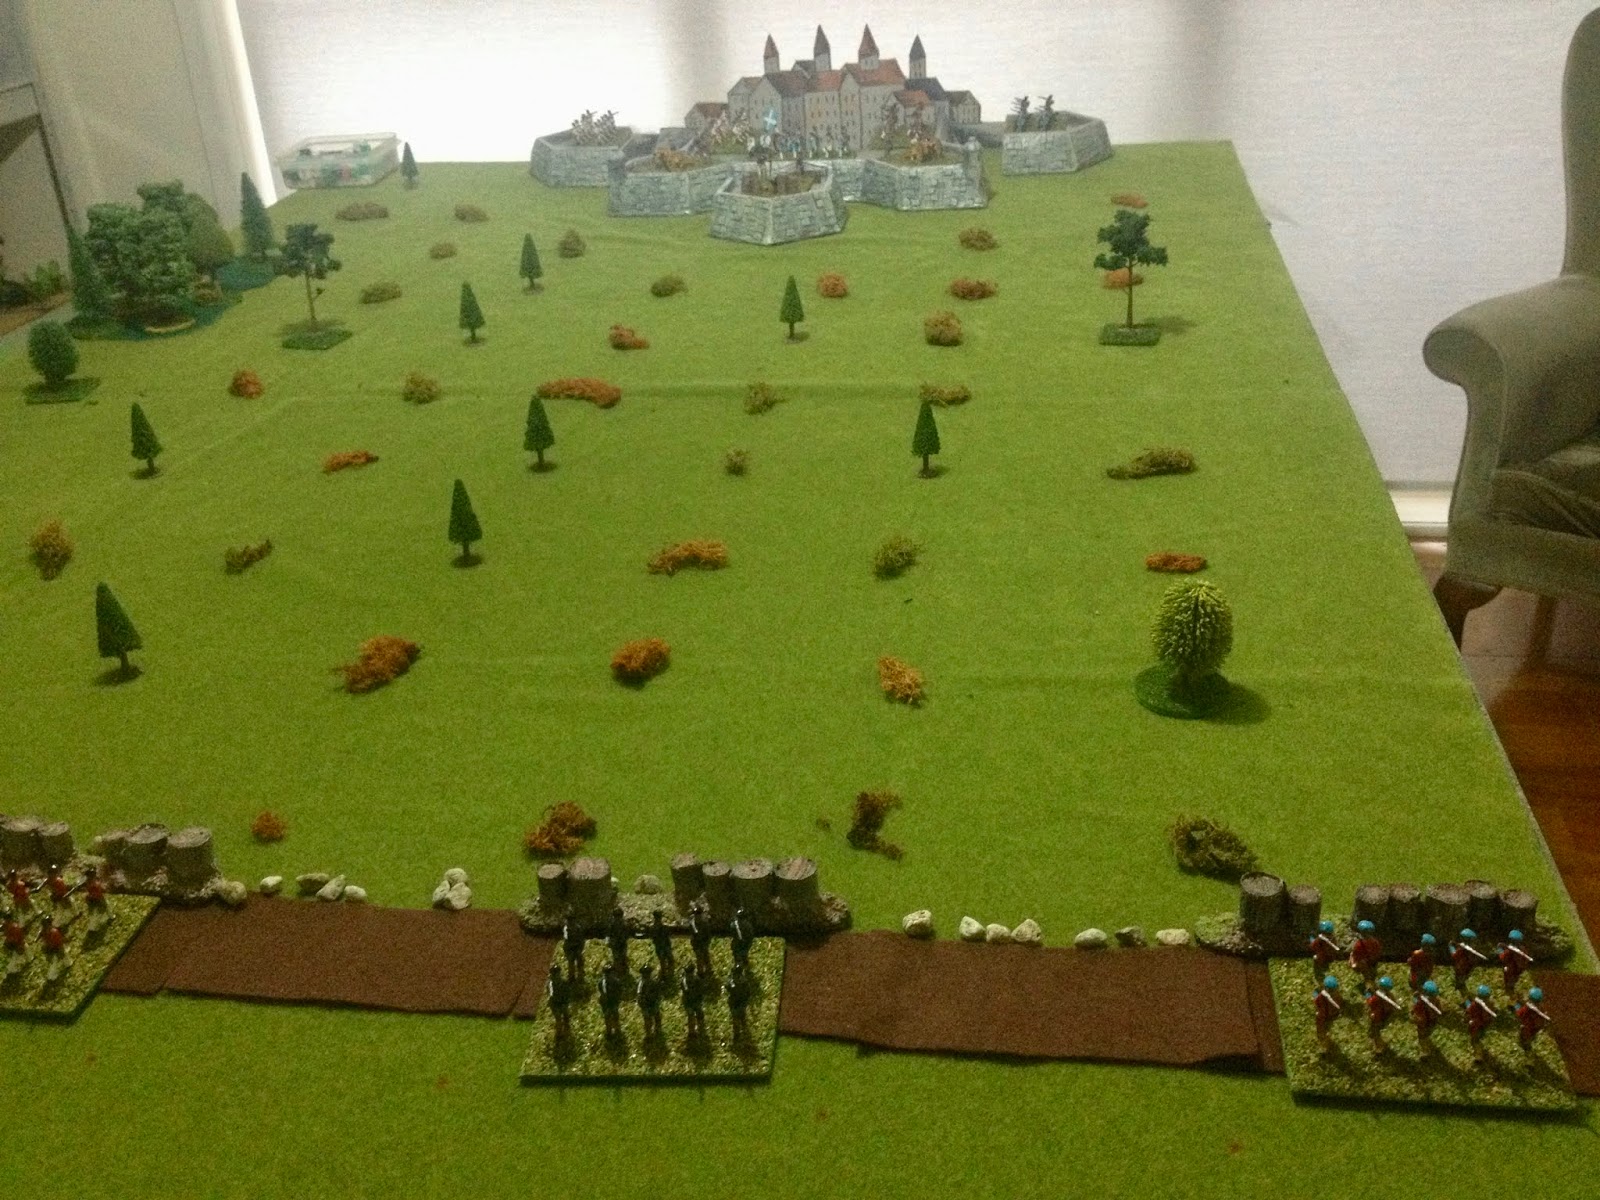
The tabletop is laid out with Counter-Vallation trenches. I use a gridded tabletop and have placed lichen and small trees to show the grid as my dots indicating the corners of squares don't show up on the photos. Note - The besieger may only place units in galleries. Until these galleries are build units must remain off table.

1st Parallel

With the counter-vallation in place the besieging British begin digging their 1st Parallel. The British must complete their 1st parallel before starting the 2nd parallel.

After a couple of siege turns the 1st parallel is developed and a gallery is build allowing a unit to be placed in the parallel.
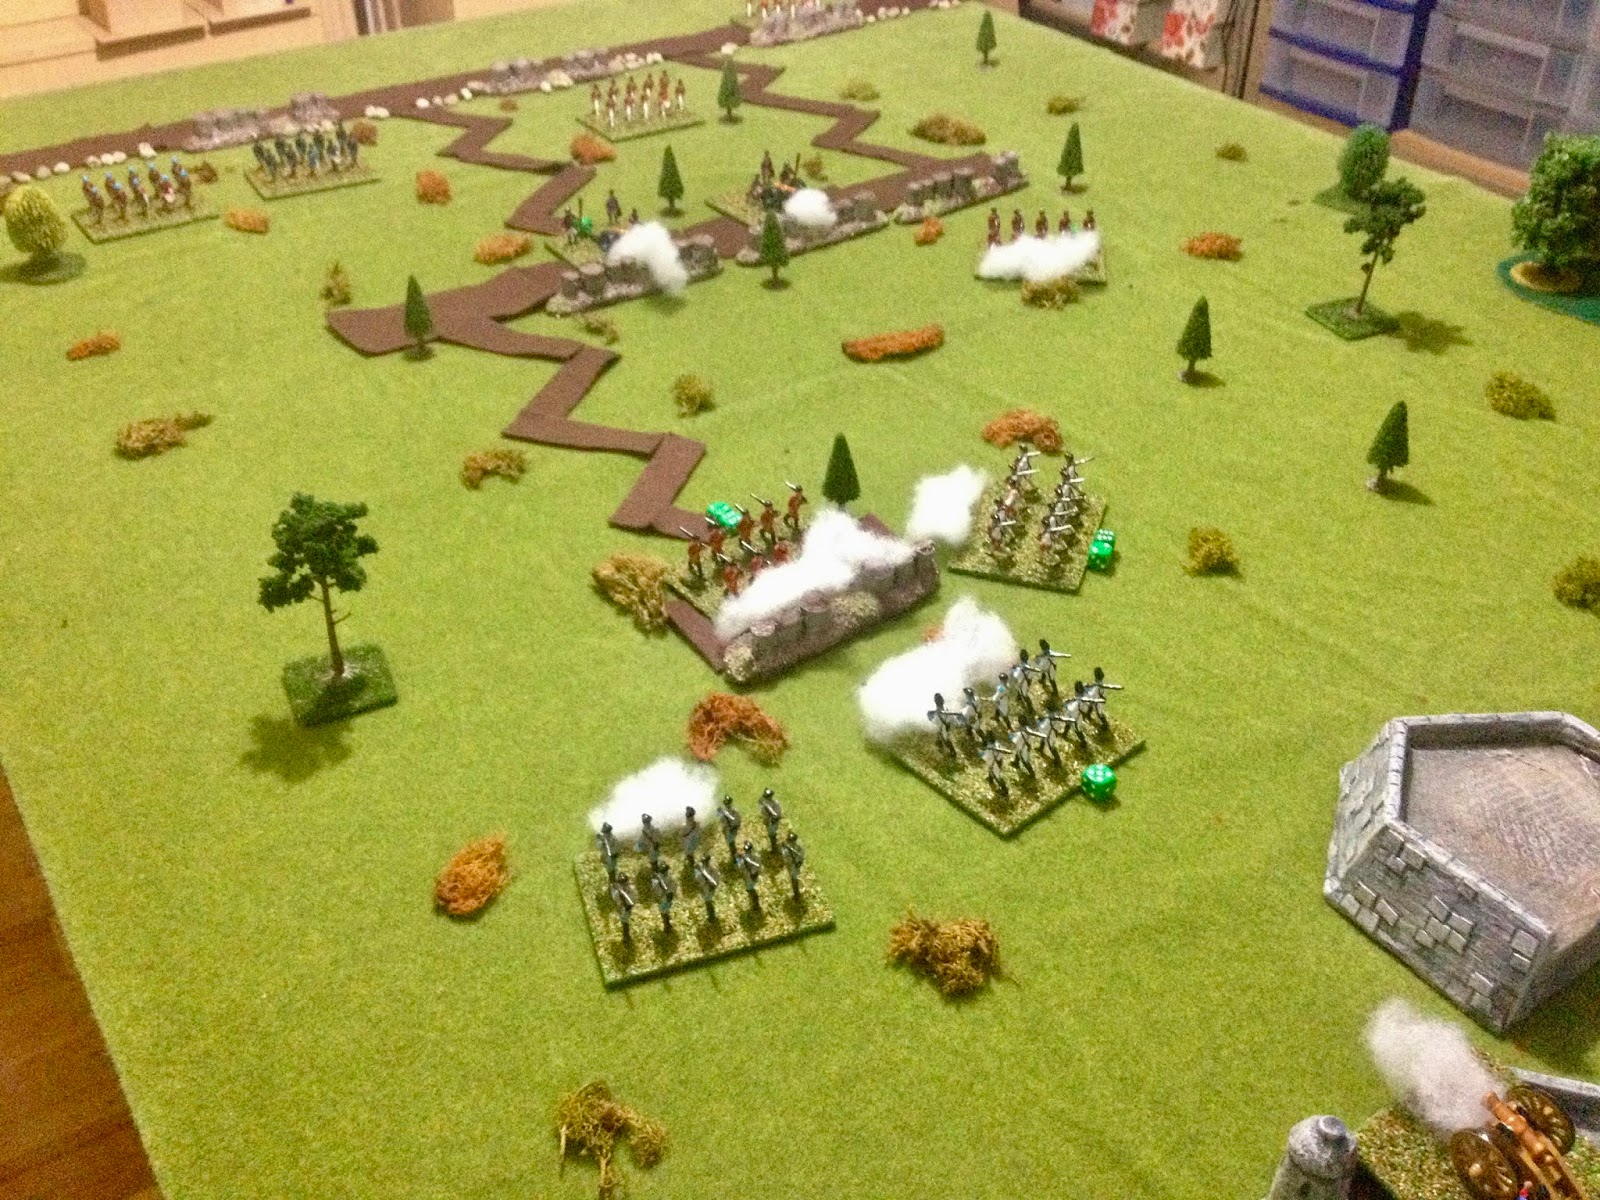
A single unit manning the 1st parallel is a tempting target for a sortie. Montcalm sends out two units at dusk.  One unit gets lost while the other almost surprises the defenders and a small engagement occurs. Other British units can be seen moving from their galleries to provide support and drive off the sortie.
With support arriving the sortie is called off by the French and both sides reposition their units back in the fortress or galleries.
Additional galleries are built and artillery positioned in them. The first stage of the artillery duel begins as besieging British try and eliminate French artillery units. Note - in each siege turn a D3 is rolled and the score indicates how earthworks can be created. It takes 1 point to create 1 square of: sap (zig-zag) trench, parallel trench, or add a gallery to an existing parallel trench. In the photo above 8 points have been expended on the 1st parallel.
Things are progressing well for the British with the elimination of a French artillery unit and the 1st parallel is now well established. 

2nd Parallel

Having developed the 1st parallel and fought off a sortie it was time for the British to develop their 2nd parallel in which they can place their mortars and infantry to try and clear the fortress walls of defenders.

British sap trenches snake forward under the gaze of the defenders. Note - 1 sap trench can maintain 3 parallel trenches.  In the above photo a second sap trench was required to support the first 1st parallel of 4 parallel squares. This rule slows down the besiegers which may be important if there is a relief force on the way.
Montcalm launches his second sortie with the maximum 3 units. Being closer to the walls more units were able to engage effectively in the attack.
Other British units move to provide support, but are slow to react to the surprise sortie. 
The French eliminate the unit defending the gallery and by occupying the gallery are able to destroy it.
After a short delay the British begin to develop the 2nd parallel, while maintaining the artillery dual with their French  counterparts. A view from the French positions.

With the second parallel now well developed and mortars deployed the British begin inflicting hits on the infantry units.
Another sortie is launched to destroy the deadly mortars which are effective at clearing ramparts of defending units.
Another successful French sortie and a mortar is destroyed before they retire back to the safety of their fortress walls.
The British finally destroy the last French artillery. They can now concentrate their artillery to breach the fortress walls. It takes 6 hits to breach a wall.
Nearing the final stage of the siege as a sap moves forward to develop the 3rd parallel from which the walls may be assaulted. 

3rd Parallel

The British decide to develop the 3rd parallel on either side of the fortress, forcing the French to split their remaining units to defend two sides of the fortress.  
A view from the British camp.
The French reposition their units. Note - During a siege turn after earthworks are built, both sides are allowed to reposition all their units providing they occupy the fort or a gallery.
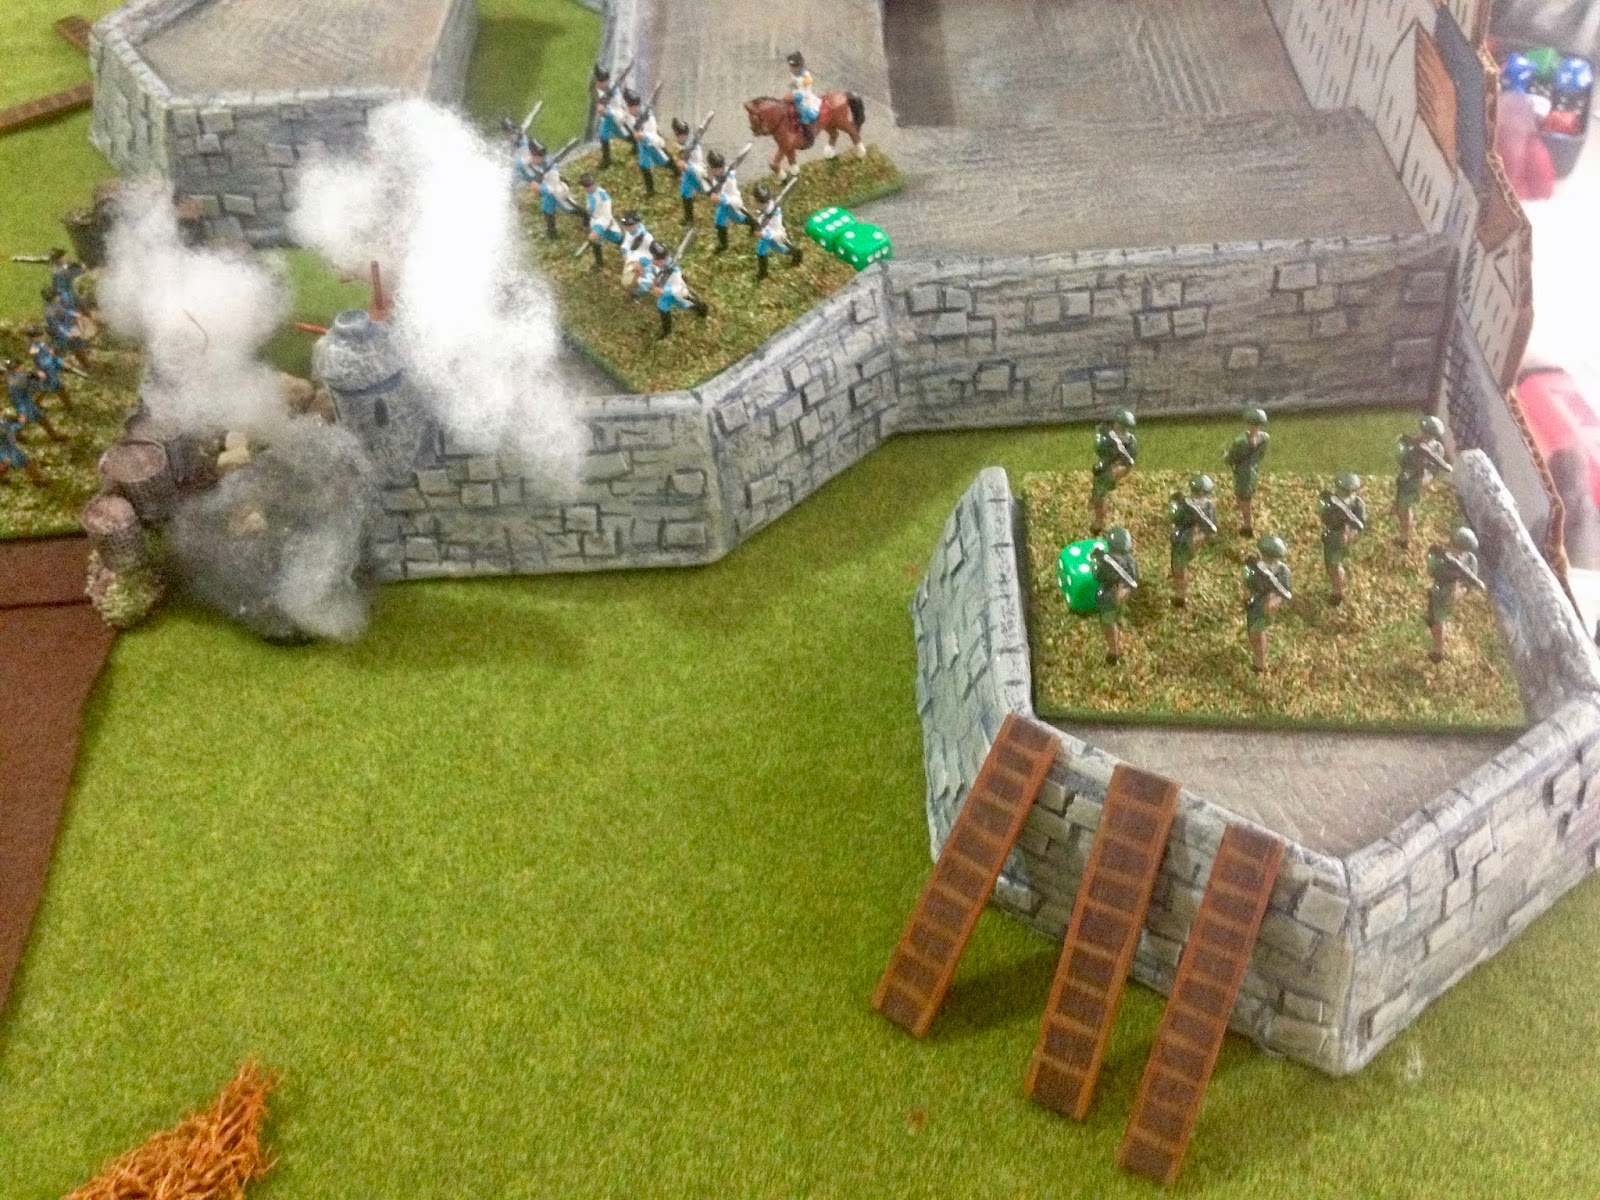
The British spring a surprise assault. Those scaling ladders, a painted strip of balsa wood, are just off the paining table.
The light infantry quickly scale the unoccupied bastion with the intent of planing explosives, but French fire drive them away and they are eliminated. 
The 3rd Parallel is developed and a second assault attempt is launched with light infantry. 
The bastion is successfully stormed and the French fail to eliminate the light infantry who are able to plant explosives. 
The assault party retires after setting the fuses to the explosives. The bastion is destroyed and will be treated as difficult terrain.

Storming the Fortress

With the 3rd parallel completed the British bring forward all their troops and the French prepare themselves for the coming assault and storming of the fortress.

French try to position their meagre forces to cover the coming assault.
The British begin their assault. 
After losing another unit two units the situation is hopeless for the besieged French, who after a gallant defence offer  terms before the fortress itself is stormed.

A victory to the British and the remaining French units march out. Both sides lost a regiment a piece in the siege.

Thoughts on rules and future ideas to consider...

The ability of besiegers to reposition units and pull them out of the forward parallels gives them a definite edge over the besieged who have limited ability to rotate their units. To offset this future rules  will have attrition of D3-1 per siege turn to represent depleted attacking units due to a combination of desertion and foraging.

Mortars cannot target individual units. They target the fortress and the besieged apportion hits how they like across units.

Anyway, I will be doing more work on these rules over the next week while I remember the reasons behind my notes on rule mechanisms.