Friday, 1 February 2019

ECW Campaign game 15

After the drawn battle of King's Sutton (game 14) both sides decided to withdraw and regroup. The Royalist force pulled back north to Banbury to reorganise and their command council deliberated their next move. With the colder days and nights illness was taking its toll on the Royalist army.

Meanwhile, Parliament forces recently resupplied decided to march and engage the Royalist forces.

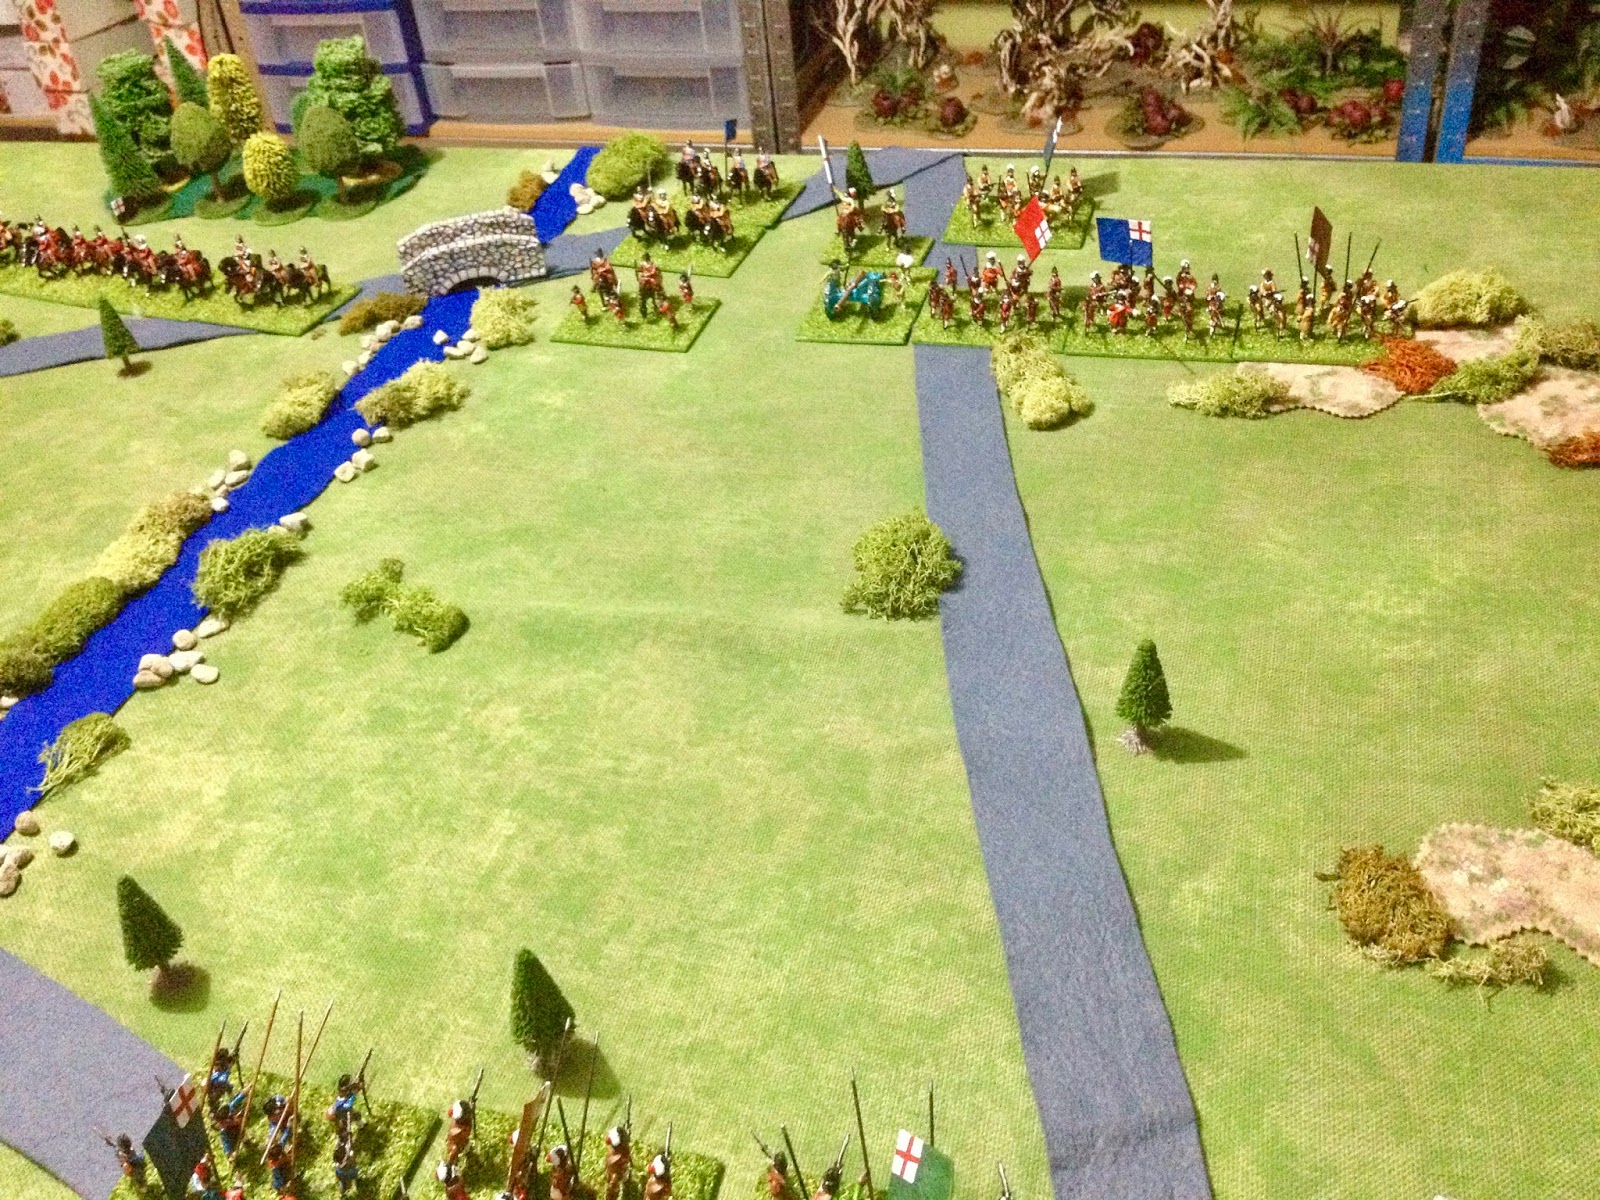
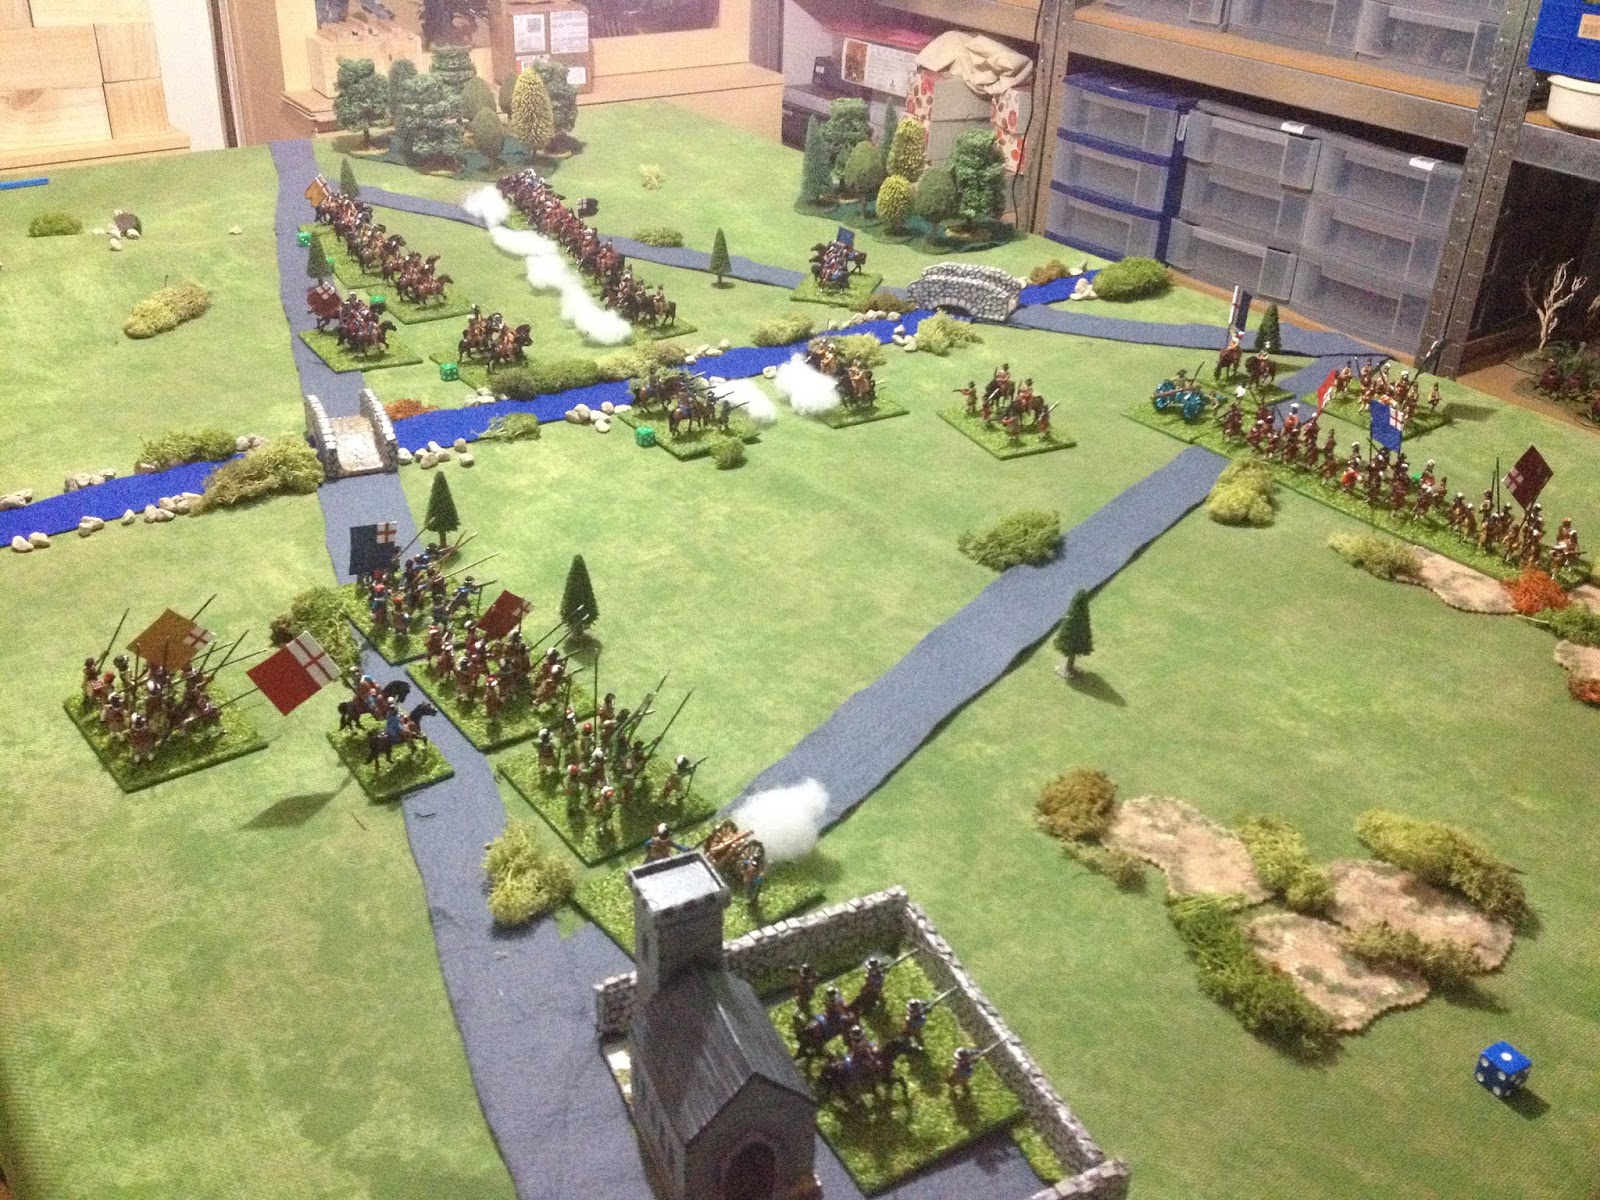
A close up of the game in progress
As neither side wanted to continue with battle (game 14) on the following day and retired. From a rules perspective, both armies would be able to field their original unit numbers. Before doing so both drew another campaign card. Royalists drew badly and would have to remove one infantry or cavalry unit due to sickness, and Parliament could resupply one unit out of ammunition.

Campaign cards drawn before the game
Terrain cards were drawn, the terrain laid out, and units deployed. The Royalist forces stood at 11 units due to the loss of one unit due to illness. Therefore with the smaller force they were able to choose the tabletop edge to deploy.

Terrain cards drawn
Armies deployed ready for the game
Map of deployments
The battle began early morning with Parliament advancing in the centre through the fields and towards the Royalist centre...

Parliament units push forward in the centre
Royalists push forward taking the Parliament infantry by surprise
A unit of Royalist cavalry join the fray to great effect. Parliament's centre is in disarray
Parliament forces reorganise but are on the back foot.
The cavalry eventually engage on the flank
In the centre the fighting becomes fierce and confused as Parliament units try and hold their line
The Parliament centre collapses
This game produced an unexpected Royalist victory. Parliament forces made a mistake of pushing their centre forward without having their cavalry wing engage their Royalist counterparts. This mistake allowed Royalist cavalry to support their centre forces and gain the advantage.

Monday, 28 January 2019

ECW Campaign - Game 14 setup and report

Having lost control of the East Midlands in August 1643. A Royalist army is organised to move into the West Midlands and march upon Banbury and its surrounds. An important location with saltpetre diggings used for the production of gunpowder. A D3 dice was rolled to see when the mobilised army marched. A score of 2 moved the campaign year clock to October (August plus 2 months).

Campaign Move
Campaign cards were drawn for the battle. The Royalists will be getting an additional cavalry units as Prince Rupert joins the fray. Parliament did well with an additional infantry unit recruited as their army is funded by Excise taxes. They also carry over the New Model Army card, gained previously, which gives them the option of using their cavalry as gallopers.

Campaign cards
The recruitment of units began with rolling of dice (see post here for process) which combined with the campaign cards gave the following order of battle:

Parliament

  • 4 x Infantry
  • 5 x Cavalry
  • 1 x Dragoons
  • 1 x Artillery
  • 1 x Lobster Cavalry

Royalists

  • 3 x Infantry
  • 5 x Cavalry
  • 2 x Dragoons
  • 1 x Artillery
  • 1 x Elite Pike

Terrain cards are drawn and the tabletop was setup with a river running North-South through the centre of the board, and soft ground on the East side with the nearby King's Sutton parish.

Terrain cards decide the tabletop
The tabletop - my salt-marsh felt terrain from the last post were reused.
The weather was decided by the dice and was deemed to be overcast which combined the lateness in the year (October) gave the game a maximum of 12 turns. The battle would not commence until early evening and would consist of 7 turns.

Normally the army with the smallest force starts the deployment. In this game both sides had 12 units and the dice were used to decide which army began. Luck went the way of the Royalists.

The Royalists deploy half their units first. Their infantry lined up East of the river
Parliament deployed all units. Matching to a certain extent the Royalists with all infantry and artillery positioned east of the river.
All Royalist cavalry were deployed west of the river.

Map of the battle starting positions

On to the game...

Royalist cavalry bolstered by the presence of Prince Rupert charge and Dragoons from both sides advance along the  river banks
All is pretty even between the sides in the ensuing cavalry engagement
The engagement becomes fragmented and the Parliamentarian reserve cavalry move across the bridge to provide vital support just as Royalist cavalry appear to be getting an upper hand
The additional reserve cavalry tipped the balance in Parliaments favour as darkness fell. On the other flank a sort by Royalist dragoons and infantry cleared the river bank.
At game's end both sides had lost 5 units and neither side wanted to continue into the next day as the river made for a strong defensive position. A draw is declared!

Battle movements
From a campaign rule perspective there is the question - what to do with a draw? The Royalist army is still in the field and not beaten. One of the benefits of a solo campaign is not all rules need to be in place and can be constructed as situations occur. As is the case here.

With two armies in the field there will need to be another game which will most likely see out the 1643 year. Both sides will have regrouped and will field the same units as they started with and new campaign cards will be drawn by each side for the next game.


Sunday, 27 January 2019

WW2 Western Desert Game

There are a couple of terrain items I have yet to make for the Western Desert games. One is an escarpment and the other is salt marsh.

British units in defensive positions (Heroics and Ros models)
This weekend I knocked the salt marsh off the list. The terrain was fairly easy to make. Felt was cut out into the required shapes, then a watered down paint was used, first sand and brown mix was applied and followed with a sand and black mix. Once this was dry, dots of green paint was added for vegetation and light stippling of sand colour mainly around the edge of the marsh.

Salt marsh - painted felt cut to fit into the hexes
These were added to the tabletop for a game in the evening. From a gaming perspective they represent impassible terrain.

A view of the tabletop
The game has a British Tank Brigade with supporting infantry, artillery and armoured car units, defending a small collection of buildings against and attack. The attack is being lead by a Panzer Regiment and supported by infantry, artillery and armoured car units. The forces are fairly even.


British order of battle:

  • 2 x Grant tanks
  • 2 x Valantine tanks
  • 2 x Matilda tanks
  • 1 x Infantry (universal carriers)
  • 1 x Motorised infantry
  • 1 x 6 Pdr. AT
  • 1 x 2 Pdr. AT Portee
  • 1 x 25 Pdr. Artillery
  • 1 x Sexton Artillery (not in photo)
  • 1 x Stuart tanks
  • 1 x Armoured Cars
  • 2 HQs and Independent Commander (treated as Ace in rules)


German order of battle:

  • 4 x Panzer III tanks
  • 2 x Panzer II tanks
  • 2 x Armoured infantry
  • 2 x Motorised infantry
  • 1 x Marder II
  • 1 x 50mm AT
  • 2 x Armoured Cars (Sdkfz. 222 and 234)
  • 1 x 88mm AT
  • 1 x Wespe
  • 1 x 105mm Artillery
  • 3 x HQs and 1 x Independent Commander

The British units were placed on their half of the tabletop.

British defenders prepare for the attack
German units arrive
One rule I was trying out was allowing motorised infantry and artillery to move 2 hexes providing the unit starts its move outside of enemy range. When within range they are restricted to a 1 hex move.

Opening positions for the game

A view from behind the British lines as the German units advance in the distance
British tank reserve move to counter the advancing Panzers
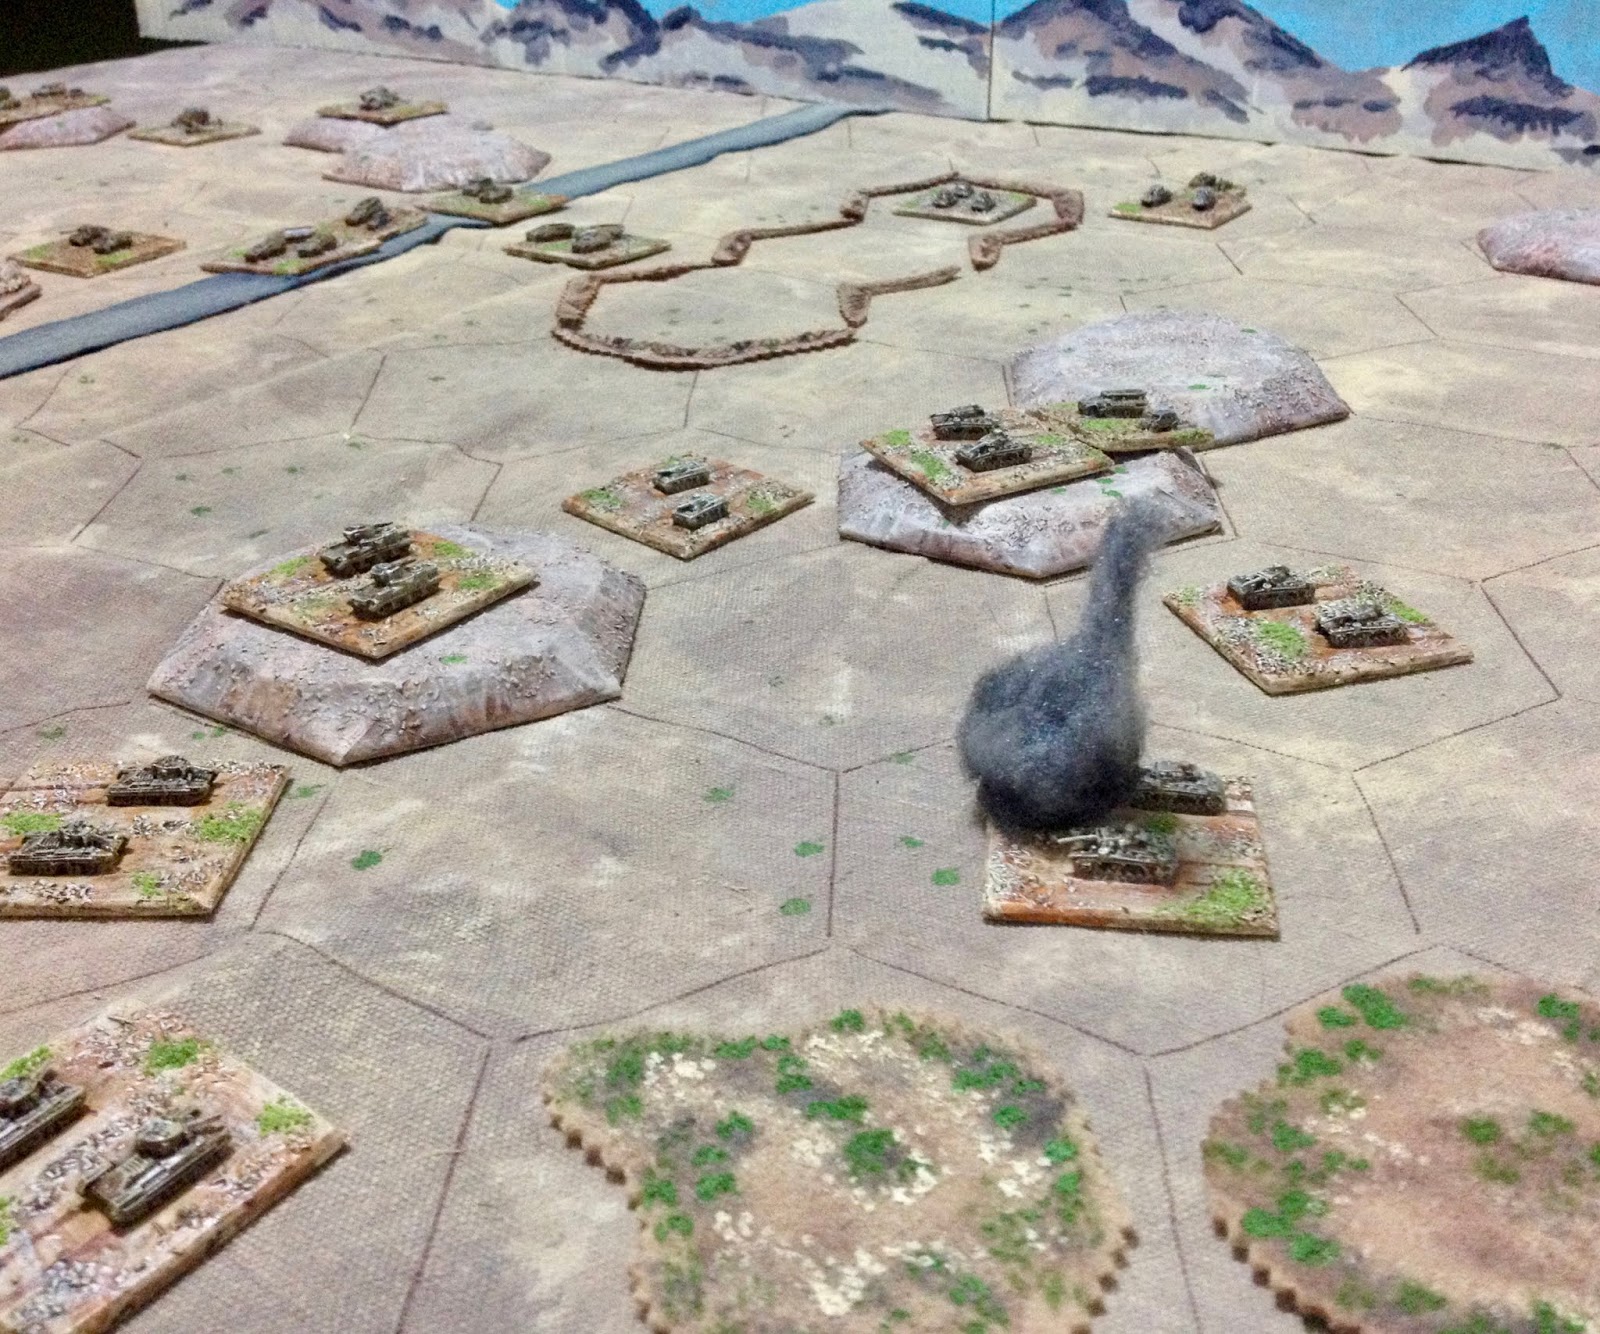
On the other flank German units move up to occupy the hills and come under artillery fire.
A tank battle ensues on the British right flank.
German units push forward in the centre and on the flank they begin to get the upper hand in the tank battle.
The British halt the centre attack, but having lost the tank engagement on their right flank are now in a very tenuous position 
The buildings are seized
A marginal victory to the Germans who took the buildings (their objective).

Constraining the game to 13 x 13 hexes worked will Oand I will keep for the next game. Along with the rule allowing motorised infantry and artillery units to move an addition hex when not starting their movement in range of enemy units.
Flow of the game
One area of the tank on tank rules which I enjoy is the decision making required to get right the balance between making attacks and moving up units to support an attack and replacing the inevitable losses.

Thursday, 24 January 2019

A cheap and cheerful Western Desert backboard

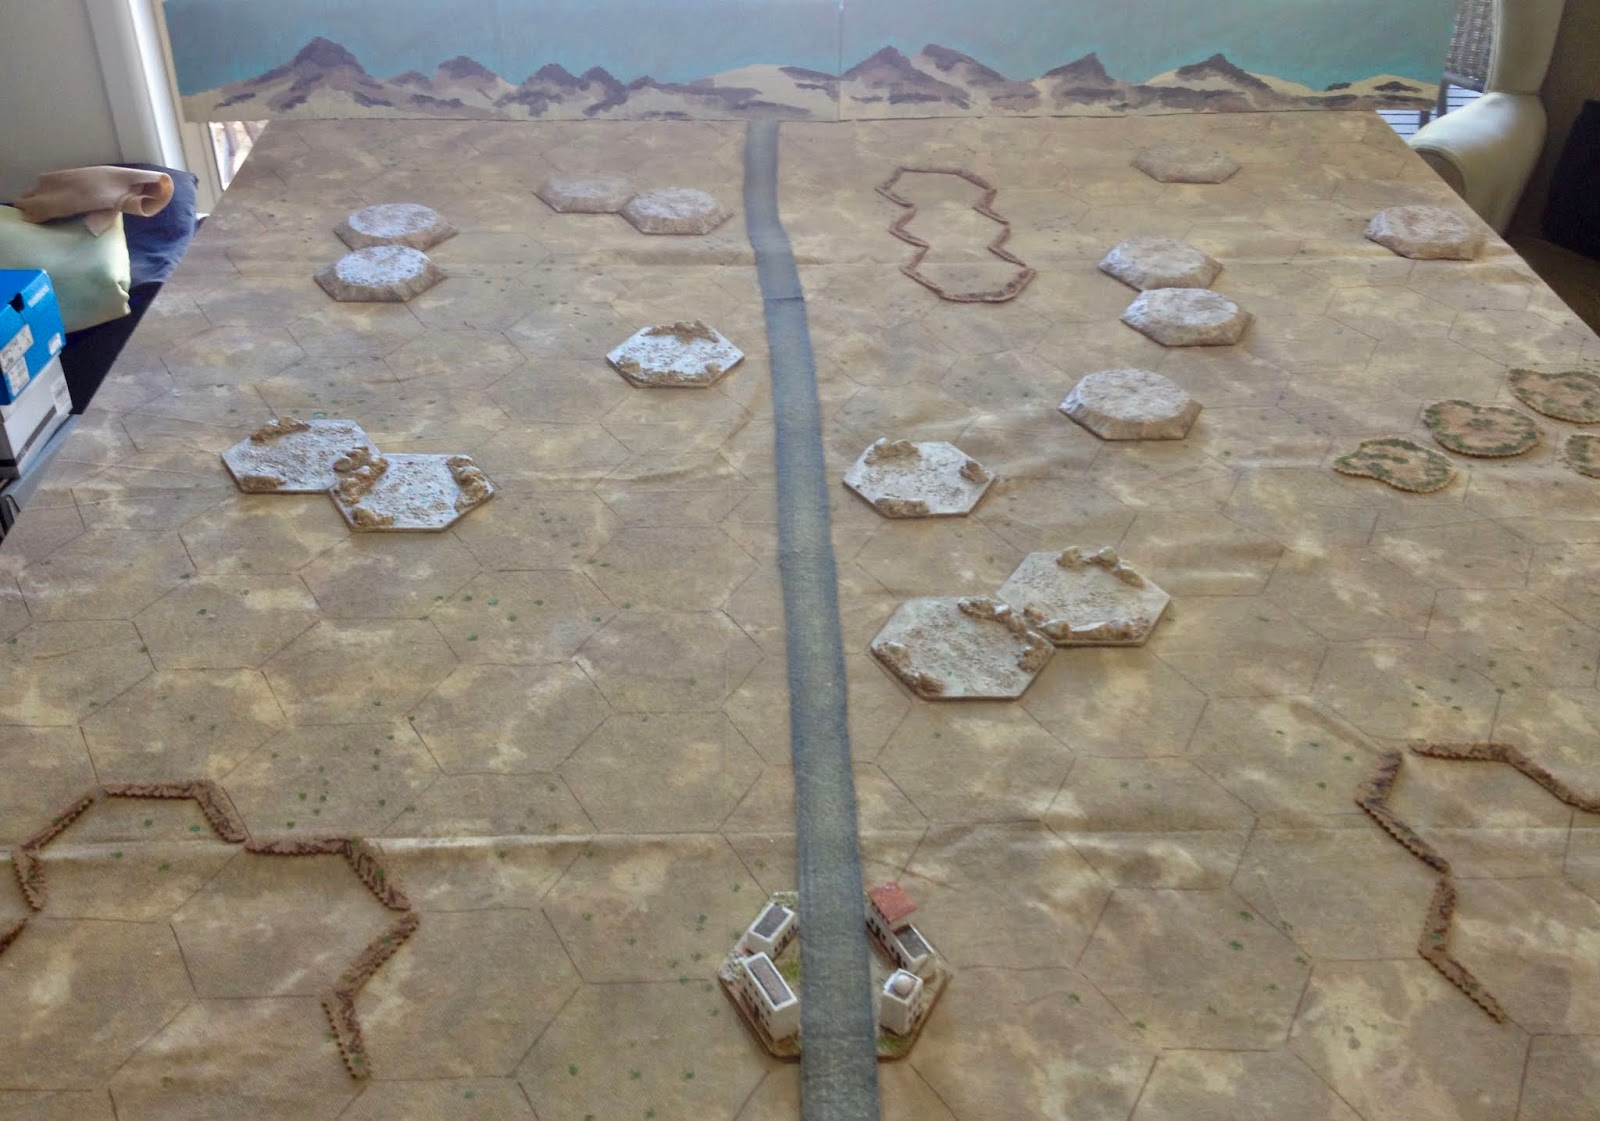
I decided to play another WW2 Western Desert game before getting ready for this weekend's English Civil War campaign game. Last night I prepared the tabletop. This time I wanted to try a slightly more contained game. In my previous test games I had been using all the 13 by 18 hexes, but this time reduced the size to 13 by 13 hexes. To show the edge I found a bit of wood, quite a hefty piece actually, and popped in into place.

This got me thinking about backboards, and I have noticed on a couple of blogs I follow the effective use of a backboard. Serendipitously I found a long piece of unused cardboard and though I would have a stab at creating a cheap and cheerful backboard.

A cheap and cheerful cardboard backboard
I cut the cardboard lengthways which produced to pieces of about 6 inches height. These I painted a light grey household acrylic paint as the undercoat. I then quickly used watered down blue and sand colour acrylic paints for sky and land.

The cardboard at the end of the painting process. You can tell from the shine in the photos how watered down the paints were.
Then followed up for the land with watered down: 1) sand and grey mix, 2) sand and brown mix, and finally a black and sand mix. I did not wait for these to dry before applying the next mixed colour so they merged in a bit with the other colours.

The final touch for the sky was a very watered down blue and grey mix was very roughly washed over the sky, making sure not to get too close to the hills, to leave a richer looking blue between land and sky.
The chunk of week that started of the backboard idea. If you are wondering why I have this wood lying around my wargaming room? Then over the next month you will discover its purpose.
Here are a couple of close up shots that show the painting technique used. Yes, very rough and ready and great fun to do!
The models are 6mm
The two bits of cardboard are held together with painters masking tape.


Tuesday, 22 January 2019

Quick one hour skirmish war-game

Having completed playing an English Civil War game I thought I would fit in a quick Nercomunda style skirmish game. Having recently completed painting my version of the Orlock gang, I was quite keen to get them all on to the tabletop.

Their opponents this time were the Chaos Crew gang. Both gangs were pretty evenly armed with an assortment of pistols, close combat weapons, assault rifles, and light machine gun of some type. I keep the weapon rules pretty straightforward:

Pistols - 12"
Assault rifles - 24"
Light machine gun - 36" - draws three resolution cards.
Close combat weapons - draws an extra resolution card.

The measures above are converted to the 6" squares on my tabletop.

The Chaos Gang (a motley crew if there ever was one)
The Orlock gang (recently painted)
The Chaos Gang is holed up in an ex-military outpost with some recently acquired supplies. The area is on the outer edge of the hive sprawl and has some dangerous wildlife in the form of Dropbats, which are roosting nearby and will swoop down to attack the closest food source (gang member).

Dropbats will swoop down at the end of a turn if a red card is drawn.
The Orlock Gang's objective is to take the outpost. They can arrive on any table edge and will most likely avoid the roosting Dropbats if they are sensible.

The roosting Dropbats - one will swoop down at the end of turn when a red card is drawn.
The Chaos Gang on guard.
The Orlock scout ahead. 
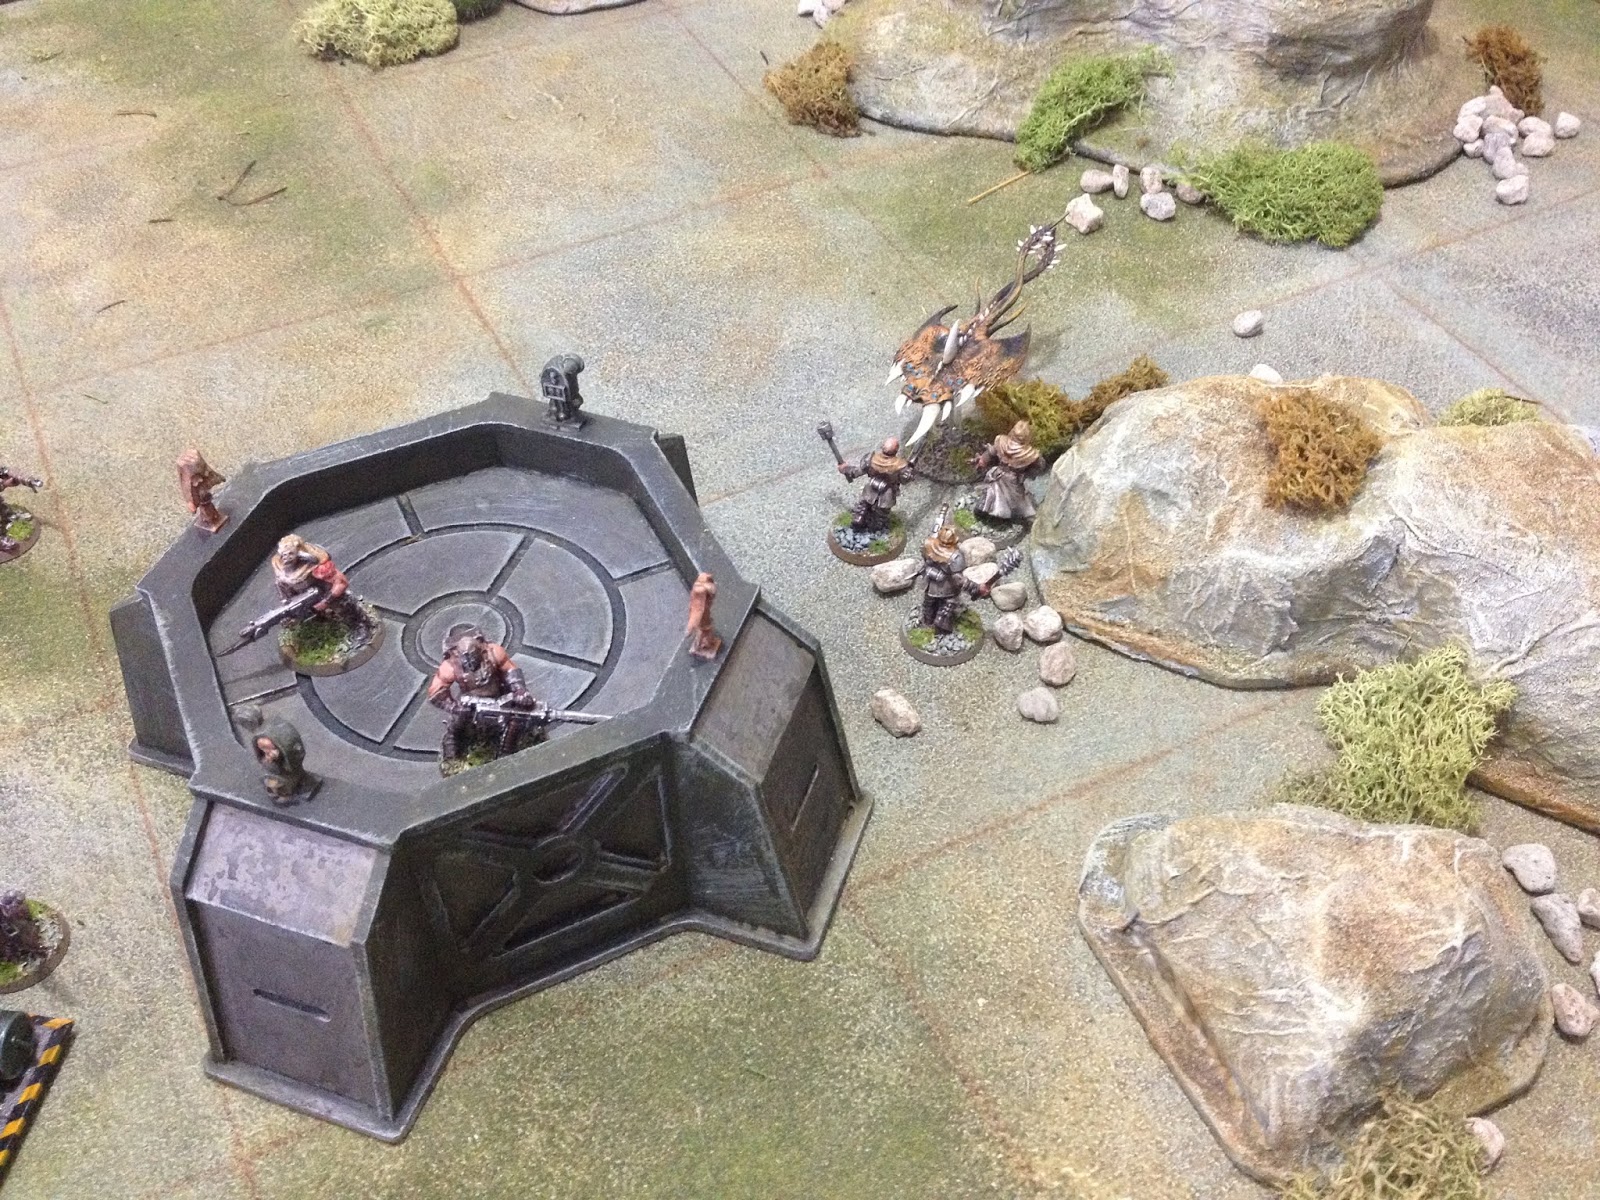
The first Dropbat attacks and draws attention from a number of gang members as they fight off the attack.
The rest of the Orlock gang arrives and gets a warm welcome from the defenders.
Another Dropbat attack is making life difficult for the defenders.
A few downed models show the fierce defender's fire. However, the Chaos gang  leader was also downed and was killed. At which point the Chaos gang fled.
I am enjoying the card mechanism used. It produces quick results, quicker then rolling dice, and provides a different feel the game.