Tuesday, 2 July 2019

Rules idea from ACW Wargaming Book

I have been reading the rules section amongst a few other chapters of interest in Airfix's American Civil War Wargaming by Terry Wise. The rules are of their time, but are for the most part very straightforward. For example, units have a moral value based upon their size and quality, which when exceeded by the number of hits causes the unit to retreat unless rallied by a commander. The author states "Personally I prefer a much simpler system based on figure value and in practice, during countless games, I have found this to often have almost identical results to the complicated charts, and in some cases it has actually proven more realistic - mainly because it dispenses with the unpredictability of dice".

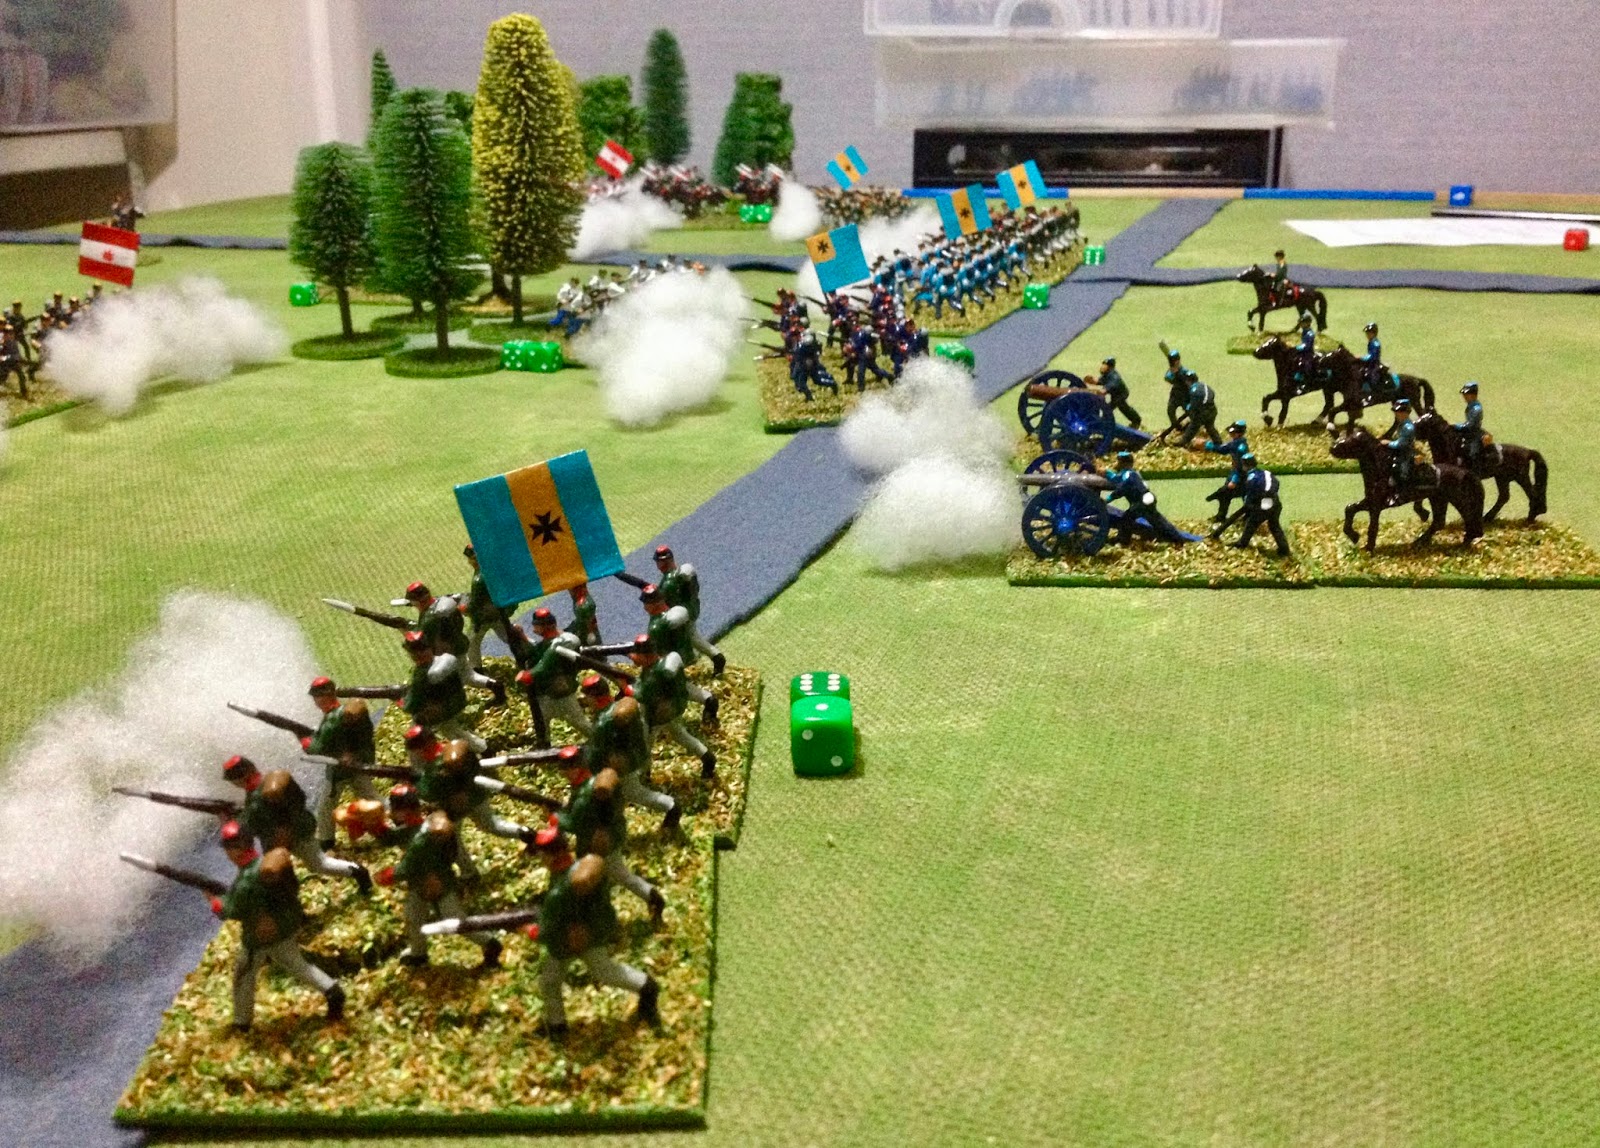
A game in progress
One rule mechanism which caught my interest was the smoke or "fog or war" rules which have smoke markers placed at a distance from the shooting unit and these are moved closer to the firing unit each time it shoots, reducing the unit's visibility. In the book it does go on caution "the system is rather complex and rather annoying in a fast game". While I like the idea I have no wish the measure and place smoke markers. For me a somewhat cruder mechanism is to place smoke on the shooting unit, which I tend to do already for aesthetics and to remember which units have fired, then deduct 1 from shooting if a unit fired the previous turn. A unit what has not fired the previous turn will not be penalised. Reflecting the unit has had the opportunity to reload in an orderly fashion and reorganise itself.

The rules for Infantry and Skirmishers Shooting are...

For Infantry units roll 2D6 selecting the highest score, while for skirmishers roll 1D6. Then add and subtract for:

-1 Short range 0” to 6”
-2 Medium range 6” to 12”
-3 Long range 12” to 18”
-1 Target in cover
-1 If shooting in the previous turn

And one final photo...

A couple of turns later


Sunday, 30 June 2019

Norman Paper Soldiers

My Norman paper army is almost complete. I plan to add two Breton cavalry units this coming week. Then I can start to play some small scale games between them and the completed Saxon army (pictures here).

Norman Army
Norman units currently completed are:

  • 4 Norman Spearmen units
  • 2 Archers units
  • 2 Norman Cavalry
A closer view 
At sometime in the past I just have been thinking about Normans and Saxons as I had this Osprey title in my library.


I started building these paper armies as part of a challenge proposed on the blog wrong hammer.blogspot.com - where "The idea being you buy and paint an army with a view to gaming with it for £30 (or the local currency equivalent) or less in a set number of weeks."

The cost to date is $57 the Australian Dollar equivalent:
$24 for Peter Dennis Paper Armies 1066
$16.50 for the Saxon army (photocopying and cardboard)
$16.50 for the Norman army


Thursday, 27 June 2019

Playing around with weather and a book arrives

This week I have been spending my free time cutting out Norman paper soldiers and playing a few Imagi-Nations 19th Century games with a bit of weather thrown in. The effects of fog to be precise. The game is a pitched battle (One-Hour War-games scenario 2) but with both forces advancing on a foggy morning. The fog limits both movement and shooting to a range of 6" on the first move, and visibility is increased by 6" with each turn as the fog lifts.

Some photos of the game as troops move forward and encounter each other in the fog.


Then in the post today arrived Airfix American Civil War Waraming. I have so far just looked through all the pictures of the black and white photos of games with Airfix ACW figures and various conversions. What I really like about these game photos is they look like a games you can emulate. Unlike the wargaming photos in current magazines which are far too perfect and amazing detained to emulate.


I have some painted MiniFig 15mm ACW armies which have not seen the light of day for quite a while, and hopefully will get a run on the tabletop soon.

Sunday, 23 June 2019

ECW Campaign - Game 21

The Battle of Barton Hall, September 1644, has a smaller Royalist force taking up a defensive position against a slightly larger Parliamentarian force who are advancing into the East Midland region.
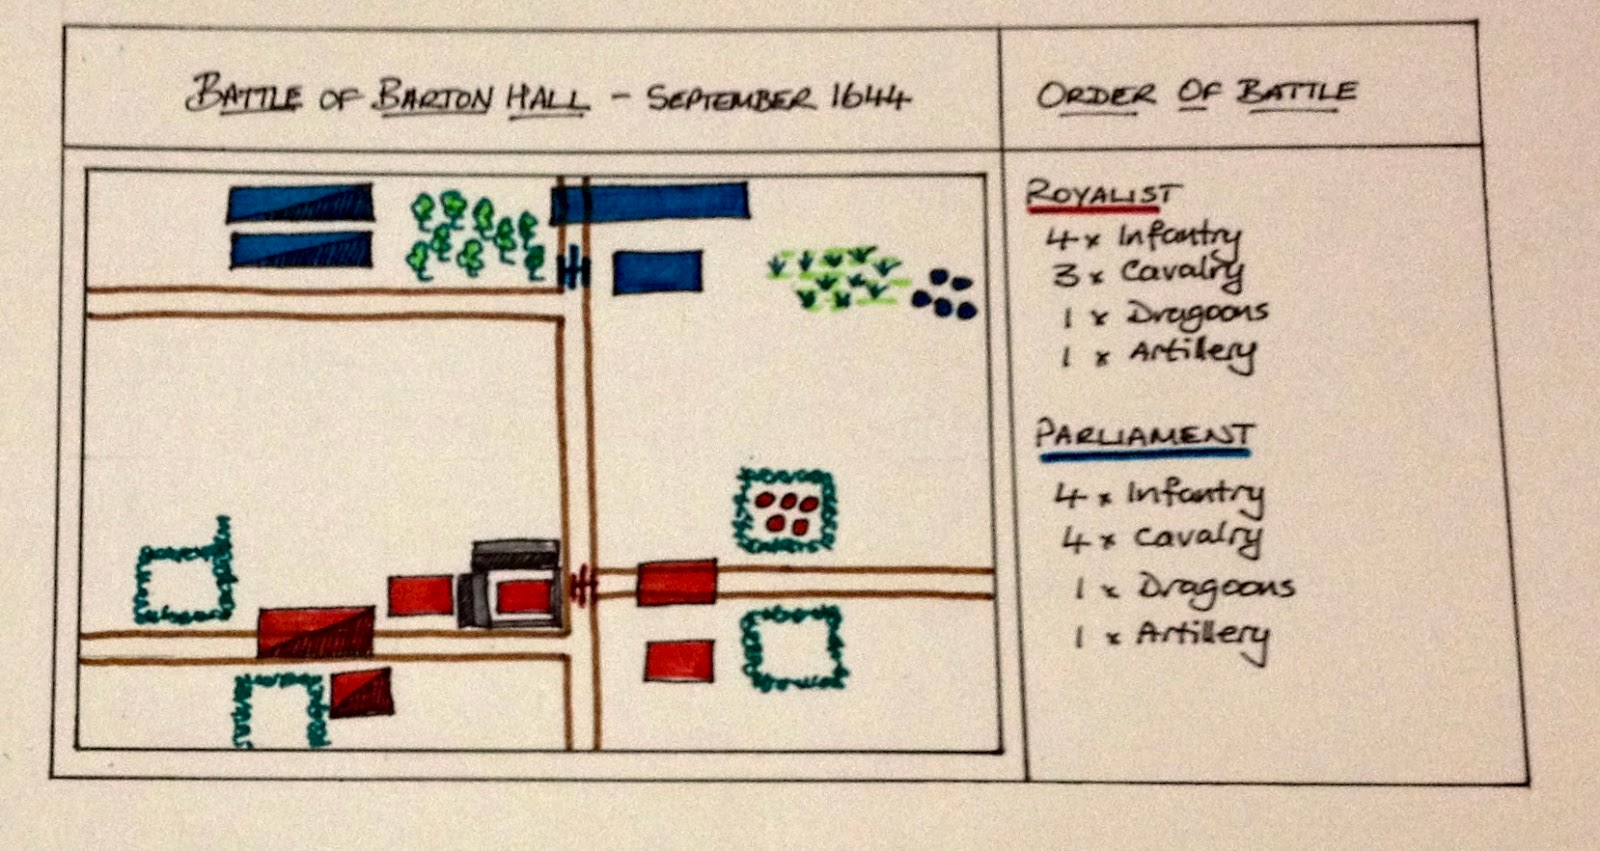
Battle map and deployments
Royalist forces took up positions with Barton Hall in their centre, cavalry on the left, and dragoons pushed up into the fields on the right flank. Parliament moved up into their positions, cavalry on the right flank to mirror their counterparts, infantry positioned around Barton Hall Road, and dragoons pushed out near the boggy ground.

Having deployed his forces by mid morning the Parliamentarian commander then pushed forward his centre infantry and dragoons. The centre wood split the Parliament line and was proving an impediment for the issuing of commands issues.

Early moves
More untis become engaged in the fighting
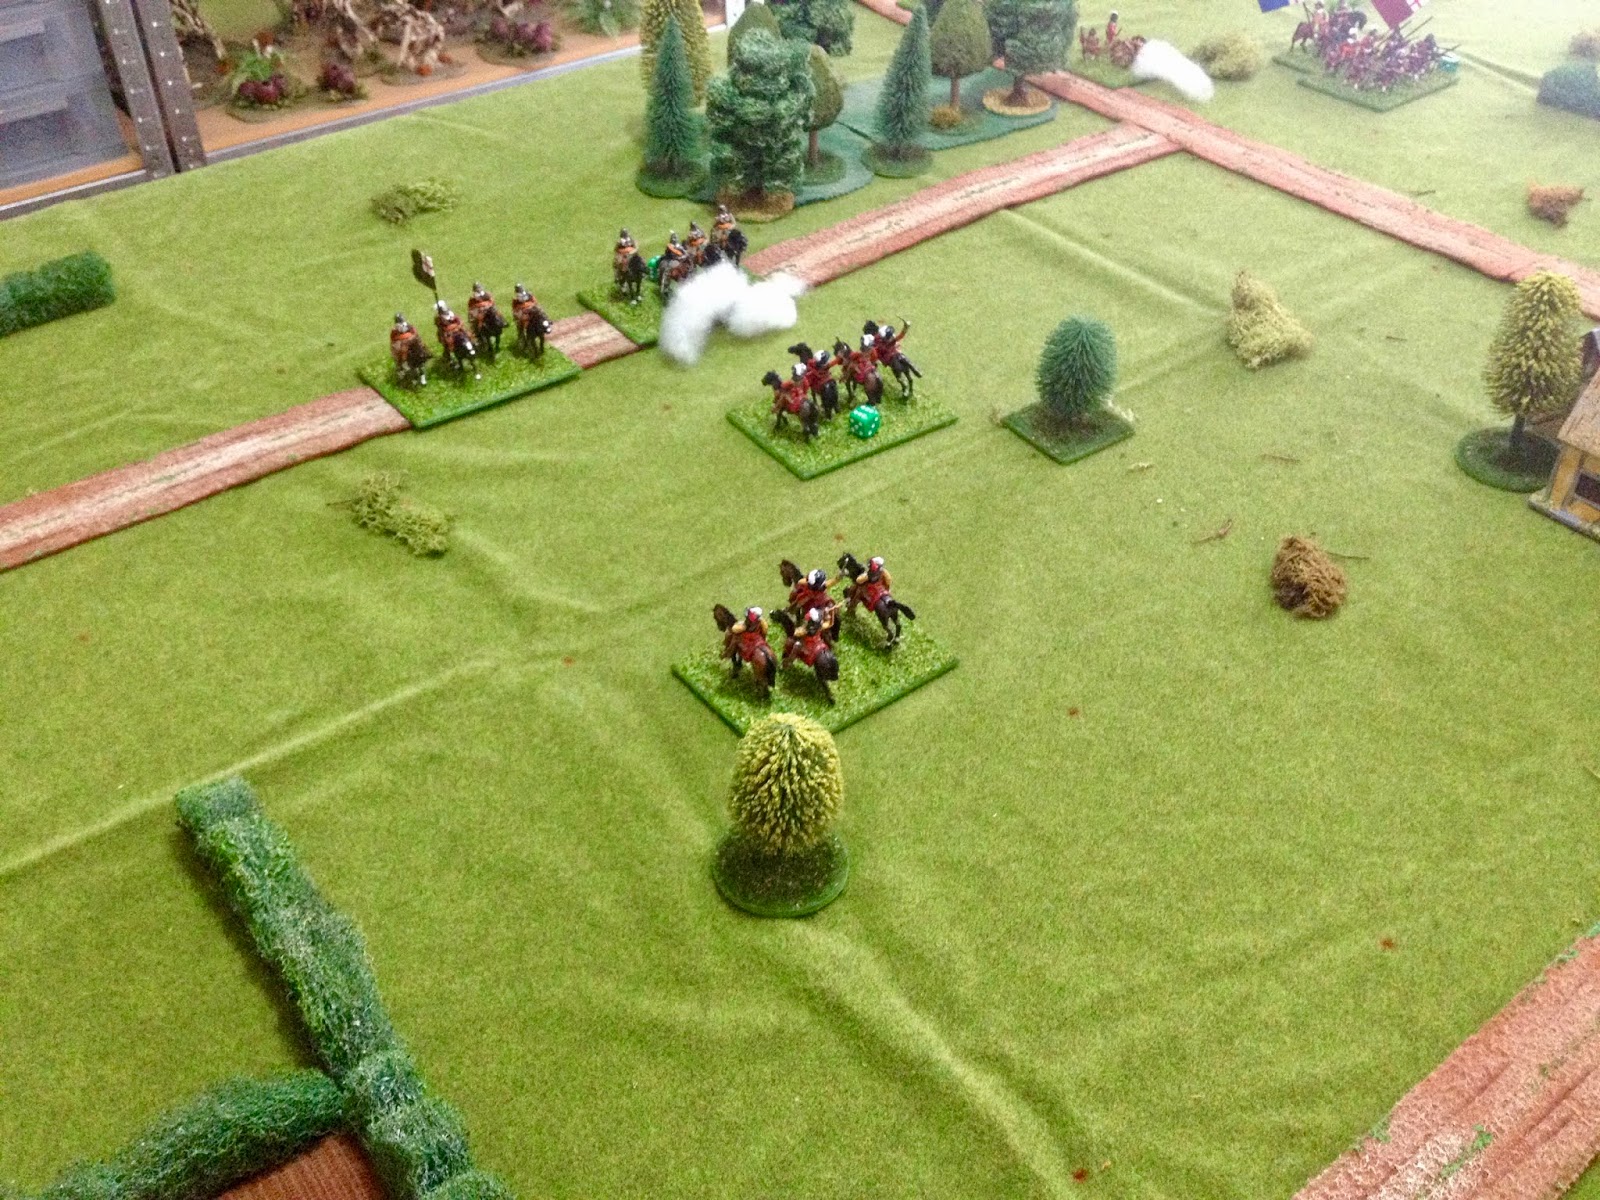
Orders eventually reached Parliamentarian cavalry who moved forward slowly towards the Royalist cavalry, who decided the best defence was to counter charge and a cavalry melee was soon underway. On the other flank both sides were taking losses and the fight remained in the balance.

Parliament cavalry advance
A view of the battle at its height
While Royalist cavalry put up a good fight the weight of numbers began to tell. This was the same story on the other flank where Royalist infantry began retiring and consolidating for a last defence at Barton Hall.
The cavalry engagement rages on
Royalist forces retire around Barton Hall.
As the battle moving into the afternoon a depleted Parliament cavalry claimed victory as the last Royalist cavalry left the field of battle. At this point Royalists had lost more than half their units and could not make any attacking moves. While still in good defensive position around Barton Hall, this was not going to be their day and they began to retire. Handing a minor victory to Parliament who as a result will gain control of the East Midlands.

Parliament cavalry win the melee.
Battle movements
The gain of another region is important to Parliament who had suffered a few unexpected reversals of fortune during 1644. With only two months left in 1644 we will have to see if Royalist forces are able to mount another campaign move before the end of campaigning this year.

Saturday, 22 June 2019

ECW Campaign - September 1644

It has been awhile since I last played a game in my English Civil War campaign. This is due to a number of other distractions, the Jacobite paper armies being one such distraction. So far 20 games have been played and the Royalist cause has been able to control the most regions as the 1644 campaign year draws to a close. With the years 1645 and 1646 still to play, I expect another eight battles at a minimum will be played.

One of the objectives of the campaign was to test the One-Hour War-game rules variation using D3 dice. These rules have worked out well and are now settled with no recent tinkering by me for quite a few games. However, they do use free movement and I now plan to convert them to use a 6 inch square gridded tabletop. Why make them gridded? I think the structure provided by the grid will help reflect some of the difficulties of manoeuvring troops during this period, and wth a blog titled "Grid Based Wargaming" it behoves me to at least make an attempt to use a grid when generating house rules. Finally, It will also help motivate me to complete the remaining games in the campaign.

On to the campaign...

Having seen off an attempt by Royalists to control the West Midlands. Parliament has turned its attentions to the East Midlands, and an army begins marching during September 1644.


Campaign map
The carry over campaign cards begin with favouring Parliament. For the remainder of 1644 Parliament is allowed to field an additional infantry unit funded through Excise Taxes, while the unfortunate Royalists forces have been distracted by Clubmen uprisings in their controlled regions and have to reduce their army by a unit. The cards drawn in September have helped address this: Royalists can resupply a unit which is out of ammunition during the game, and there is sickness in the ranks of Parliament's army and they lose a unit.

Campaign cards
The battle will take place at Barton Hall near Kettering. The terrain cards show a flat terrain marked by fields and some boggy ground which effects the ability of cavalry.


The order of battle is diced for and units removed due to the campaign cards.

Royalist Forces:

  • 4 x Infantry
  • 3 x Cavalry
  • 1 x Dragoons
  • 1 x Artillery
Parliament Forces:
  • 4 x Infantry
  • 4 x Cavalry
  • 1 x Dragoons
  • 1 x Artillery
The smaller Royalist force deploys half its units first on a long tabletop side of its choice. Parliament deploys all units on the opposing side, and then the remaining Royalist units are deployed.

Deployed forces

All is now ready for a game this weekend.

Tuesday, 18 June 2019

Messing around with card activation

While I have been snipping away paper soldiers, on the tabletop I have been playing some WW2 One Hour Wargames, in particular scenario 14  (static defence) to test out a card activation mechanism and using two bases for units.

The beginning of a game
Starting with the multi-base units, each stand effectively representing a section of a unit. The rule modifications are:

  • Bases must remain within 3" of each other
  • Units can shoot as long as one base is within range
  • Bases have a 45 degree shooting arc, and bases can face different directions to increase their coverage
  • Tank bases have a 180 degree shooting arc
  • Providing one base is in cover the unit is considered to be in cover
  • After 7 hits one base is removed and all subsequence shooting incurs a -1 penalty
Taking this approach degrades the ability of units after 7 hits, both in terms of shooting and reduces their ability to hold a frontage. A unit is fully eliminated after 14 hits rather than the 15 in the original rules, sufficiently close enough not to worry about modifying the shooting rules. Units can be tracked using 1 dice rather than 1-3 dice for 15 hits.

Cards get assigned to units
The activation rule modifications are:
  • A card is allocated to each unit at the start of a turn
  • Players then activate their units in card order King to Aces, two identical value cards are then ordered by Spades, Hearts, Diamonds, and Clubs.
  • An activated unit can move or shoot as per rules
  • When a unit shoots at a target in the open which has not yet activated, the target can forgo their activation and take evasive action. This can be a vehicle retiring out of range or Infantry hitting the dirt. This reduces the number of hit taken by half. There are no penalties to taking evasive actions, other than losing their activation opportunity. Units which have already activated may not take evasive action.
  • Once all units have activated (or taken evasive actions) allocate cards again, reshuffle if necessary.
As a solo wargamer the card activation helps to introduce a level of unpredictability in the game. So far I have played the scenario a couple of times using the activation rules and they have created more interest for me. As I try to coordinate attacks which can be delayed due to the card order or opting to have attacks stall as units hit the dirt to minimise hits.

One optional rule I am considering is allowing a player to swap two cards between units.

One downside of the cards is they can look quite messy on the tabletop.


Sunday, 16 June 2019

1066 Saxon Paper Army Completed

I am now at the last stage of completing my paper 1066 Saxon army. The last two units are about to leave the painting (or should I say cutting table). The army consists of 10 units although likely or not only 6 will be deployed, seeing I am planning for a few games using One Hour Wargame's scenarios.
  • 4 x Housecarl units
  • 2 x Select Fyrd units
  • 2 x Archer units
  • 2 x Mounted Warrior units
  • 1 x Individual commander stand
The completed army
Whether or not I use the cavalry I have yet to determine, but having the mounted unit will allow for some variety within the games.

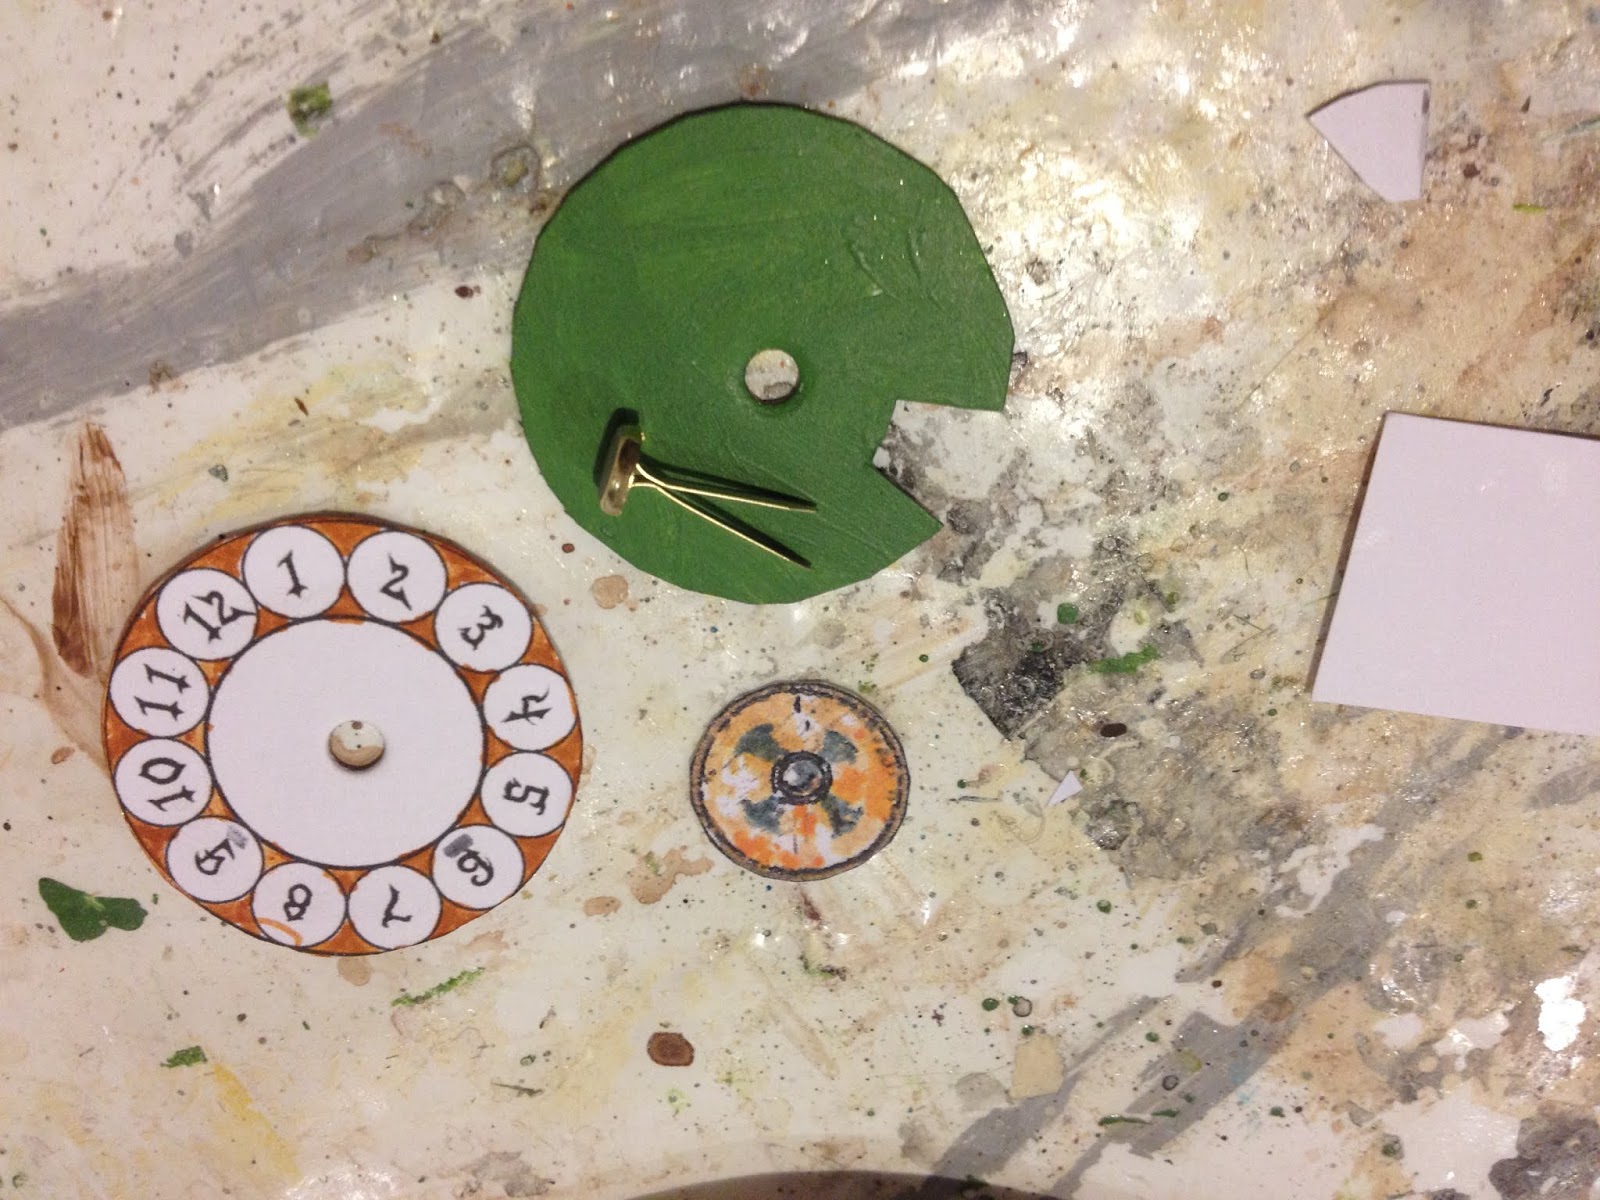
As I don't plan to remove stands during the games to track hits, paper soldiers look best when units have multiple rows. I decided I would make a test tracker as an alternative to using dice to track hits.

A clock face was found on-line and printed to find the best size.
The printed numbers were stuck to cardboard and the top also cut out.
A spare shield was cutout and glued to cardboard. This will be stuck on to a split pin paper fastener. 
All the pieces completed and ready to be put together.
The completed tracker
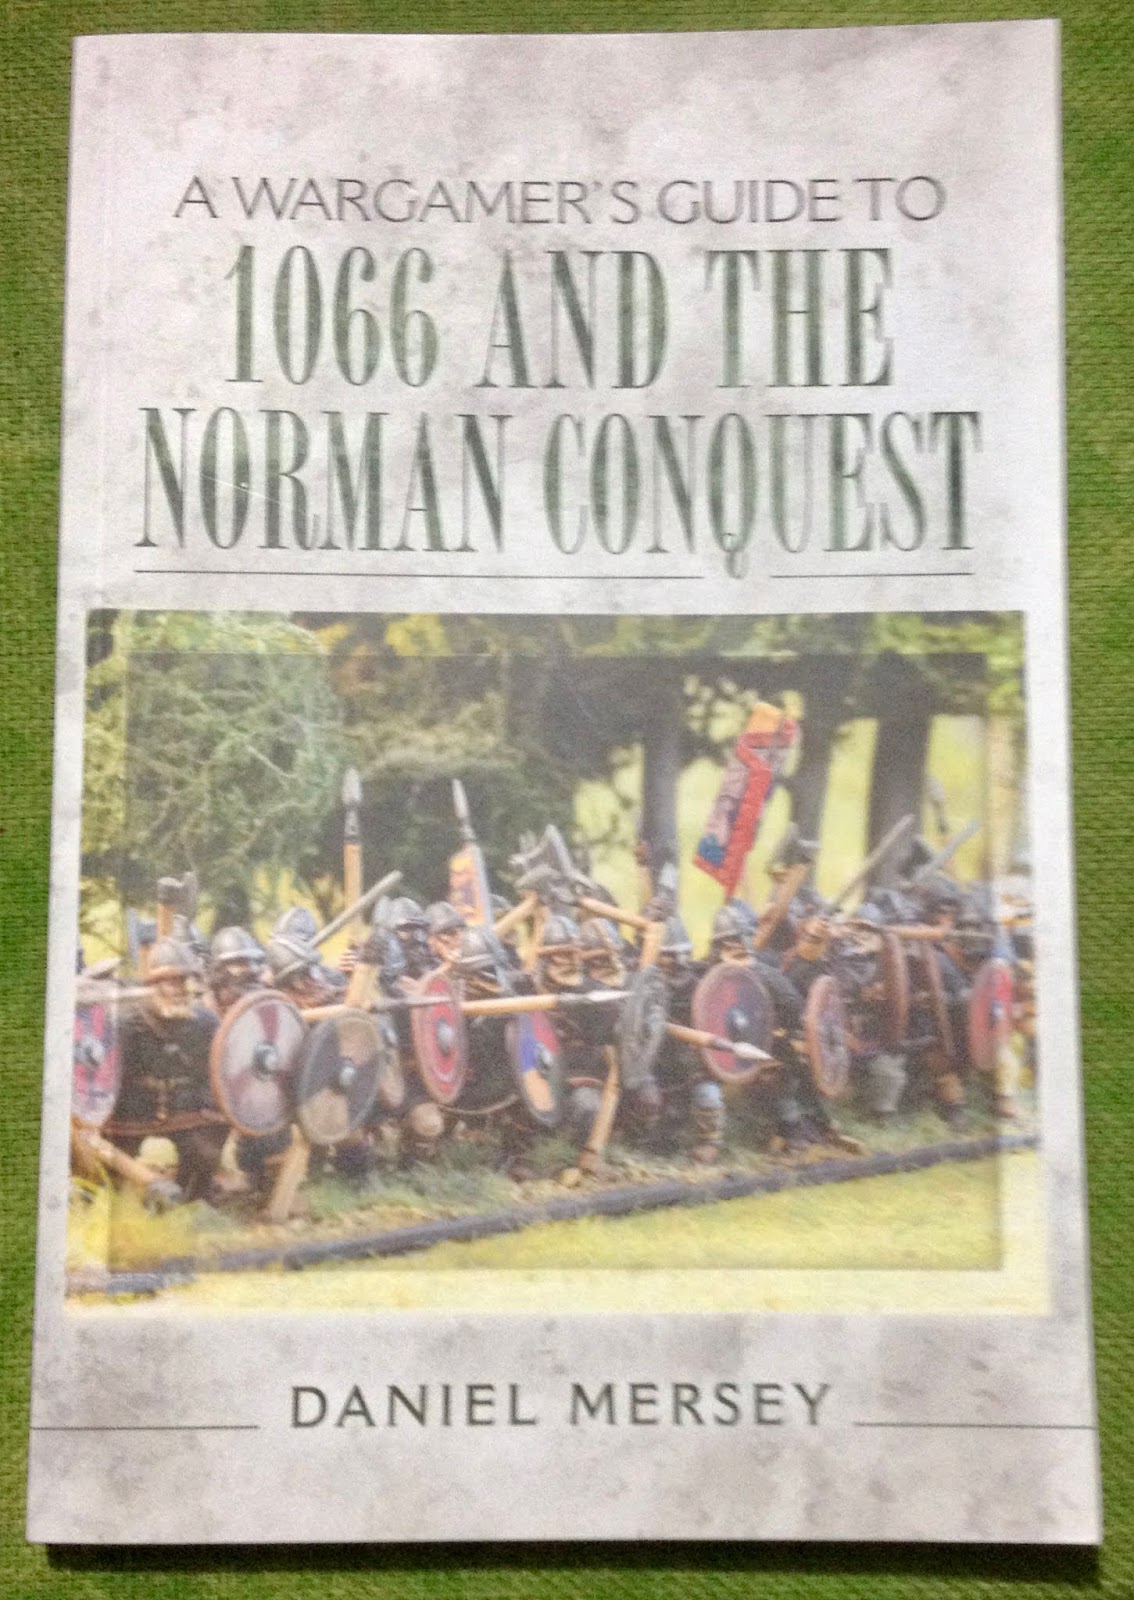
And now I need to start working on the Norman army, which will hopefully only take 3-4 weeks to complete. During this time I can think about what rules to use, or modify, and read "A Wargamer's Guide to 1066 and the Norman Conquest" by  Daniel Mersey.

Current reading