Saturday, 7 September 2019

WW2 Campaign action report

I expect to complete this campaign over the weekend, helped by some rainy weather which will mean no outside chores to interrupt my wargaming. The first action to be fought was on the Guard's left flank at Mont Etoile.

Campaign map - the action is circled in blue

The section of the campaign map
The Guards defenders are a full infantry company with a supporting mortar section. They are under orders to hold their ground and have dug in two of their companies. These positions are indicated with barbed wire.

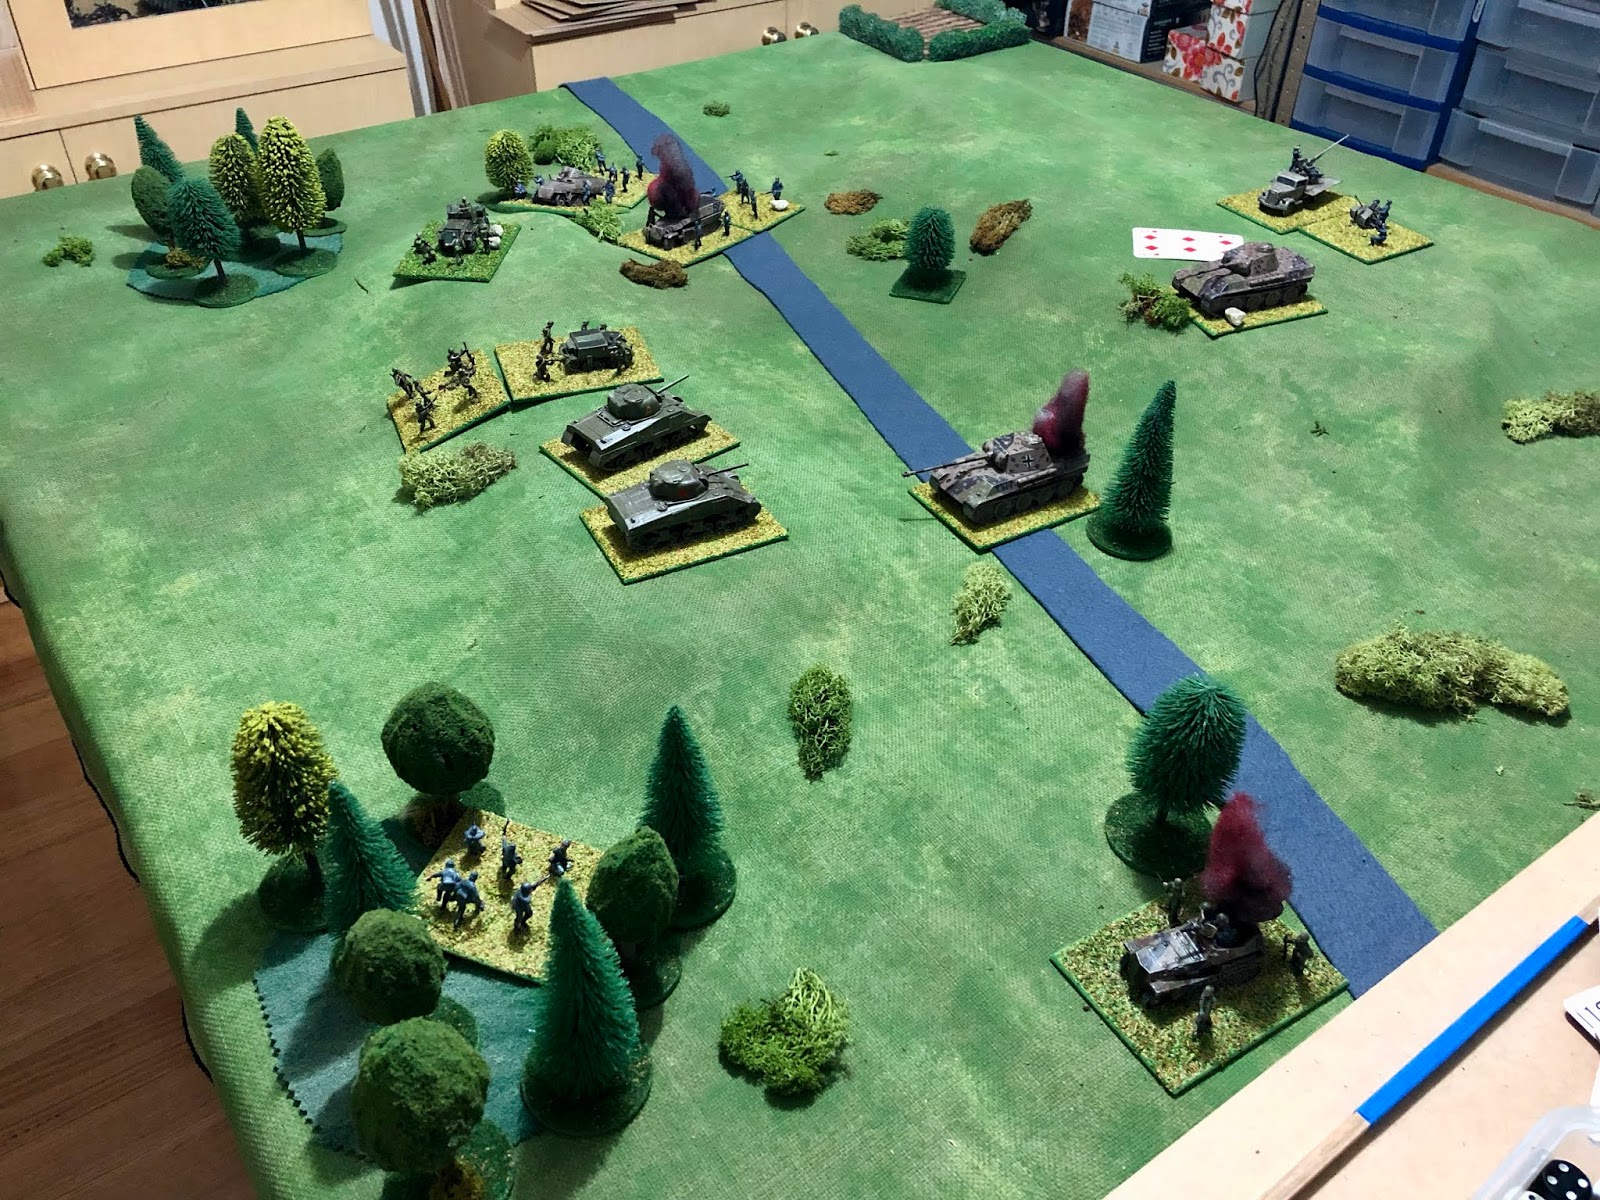
Tabletop setup and forces deployed 
The attacking Panzer Grenadier force has a full armoured infantry company, a weakened armoured car company, a mortar section, armoured artillery, and AT gun section. A powerful and a well balanced force.
Turn 1 - Panzer Grenadier units waste no time and quickly advance on their right flank around the lower slopes of Mont Etoile.
Turn 2 - The defending Guards infantry open fire and their mortars are soon providing support.
Turn 3 - The Panzer Grenadiers push on as one of their armoured infantry platoons is eliminated. The Guards defensive positions were coming under both artillery and mortar attacks.
Turn 4 - Two of the Guard's defensive positions are overrun.
Turn 5 - The final Guard's defensive position on Mont Etoile is eliminated.
A quick with for the attackers, but not without cost. Two armoured infantry platoons were lost. With this loss the left of the Guards position is open.

Thursday, 5 September 2019

Another book purchase arrives

Another book arrived today "The Wargamer's Guide to Jacobite Britain" by Martin Hackett. I had a discount voucher and the opportunity to grab this was too tempting. So in the next few weeks I suspect the Jacobite paper armies will make their way to the table top.


The book itself covers the history from 1685 through to 1746 and covers the various battles with hardly little maps of troop deployments and key terrain features. The final chapter has a set of wargaming rules.


Tuesday, 3 September 2019

WW2 campaign map moves

The mini WW2 campaign is coming to a conclusion. I suspect this will be the Penultimate set of map moves before there is a breakthrough. Then the question will be are there sufficient Panzer Grenadier forces available to exploit the breakthrough? As usual the Guards set out their orders (shown with red arrows) before the Panzer Grenadiers make their moves. Air support is available to support their armoured car and tank troop units in column 4.

Guards orders are recorded with air support available to support row 4
The Panzer Grenadier forces are then moved at the whims of the dice, trying to move south or attack any enemy unit on the flank.

Panzer Grenadier moves - blue arrows
There will now be two actions to be fought (blue circles) before the Guards orders take effect.


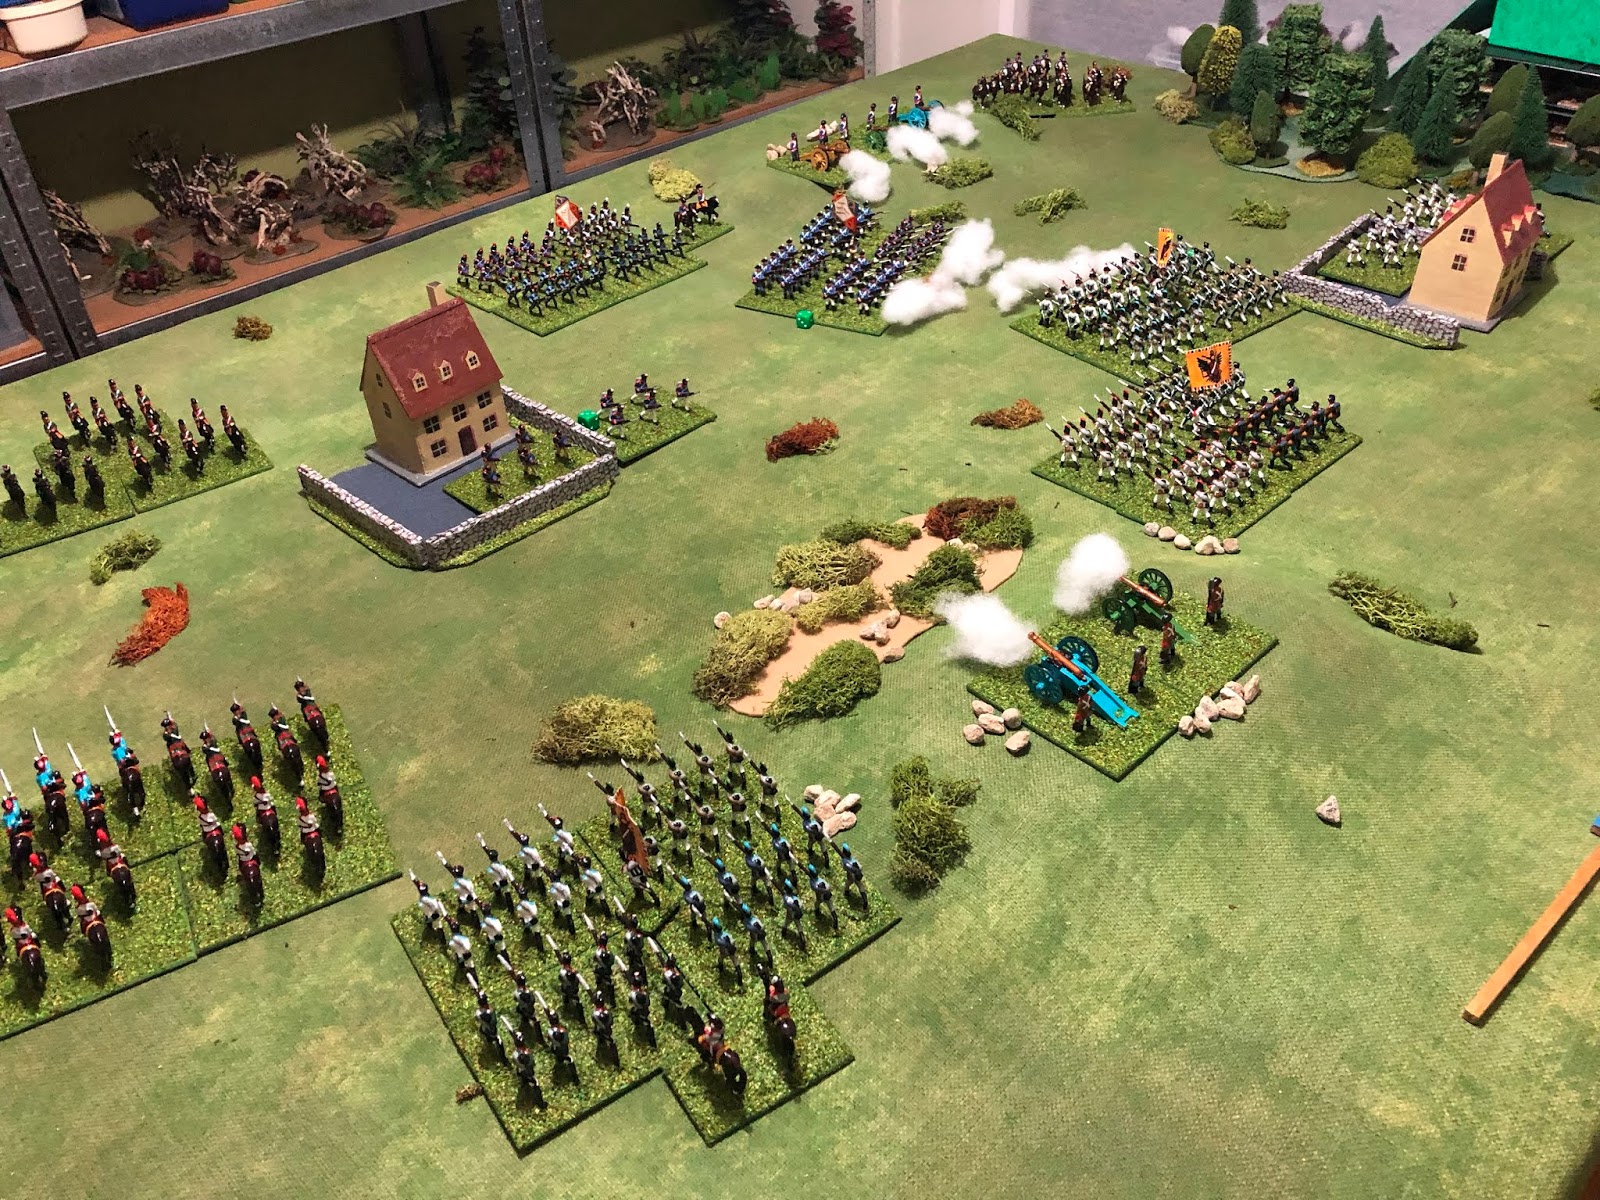
These games will be played over the latter part of this week or weekend. This is as I have set up the tabletop for some Napoleonic games to try out some rule modifications.

A Napoleonic game in progress

Saturday, 31 August 2019

WW2 Campaign action on the road to Stalaff

The action on the Stalaff Road has a cobbled together Guards force attacking the second of the Panzer Grenadier advance forces. The composition of this force was unknown, but was soon found to be a very strong.

Campaign map showing the Guards attack.
Tabletop setup.
The German force has:

  • 1 x Armoured Company (3 x Platoons)
  • 1 x AT section
  • 1 x Mobile Artillery
  • 1 x Armoured Car troop
  • 1 x Mortar section
The British Guards has:
  • 1 x Infantry Company (3 x Platoons)
  • 1 x Engineer Platoon
  • 1 x AA section
  • 1 x Tank troop

Panzer Grenadiers forces
Guards
The action has the Guards advancing from the East edge and Panzer Grenadiers are positioned on the West edge.
Turn 1 - units take up position
Turn 2 - Panzer Grenadier units move froward on each flank with artillery and mortar support
Turn 3 - Casualties are taken on both sides. The Guards tank troop hold the centre and Panzer Grenadiers move forward an AT section to counter the threat.
Turn 4 and 5 - The artillery and mortar support was telling and the Guards units were quickly eliminated.
This was a bad result for the Guards who lost their engineer company and tank troop. The Panzer Grenadier force was well balanced with both artillery and AT support and able to easily deal with the Guard force.

The Guards are now in a very sticky position with no more space to continue their fighting withdrawal approach and in the next round of games will have to hold their ground.

Friday, 30 August 2019

WW2 Campaign action at Sunken Road

The advancing Panzer Grenadier force opted to cease their Southerly thrust on the campaign map and deal with the Guards threat on their flank. The resulting action takes place at a sunken road.

Tabletop setup for the game
Campaign map. The Panzer Grenadier moves are applied first so they are the attacking force in this action.
The Guards force comprises a tank troop and reconnaissance company (armoured car troop and armoured infantry platoon).

British forces deployed
Facing them an armoured infantry company (3 platoons), AA unit, and tank troop.

German forces arrive
The Guards took up position on one side of the sunken road waiting for the attack to begin.

Turn 1 - Panzer Grenadiers push forward.
Turn 2 - The Guards prepare as Panzer Grenadiers attempt out flanking moves.
Turn 3 - In the centre German tanks occupy their counterparts while the flanking units are engaged.
Turn 4 - The German frontal attack is seen off and retires to avoid the troop being eliminated. While on the flanks they fare better and take up position in the woods.
Turn 5 - The Guards are putting up a good defence, but their position is at risk having been out flanked on their right. 
Turn 6 - Guard units begin making a fighting withdrawal. 
Turn 7 - The last rear guard unit leaves
Another interesting game with both sides trying to avoid losing units while at the same time trying to inflict damage on the opposition. The campaign context continues to make games which are oddly unbalanced into challenges which don't exist in single games.


Wednesday, 28 August 2019

Next project and other stuff

Now I have completed my Saxon and Norman paper armies (although I do have some Viking paper solders still to add) I am starting on my next project to paint some Fantasy units to play Dragon Rampant. I really enjoyed Lion Rampant and bought the Dragon Rampant rules quite a while ago with an aim of playing some fantasy games in the future.

I already have a number of Warhammer Orc units painted and will use the Warhammer Age of Sigma starter box to provide some opposition and add to these with one or two extra purchases to build a small army (most likely from ebay).

the next project
Having played quite a few WW2 games as part of my current WW2 campaign. I was in need of an 18th Century fix, and what better excuse to get out my old Peter Laing AWI figures. No game reports just some photos...


Finally, some more second hand books arrived. I have Ancient and Medieval Wargaming as an eBook and just wanted to get a hardcopy. The Wargamers Guide to Dark Age Britain was reasonably priced and too tempting to pass by. The Saxons and Normans will quite possibly be on the tabletop in teh near future. Finally, Battle Notes for Wargamers was purchased mostly for nostalgia, but I am very tempted to create the Raid on St Nazaire once I complete the current WW2 campaign.

Recent second hand book purchases
The next two WW2 campaign actions have been fought and will be the next post or posts.

Monday, 26 August 2019

WW2 campaign map moves

In the last action "B" company with air support were able to successfully make a fighting withdraw. They now are positioned on the southern row defending a river. Orders are issued to the Guards units (see red arrows) and air support is again provided to "B" company. These moves will be actioned after the dice driven Panzer Grenadier moves are made and any resulting actions fought.

Guards orders with air support provided to "B" company
As for the Panzer Grenadiers most of their elements pushed forward with the exception of their advance force which moved to eliminate the treat on their flank. This action will now be transferred to the tabletop.


Once the action has been played the British orders will be actioned.