Sunday, 1 May 2022

Palm trees scratch built

This is my third attempt at trying to make some palm trees. My two previous attempts using material and the second bits from plastic plants having failed. With this attempt I used 4mm round dowel and cardboard.

A finished palm tree.

Making the palms...

The round 4mm wooded dowel is fixed to its base and some masking tape  wrapped around the top. Note  - when fixing the dowel to the base I mad sure they were on an angle and not straight.

I quickly drew four X's on the cardboard to help as guides.

Very roughly I cutout the palm fronds.

A hole punch was used to clip out a 4mm hole in the centre of each set of fronds.

One of the larger fronds is glued on.

Then the second frond is added slightly offset.

Four layers of fronds are added with the smallest on top. Once the glue was dry I shaped (bent) the fronds.

The next step is the painting to disguise the cardboard...

First the fronds were painted a base green.

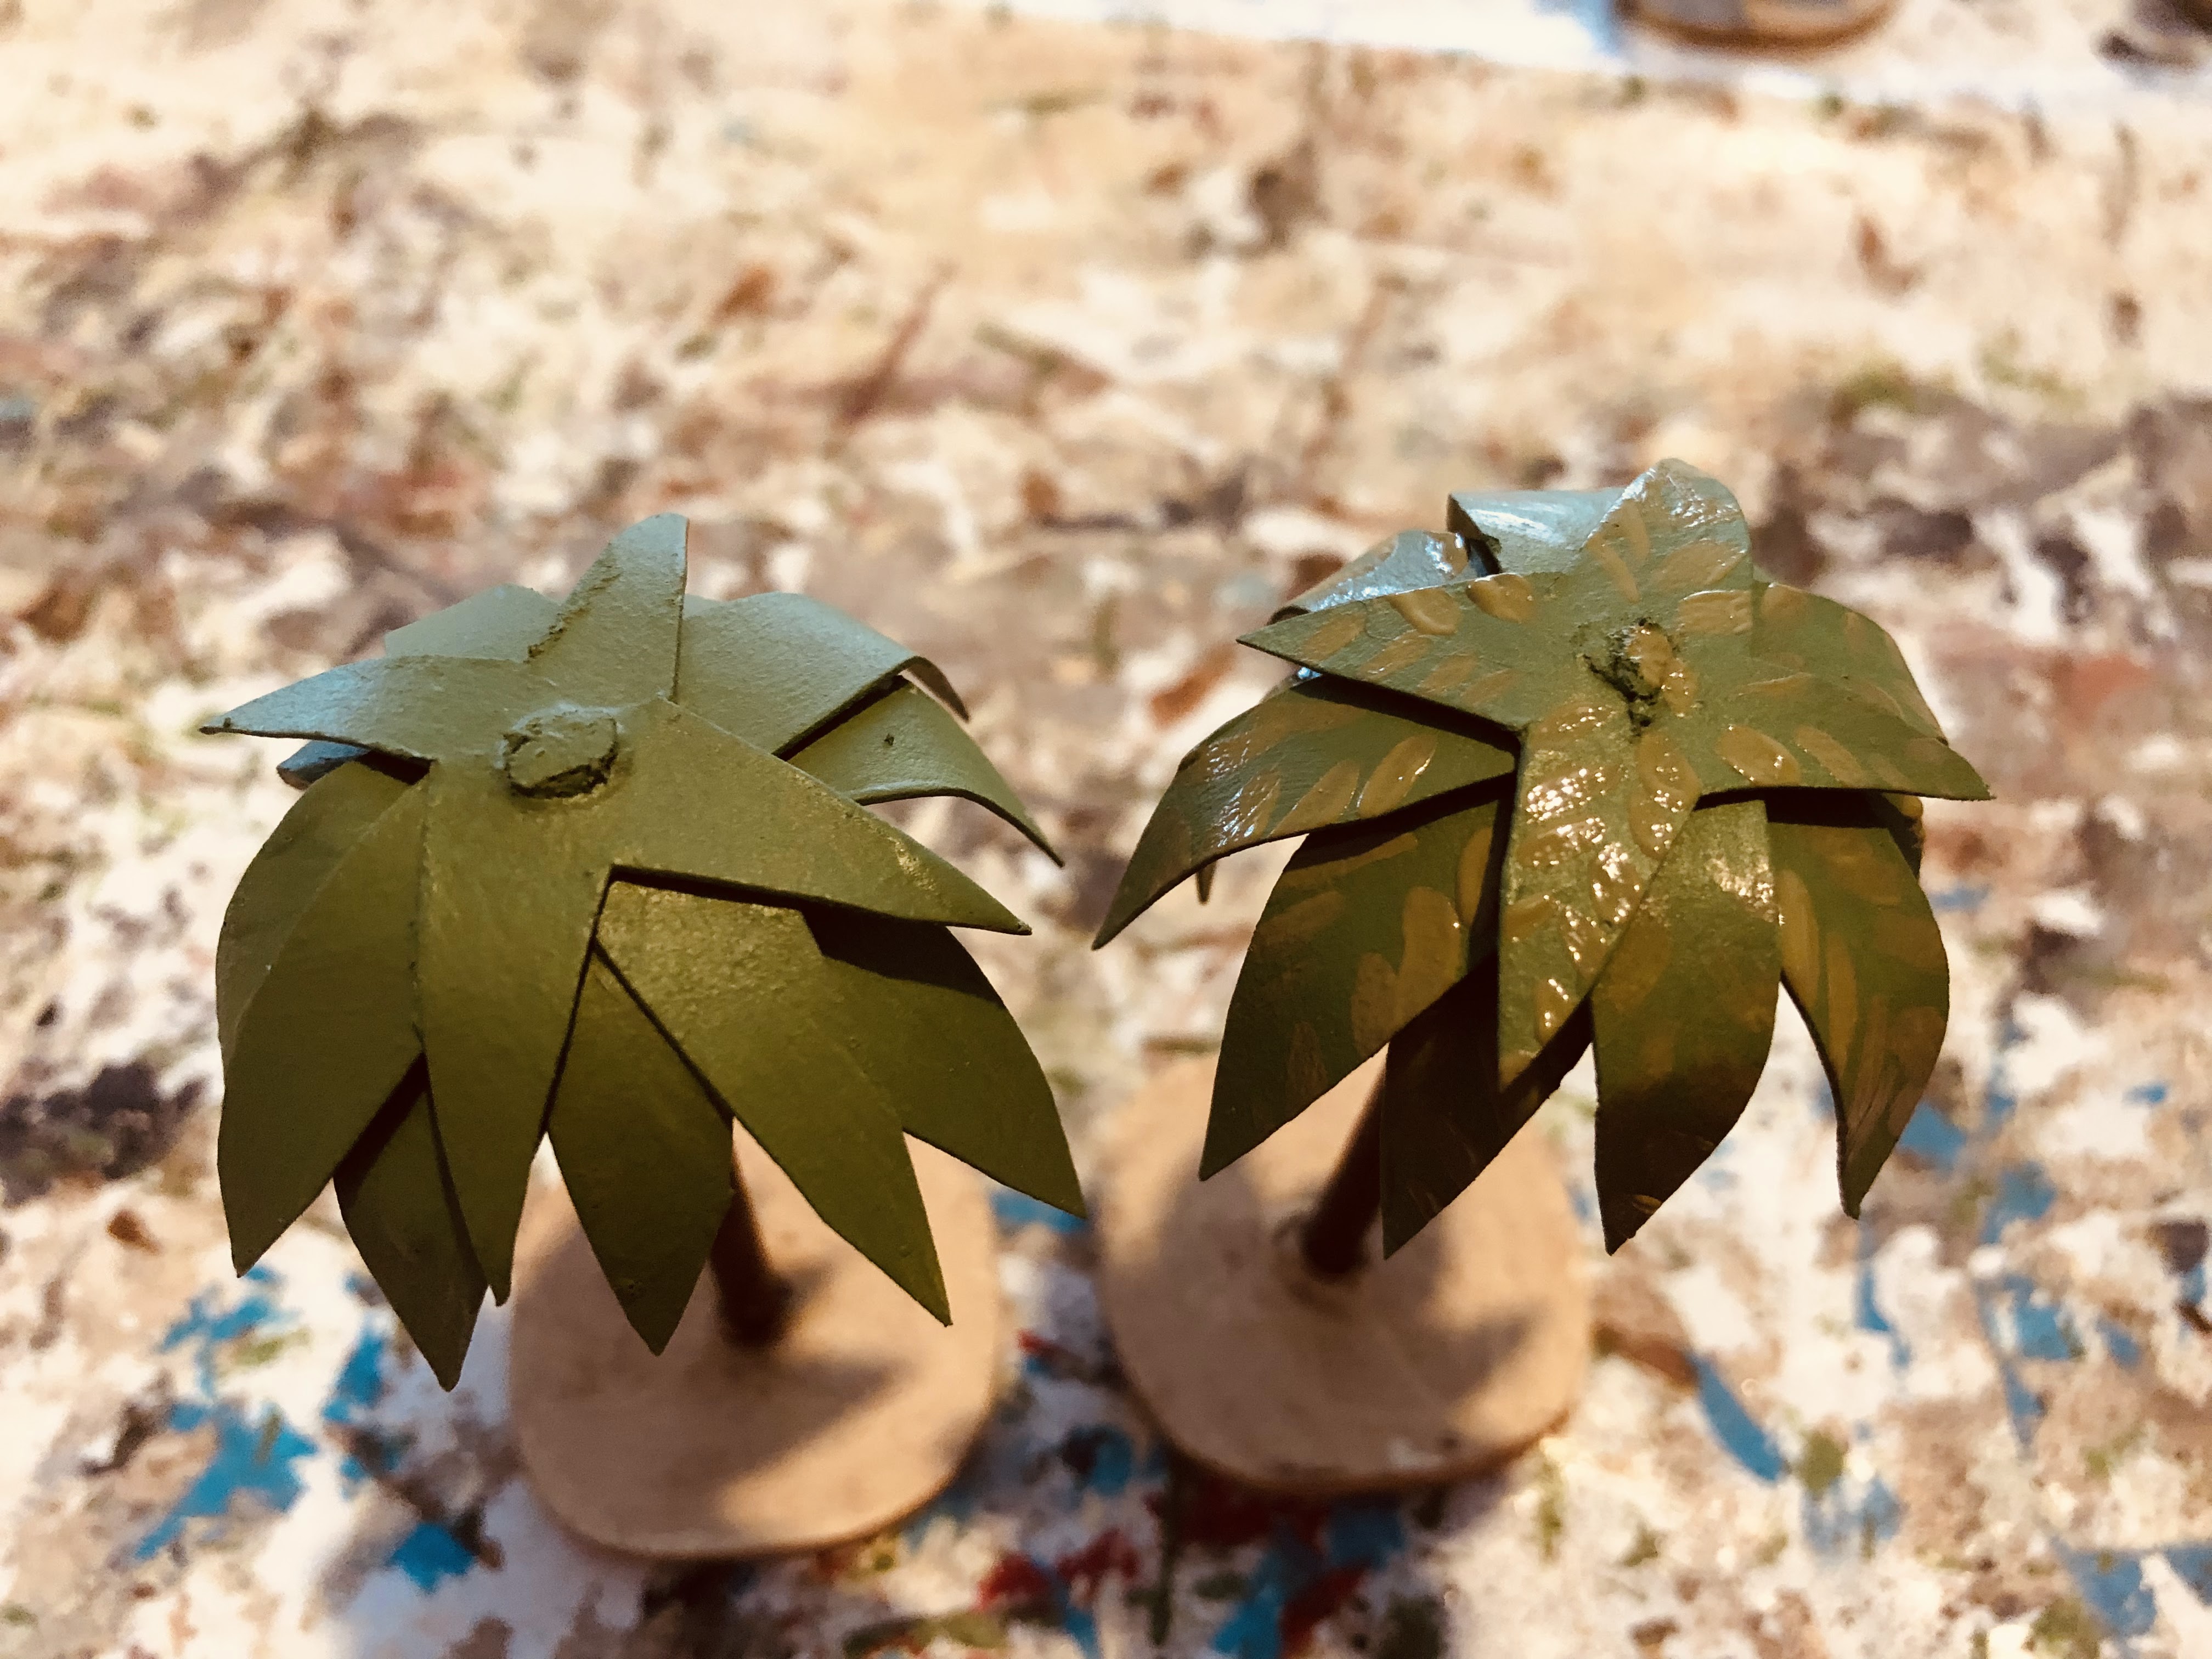
A muted green was applied in strips to give the impression of the frond's leaves. See palm on the right of photo.

The strips were added to with a darker green. See palm on left.

While the painted fronds were drying I painted the trunk a dark brown.

With a light brown/tan paint and a small brush I quickly did flicks of paint up the truck.

Using a light green and a small brush the frond leaves are added in detail.

The bases were finished with sand and stones.

The finished palms on the tabletop.

The next item for scratch building will be a train as they were key to supplying the frontline troops in the WW1 Palestine campaign.

Saturday, 30 April 2022

WW1 Palestine project gets wings

A WW1 Albatros aircraft has been added to the Turkish forces and a S.E.4a is being made for the Commonwealth forces. I am continuing with a scratch building approach for the various vehicles I plan for this project. This time I am using balsa wood and wire.

Latest addition to the Turkish forces

A side shot. The fuselage took a while to shape.

A view from the top.

To help get the right shape, particularly the wings, I printed off a couple of copies of blueprints grabbed off the internet. These are sized to 1/72 scale (or as near as possible) before printing. The wings and tail pieces are cutout and stuck to 1 mm sheet balsa wood. Once dry these are cutout.

Blueprints from the internet proved very useful.

The printed blueprints were cutout at stuck to a sheet of balsa wood.

The most time consuming part of making these models is the shaping of the fuselage from balsa wood. The blueprints help as the shape is gradually carved out. When attaching the wings I cheat somewhat and use some balsa wood to pack the gap between the top wing and fuselage. This adds to the model's strength and wire is used for the struts between the top and bottom wings.

Shaping the fuselage takes time.

Wings and tail pieces are added.

The propeller is a disk cut from 1 mm balsa wood sheet. This is much easier than making a propeller, but take I bit more to paint later on.


The whole model gets a think coat of PVA glue followed by artists gesso primer. The model is then ready for painting.

Next up will be some scratch built palm trees.

Thursday, 28 April 2022

Adding some Arab units and an armoured car

Progress continues on the WW1 Palestine Campaign project. I have been able to keep focused and not get distracted. Units have been added to my growing Arab Rebellion force and yesterday I finished a simple scratch built Rolls-Royce armoured car.  

The recent arrival of a Rolls-Royce Armoured Car

I used paint to highlight details rather than any modelling skills.

Cardboard was eventually used for the wheels after some trial and error.

The armoured car is made from bits of wood beading, dowel, cardboard, and green-stuff. It took a while to make as originally I used round dowel for the wheels, but this made the whole thing far too wide. Instead I reverted to using cardboard for the wheels. 

When I finished the modelling I was a bit dubious on how the simple shape was going to turn out. I used paint to show various details rather than modelling them. Painting fortunately hides and disguises many faults.

The armoured car before the painting took place

The Arab Rebellion forces are gradually increasing. Some cavalry arrived recently and will soon be added.

Arab Rebellion force. Cavalry will soon be added.

I am sure the armoured car will be seen supporting any Arab attacks on the Turkish forces.

Monday, 25 April 2022

WW1 Tank added to Palestine campaign

As the Palestine project has progressed two fellow wargamers have been kind enough to digout and scan  some scenarios from an old ruleset and also rules from old magazines. A quick thank you is due to https://warfareintheageofcynicsandamateurs.blogspot.com to and Rob. These have both been very useful.

One of the scenarios covered part of the Second Battle of Gaza which I have reworked for a One-Hour Wargame style game with influences from scenario 14 - Static defence. One unit type I was missing for the scenario was a tank. So this weekend I found some time to quickly scratch build a WW1 British heavy tank.

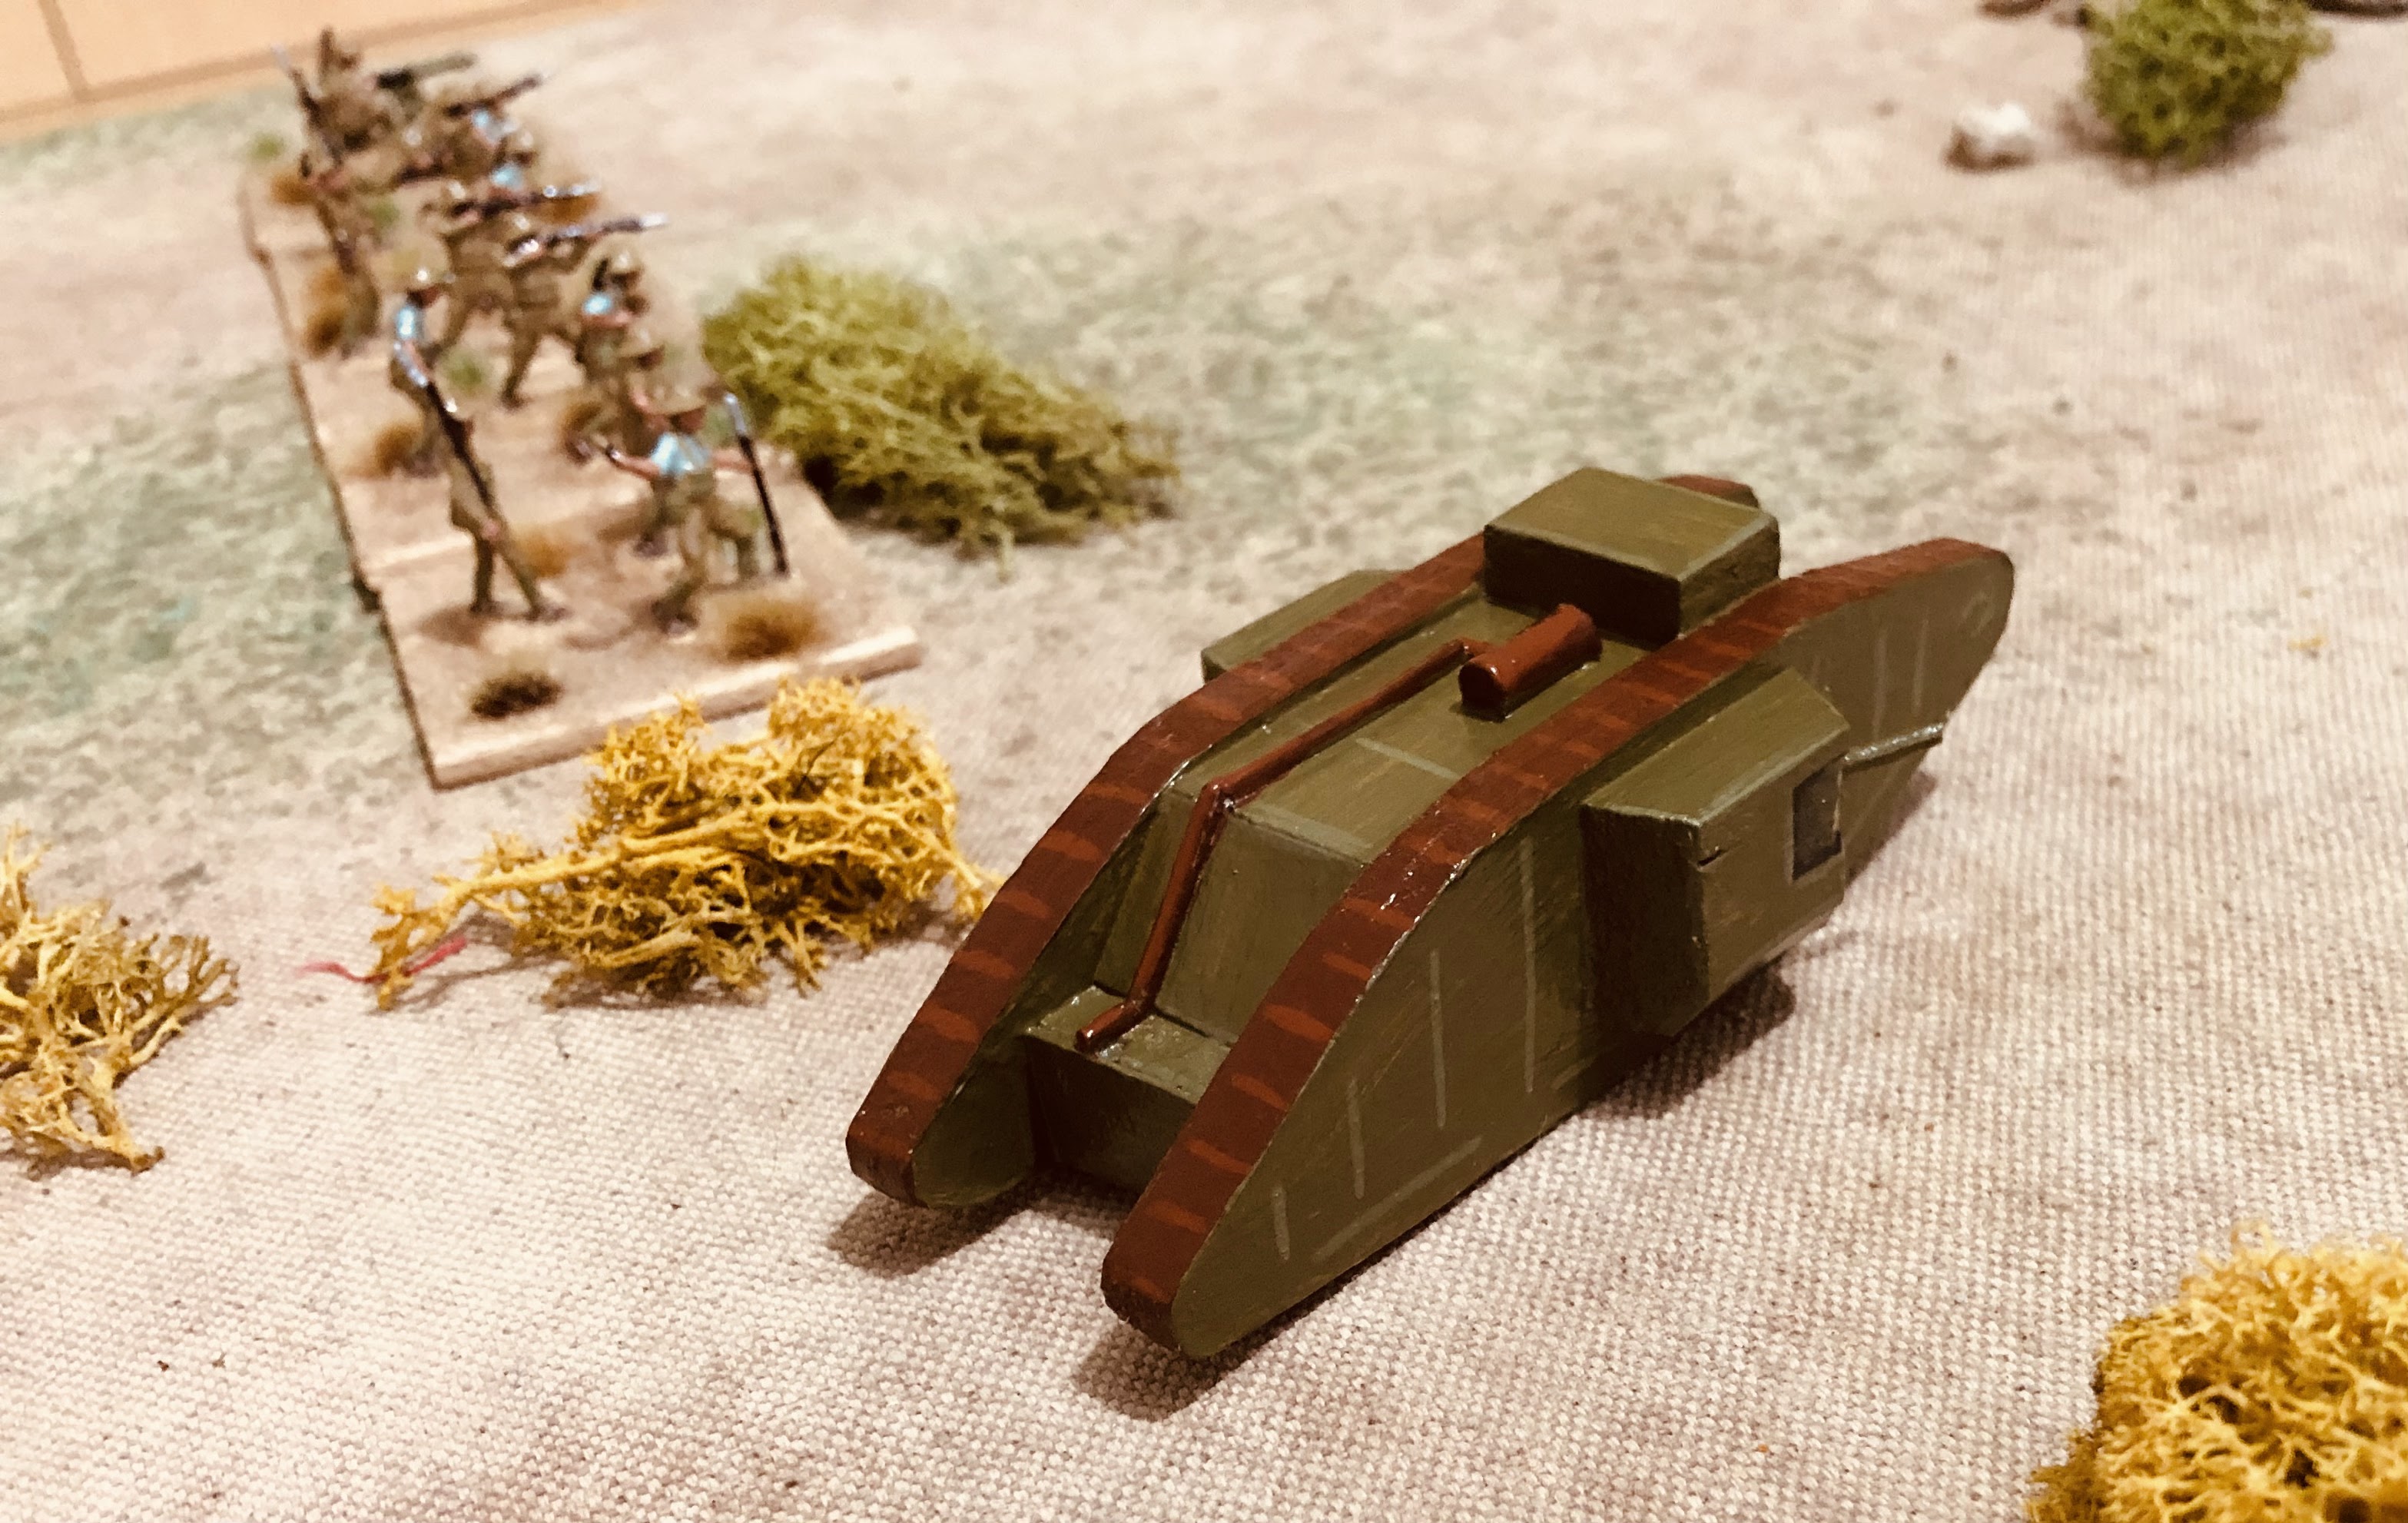
New addition to my WW1 Palestine campaign project

A very basic model for my very simply painted figures.

The tank is made from wood, various square and rectangular dowel, and MDF sheets. I used blueprints found online as a guide for getting the shape as best I could.

The tank is made from bits of wood and MDF 3mm sheet stuck together to make the tracks.

The model gets a coat of artists gesso which helps provide a good undercoat and fills in any small gaps.

A base colour is applied.

Lighter and darker colours to the base colours are used to highlight and shade to give impressions of details, for example, the tracks and hatches. 

The sponsons used highlighting and shading around the guns.

Tank Redoubt Scenario - 2nd Battle of Gaza

This game was played using One Hour Wargames Machine Age rules. There were a couple of modifications:
  • Units are eliminated after taking 17 or more hits.
  • Units have to activate to move or shoot. Roll D6 and multiply score by 4. If this total is greater than the hits a unit has accumulated, then it performs the action. If less or equal, no action is performed by the unit this turn.
  • Artillery units have to spend one turn of ranging fire to target a unit before shooting. I use explosion markers to show which units have been targeted. No hits are caused by ranging fire. Once a unit is targeted shooting is as per the rules, even if the unit moves it remains targeted. A change of target will require artillery units to spend a turn to range again.
  • I used event cards from the One-Hour Wargames book.
Tabletop with the initial troop deployments. (Tank Redoubt was named after the battle)

Situation

The defending Turkish forces are to hold both redoubts. Commonwealth forces have been ordered to capture and hold either redoubt. 

Forces

Turkish:
  • 4 infantry units
  • 1 infantry unit with supporting machine gun
  • 1 artillery unit
Commonwealth:
  • 2 infantry units with supporting machine guns
  • 1 infantry unit
  • 2 artillery units
  • 1 camelry (mounted infantry) unit
  • 1 tank

Special Rules

  1. Two Turkish units must remain within 12" of each redoubt.
  2. Commonwealth can target 3 units with an opening artillery bombardment (no ranging required).
  3. Wadi Sihan is impassable except at two crossing two areas.
  4. The tank unit moves 6" and shoots D6+2 at targets within 6" range. Any failed activation and the tank has broken-down (eliminated).

Game Length and Turn Order

The game ends after 15 turns and Commonwealth forces start the game.

Victory Conditions

Commonwealth forces must hold one of the redoubts by turn 15 with no Turkish forces within 6". If they do not hold a redoubt then it is a Turkish victory.

Inspiration

This scenario is based on a scenario from the Last Crusade WW1 rules called "Tank Redoubt - Second Gaza, Palestine, 19th April, 1917". Not having the quantity of units required, the scenario has been scaled down to a One-Hour Wargames sized game and influenced by the "Static Defence" scenario from the book.

Game Report

Commonwealth forces decided to make Tank Redoubt their primary objective and used their preliminary bombardment to target all units in entrenched positions.

Following the initial bombardment Commonwealth forces move on the primary objective supported by the tank unit which draws the majority of Turkish fire.

The "enemy panic" event card is drawn for which I treat as an aircraft attack. A single Turkish unit in the open is attacked. The camelry unit moves to support the right flank attack.

The tank unit fails and activation and is destroyed. However, the supporting Commonwealth units remain unscathed and continue their attack on Tank Redoubt.

The Turks defending Tank redoubt are taking casualties as their position is attacked by all available Commonwealth units.

Success for Commonwealth forces which take and eventually drive off Turkish units.

An enjoyable game. It was pleasing to see the tank unit performed well in its first game. How often do recently painted units get to the tabletop only to be removed quickly from play? As for the rules, I am still tinkering with them and may yet convert them to use D3 dice rather than D6 dice.

Sunday, 17 April 2022

WW1 Palestine troops and terrain

Most of my hobby time this week has been spent on the WW1 Palestine project finishing the Commonwealth forces, starting the Arab Rebellion forces, and making some terrain. The terrain will allow me to soon start playing a few One-Hour Wargaming scenarios with the Machine Age rules.

British cavalry

British cavalry

Having finished enough Turkish and Commonwealth units for a few One-Hour Wargaming I have now started on the Arab Rebellion forces. First up was a unit mounted on camels.

Arabs on camels

Another view of the camels

The next items on the list was the creation some suitable buildings and trenches for the scenarios. The buildings are made from blocks of wood and dowel which are then painted.

A game with the new buildings

Three builds, a minaret, and well.

A closer view of one of the smaller buildings.

The larger building with painted brick work

The trenches were made from multi-use insulating foam board stuck on to 4 x 2 inch pieces of MDF, which were then shaped. They were then painted, sprinkled with sand, and sandbags added made from green stuff.
 
Infantry with supporting machine guns.

Infantry behind trenches and artillery in the background.

The shaped multi-use insulating foam board. A pen was used to mark the boarding.

Trenches from the other side.

Next for the project, other than completing the Arab rebellion units, is to add some aircraft, armoured cars, trucks and a tank. I am thinking about scratch building these items.