Friday 29 September 2023

Wargaming desert palm trees and hill terrain for 6mm scale

A few weeks ago, I purchased several bags of palm trees, which included a variety of sizes. I first based all of the trees that were suitable for my 20mm armies, and over the past week I have now found time to base the smaller palm trees that will be suitable for my 6mm WW2 Western Desert games.

Recently added palm trees suitable for my 6mm WW2 Western Desert armies

While on the desert themed terrain I also wanted to make some sand dunes and steeper hills to go with the palm tree groves. I find placing books and bits of wood under my home-made canvas gaming mat unsatisfactory for 6mm units because when looking down at the tabletop it can be unclear when a unit is on or behind a hill.

The palm trees with a steep hill and sand dune.

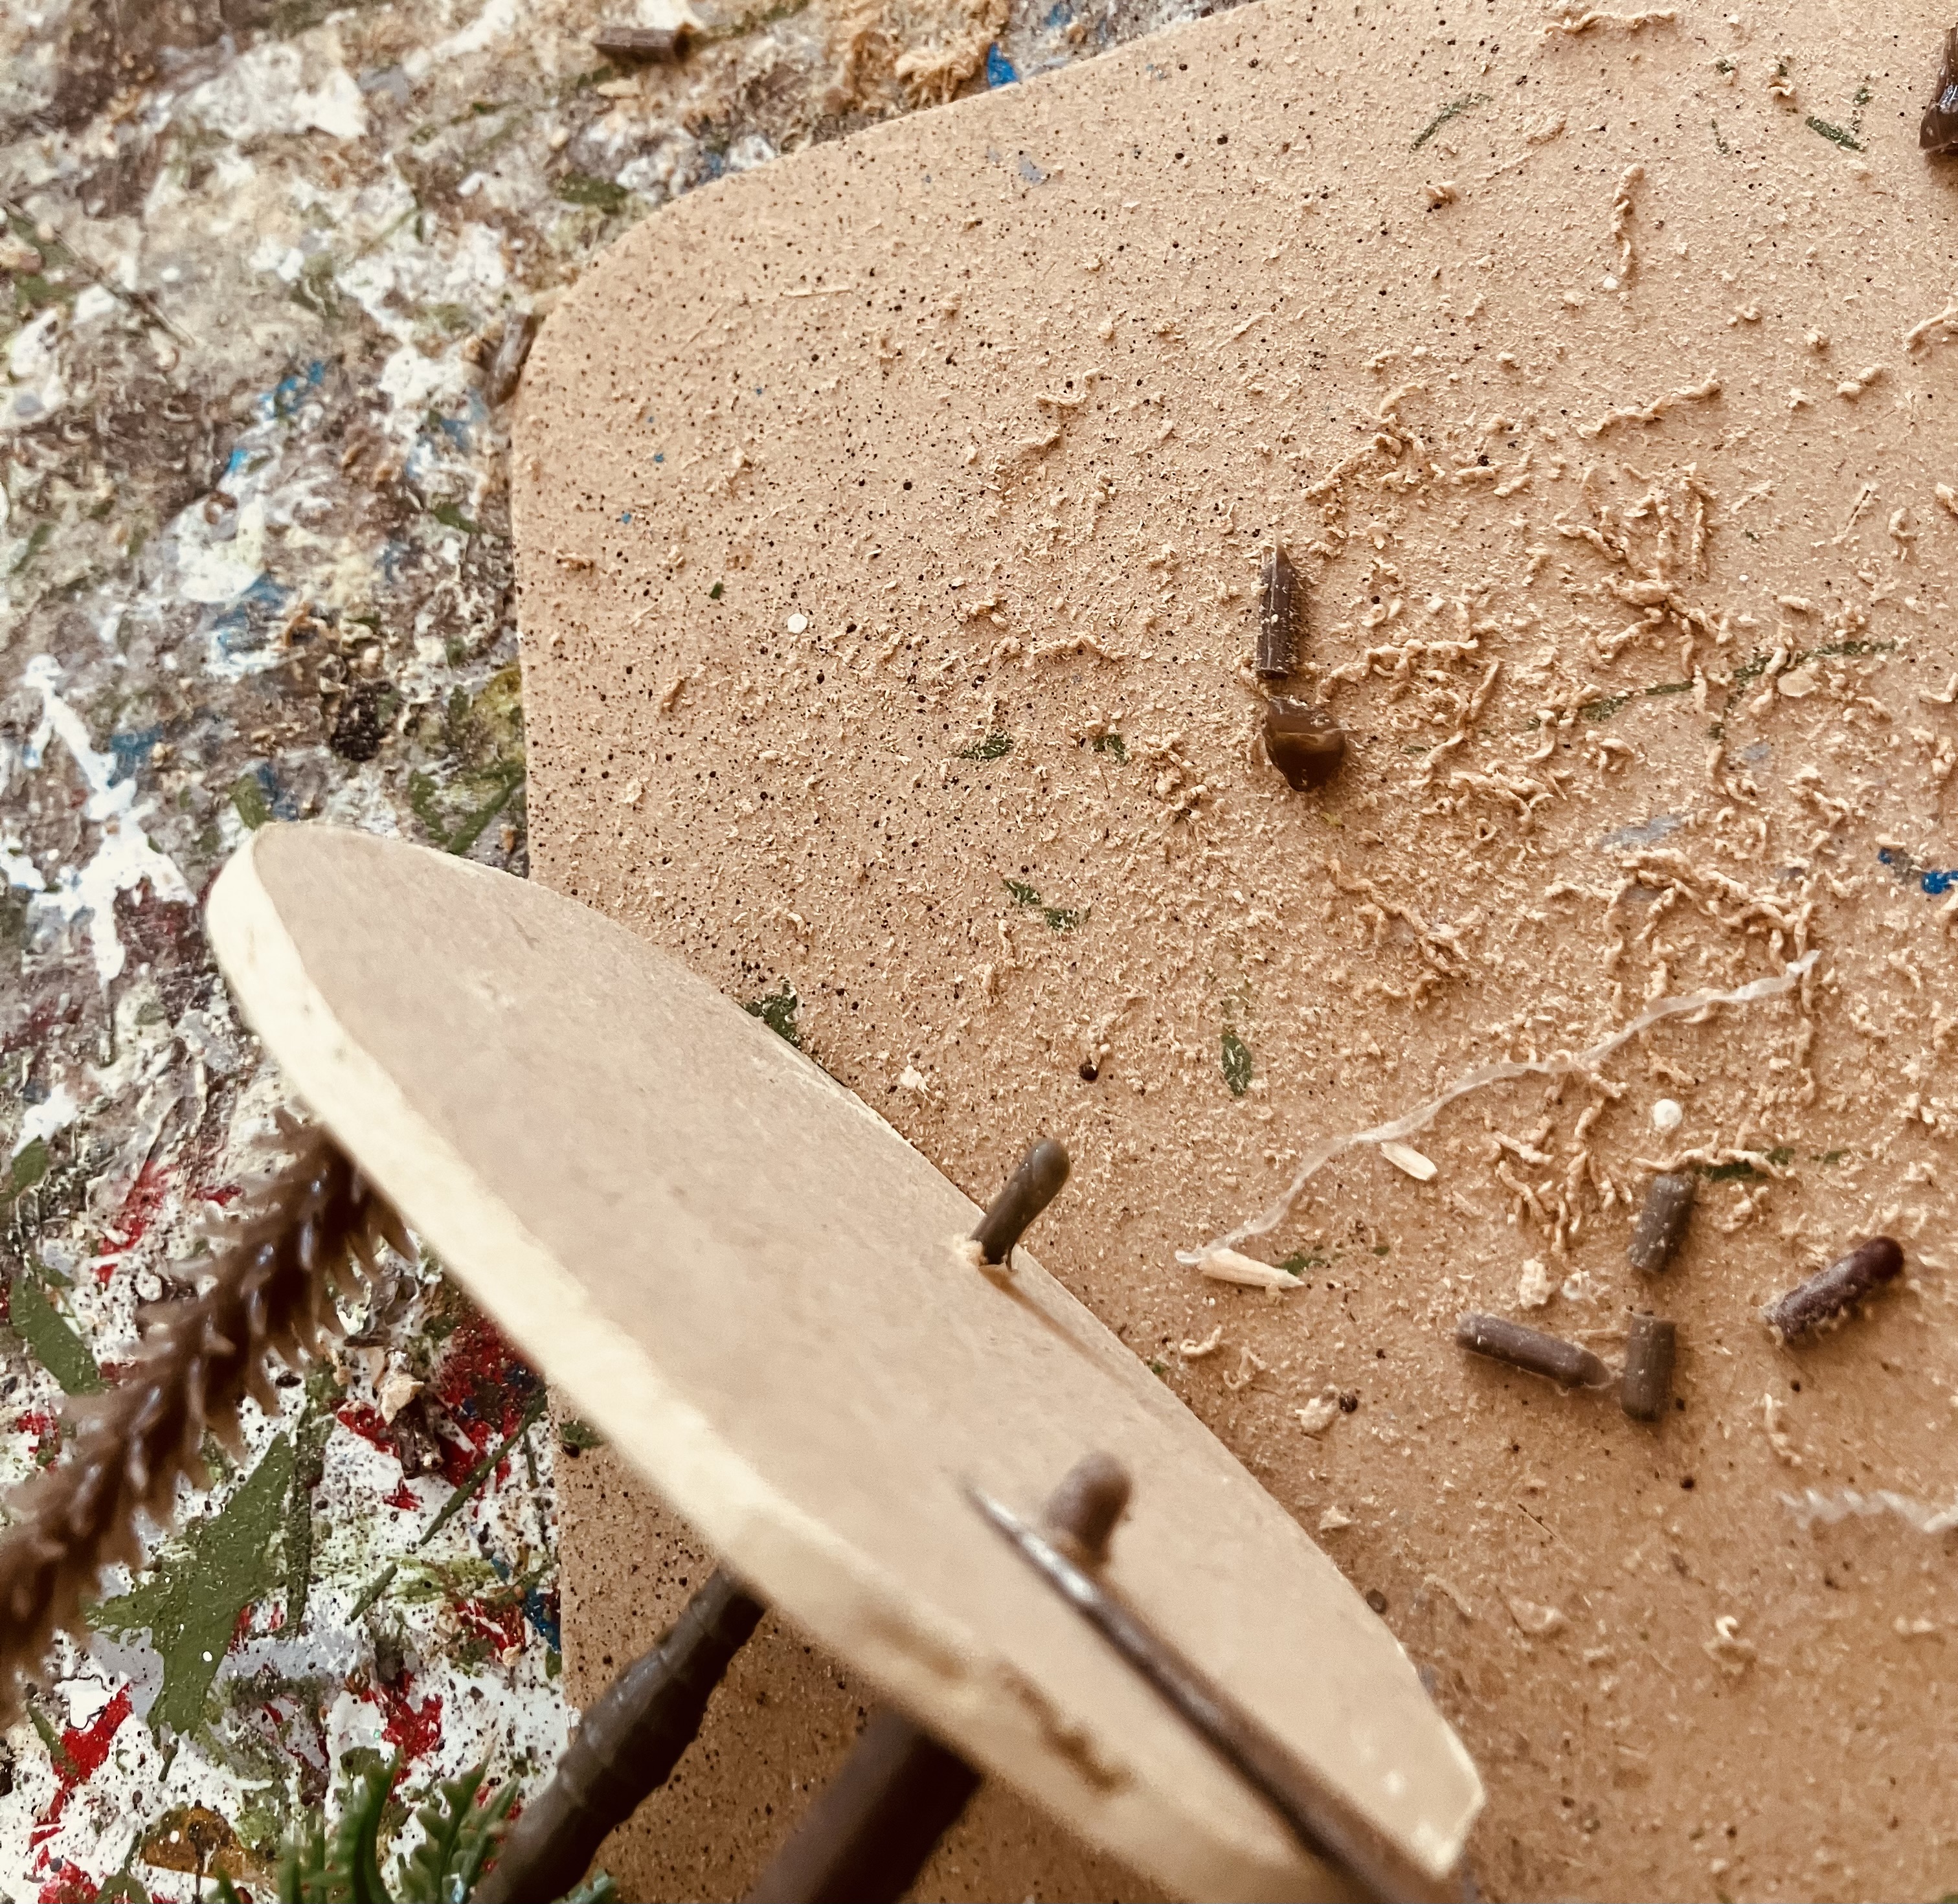
To make the hills and sand dunes I used  a pack of four foam fill sheets I found at the local craft store. Each sheet is 12 inches square (300mm) and 3/8 inches (5mm) thick. Using a pair of sharp scissors, and and you do need sharp scissors, I found I could very quickly cut out and shape the hills. To make the steeper hills, I just glued two sheets together with spray adhesive, then cut and shaped them.

Foam fill used for the hills.

Painting the hills was very easy and straight forward. In fact I am not not sure I should call it painting, but rather dipping. 

  1. I added my base sand paint and brown to a clear bucket until I achieved the desired colour. Then, I added water until the mixture was more like a wash than paint. I simply dipped all of the foam hills into the wash to colour them. 
  2. After laying them out to dry, but before they were dry, I used a paintbrush to apply a slightly darker brown wash around the edges to create a mottled look. 
  3. Next, I applied a lighter sand color wash to the top. 
  4. Finally, once the hills were dry, I added some green to represent scrub and dry brushed on some sand to highlight the edges.
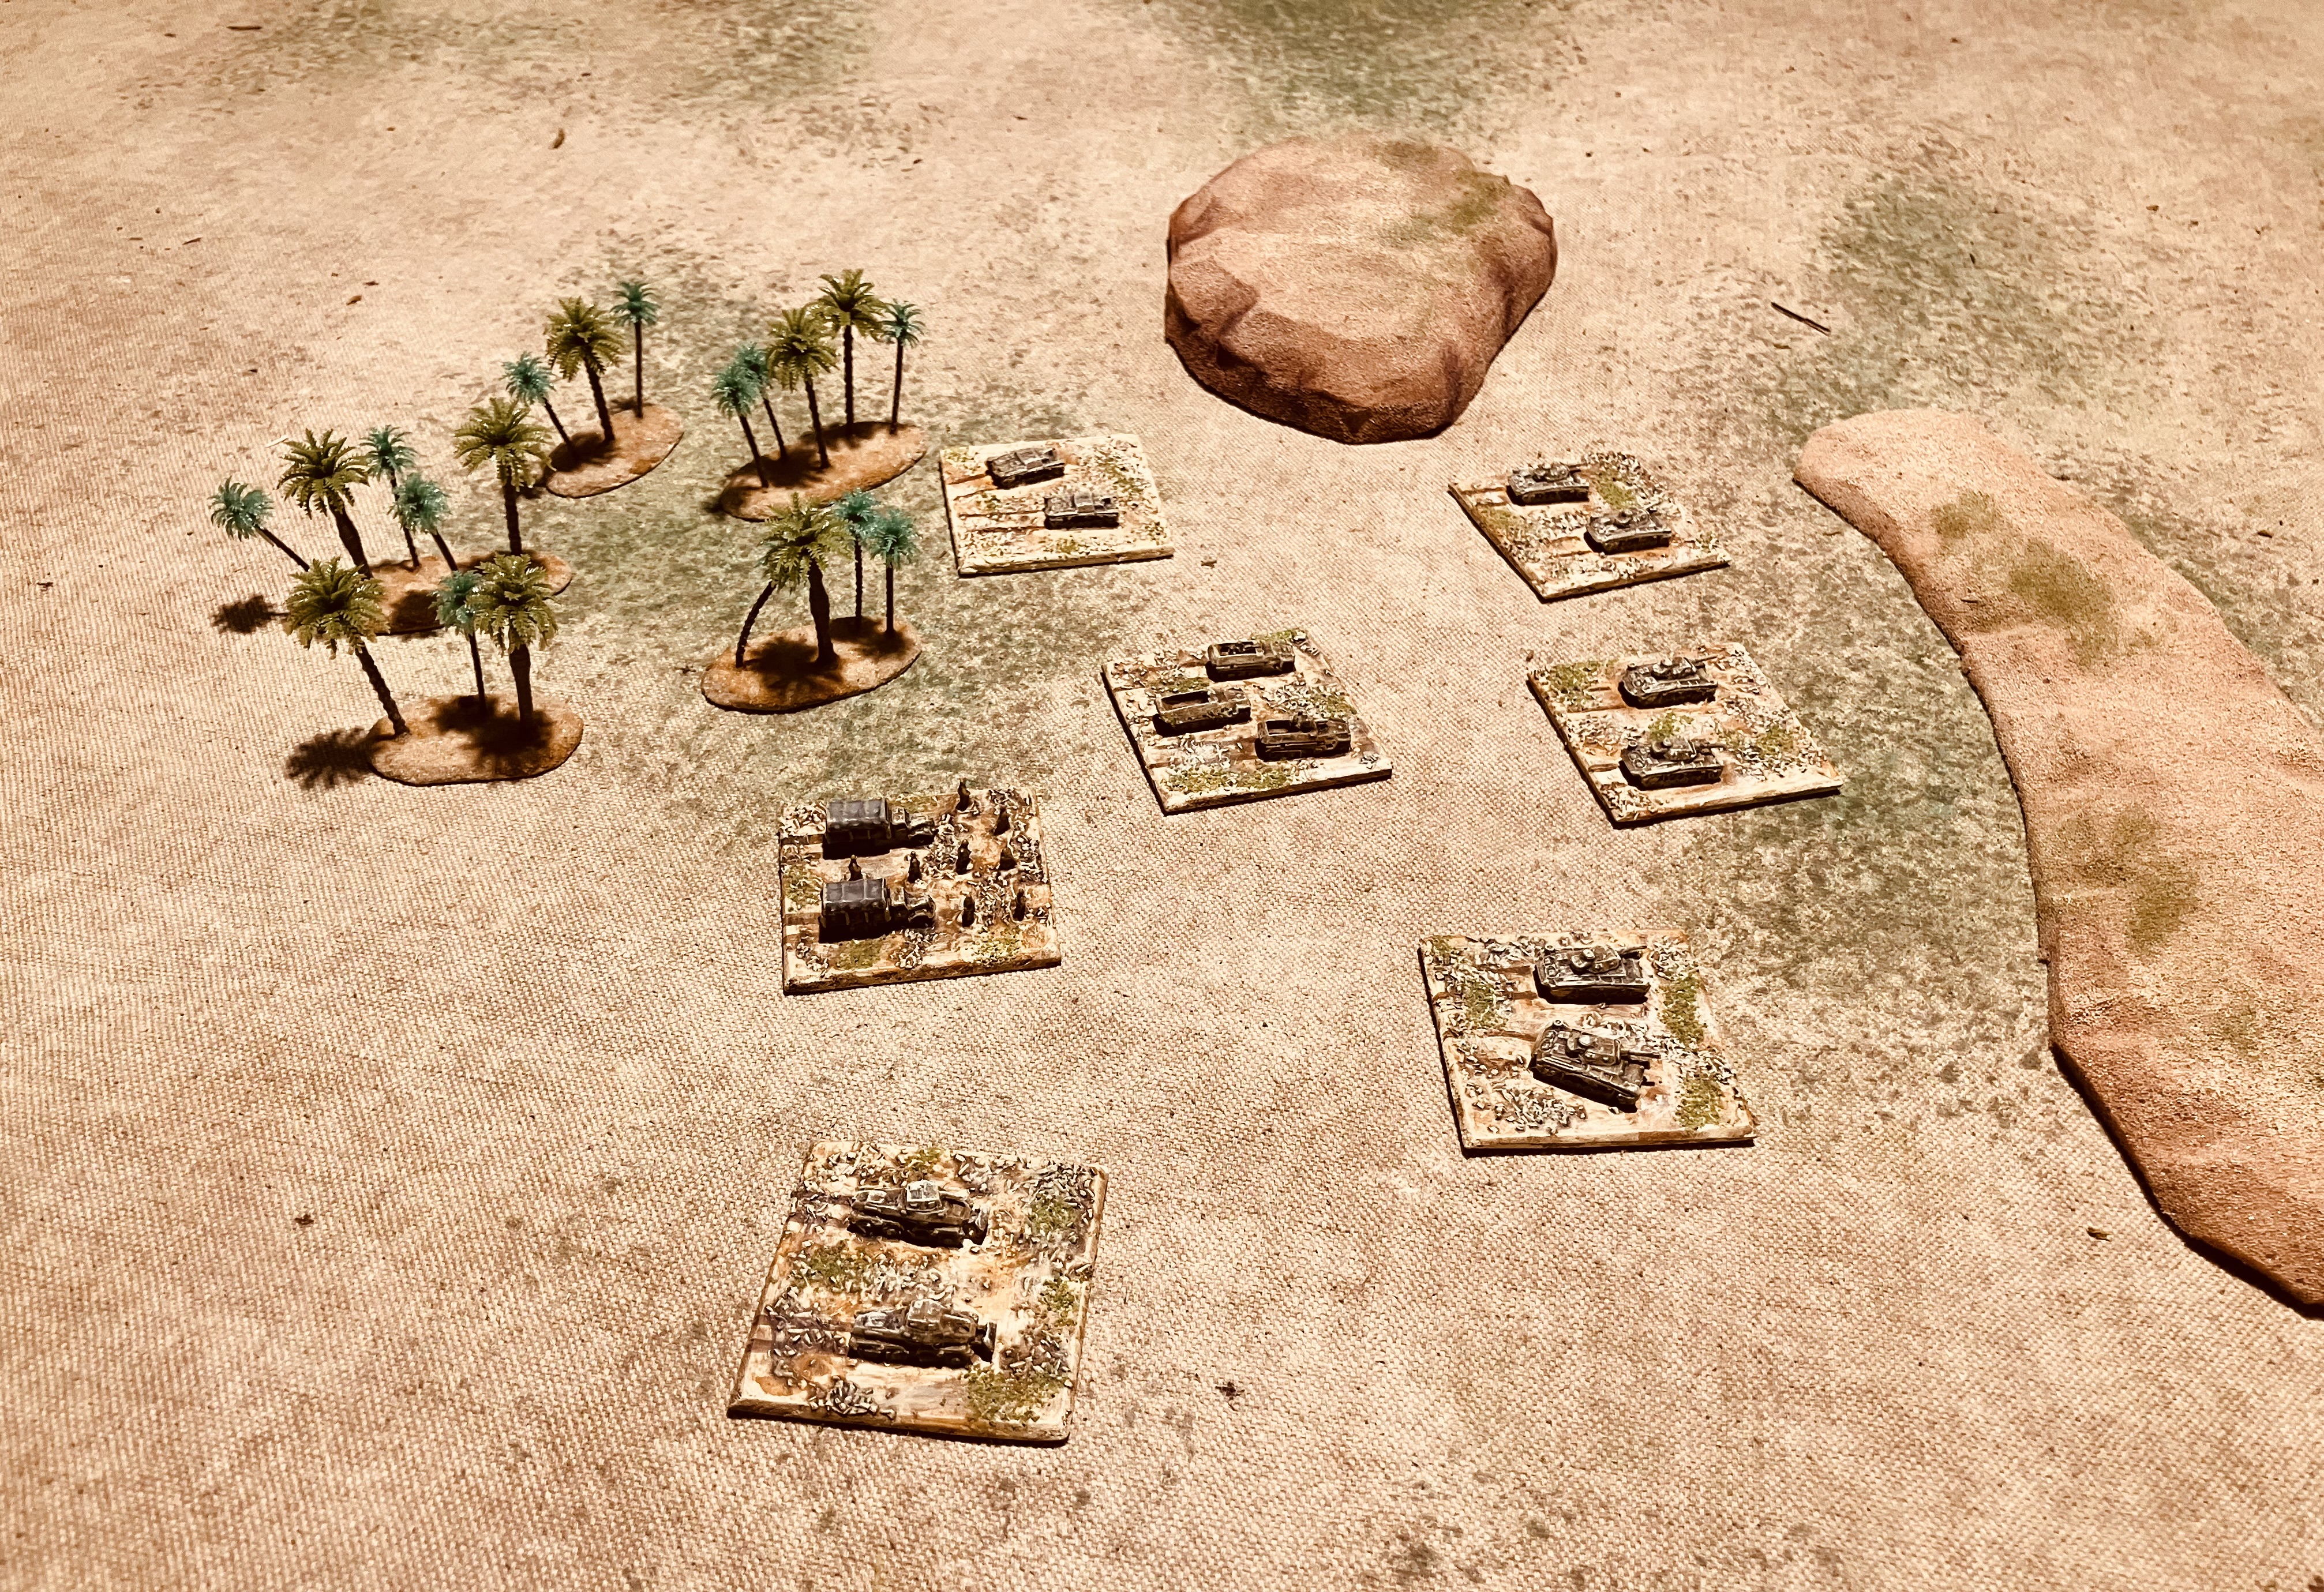
On the right is a steep hill of two foam layers stuck together which I can use for escarpments and to the left a lower hill or sand dune. The Panzer III models are 6mm.

The four foam sheets have provided me with enough steep hills, with their escarpment sides and sand dunes, to cover the tabletop. These hills will provide plenty of opportunities for armoured units to surprise the enemy as they appear from behind the sand dunes and hills.

One benefit of the foam hills is they are easy to store, will not get damaged, and if they end up out of shape they can be easily reworded back into shape. They do adhere well to my canvas tabletop mat and do not slide around.

All the palm trees and hills.

With all this new terrain it was time to get a suitable game set up. I through scenario 5 (Bridgehead) from One-Hour Wargames would be good. Instead of a river I have a minefield which has just been breached.

A game in progress using the OHW bridgehead scenario with a minefield replacing the river in the original scenario.

The idea of using foam for hills comes from the book Practical Wargaming by C.F.Wesencraft. See below.


Sunday 24 September 2023

An ACW game to test a scenario

In my last post, I wrote a generic One-Hour Wargame (OHW) scenario which was based on an English Civil War Battle of Nantwich scenario. Now, it’s time to test the scenario out using an American Civil War game.

For the scenario I made the strategic town a rail junction.

The scenario setting has half of Blue Army (Federal) defending a strategic town which I decided was an important railway junction, while the other half is trying to rejoin them from the opposite side of the river. Intelligence reports indicate that the Red Army (Confederate) is concentrating its forces from the north and the east to attack the town.

A tabletop view of the deployed troops and entry points for the off-table reserves.

The tabletop is setup with town buildings around the railway junction and a river on the east edge that runs through some rocky and impassible terrain. There are two bridges across the river, one north and one south of the rocky terrain.

Both armies consist of 6 units and were generated using the army composition tables from OHW.

Federal:

  • 4 Infantry units
  • 1 Artillery unit
  • 1 Cavalry unit

Confederate:

  • 1 Zouave unit
  • 3 Infantry units
  • 2 Cavalry units

The Federal player must select 3 of their units to be in reserve which will be arriving on turn 2 from the north-eastern edge of the tabletop. The remaining 3 units must be deployed in zone 2.

The Confederate player must select 1 of their units to be in reserve arriving on turn 4 from the south-eastern edge of the tabletop. The remaining 5 units must be deployed in zone 1.

Original scenario drawing. The marshland has been replaced by impassible rocky terrain for this ACW game.

A view of the tabletop from the east.

The rules used for this game are the OHW American Civil War rules. However, there is a modification to have units retreating. The approach used for unit retreats was inspired from some rules found in Solo Wargaming by Donald Featherstone (page 71) which are extracts from a War Games Digest article. The rules have units retreating where on a 6 is rolled (see photograph).


Recently been flicking through the pages for ideas and found the following rule mechanism for retirements.

There a number of tables, but the idea of a 6 causes a retreat as the idea for the OHW modification below.

The Retreat Rule Modification

  • When shooting at 12 inches or less and a natural 6 is rolled, then the target unit must retreat directly away to just beyond 12 inches from the shooting unit.
  • With any enfilade fire, then a 5 or 6 will case the target unit to retreat.
  • This retreat rule does not apply to units in cover, unless they have acquired more than 50 percent hits (apply the current shooting when determining this).
  • Note, that artillery firing at a range greater than 12 inches do not cause retreats.
  • Any retreating unit will push back any friendly units in the way. 
  • If a unit is unable to retreat due to impassible terrain, rivers, or enemy units, then the unit is eliminated.
  • Artillery units cannot retreat, they are eliminated.
  • A unit that retreated can still move during its turn.

The game report…

Knowing reinforcements are on their way, the Confederate units are quickly pushed forward towards the town. The Zouave unit is positioned to block and delay any Federal reinforcements.

The Federal reinforcements can be seen arriving by the north-eastern bridge. Meanwhile, the main Confederate force has advanced within range of the town’s defenders.

The town defenders are putting up a good fight and have caused one infantry unit to retreat, but they are concerned with the recent arrival on their flank of a Confederate cavalry unit.

The Federal reinforcements after an initial set back, due to retreats, were able to finally force the Zouave blocking unit to retreat. This will allow them to better deploy their units.

The assault on the town was making progress despite losses. One infantry unit has been diverted from the assault to help contain the Federal reinforcement’s progress. 

With losses mounting the town defenders retire to the town itself and hope to hold out until support arrives.

The assault on the town continues. The town defenders hang on and can see their reinforcement in the distance.

A Federal cavalry unit has broken through the Confederate blocking line.

The Confederate units break off the attack on the town as Federal reinforcements approach. With no hope of renewing the attack this is a victory to Federal forces. 

Summary

The scenario seems well-balanced, with neither side making any obvious mistakes and the game remaining in the balance until turn eleven. I did think the Confederate army might have succeeded if it had had one more infantry or artillery unit instead of one of its cavalry units. I'll be re-rolling the army compositions and playing again soon. This is one area of the OHW scenario approach I like, you don’t necessarily get the army composition you want.

One change I may make to the scenario is to not have deployment zone 2. Instead, just state that Blue on-table forces must be within 12 inches of the town.

The retreat rules worked providing a bit of back and forth movement to the army lines of battle, and I will be keeping them for the next game.

Thursday 21 September 2023

Battle of Nantwich ECW game leads to a generic scenario

An English Civil War game has recently been played out on the tabletop. I used the Battle of Nantwich scenario from “With Pike and Musket” by C.Wesencraft as a guide for setting up the game. The battle itself took place on January 25, 1644, and was fought between a Parliamentarian force under the command of Sir Thomas Fairfax and a Royalist army led by Lord Byron.

The Royalist army had become divided into two parts due to flooding of the River Weaver, with the infantry and artillery on the west bank and Lord Byron and his cavalry on the east bank. Sir Thomas Fairfax attacked the Royalist infantry positioned near the village of Acton, while deploying some infantry and cavalry as a blocking force against Byron's approaching cavalry who had eventually found a crossing of the River Weaver and was approaching the left flank.

The Parliamentarians attack on the Royalist infantry would be aided by a sortie of  musketeers from Nantwich. They were able to overcome the Royalist defenders. Byron's cavalry were unable to breakthrough to turn the tide of the battle, and the Royalists were defeated.

The order of battle

Parliament Force

  • 2 infantry units
  • 3 cavalry units
  • 1 artillery unit
  • 1 infantry unit (arriving on turn 6 from Nantwich)

Royalist Forces

  • 2 x Infantry units
  • 1 x Artillery unit
  • 3 x Cavalry units (arriving on turn 2 from the north-east.

The village of Acton is the objective of this game. The army occupying the village will be victorious. Royalist cavalry arrive on turn 2 top right, and Parliamentarian infantry arrive turn 6 bottom right. The marshland is impassible. 

Victory Conditions

The victory conditions are for Parliamentarian forces to capture Acton village. If the Royalists hold the village, then they win.

Game Report

The game used a variation of One-Hour Wargames Pike and Musket rules and limited movement to two units per turn.


In the opening moves both sides exchanged artillery fire while Parliament’s cavalry advanced.

Once the Parliamentarian cavalry were positioned threateningly on the flank, their infantry centre moved up to engage in musketry with the Royalist infantry defending the high ground around the village of Acton.

Royalist cavalry lead by Lord Byron arrive and charge the blocking infantry unit.

The attack on Acton defenders continues.

The Royalist cavalry are held up as they try and breakdown the blocking force.

The cavalry charge the Royalist infantry trying to outflank them.

Parliament infantry from Nantwich arrive on the Royalist flank.

Parliaments blocking infantry are under pressure and are supported by a cavalry unit.

Attacked on both flanks the Royalist infantry eventually surrendered the village for a Parliamentarian victory.

After game thoughts…

I've played this scenario a couple of times now, and Parliament won every time, but only by a small margin. This made me wonder if the Royalists could ever win, and I decided that they probably couldn't unless they had another unit to help defend the town, or the Royalist relief force had more room to manoeuvre around the marshland and get more units into the action. This led me to think about how the scenario could be adapted into a generic scenario, like the ones in Neil Thomas's book One-Hour Wargames, where a variety of historical situations and other wargaming scenarios have been reworked.

So for a bit of fun and hopefully interest, here is my attempt at a generic scenario using Nantwich 1644 as inspiration…

Scenario Situation

Bad weather has divided the Blue army, with half of its units defending a strategic town and the other half on the opposite side of the river trying to rejoin them. Meanwhile, the Red army is trying to concentrated its forces and plans to attack the strategic town.

Scenario map

Army Sizes

  • Both armies have 6 units.

Deployment

  • Red army deploys 5 units in zone 1.
  • Blue army deploys 3 units in zone 2.

Reinforcements

  • Turn 2 - Blue army: 3 units arrive at the north-eastern bridge
  • Tuen 4 - Red army: 1 unit arrives at the south-eastern bridge

Special Rules

  • The river can only be crossed at the bridges and the marshland is impassible terrain.

Game Length and Turn Order

  • The game lasts for 15 turns with Red army going first.

Inspiration

  • The Battle of Nantwich, “With Musket and Pike” by C. Wesencraft.

Next…

Now that the scenario is written, I'm looking forward to try it with a different period this weekend. I'm not sure which one yet, but I'm leaning towards the American Civil War.

Monday 18 September 2023

A grove of palm trees ready for the tabletop

Having recently received two bags of palm trees last week in the post and with some warm and sunny weather predicted over the weekend. I thought it would be a good time to get them ready for tabletop use as the warm weather helps speed up the drying process.

Getting the palm trees to be tabletop ready.

Fortunately, most of the palm trees had a peg at the bottom, which made it easy to secure them to the bases. For the trees that didn't have a peg, I drilled a hole in the base and used a toothpick to create one. I cut 3mm MDF to size to create the bases, painted them, and drilled holes for the trees. Then, I glued the trees as I slotted them into their bases and trimmed the pegs off.

Of all the activities, I think getting started with the first activity of cutting out of the bases was the most laborious activity, all the other activities seemed to go quite quickly as the grove of palm trees started to appear on the painting table. Great motivation.

The trees, one has been drilled and a peg added, and the painted base with holes drilled.

Trimming the bases.

A palm grove appears on the painting table.

The final step was to apply a coat of PVA glue to the bases and dip them in fine sand. Once this was dry, I coated the bases with thinned-down PVA glue to keep the sand in place. The photos below show the finished palm trees with some Arab Rebellion figures to help show scale. I completed 26 bases of trees in total. This used up pretty much all the suitable trees in the two mixed bags of palm trees, leaving the smaller scale trees for my 6mm WW2 Western Desert terrain needs.

A view of the collection as seen when wargaming.

A closer view showing the scale with 1/72 plastic figures.

Overall, I am very pleased on how it all worked out, and purchasing two of the mixed bags was a good idea as the contents of the bags did differ.

Friday 15 September 2023

A couple of bags of palm trees arrive

Today the post delivered a package containing two bags of model palm trees with a mixture of sizes I had ordered a few weeks ago. They were reasonably priced so I purchased two bags in the hope that I would get enough suitable sizes suitable for my 6mm and 1/72 scale models.

A selection of palm trees

There are a few games for which these palm trees will be useful:

  • WW1 Palestine games
  • Punic War for some settings
  • Burma for my crossfire games
  • WW2 Western Desert 6mm games.

A closer view with some 1/72 scale WW1 Turks. I will shorten the oversized trees.

The bags had quite a few smaller palm trees that will be suitable for 6mm Western Desert games.

This weekend I will be preparing quite a few MDF bases to base the trees. I may give the trees a wash of colour to tone down some of the more very vibrant green.

Tuesday 12 September 2023

Plans to wrap up loose ends

I recently finished painting a unit of English Civil War dragoons to add to my existing armies, and it got me thinking about all the other unfinished units I have for a number of different armies. These are the types of units that were purchased to add to my existing painted armies as they would be useful in some scenarios, or would add to the variety of games I can play. For example, I recently purchased some 1/72 plastic Gaul units to add to my existing Punic Wars collection. This will allow me to play Roman vs. Gaul games, with the addition of only a few units.

A couple of ECW dragoon bases.

A handy hedge for the dragoons.

The catalyst for looking at the loose ends is that I'm retiring soon and we are moving back to New Zealand in 12 months time to be closer (but not too close) to our adult children. I'm reluctant to start a new project. Most of my projects seem to take about 9 to 12 months to complete, so I think it's a good idea to focus on finishing the loose ends.

Here's my initial list of the loose ends I want to start tidying up:

  • Ancients: 1/72 plastic Gauls to beef up Carthaginian army and also a separate Gaul army.
  • Dark Ages: Viking paper soldiers to be made to add to the existing Norman and Saxon paper armies.
  • Samurai: A number of mounted Samurai, Ashigaru, levy units, and supply units.
  • English Civil War: One cavalry unit to complete.
  • Seven Years' War: Quite a few infantry but mostly cavalry units which are the old plastic Spencer-Smith miniatures to be painted.
  • American Civil War: A few units of cavalry, mounted and dismounted, to be added along with some limbers.
  • World War I: A few artillery and infantry units to be painted.
  • World War II: A couple of tanks and mortar team still to be painted.
  • Fantasy: A number of Elf units and rebasing of Orc units.
Some 1/72 plastic Ashigaru figures leftover from the headquarters box. Their spears have been replaced with wire.

I'm not sure how far I'll get through the list, or in what order. It may be a case of whatever takes my interest at the time and dipping into the list here and there.

Monday 11 September 2023

A couple of games this past weekend.

In addition to painting a few miniatures this weekend past, including additional Ashigaru and some English Civil War dragoons, I was also able to play a couple of samurai Sengoku period games with my Red clan and Blue clan samurai armies. Using an online translator, I believe their names are Akai ichizoku and Ao no ichizoku. For the games I selected the “surprise attack” scenario from One-hour Wargames, with 7 units per side instead of the standard 6 units. The first game was played on a 4x4 foot tabletop setup.

The scenario set up on a 4x4 tabletop.

The defenders are well prepared.

The games gave me an opportunity to get my recently painted headquarters encampments onto the tabletop and to test out some different chance cards that reflect the period and add a bit of flavour to the games. One of these cards is called "Personal Challenge," which allows a unit to issue a personal challenge to an enemy unit. When played, the enemy unit selected is inactive for its turn, it also cannot be attacked by any other unit. I had read that samurai, even in this late period, would use personal challenges, their objective along with any personal glory was to delay attacks or buy time to retreat. I have two of these chance cards in a player’s deck of 15 cards.

I found that the “Personal Challenge” cards added a new and themed twist to the game. It allowed me on a couple of occasions to protect my units when moving up for an attack and also to delay an enemy advance.

A personal challenge is issued.

The delay caused by the personal challenge stopped half the defenders shooting in the first game.

When I replayed the scenario a second time I decided to play length-wise down my 6x4 foot tabletop with the centre 4x4 foot of the tabletop being setup as per the scenario with a reserve area of 1 foot for each army’s base edge where I can place the headquarters encampment and any troops yet to arrive.

The scenario is set up in the centre allowing the reserve space to be set up with troops arriving later in the game.

The “surprise attack” scenario. Setup length-wise down the tabletop. The bulk of Red Clan is encamped near a town at the far end, unaware of Blue Clan’s imminent attack. It will take a while for them to be warned and organised to join the battle.

The attack well underway having forced the first line of defence.

The mountainous and wooded terrain of Japan played an important role in samurai battles. Strategic positions, such as bridges, castles, and mountain passes, were often fought over by samurai armies. This provides plenty of opportunity to use quite a few of the scenarios from the One-Hour Wargames book in a short campaign.