Monday 29 January 2018

A couple of cheap bridges completed

While I was making my stone walls a couple of weeks ago. I also made up a couple of small bridges with the intent of painting them up once I had worked out how best to create a painted stone effect. With some free time this last weekend I completed the two bridges.

The bridge arch is created be gluing some very thin balsa wood to the underside of some cardboard and then gluing it across a balsa strut placed in the centre. 
The arch glued in place. In addition two little cardboard cutout arches were stuck to the bridge walls. This will act as guides later on. 
More paper towel was added to hide the gaps and little thing cuts of balsa wood added to the tops of the wall and across the arch along the arch guides previously stuck on. One thing I did with the bridges (a learning from doing the walls) was to sand the balsa bits to give them a smother look.
A coat of light grey was applied. 
A dark grey wash was added and once dry a mid brown wash was applied over the top.
Unfortunately there is a bit of a gap in photos of the painting process as I whipped through the painting very quickly as it was drying very fast in Melbourne's heatwave. The same process was used as with the walls (post here).

Once the stones were all dabbed on with an old paint brush. The extra step I did with the bridges was to use a half watered down blue/black and small brush and go around some of the stone dabs to give the impression of mortar and a more solid look that the stone walls.

The bridge deck is dry brushed with sand and brown before dabs of paint are added to represent stones.
The watered down blue/black is used to in-between the dabs to create a more solid looking  appearance 
The finished bridge on the tabletop.

Sunday 28 January 2018

Getting to use some D3 dice

Having finished off a couple of games during the week to try out some WW2 rule amendments. It was time this weekend to have a game with my recent purchase of some D3 (1,1,2,2,3,3) dice. I opted for using my draft Napoleonic rules which are as usual influenced by One Hour Wargames (OHW) rules.

One of my frustrations with OHW rules is the tracking of hits. By using D3 dice I was hoping to reduce hits before elimination to greater than 6 and track most units with only one dice. (I would still have one or two Guard units being able to take up to 9 hits.)

I know the Maths is not quite the same when comparing to OHW, but by have a few extra units on the tabletop I was hoping this would compensate while still providing a good game.

  • Elimination on 15+ hits with a D6 score averaged at 3.5 would have the unit at exhaustion point (14 hits) after 4 rounds of combat. (The average is calculation is 1+2+3+4+5+6=21 and 21/6=3.5)
  • Elimination on 7+ hits with an average D3 score of 2 would have the unit at exhaustion point (6 hits) after 3 rounds of combat. (The average is calculation is1+1+2+2+3+3=12 and12/6=2)

The combat conversion is to use +1 or -1 rather than +2 or -2 as in OHW. Also, rather than halving a score for units against units in cover, a one subtract instead.

Having played through two games with D3 dice, I am finding the combat phase in the games comes to a conclusion more quickly, as expected, which does not detract from the game. Rather I have found it emphasises the need to have those extra units available in reserves to plug any gaps in the line.

So far I am quite liking the idea of less granularity with combat. There is more distinction between units operating above or below expectations (a D3 score of 1 is poor, a 2 is average, and a 3 is good).

While there was nothing stopping me apply the above D3 approach with a D6 (halve and round up) having the D3 somehow just made it easier. Anyway, time for some photos of some shinny Spencer Smith figures in action.

Terrain and models all set up for a game. 
French cavalry move forward in the foreground. Not the smartest move by me to have all my cavalry together in a game that tries to  reward combined arms.
French forces advance upon combined Austrian and Russian forces. My recently completed walls go a showing in this game. 
The assault is underway.
The French General watches the assault.
At this point my phone battery required a recharge. The game was moving along at an enjoyable pace so no more photos alas. The French were to have a marginal win, which could have been more convincing if their were cavalry available to follow up as Austrian/Russian units become exhausted. Poor tactics applied by me when setting up the units.

WW2 games and trying out rules

During the week I played a couple of games based upon the scenario Pont-de-la-Croix from the book Operation Warboard. The purpose for playing the games was to try out some rule changes.
Both games had similar results with the Allies failing to get control of the bridge.

Allied tanks move up after a lead Armour Car was destroyed
The remaining units arrive to support the attack
An attack is mounted on the pillbox 
The pillbox is eliminated and the remaining infantry unit retreats across the bridge under cover of smoke. 
Allied tanks make a rush for the bridge
The tanks become easy pickings for the AT gun and Panther
I am still not convinced of the rule changes. The second game worked more like I hoped, but I will park the rules for a while and return to them another time.

Wednesday 24 January 2018

Cheap wargaming stone walls

Over the weekend I started to make up some walls as an experiment. I was not too sure on how they would turn out as I was planning on using a painting technique to give the impression of stones. They are constructed from some 3mm MDF, so are cheap at less than $2 which is always a good thing.
3mm MDF marked out for some bridges and walls
Once cut out, two wall pieces were stuck together to give the wall necessary thickness. After being stuck to their stands they were covered with kitchen paper towels with watered down PVA glue to fix the paper in place.

Once dry I added a few bits of balsa wood on top to break up the straight lines. On a couple of lengths of walls I cut out some of the wall to indicate broken areas (done before they were covered with paper towel).

The lengths of wall were first pained in a light grey, then given a heavy wash of dark grey. The texture of the  paper towel helps to break up the colours.
A second wash of mid-brown was applied to give a little more depth of colour
Using an old paint brush the wells are dabbed with blobs of light grey, making sure not to get a regular pattern. Then with a watered down sand colour a few of the stones (dabs) are highlighted to add a bit of variation.

Finally the stands are then painted green and flocked.

The finished wall lengths on the tabletop.
Gates are just MDF, just a single width not the two lengths stuck together.
The sandy colour highlights on some of the dabs is a bit more obvious in this photo.
Some 30mm figures for scale
The finished terrain looks quite passable as stone walls on the tabletop and are robust as war-gaming terrain. The paper towel and extra bits of balsa help to soften and breakup the straightness of the walls when first cut out. I was a bit uncertain as to whether they would turn out ok when I was halfway dabbing on the stones, but like magic it all came together at the end.

Sunday 21 January 2018

Preparing a game and some terrain

An getaway this weekend, while very pleasant, as left little time for wargaming activities. Any time available has been spent preparing some stone walls and bridges, and setting up a WW2 game to test out some rule changes I have been working away on for a while now.

All being well my next blog will have the results of the stone walls and bridges.

The scenario for the WW2 game is based upon the Pont-de-la-Croix game in Operation Warboard by Gavin Lyall (and son Bernard)

My somewhat battered copy of Operation Warboard
The scenario has a small German force defending a bridge and unable to blow the bridge due to no explosives or engineers. Their objective is to deny the allies the bridge crossing or at the very least sufficiently delay them so a counter attack may be mounted.

The Allied advance force is charged with taking and holding the bridge crossing.

Map from the book used as inspiration for my game

The way my units are based means I cannot match the forces used in the book. For starters I generally view my units as representing a company sized unit, while the book is much closer to platoon and troop level units. For the scenario I have attempted to give a similar balance to the forces involved, but have added a mortar unit to each side.

German defenders: armoured infantry (with HQ attached), Panther, 75mm AT gun, pillbox, mortars, and 3 x infantry units.
Defenders in position
The advance Allied force enters down the road.

Allied force: Armoured car, 4 x motorised infantry (one with attached HQ), mortars,  Cromwell tank (with HQ) and 2 x Sherman tank units.

All is set for hopefully a quick and fun game.

Wednesday 17 January 2018

Another roll of the dice

In the post today some dice I had ordered from Dice Shop arrived. I purchased some green dice to be used for tracking a unit's hits and also some D3 (1,1,2,2,3,3) after a suggestion from Norm of Battlefield and Warriors. I use D3 rolls occasionally in my house rules.

In addition I am now contemplating using these D3 with some One-Hour Wargaming rules where instead of  D6-2, D6 and D6+2, I will use D3-2, D3 and D3+1. While reducing the number of hits to eliminate a unit.

Recent purchase
On the modelling and painting side I have been able to complete a few more Necromuda gang figures for a skirmish game. Painting progress has been slow since completing my Napoleonic project just before Christmas.

Additions to a Necromunda gang
Part of the reason for my slow painting progress is because I have been playing a few games, including testing out a few house rules (WW2 and Sci-Fi Skirmish). Now for a couple of photos from the WW2 games in black and white for a bit of fun.

An advancing German Armoured Car comes under fire
A couple of Tiger tanks well positioned on hill

Saturday 13 January 2018

French Indian War Campaign - Game 7

During the week I was able to find time and return to play a game in my French Indian War campaign. In the last campaign game (a few weeks ago) British forces had been defeated and forced to retreat (shown with the black arrow). The French decided to quickly followed up this victory up with another attack the other British force north of the river (Red arrow).

The campaign map shows the retiring British and advancing French.
Both sides in this battle chose to draw upon their reserves and gain an additional two units. The battle began with British units lined up behind a river. The river had three crossings (one bridge and two fords). Along the river side a number of areas of marsh were placed and could not me traversed by any units.

French Indian allied units quickly advance on the right flank with the intent of harrying the few British units and artillery. 
On the opposite flank, British units move across the river.
In the centre French units quickly march towards the bridge.
The British attack on their right flank prepares to move forward.
Indian units begin to harass the British left flank.
All along the line British units opened fire. The French advance along the road quickly came to a halt after the lost of a unit.
The British attack make slow progress.
The Indians were starting to make a real nuisance of themselves and causing the British left flank to  come under pressure.
Support for the British flank diverted reserves. 
Meanwhile the British attack was placing pressure on the French, but was almost spent.
At this point in the game was well balanced and really enjoyable. As a result I forgot to take pictures of the next couple of turns, which saw the Indians defeat a couple of units and the British attack run out of steam. This allowed the French to regroup for a final attack, only to see the remaining British units retire.

French units are regrouping for a final attack, while British units make a timely retirement.
So the campaign now stands French 4 victories and British 3 victories.

Tuesday 9 January 2018

Grid based Sci-Fi skirmish game

Over the weekend I played a grid-based science fiction skirmish game. In the scenario a cargo flyer has crashed and its cargo has been strewn randomly around the table in four locations. Two gangs, Scavengers and Mercs, arrive quickly on opposite sides of the table in search of easy pickings. However, two crewmen of the downed flyer have survived and are hunkered down in the crash site. They will shoot at any units moving to a square containing cargo or coming within any adjacent squares.

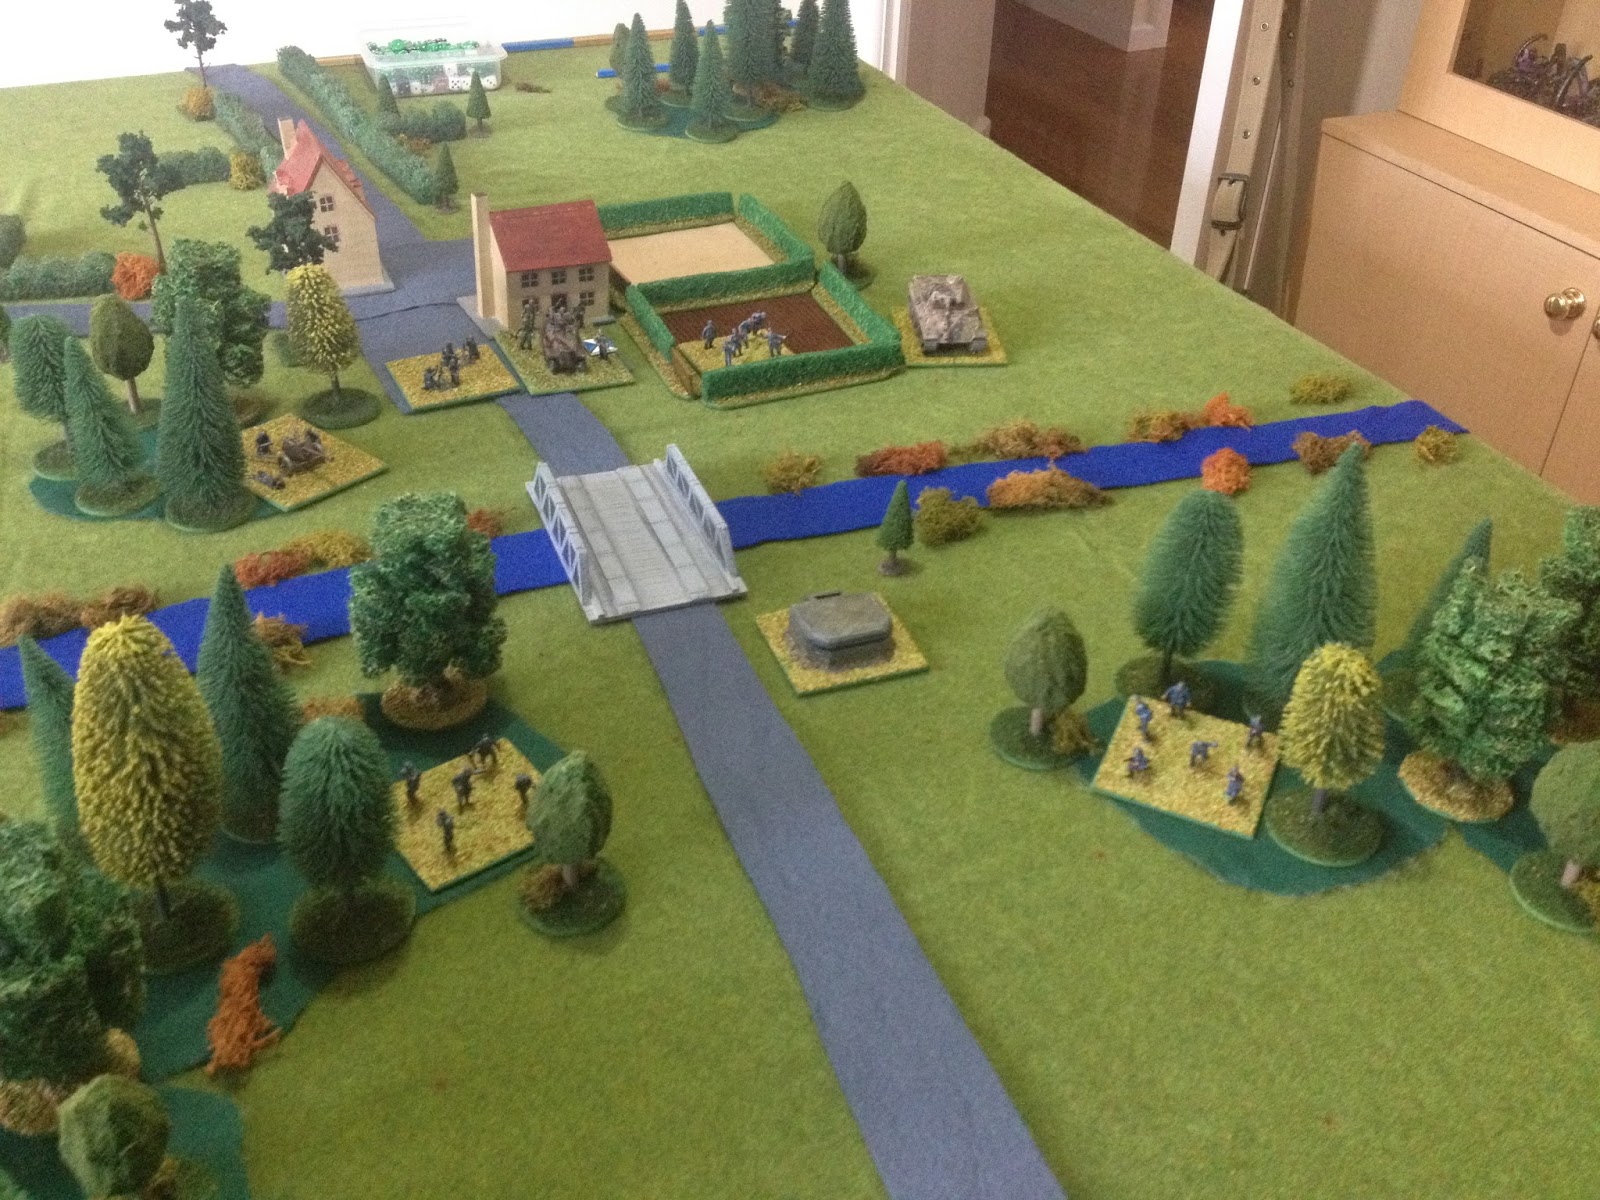
Setup of the game with the cargo flyer crash site in the centre 
A couple of Scavengers advance towards some cargo and come under accurate fire from the Flyer's crew.
From another position other Scavengers provide some crossfire
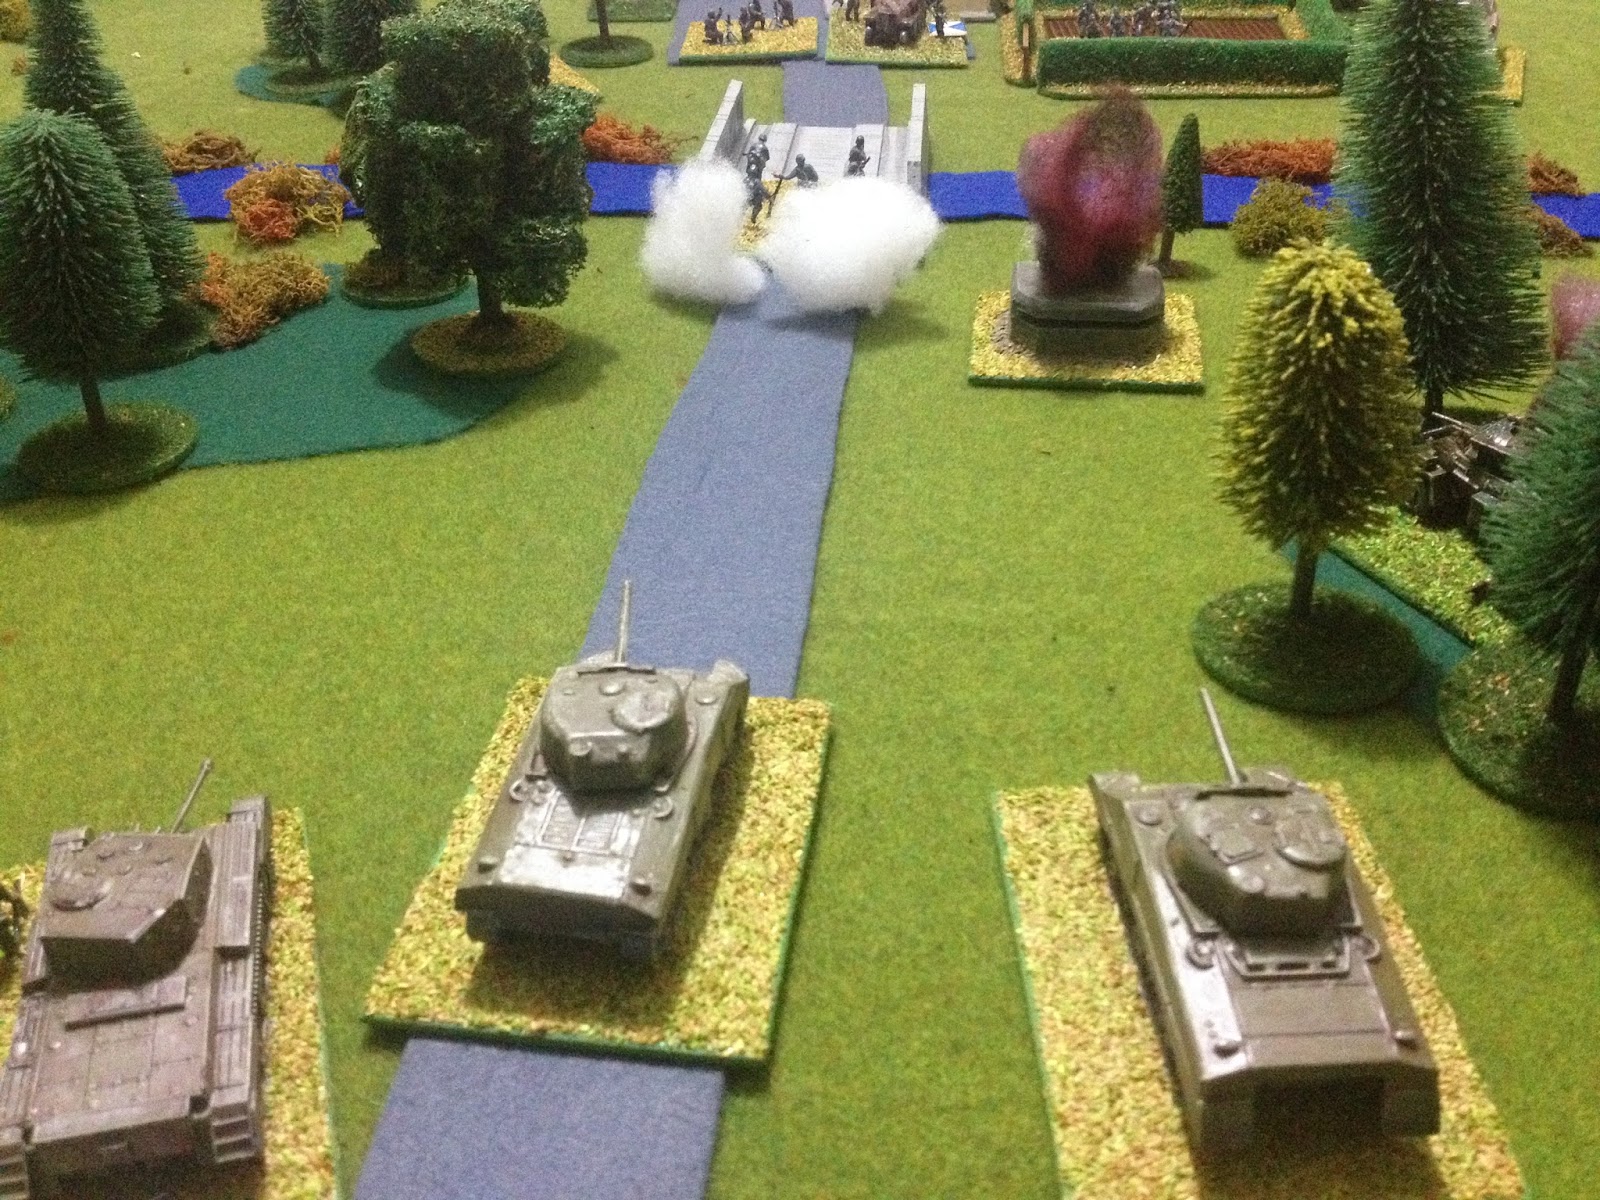
The Mercs can be seen in the background advancing towards some of the cargo.
Other Merc gang members move up under cover behind the buildings

The rules I am using are house rules. I have written them up as a first draft. Mainly so I can remember what I eventually decided upon. My rules notes have notes on top of notes, and when I return to them in a week or so, I will have forget which rules I rejected.

Some areas of the rules I have settled upon I have included as snippets in this battle report.

Sequence of play

The game is played in a series of turns.
Both players roll a D6 and the scores are used to determine which player activates a figures and the number of actions a figure can perform.

  • If D6 scores are drawn, then the player who is in control gets to activate one of their figures with 1 action point. 
  • A player with a higher D6 score the get to activate one of their figures with 2 action points. 
  • If a player has a higher D6 score which is three time the other player’s D6 score, they activate one of their figures with 3 action points.
A turn ends when both players have had an opportunity to activate all their figures.


Both gangs are firing at the crewmen
The Scavengers bring up their flamer 
The crewman are eliminated...
 ...and the gangs turn their attention on each other.
Actions

When a player activates a figure they get to perform a number of actions. Each action has an action point (AP) cost. A figure may not exceed their action points and cannot carry forward action points not used.

  • Move (1 AP) - a figure can move 1 zone. A figure can move multiple times as part of their activation.
  • Shoot (1 AP) - a figure can shoot their weapon. A figure can only shoot once in their activation.
  • Reload (1 AP) - a figure can reload their weapon if out of ammunition.
  • Aimed Shooting (2 AP) - a figure can take an aimed shot with their weapon. A figure can only shoot once in their activation.
  • Pickup/Drop an item (1 AP)
  • Throw a grenade (2 AP)
  • Patch up a wound/damage (2 AP)
  • Pinned/Recover from being pinned (1 AP)
  • Close Combat (1 AP) - a figure already in the same zone as an enemy figure can move into base contact. Multiple close combat actions increase the D6 rolled.
Figures with a wound reduce their actions by 1 AP. (So a wounded figure requires 3 APs to recover.)


Support fire from the Merc members in the vegetation kills one of the scavengers 
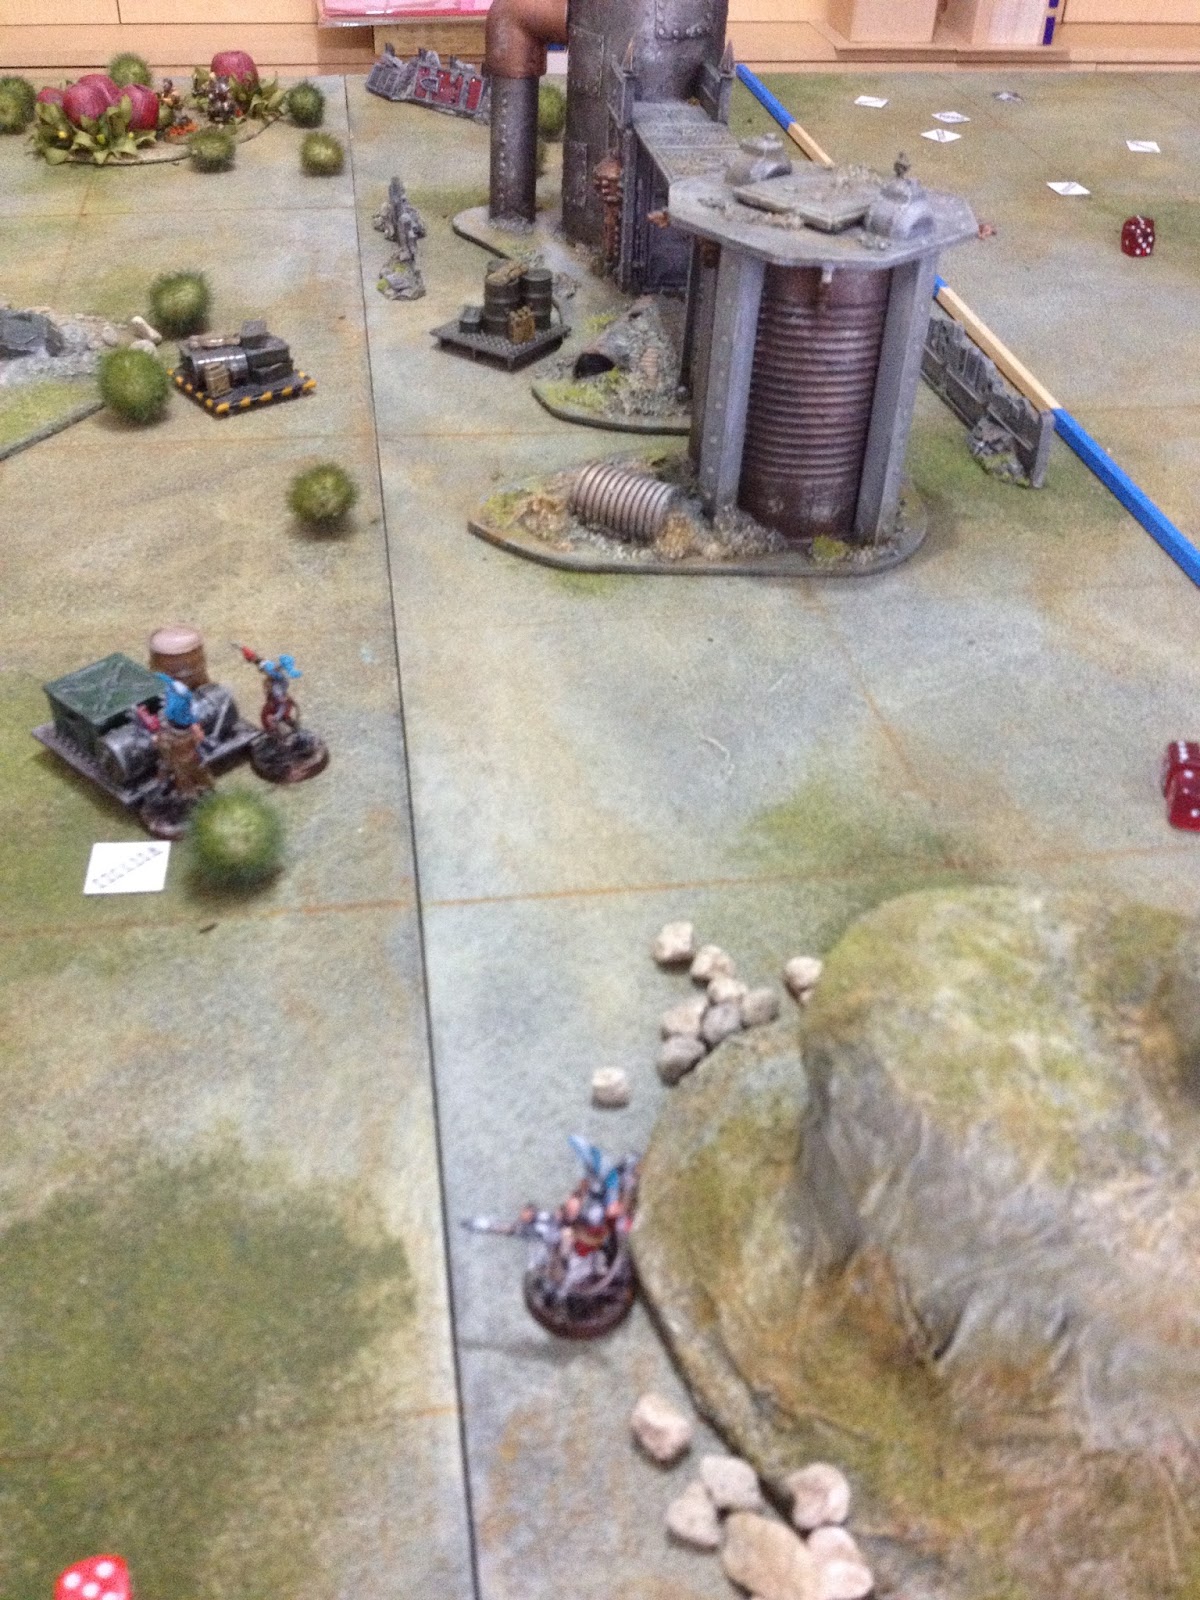
The Mercs try and move in on some more of the cargo
Combat between the gangs is scattered as various members take their stolen cargo items back to their starting positions.
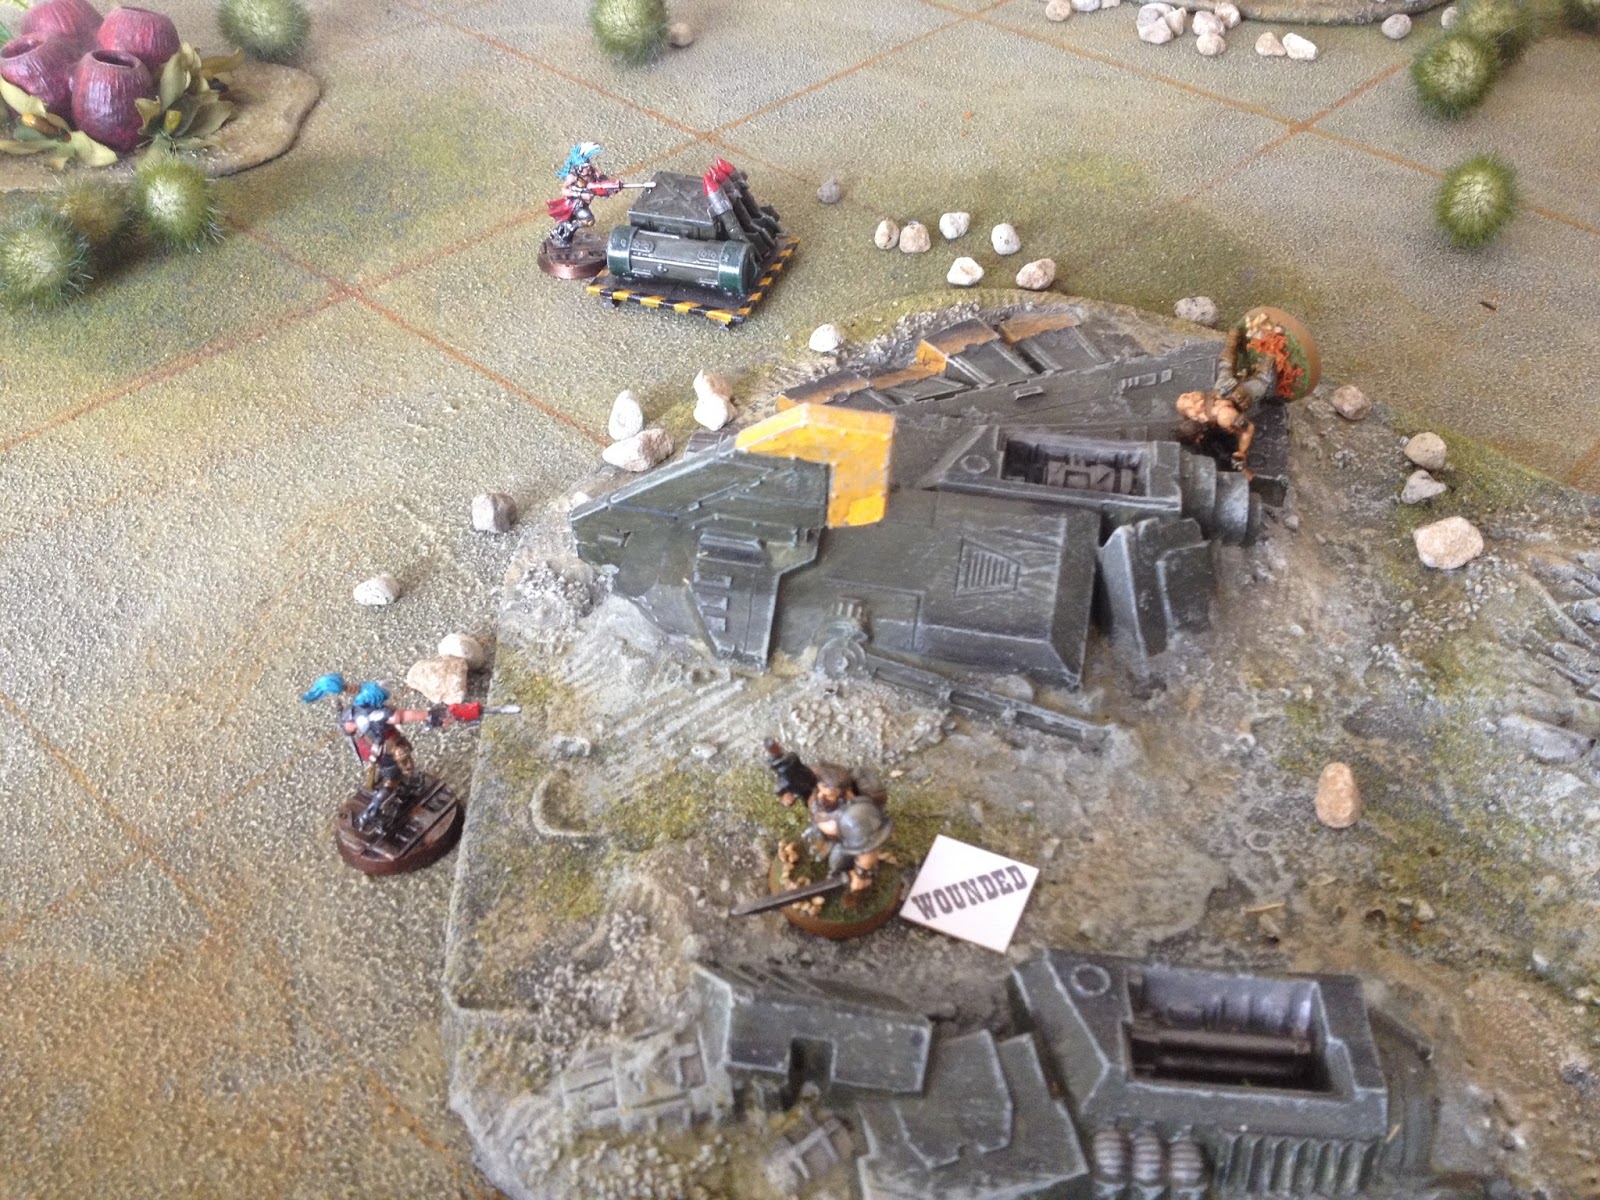
Fighting occurs over the downed flyer's wreckage
The Scavengers get the better of their opponent Mers 
The Mercs break off the attack after losing more than 50 percent of their number
Shooting

Weapons have three ranges: short, long and extreme.

When shooting a player selects a single target figure in a zone which can be seen by the shooting figure.

  • When shooting roll 2D6 at short range and 1D6 at long range.
  • Aimed fire allows an addition D6 to be rolled. So a figure rolls 3D6 at short range, 2D6 at long range, and 1D6 at extreme range.

Shooting Results - After a shooter has rolled all their D6. Select the D6 with the highest score.

The target figure now has to roll 1 or more D6 to beat the shooter’s score.
All target figures roll a minimum of 1D6. They can add:

  • 1D6 for wearing armour
  • 1D6 for occupying a zone with cover.
  • 1D6 for if they have "hit the dirt".

The target figure rolls all their D6. Then compare their highest scoring D6 to the shooter’s highest score.

  • If the scores are equal the target figure is pinned.
  • If the target score is less, then the figure is wounded.
  • If the target score is less by a factor of 3, then the figure is killed.

Targets which receive 2 wounds are treated as killed.

I hope to play a few more games as I get one or two more Necromunda figures painted up to add to the gang numbers.