Showing posts with label WW2 Naval. Show all posts

Monday, 31 July 2017

A quick update on the 6x6 challenge progress

With my focus in July being to finish off my French Indian War project, there was little progress on the 6x6 gaming challenge. I did manage to play the two final games of my WW2 naval campaign. My total games for the year stand at:
  • One Hour Wargames (Tank-on-Tank) SciFi Variant - 6 games completed in February
  • Dark Ages with Dux Bellorum (Osprey) - 6 games completed in January using paper armies
  • WW2 Naval (Pz8 rules) - 6 games now completed with the last 2 played in July.
  • 19th Century European Imagi-Nations OHW - 3 games played in June.
  • Galleys and Galleons (Ganesha Games) - 2 games were played in April.
  • Hundred Years War using Lion Rampant (Osprey) - 6 games completed as part of a series of campaign games.
A battleship and escorts
This month I may well get distracted playing a few French Indian War games.

The new fort is set up ready for a game
A wider view of the fort setting

Saturday, 22 July 2017

6x6 Challenge - WW2 Naval - games 5 and 6

I am yet to play any 6x6 challenge games and the July is quickly slipping by. So it was time to return and complete my mini WW2 Naval campaign and hopefully get 2 games out of it.

For a reminder of the campaign click here.


The campaign was at the stage where the Grey force had successfully made its way across the convoy lanes to the top of the map and were now heading back to their home port having achieved their objectives.

Before any games could be played Blue force had to catch up with the Grey raiders. Their only chance was to hunt down the pocket battleship which had sustained serious damage in a previous encounter and had to roll a 4+ in order make a campaign move.


While Grey's pocket battleship was struggling with damage repairs the weather turned stormy and was a hindrance to Blue's forces search (who have to roll 5+ in stormy weather to move). However, contact was made and game 5 could begin.


Game 5 began at 1pm with stormy weather. Grey's pocket battleship was spotted by Blue's force of a light cruiser, destroyer and two corvettes. Blue's ships were outclassed and hatched a very simple plan to: close the distance as quickly as possible, let loose all their torpedoes and then retire as fast as possible.

Blue's ships close in while Grey's pocket battleship turns broadside and engages
With all torpedoes used Blue makes for a hasty retreat. Two torpedoes made their target, but the stormy weather had prevented any critical damage by either side at this point.
A final salvo from the pocket battleship sunk the light cruiser
Having fought off blue's forces in game 5. Grey's pocket battleship failed to make much headway in the following campaign move (in other words it failed to roll a 4+). The weather was fine and allowed Blue's forces to close and engage.

Blue's forces pounce
Game 6 - Both forces spotted each other at 10am on a fine morning. Blue's force had a battleship, two destroyers and two corvettes. Their plan was to close to torpedo range and engage.

Blue's ships prepare for action
Grey's pocket battleship and blue's ships in the distance
The pocket battleship was able to cripple a couple of the corvettes before both sides turned broadside. Torpedoes were  launched and hit home sinking the pocket battleship.
So the campaign is over in game 6 with the sinking of Grey's pocket battleship. Grey's other force successfully makes it to port. Victory goes to Grey for 2 campaign points for getting both forces to the top of the map, while Blue achieved 1 point for destroying one a Grey's forces.

The games themselves have taken between 15-30 minutes using the straightforward Panzer8 WW2 naval rules, which can still be found in an archive here

All in all, an enjoyable set of games which were enhanced by having a campaign wrapped around them. The dice generated campaign and game moves worked well. In fact too well, for as Blue I lost.

Thursday, 29 June 2017

6x6 gaming progress for June

This month has be pretty good gaming wise with five games played as part of the 6x6 challenge. Two were WW2 naval games and three were 19th century imagi-nations games.

There were also a number of smaller games played as I mess around with some 19th century European rules. After a series of these small games over both the this week and last week, the rule changes seem to be settling down.

A small game underway to test out some rules
So at the end of June my 6x6 challenge progress stands at:

  • One Hour Wargames (Tank-on-Tank) SciFi Variant - 6 games completed in February
  • Dark Ages with Dux Bellorum (Osprey) - 6 games completed in January using paper armies
  • WW2 Naval (Pz8 rules) - 4 games played to date.
  • 19th Century European Imagi-Nations OHW - 3 games played in June.
  • Galleys and Galleons (Ganesha Games) - purchased "Wargame the Spanish Armada 1588" by Peter Dennis for the paper models. 2 games were played in April.
  • Hundred Years War using Lion Rampant (Osprey) - 6 games completed as part of a series of campaign games.
I was planing to play a WW1 game, but having finished painting my 19th century imagi-nations armies the temptation to get them on the tabletop was too great and I switched them for the planned WW1 games.

 WW2 naval at the start of the game


Thursday, 8 June 2017

6x6 Challenge - Games 3 and 4

This week I decided I had better get back to playing a few more WW2 naval games as part of my 6x6 challenge. The games are being played in the context a simple campaign which has Grey forces menacing Blue's convoy lanes.

In the last game Grey's pocket battleship suffered severe damage and it was unclear whether Grey would continue to move forward to the top of the map or reverse course and head for port. All Grey's moves are dice generated as described in an earlier post here.

Blue's forces moved to protect the final convey lane and Grey's objective. Grey's pocket battleship moved away to avoid further conflict as it attempted further repairs. Its other force, a remaining cruiser, ran into Blue's force of destroyers and corvette.

Blue defends the convoy lanes 
The next battle determined as Grey's cruiser runs into a Blue force
Game 3 saw Blue's Force 4 (consisting of two destroyers and a corvette) make contact with Grey's cruiser at 15:15 in fine weather.

Both sides closed on each other. The first salvo from the cruiser straddled one of the destroyers and the resulting hits saw it quickly sunk. The remaining destroyer and corvette continued to close to launch a torpedo attack.

In pressing home the attack Blue's remaining destroyer took a number of hits as the cruiser's bigger guns were proving very accurate. All torpedoes missed their mark and Blue's remaining ships turned to break off the attack. As they retreated a last salvo from the cruiser sunk the damaged destroyer.

Blue's destroyers and corvette close to be within torpedo range
Blue force takes damage as it presses home the torpedo attack

Following game 3, Blue's depleted forces were able to converge into two larger forces as they prepared to engage Grey's cruiser and pocket battleship (who had successfully made repairs). Both headed for their objective to reach the top of the map and crossing three rows of the convoy lanes. However, in doing so the pocket battleship ran into the combined Blue force for game 4.

Blue's forces combine
Grey's forces make their objectives, but the pocket battleship meets some opposition

Game 4 has the pocket battleship up against a light cruiser, two destroyers and a corvette. The forces meet at 16:00 in poor weather.

The game was very similar to the previous game. Blue's forces closing in to launch a torpedo attack with Grey's pocket battleship trying to sink them. This time Grey's shooting was not so accurate. Blue's light cruiser took some, but importantly no critical damage, as Blue managed to get three torpedoes on target and almost sinking the pocket battleship.

With all torpedoes launched, Blue quickly broke off the attack and retired under cover of smoke without loss.

Both sides close to engage 
With no torpedoes left Blue's forces make a hasty retirement under cover of smoke


Friday, 26 May 2017

6x6 Challenge - WW2 Naval Battle Game 2

In the last game Grey's force 2 suffer badly at the hands of two of Blue's forces. As a consequence of their defeat they were required to retire towards the coast. Meanwhile, Grey's force 2 containing the pocket battleship was able to successfully slip into the convoy lane.


Aware of the pocket battleship, Blue moved the majority of its forces in a screen to locate and hopefully destroy it. A small force of destroyers was sent off to shadow Grey force 2.


A quick reminder - this is a soo campaign and all of Grey's moves are based on the roll of a dice as they attempt to move towards the top of the map disrupting the convoy lanes. On a:

  • 1 or 2 they move diagonally to the left
  • 3 or 4 straight ahead
  • 5 or 6 move diagonally to the right. 

They continue to do this unless they suffer a defeat, then the same rule applies except the heading for one move is towards the coast (bottom of the map).

Anyway, on turn 9 of the campaign the pocket battleship moved into a zone containing Blue's cruiser and light cruiser part of force 1. The weather was average and would have no impact on the ships guns as they fire salvos at each other. The engagement started at 14:00 which all ship converging on each other.
A cruiser and light cruiser in the foreground and pocket battleship in appearing in the distance.
With neither side was hitting their targets, the pocket battleship appeared to be retiring undercover of a smokescreen. Only to later turn and show its broadside.

Pocket battleship
Between 14:30 and 15:00 both sides fired salvos at each other. The two cruisers having the better of the engagement were able to cause critical damage to the pocket battleship. So much so, that it could not move and one more successful hit would have seen it sunk.

Blue's cruiser did suffering a fair bit of damage in the engagement as it was the target of all the returned fire.


Gunnery exchanges continued between ships as both sides frantically undertook repairs. At 16:15 the heavier guns of the pocket battleship were beginning to take their toll and Blue's cruiser was sunk.


Shortly after at 16:15 the action ended with the sinking of Blue's light cruiser. Final messages to the rest of Blue's fleet were they had severely damaged Grey's pocket battleship.

Under normal circumstances with a victory, Grey's force would automatically continue to move on the campaign map towards the top of the convoy lanes. But with the pocket battleship having sustained critical damage I will be turning to the dice to decide the next move.

  • On a roll of 1-3 temporary repairs are made and the ship heads for home port. 
  • On a roll of 4-6 the damage is repairable and the ship can continue with its mission. 
So far in this 6x6 challenge the Panzer8 rules are providing me with a quick and enjoyable campaign game. Taking roughly 30 minutes a game once the forces are set up on the tabletop.

Wednesday, 24 May 2017

6x6 Challenge - WW2 Naval Game

Yesterday I started my WW2 naval 6x6 challenge using Panzer8 WW2 naval Rules. Before getting my scratch built ships on to the wargaming table, I first had to kick off with some moves on the campaign map.

Using a suggestion from Norm (Thank you) to help create some fog or war. The first 4 moves were completed in a block of moves by Blue force who are attempting to defend the convoy lanes, while at the same time attempting to destroy Grey's forces. Once Blue's moves were complete, then 4 dice generated moves are made by Grey.

The campaign position after 4 moves
I made sure to record the weather for each campaign turn so I could apply their effects to Grey's block of 4 moves. Each side can move their forces one square (including diagonally).

The first engagement at sea as Grey's ships head for the convoy lanes
The first engagement occurred 7th February 1943 at 15:00 in stormy weather. Grey's force #2 consisting of a cruiser and two destroyers was spotted by both Blue's forces #3 and #4. A total of 5 ships consisting of a battleship, cruiser, destroyer and 2 corvettes.

The tabletop was quickly set up and the ships deployed on it. All movement of Grey's force was to be dice generated, while I was to play as Blue.

Ready for action
The engagement saw both forces begin by closing on each other, pushing the lighter destroyers ahead looking for the opportunity to send some torpedoes off towards enemy ships.

First blood was to go to Blue force at 15:15 with their battleship straddling one of the destroyers and inflicting critical damage from a salvo from their big guns. The destroyer was soon to be sunk from some secondary fire from its supporting cruiser.

A failed torpedo run saw one of Grey's destroyers crippled and sunk
The response from Grey was quick. At 15:30 one on Blue's destroyers was crippled by accurate shooting from Grey's cruiser.
Blue force was soon to suffer some damage from some accurate shooting
At 15:45 Grey's ships turn to disengage and smoke to cover they getaway. However, combined salvos from the battleship and cruiser was to see Grey's second destroyer crippled. Attempted repairs were ineffective and the destroyer was a sitting duck and easily finished off with torpedoes.

Grey's second destroyer is sunk
The engagement ended at 16:00 as the cruiser moved out of range.


Monday, 22 May 2017

WW2 Naval Campaign for 6x6 Challenge

Planning for my next 6x6 challenge has progressed and is ready to start. I am using the WW2 Naval rules by Panzer8 which I originally downloaded a while back. The site has sadly since disappeared, but the rules can still be found in an archive here. The rules come with a solo mechanism which I intend to try out.

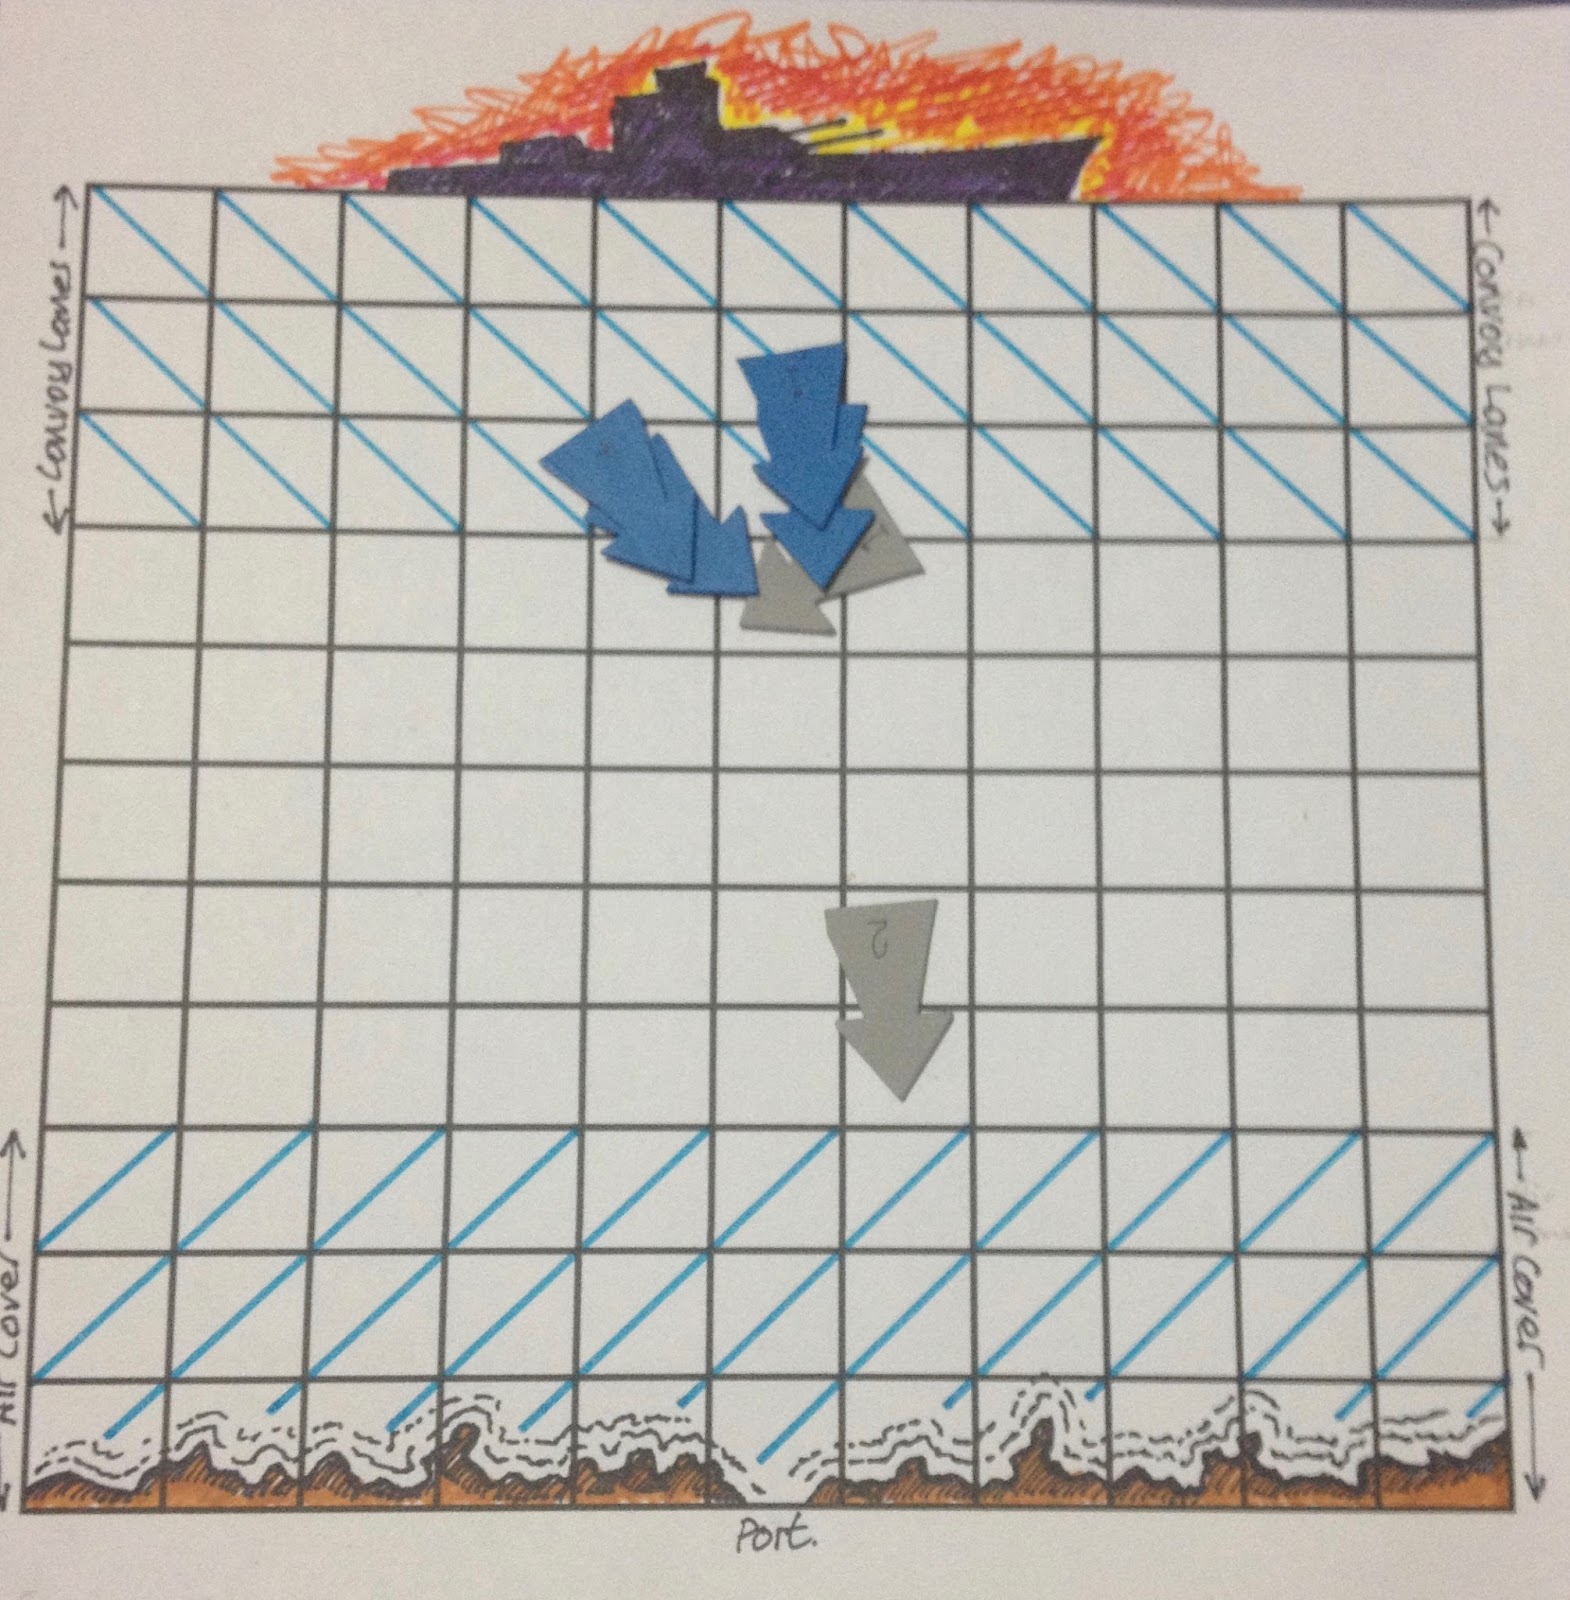
The campaign is loosely based upon the destruction the German battlecruiser Scharnhorst. In the campaign we have Blue force trying to protect the convoy lanes from surface attacks by Grey force's battlecruiser supported by three destroyers.

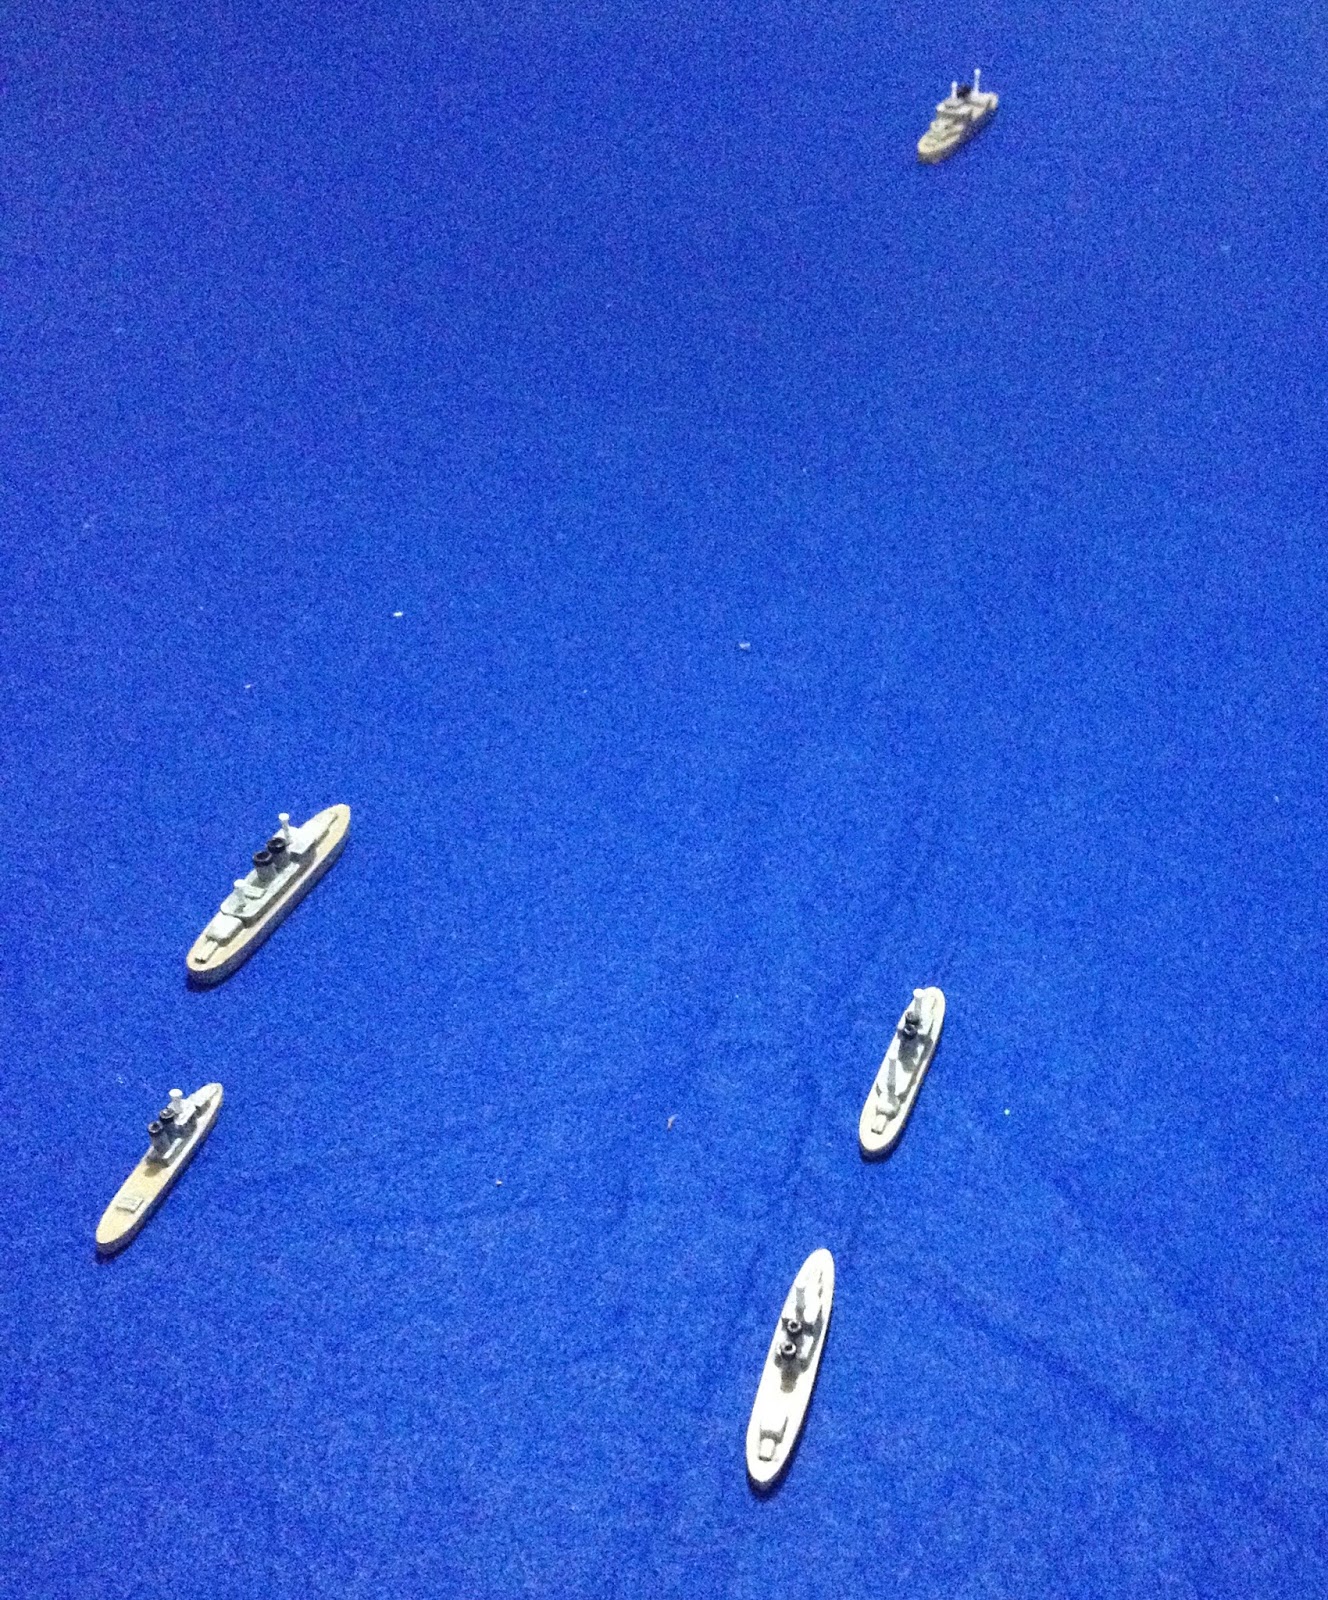
Grey Force 1 - battlecruiser
Grey Force 2 - light cruiser and two destroyers
The campaign is set up for solo play with the raiding (Grey) force's movement being determined by dice. The aim is for the player of blue force (me) to stop any raids on the convoy lanes and sink the raiding force.

The weather will play a significant part in the campaign and any engagements that occur on the tabletop.

Grey force ships move towards convoy lines. Roll dice on a 1,2 move left diagonally, 3,4 straight ahead, and 5,6 right diagonally. Once they reach the top of the map they start their return journey towards the coast using the same approach with dice rolling, instead just going in the opposite direction.

Grey force moves as one until stormy weather, then they roll separately for their moves. When the weather is not stormy the destroyers will move to rejoin their battlecruiser if in an adjacent square. If not adjacent, they continue to roll separately for movement.

If grey disengage after an engagement, they roll for movement as before, but the direction they head is towards the coast. If they are not reengaged, then they will continue to move back towards the  convoy lanes.

If there is a sea battle in the air cover zones near the coast. Grey forces get the benefit of 3 air plane sorties from the coast.

Blue Force 3 - battleship and cruiser
Blue Force 4 - destroyer and two corvettes
Blue Force 1 - cruiser and light cruiser
Blue Force 2 - destroyer and two corvettes

Blue ships movement is controlled by the player. However, there are two constraints on Blue's movement.

  1. When the weather is stormy, Blue force's ships must roll a dice to move. On a 5 or 6 they may move, otherwise they remain in position searching for a target.
  2. When any Grey ships of any kind are in the convoy lanes, Blue ships must move towards and engage the closest Grey ships.

Steps for a campaign move:

  1. Roll for weather. 1=Clear Conditions, 2,3,4=Poor Conditions, and 5,6=Stormy Conditions
  2. Blue force movement
  3. Grey force movement
  4. If opposing forces are in the same square they do battle

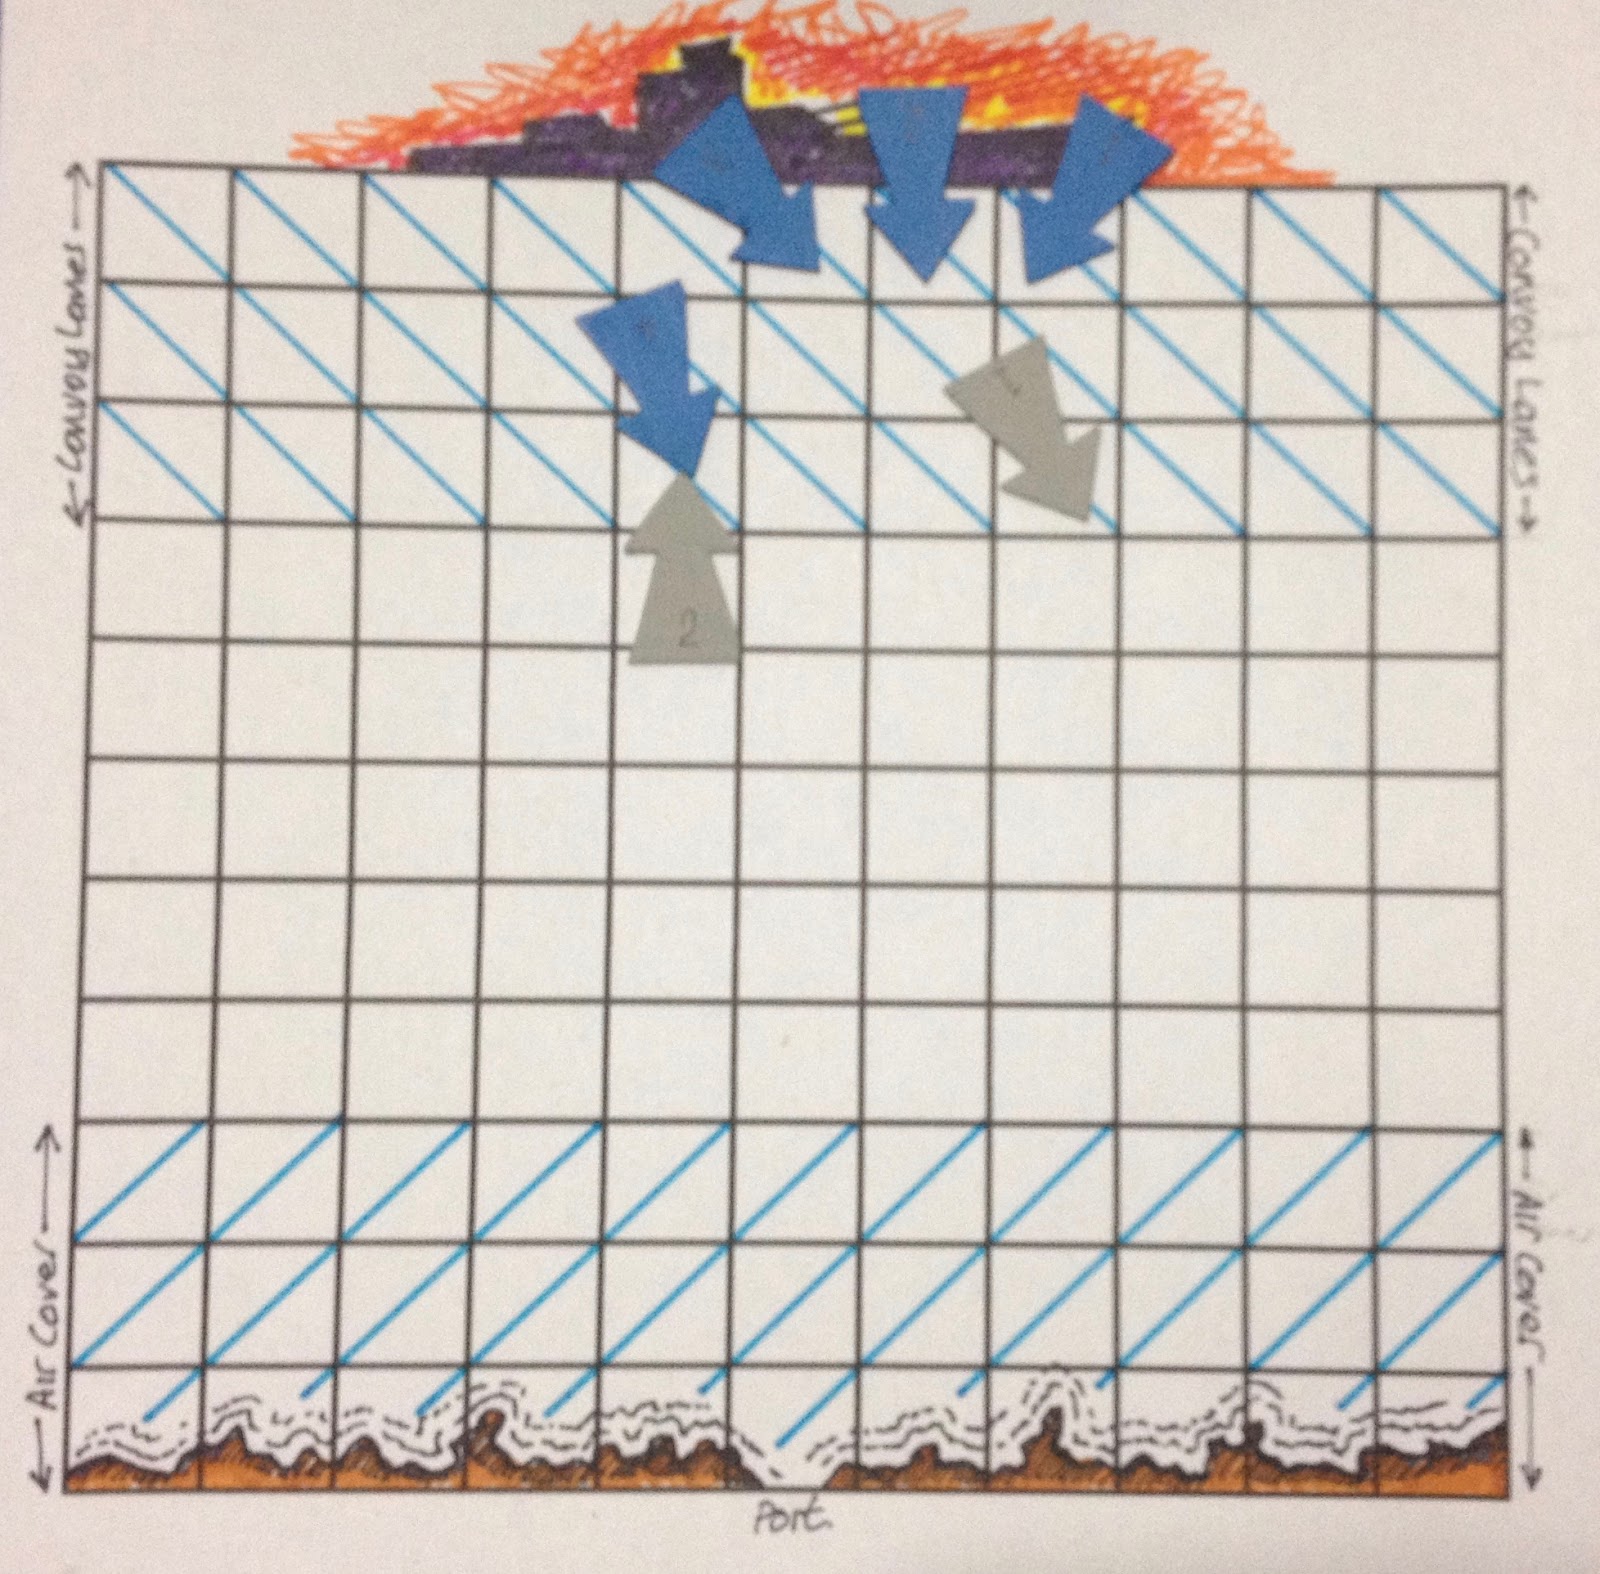
Campaign starting positions
Determining victory - Grey gets 1 point for each force they get to the top of the map and Blue gets 1 point for each of the Grey forces they eliminate.

Saturday, 20 May 2017

Grid-Based SciFi Rules

This last week I have spent in Wellington (NZ) to see my son's graduation and catch up with family and friends. The hours spent flying between Melbourne and Wellington has allowed me to work through some grid-based Sci-Fi rules I have been messing around with over the last month or two.

One of the earlier test games
The rules include the activation mechanism I started to play around with back in early April. (Post link here.) Writing up the combat/shooting mechanism was the last part of the rules puzzle required and the time on a plane allowed me to pull together all my notes and scribbles.

Yesterday and today I have spent taking photos to support the rules, which are now on a tab above or click here.

Also, while away I was also able to come up with a solo approach for a WW2 naval campaign based upon the book "Destroy the Scharnhorst" which I mentioned in my last post. I will be using some of my scratch built generic WW2 fleet. They are all made from balsa wood, tacks, and plastic dowels.

All models together
Very basic approach to scratch building with guns stuck flat
The different model heights achieved through layering balsa wood
A few years back I needed a few ships to play Panzer8 WW2 naval rules and just go carried away making the models until my stock of balsa wood ran out.