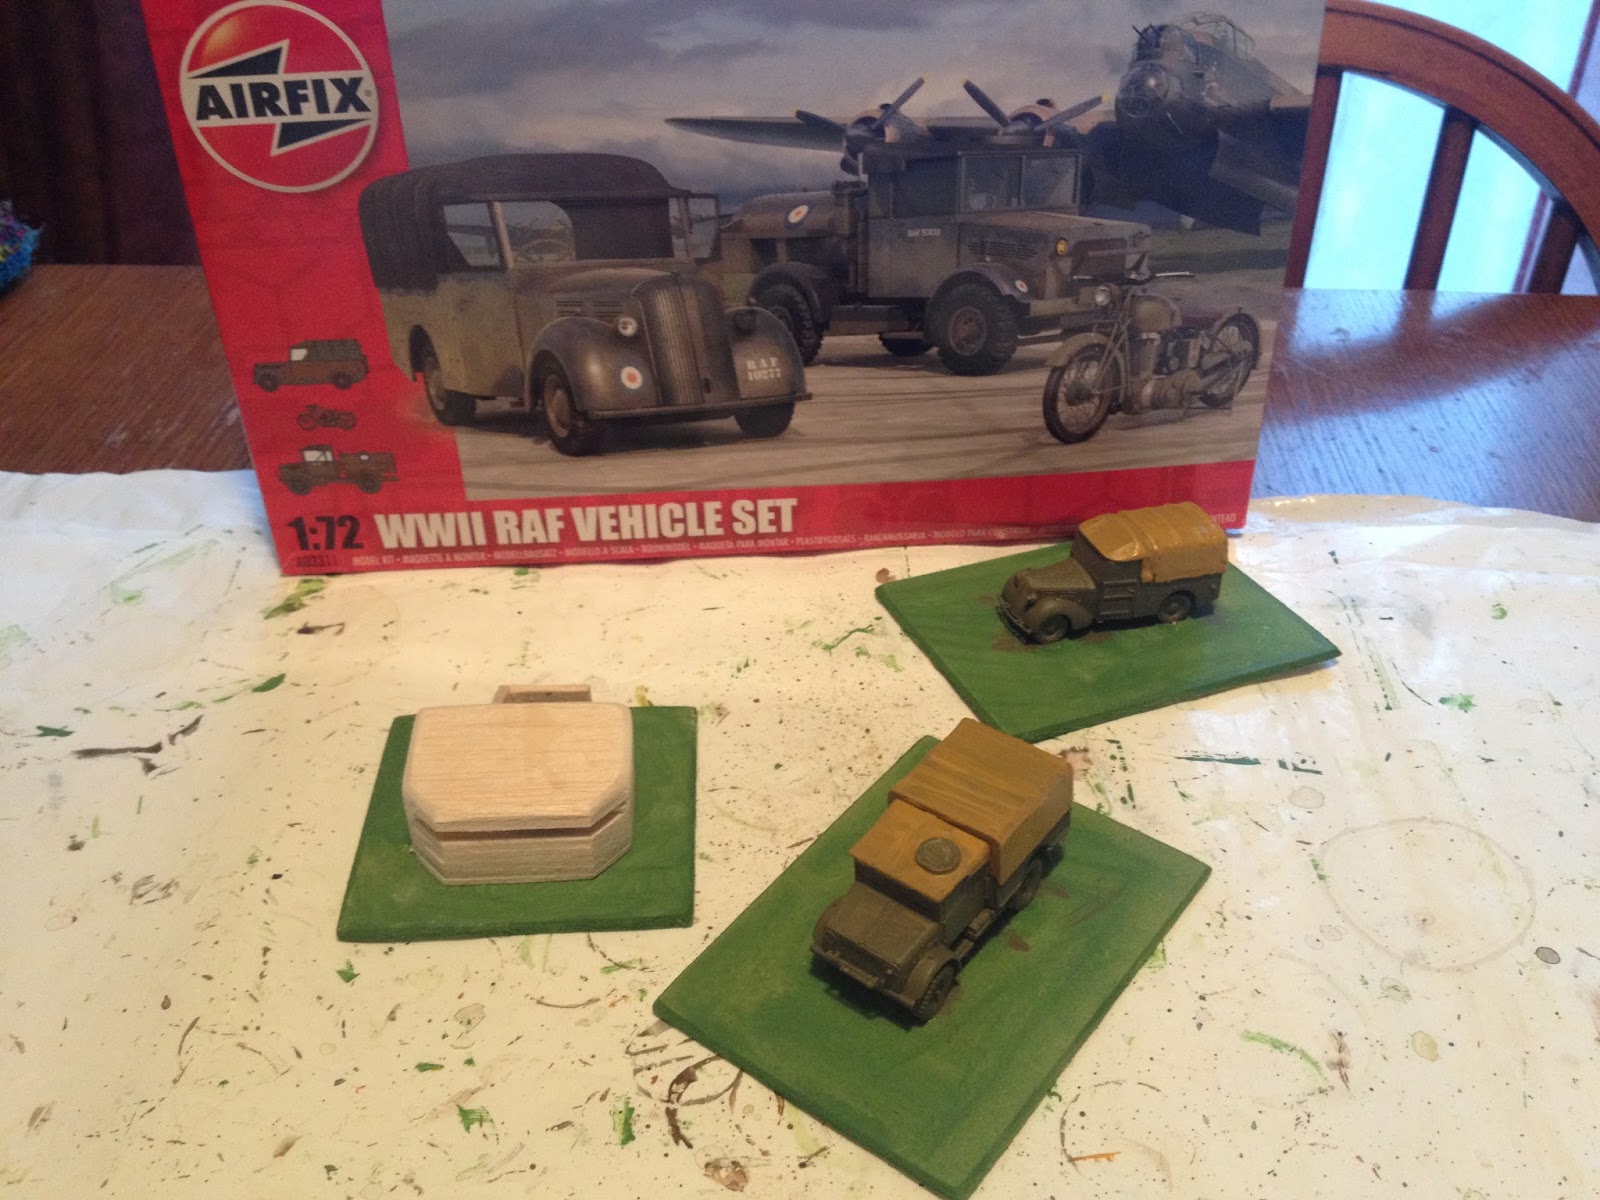
Other than playing one game, which turned out to be a very one sided affair, I decided to continue with building up some more terrain for my WW2 20mm armies. To date I have been getting away with 15mm terrain. A week or two ago I tried making one field (see below) which was ok, but will create storage problems as it is fixed on a 6" x 6" base.
 |
| The original field design in use |
The scenario I played over the weekend required quite a few hedges to be present on the table, so I also wanted to have the flexibility to create hedge lined roads or fields. Here is my approach...
Materials used:
MDF 3mm board
Kitchen scourer (it comes in a pack of 6 in dark green)
Balsa wood 1.5mm thick
Scenery material (I use combined light green and brown)
PVA glue
Varnish
Green paint (I bought a sample pot at the hardware store in colour is very similar to GW Goblin Green paint)
Paint for gates (dark brown and mid-tan colours used)
Brown corduroy material
Step 1
Bases are cut out of MDF board 1" wide and 6" long.
The kitchen scourer is cut into strips. I was able to get 5 strips of 15-20mm (1/2" to 3/4") out of 1 pad to suit model size. The scourer pads were 6" long the perfect length.
These are then stuck onto the base with a good dollop of PVA.
The same approach is used for sections with gates, except with a gate sized piece of balsa wood.
Once the PVA is well and truly dry I trimmed the ends at a 45 degree angle. (I used tin snips to do this - they worked a treat).
 |
| Step 1 - Gate section on left and general section on right |
Step 2
Paint the bases and brush over the scourer material. This was all very rough and ready - on finesse here.
Once dry paint the gate a dark brown.
 |
| Step 2 - bases painted and scourer strips brushed over with paint |
Step 3
Once paint dry add the scenery material by painting the base with PVA glue and dipping in the scenery material.
With a steady hand paint on the gate details - no need to be too precise.
 |
| Step 3 - Add scenery to base |
Step 4 (optional)
I choose to varnish (matt) the bases and gates.
Step 5
Cut the corduroy material into 6" squares.
Finished product
The pictures show the completed hedges with fields. I have also purchased some yellow/brown felt to mix up the field colours. I can now field 6-7 fields on my wargaming table (excuse the pun) or 6' and 6" of hedges.