Monday 27 November 2023

Minifig Medieval Mayhem

This weekend I decided it was time to have a medieval wargame with my old collection of MiniFigs. It seems like it has been a while since these miniatures have graced the tabletop.


A flank attack scenario from One-Hours Wargames is set up.

Minifig cavalry on the charge pay no heed to their hypothetical colour schemes.

Over the past year or so, I've tried various activation systems with my medieval games, where units roll dice to determine if they can activate. The required score varied depending on the number of hits they have taken. This system has worked well using a variation of One-Hour Wargames rules where the games have 6 to 8 units per side. However, this weekend, I wanted to organise the armies into 3-4 commanded groups or "battles” made up of different troop types, which would require a different activation approach.


My usual army organisation based on troop types with each unit consisting or two bases.

The army organised into “battles” with mixed infantry types. Each base is a separate unit.

In recent remote games with Jon of Palouse Wargaming Journal, he uses rules that will often use a dice pull activation system. Where each commander and their associated units are activated when their army's coloured die is drawn from a bag. The turn ends when all dice are drawn. At the start of each turn, the number of colored dice placed in the bag corresponds to the number of commanders in an army. The number of dice used are reduced as commanded groups are eliminated during the game. I enjoyed this activation approach because it creates a level of suspense and encourages decision-making as players try to determine which units to activate first to gain an advantage or hopefully momentum if they successfully drawn twice.


A dice bag was found.

When applying the dice draw activation method in my medieval game, for example, an English army consisting of three "battles" and a commanded group of bowmen would have four red dice placed in the dice bag. While a French army with three "battles" only would only have three white dice placed in the dice bag.

Over the weekend, I tested this activation method in one game and for the following game introduced a variation by incorporating a single green die. When drawn, this green die immediately concluded the game turn. To accommodate the possibility of an early turn end, I modified the combat rules from one-sided melees to simultaneous melees, otherwise some units in melee would not have to opportunity to fight back.


A second game is set up.

Out of the two activation methods, I am favouring the approach that allows all units to activate. One reason for my preference is the scenario where a group of knights initiate a charge towards the enemy army but are forced to abruptly halt due to the green die being drawn in the next turn, leaving them paused mid-charge. I find there are enough challenges with the dice draw allowing the opposing army to a cause interruptions to the best laid plans.


Another close up of a the 1970’s painting style - one figure seems to be wearing a kaftan!


Over this week I will be hopefully playing a few more test games in the evenings before updating my home brew rules with my scribbled notes.

Saturday 18 November 2023

Rule ideas and game report for the Battle of Sekigahara - 1600

Over the past week I have been cleaning up some old samurai MiniFigs and Dixon samurai miniatures that I painted way back in the 1980’s. This cleaning up got me wanting to get my existing Samurai collection of miniatures onto the tabletop for a game. I opted to play the Battle of Sekigahara, 1600, using the scenario from the Junior General website, the game pits Ishida Mitsunari's seven-unit Western army against Tokugawa Ieyasu's six-unit Eastern army. One of the Western unit’s loyalty is suspect and could potentially switch sides during the game and join the Eastern forces.

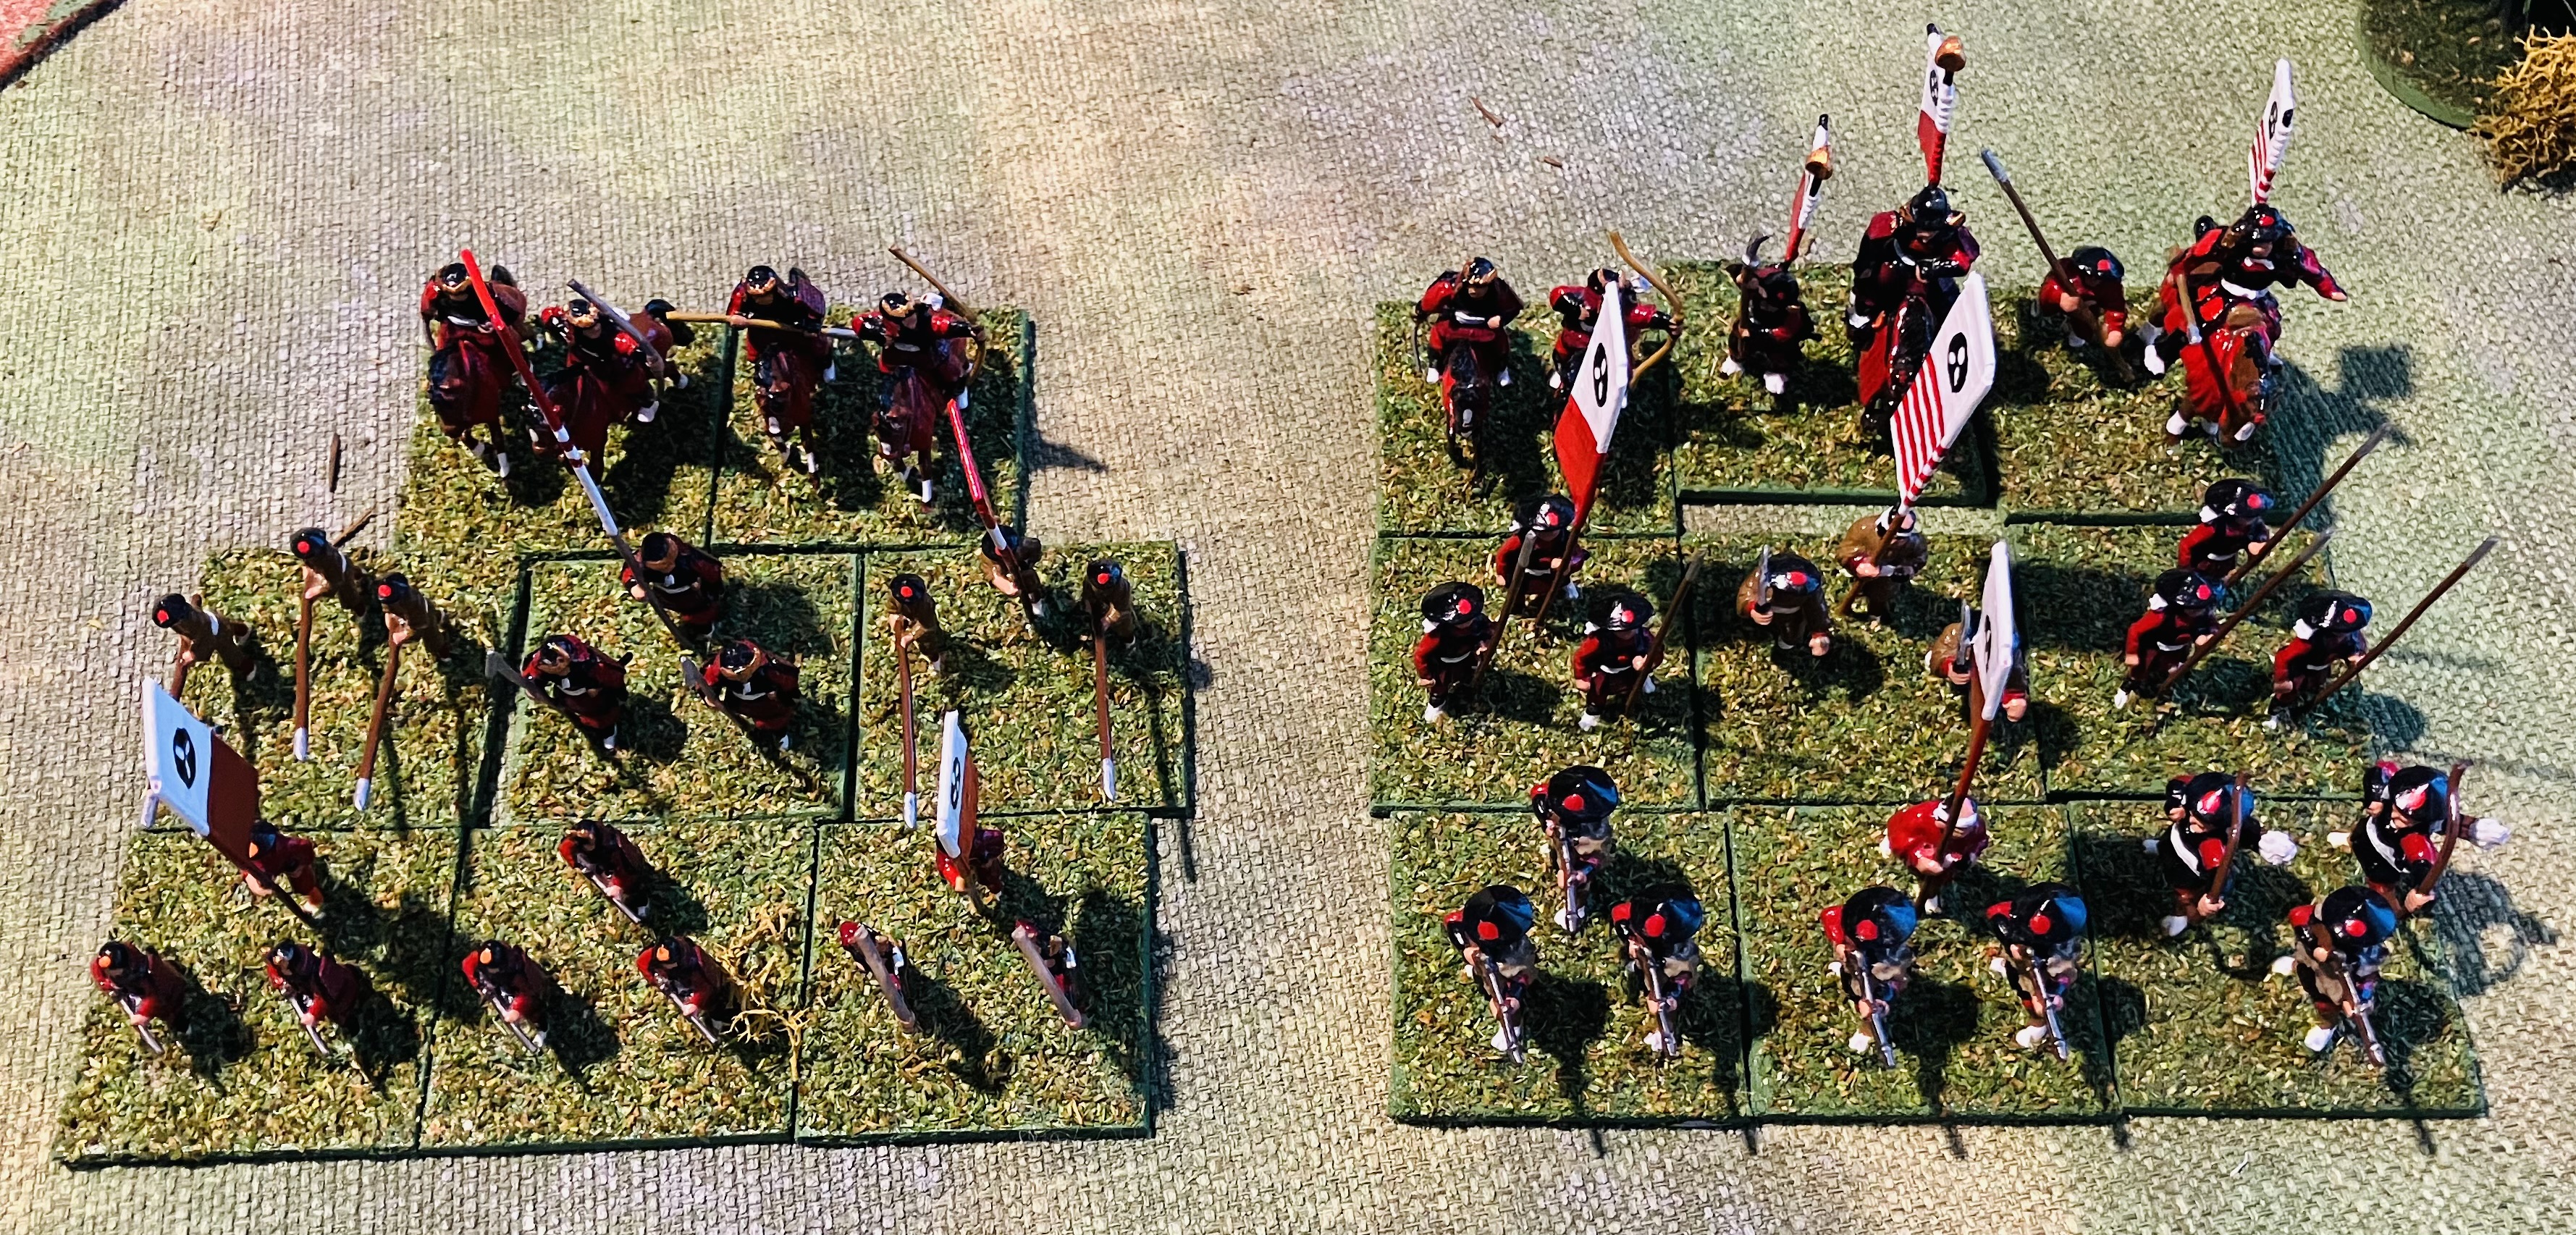
The Sekigahara game set up. Red units representing the eastern army and Blue for the Western army.

I typically use a variation of One-Hour Wargaming's pike and musket rules when playing Samurai games, but I decided against using them for this battle due to its large scale, and how the armies involved were organisated around the self-contained units called Sonae. Where each Sonae is led by a clan Daimyo and contains a mix of troop types, including bowmen, arquebuses, Ashigaru spearmen, and samurai warriors.

A close up showing the mix of miniatures.

So what to do with the rules when you have only 6 units which are essentially identical with a combination of arquebuses, Ashigaru spearmen, and samurai? 

The game as the potential to be very boring with no unit differentiation and units operating in the same manner. Well I turned to a rather unexpected set of rules for inspiration - Ganesha Games “Samurai Robots Battle Royale” rules. 

Ganesha Games Rules

At this point you may be asking have I lost my marbles? But there are similarities between how a robot and a unit (Sonae) operate. Both have missile capabilities (Sonae have bow and arquebus) and combat capabilities (Sonae have Ashigaru spear and samurai). 

For this game, a typical Sonae would consist of 3 missile bases combining 1 bow base and 2 arquebuses, 3 Ashigaru bases, and 2 Samurai bases. The overall commander would be added to one of the Sonae, bringing its samurai count to three.

On the left a Sonae with 8 bases: 2 samurai, 3 Ashigaru spears, 2 arquebuses, and 1 bow. On the right a Sonae with an additional commander and so fields an additional samurai unit.

Despite the similarity of Sonae on both sides, Ganesha Games' activation system adds a layer of choice and risk taking to the gameplay. On your turn, you can activate a Sonae by rolling one, two, or three dice. Each dice score that equals or exceeds the model's Quality score allows you to execute an action for that unit. However, for each failed activation roll, the other player gets an opportunity to react immediately. This back-and-forth between activation and reaction keeps the game both interesting and unpredictable. If you happen fail two or more dice then your turn is over and it’s the other player’s turn.

In most cases a Sonae’s quality score is 3+ and reflects how loyal a Daimyo is to the lord they are aligned to, but this can be set at 4+ where a Daimyo’s loyalty is questionable. When rolling for reactions a 4+ is required and no unit can react more than once in a turn.

The possible actions a unit can take are:

  • Shooting: Place any missile bases in the front row. If the target is within 12 inches, roll 1D6 and add the number of available arquebus bases in the front row. The target rolls 1D6 and adds the number of bow bases*. If the attacker's total score is higher, the defender removes one base of their choice from the front row. (Costs 1 action)
  • Aimed Shooting: Same as shooting, but the attacker chooses the base to be removed from the front row. (Costs 2 actions)
  • Assault: Place any combat bases (Ashigaru or Samurai) in the front row. Move 6 inches into contact with the target Sonae and roll 1D6, adding the number of combat bases in the front row (1 for each Ashigaru base and 2 for each Samurai base). If the attacker's total score is higher, the defender removes one base of their choice from the front row. (Costs 1 action)
  • Targeted Assault: Same as assault, but the attacker chooses the base to be removed from the front row. (Costs 2 actions)
  • Move: Move 6 inches, or 3 inches across difficult terrain (e.g., rivers). (Costs 1 action)
Note - * bows were often used to keep the enemy heads down while the arquebuses reloaded.

During a player's turn, they can rearrange the bases within a Sonae once following a successful activation. However, each Sonae must always maintain three bases in its front line. Replace any front line gaps immediately with another base. 

A Sonae is considered eliminated when either it is reduced to fewer than three bases or it has no remaining Samurai bases.

Flank and rear attacks are always directed against the second and third rows of a Sonae. When defending against a flank or rear attack the defending player must select three bases, if possible, to counter the attack. If a Sonae only has a front row, it cannot be attacked by either shooting or assault. It is all to confused for an attacker to be effective.

To disengage from a melee, a Sonae can move away from the opponent, but this action prohibits any shooting or assault attacks by it during the player’s turn.

The game report…

The clash between the rival Western and Eastern factions takes place on October 21, 1600, near the town of Sekigahara. Both armies are evenly matched with six loyal Sonae per army. The Western forces commanded by Ishida Mitsunari are represented by the blue army, and the Eastern forces commanded by Tokugawa Ieyasu by the red army. The loyalty of Kobayakawa Hideaki is unknown at the start of the game. When the loyalty becomes known using dice rolls (see the Junor General scenario) the Sonae will appear on the left flank of the Eastern army.

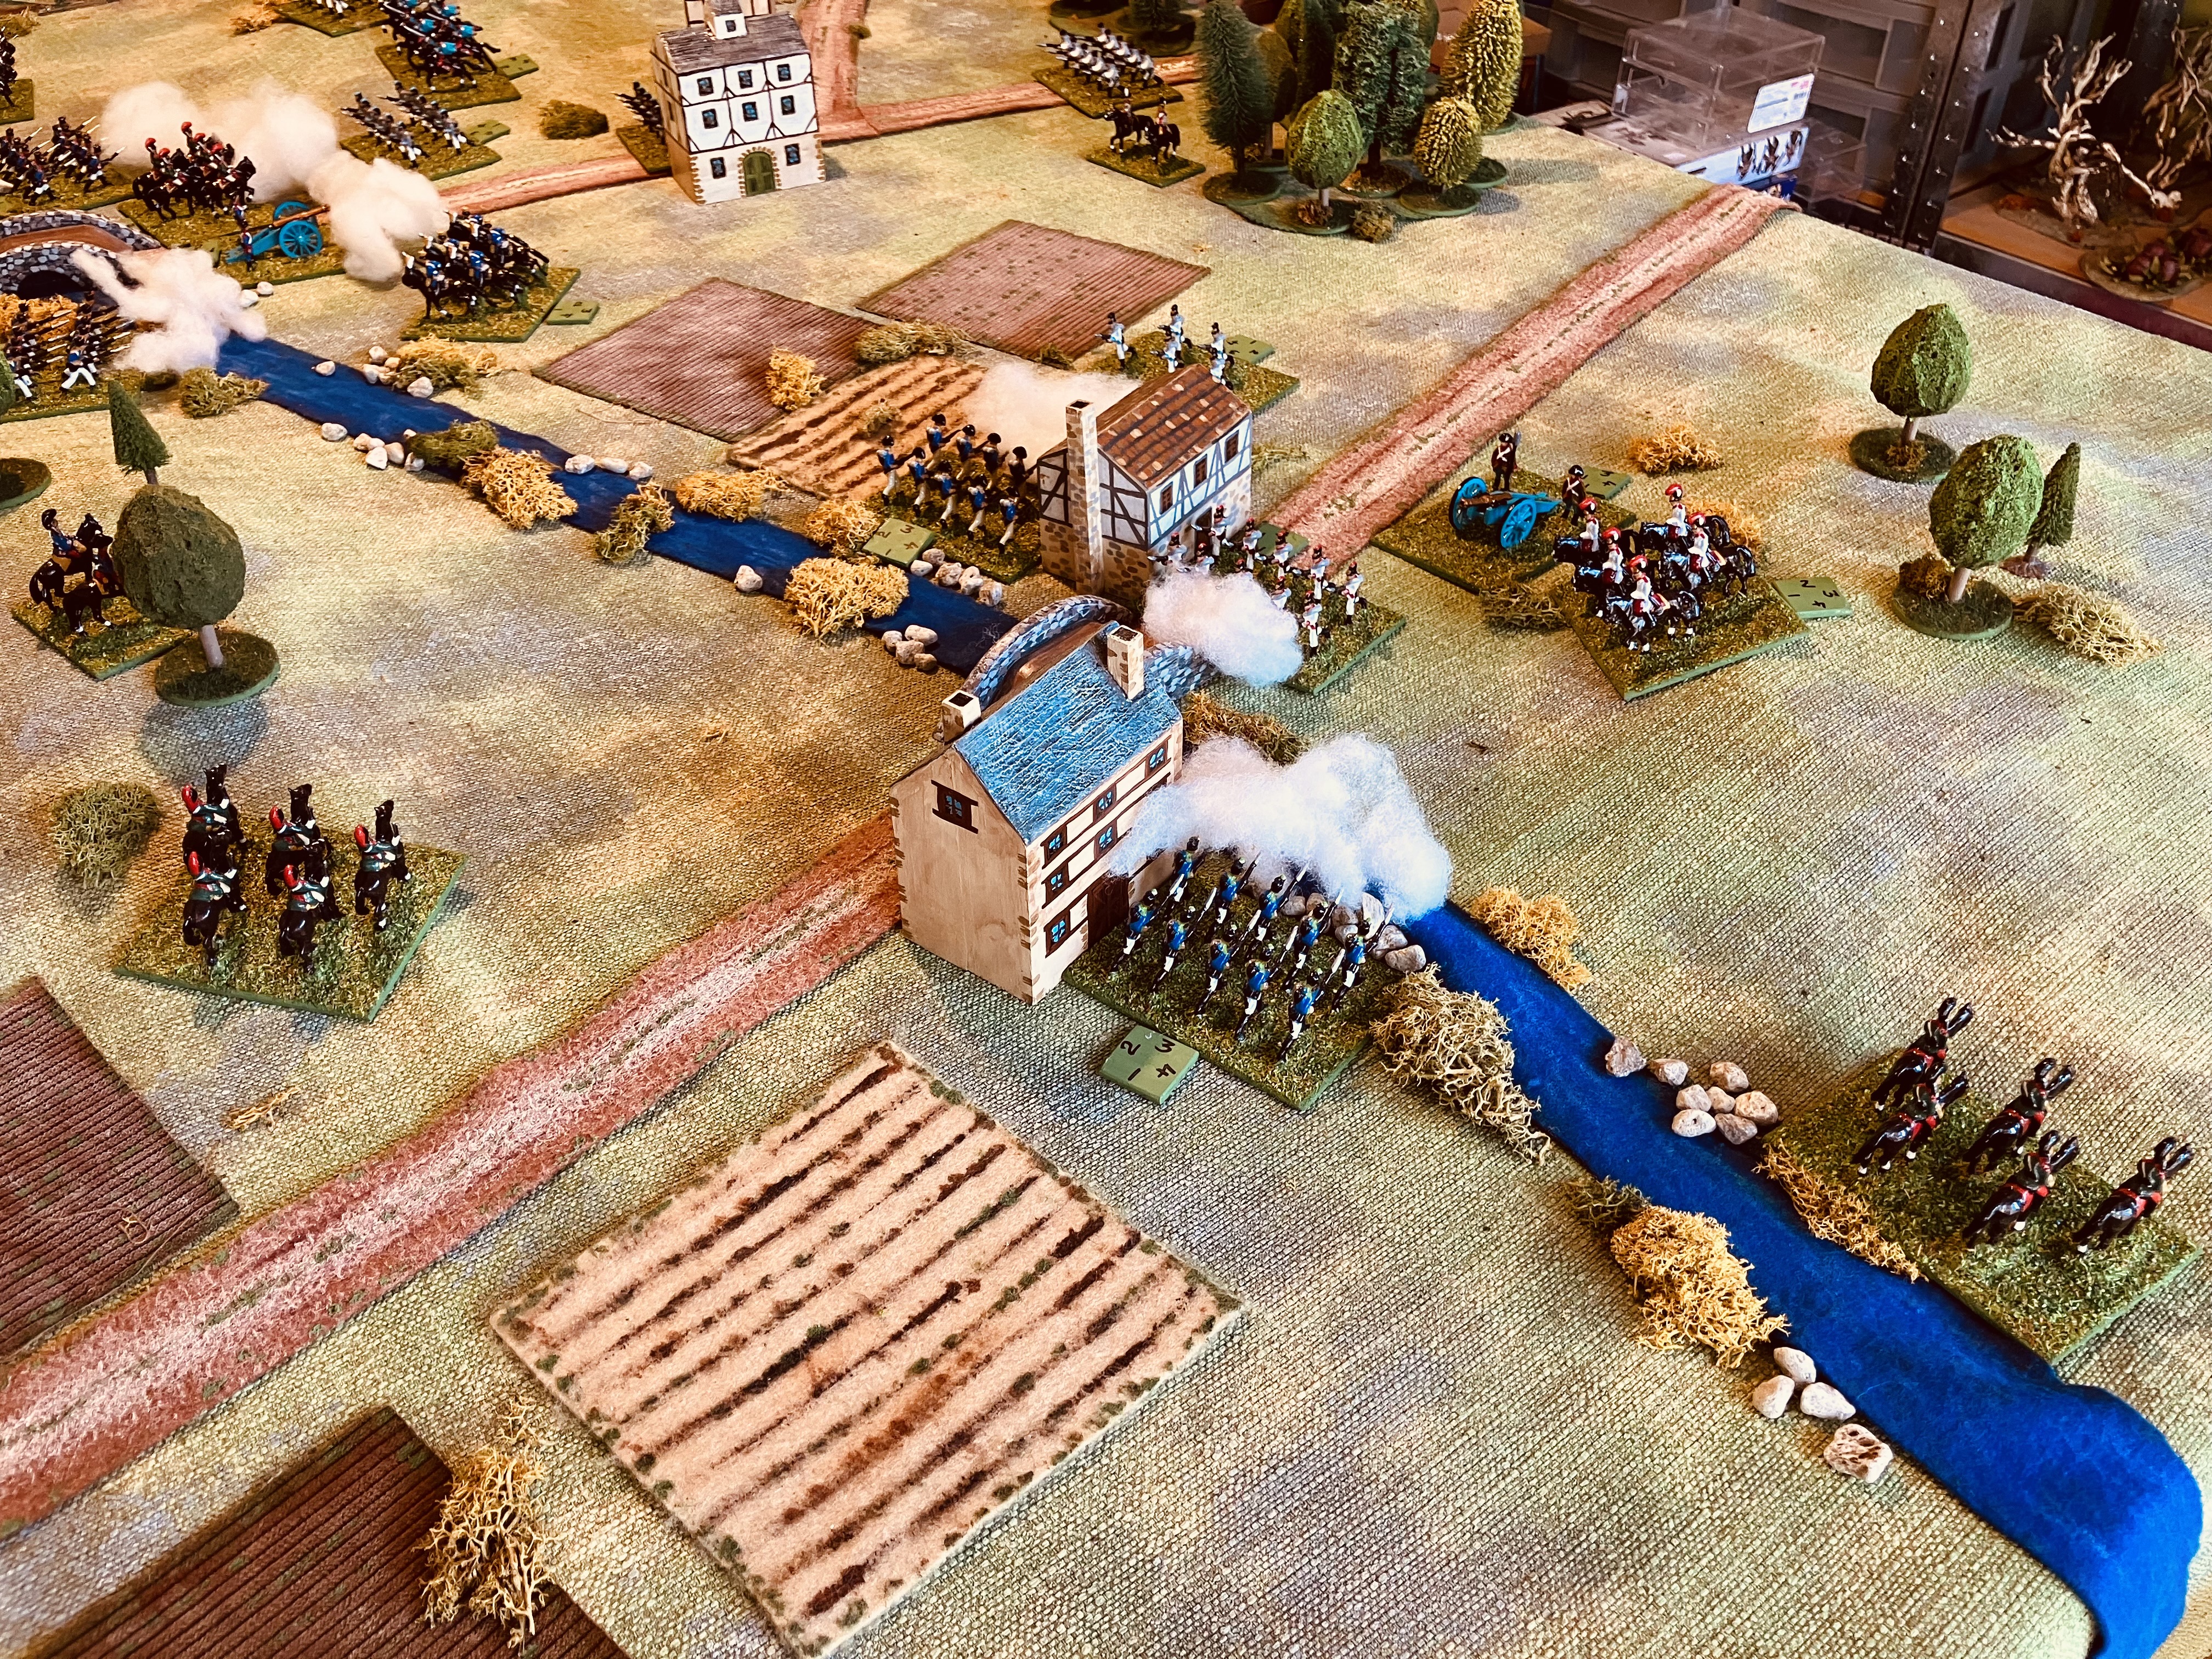
The tabletop setup. Hideaki’s Sonae will appear on the far flank once their loyalty is determined. Until then both armies will have to be wary of committing too much on that flank.

Opening moves…

The Eastern army initiate the battle, advancing towards the Western army's left flank, seeking to engage their forces between Mount Samao and Mount Tengu. The Western army responded swiftly, launching a counter attacks to halt the Eastern army's momentum. Both commanders, Tokugawa Ieyasu and Ishida Mitsunari, remained wary of Kobayakawa Hideaki's loyalties, maintaining a prudent distance from Mount Matsuo, where Hideaki's formidable clan is positioned. 

The Eastern army surges forward, their ranks bristling with arquebuses. As the distance between the two armies narrows, a hail of musket balls erupts, sending plumes of smoke across the battlefield. These initial exchanges marked the opening phase of the battle.

In response to the Eastern army's initial advance, Sonae of the Western army launches a series of counter attacks. Their Sonae charge forward, seeking to break through the Eastern lines and disrupt their formations.

In a bold move the Western army shifts an additional Sonae to their left flank, aiming to bolster their counter attacks against the Eastern army's initial advance

Mid-game…

Kobayakawa Hideaki allegiances are revealed as he throws his support behind Tokugawa Ieyasu and the Eastern army. This act of treachery forces Mitsunari's to hastily redeploy his forces to counter the impending flank attack from Hideaki's formidable Sonae. Mitsunari's only remaining option is to redouble his efforts in an attempt to break through the Eastern army's left flank, a gamble that will determine the fate of the battle.

In a dramatic shift of momentum, Kobayakawa Hideaki's forces, having declared their allegiance to the Eastern army, descend from Mount Matsuo and enter the battle.

The arrival of Hideaki on the battlefield marks a turning point, as they charge forward into the Western army's flank. This unexpected move forces the Western forces to redeploy and threatens to overwhelm their right flank.

The Western army's relentless counter attacks had forced the Eastern army to cede ground. Tokugawa Ieyasu, recognising the growing threat to his right, is compelled to lead his own Sonae into the fray, seeking to stem the tide and restore order to his beleaguered troops. 

The end game…

The Western army's right flank, already weakened by Hideaki's treacherous defection, finally crumbled under the relentless pressure of the Eastern army's superior numbers. The sudden collapse of their flank irreparably damages the Western army's cohesion, rendering them vulnerable to a decisive defeat. 

The Western army's right flank finally succumbs to superior numbers.

Tokugawa Ieyasu's timely intervention with his Sonae proved crucial in stabilizing the Eastern army's right flank, effectively countering the Western army's gains. Despite their valiant counterattacks, the Western forces were unable to breach the Eastern army's defensive line.

Eastern Army Victory

A victory to the Eastern army commanded by Tokugawa Ieyasu, which was made all the more possible by Hideaki's defection. 

For either side to win victory without Hideaki’s support they must gain some early momentum and break through the opponents defence and cause confusion. Else defeat seems inevitable.

Anyway a most enjoyable scenario which go me taking a different path for the rules.

Summary…

So did the rules work? The rule variant certainly provided an engaging and interesting gaming experience where the units were identical in their make up. Tactically employing arquebuses for ranged attacks and manoeuvring, or risk taking, for opportune close-quarters combat presented a few interesting moments in the game. Similarly, the use of powerful samurai bases to gain advantage in melee poses a risk of their loss and the potential impact on their Sonae’s morale, added another layer of complexity to decision making.

I intend to try and take these rules further with a few more games and also try playing with some variations in Sonae unit composition, such as increasing the proportion of missile bases and reducing combat bases, or the reverse. Replicating the diverse troop arrangements of Samurai armies of the period.

A couple of interesting blogs I found while preparing for this game:

Monday 13 November 2023

A couple of book purchases arrive

Not much to post about this week, but I did receive some secondhand books in the mail. I bought them because they were mentioned in One-Hour Wargames, and they focus on the tactics of the periods they cover. They were reasonably priced as secondhand books, always a bonus. I haven't had time to start reading them yet, just the usual quick flick through looking at the diagrams and pictures. I will hopefully be able to set aside some reading time over the Christmas holiday.

Two recently purchased secondhand books.

On the tabletop, I'm still using my plastic Napoleonic Spencer-Smith miniatures to play test games using the combat resolution table (CRT) that I mentioned in previous posts. I'm currently working on including rules to add generals and their command radius.

A test game underway

A close up of the miniatures simply painted with a gloss finish

Lost of smoke as the units engage.


Friday 10 November 2023

Napoleonic games using a Combat Resolution Table (part 2)

In my previous blog post, I described how I adapted a version of SPI's board game Napoleon at Waterloo to be played on a tabletop with free movement. While the game's combat resolution table (CRT) worked well, I discovered that eliminating units required precise positioning and careful manoeuvring, which became cumbersome on a tabletop without a hex grid. In an attempt to address this issue, I looked at the approach of applying hits rather than retreats in the combat resolution. A test game was set up using a modified CRT that applied hits and eliminated units after they took five or more hits.


The tabletop setup with both armies deploying half their units within 12 inches of the base edge. The river is foldable except by artillery.

Both sides, French and Austrian, are deployed identically, with:

  • 4 x line infantry units
  • 1 x guard infantry unit
  • 2 x cavalry units
  • 1 x light infantry unit
  • 1 x artillery unit

They were positioned on the tabletop within 12 inches of their base edge. Reserves for each army consisted of:

  • 4 x line infantry units
  • 1 x guard infantry unit
  • 2 x cavalry units
  • 1 x light infantry unit
  • 1 x artillery unit

The reserves were lined up in order of appearance with one reserve unit arriving each turn along one of the roads on the player's base edge, randomly selected by die roll.

Another view of the tabletop showing the roads. Reserve units for each army will arrive one per turn along a randomly selected road on the army's base edge. The French army is positioned south of the river.

The scenario map used to setup the tabletop from the book Practical Wargaming by C.F. Wesencraft

Battle report

The lead elements of the Austrian army, commanded by Marshall Friedrich von Donnermarck, were quickly deployed north of the River Exe. They soon spied the French forces deploying south of the river, commanded by General Henri-François de Valcourt. Both armies began their advance at 11am, and the first clashes occurred at Newtown between the lead French and Austrian units.

French units crossed the River Exe and found the town of Karlville occupied by Austrian infantry and they had their cavalry positioned on the overlooking Round Top Hill. Once all their troops were across the river, including artillery support, the French began their attack on Karlville.

The first clashes occur at Newtown.

By noon, the Battle of Karlville was well underway. Austrian reserves arriving on the scene were quickly deployed in the defensive line surrounding the town. French reserves were also arriving on the road south of Newtown.

After fierce fighting in Newtown, which had exchanged hands several times, the French were finally able to secure the town. Meanwhile, Austrian forces supported by recently arrived reserve units were applying significant pressure on the French units, pushing them back towards the river as they desperately tried to hold out while awaiting reinforcements. Had the French General Henri-François de Valcourt advanced upon Karlville too quickly, hoping for the element of surprise and the timely arrival of reinforcements?

The fighting increases at Newtown as both forces commit more troops. (Smoke shows all the units within 6 inches of an enemy unit and are locked into position until combat is resolved.)

With their artillery support across the river French forces advance upon Karlville.

More troops are drawn into the action to cease Newtown.

Austrian forces at Karlville are repulsing the French attack.

Newtown finally in French hands.

At 2:00 PM, the French attack on Karlville was on the verge of collapse. The Austrian defenders, supported by fresh reserves, were putting up a fierce resistance. The French units in front of Karlville were about to retreat across the River Exe when their reserves finally arrived. French cavalry swiftly crossed the river and took up a commanding position on Round Top Hill, and French infantry arrived to support their beleaguered units near the bridge.

The arrival of reinforcements allowed the French to regroup. By 3pm, the French general was receiving bad news. At Newtown, the experienced Austrian Marshal Friedrich von Donnermarck had successfully organised a counterattack that had retaken part of Newtown north of the bridge.

French reinforcements arrive.

Austrian troops renew their attacks as increasing numbers of French reserve troops arrive. 

An Austrian counterattack recaptures the north section of Newtown.

By 4pm, with fresh reserve units arriving steadily, the French launched a renewed assault on Karlville. However, a small force of late-arriving Austrian reserves was enough to hold off the French attacks, which were eventually called off. On the other flank, the French had more success, retaking Newtown. By 5pm, both armies were exhausted and unable to mount any further attacks.

The French attack is renewed on Karlville after reserves arrive. 

Austrian reserves arrive to finally secure Karlville.

Newtown remains in French hands.

The battle ended at nightfall, with both sides consolidating their gains. The Austrian forces held Karlville, while the French established a foothold on the bridge at Newtown. Both commanders were relieved that the battle was over, knowing that there had been points during the day when they could have easily lost, but for the timely arrival of reinforcements. 

How did the revised CRT go?

The modified CRT with its use of hits instead of retreats, gave me the type of game I wanted. However, at various point in the game I thought an occasional retreat would make the game more enjoyable and add to the narrative of the battle. So after the game, I updated the CRT to include some retreats, as shown in the photo below. Retreats (marked with a “R” in a circle) cause the defending unit to retreat and allow one attacking unit to advance into the vacated space. The one exception to the rule is for defending artillery units which cannot retreat and are eliminated.

The modified CRT now includes retreats which are marked with an circle with a “R” inside. The begin on a ratio of 2-1 and steadily increase in likelihood as the attack ratio increases.

Retreats only occur on defending units, and when a unit must retreat, one of the attacking units can move into the space it vacated. This prevents the defender, during their turn, from quickly moving another unit into the space and denying the attacker the opportunity to occupy a defensive position.

I played another test game with the modified CRT, and it worked well. It introduced the occasional retreat, especially when the attackers had a significant advantage in numbers, which seemed reasonable.


Tuesday 7 November 2023

Napoleonic games using a Combat Results Table

In this blog post, I'll explain why I'm using a Combat Results Table (CRT), which are normally associated with board games, than in tabletop wargames.

A Napoleonic game about to begin using some old 30mm plastic Spencer-Smith miniatures. 

CRT from Napoleon at Waterloo

Recently, I was rereading the Napoleonic chapter of C.F. Wesencraft's book "Practical Wargaming." The chapter includes a set of rules for larger battles. While the rules did not really interest me, reading the chapter reminded me of an article I read, possibly in Military Modelling or Battle magazines, many, many, years ago about someone using miniatures to play SPI's introductory board game Napoleon at Waterloo.

Always a joy to reread chapters.

I downloaded a free version of Napoleon at Waterloo and gave it a try on the tabletop. I liked the game because it didn't have stacking units, useful when translating to the tabletop, and units get locked into combat once committed. Combat affects both the attacker and defender with one roll of the dice. This all sounded good so far, and given the inspiration came from “Practical Wargaming” I used the scenario from the book as my starting point for setting up the game.

Scenario from Practical Wargaming.

The scenario on the tabletop.

The combat values and movement values.

After playing a couple of games and getting to grips with the rules and unit combat values, a few changes were needed. The changes were driven by the need in the game to position units and by advancing after combat to gain positional advantage to block the retreating of enemy units, thereby causing them to be eliminated. This works well with a hex-grid on a board, but requires too much precision in measuring and fiddly manoeuvring of units on the tabletop. 

There were many aspects of the game I enjoyed and I thought I would have an attempt at creating a modified CRT where units take hits rather than retreating, and keep the other things I liked about the game: 

  1. How units get locked into combat once committed
  2. Combat effects both attacker and defender with one roll of the dice
  3. Concentrating your attacks while at the same time having to attack all enemy units within combat range.

The current version of the CRT and results:
A1/2/3/4 is the number of hits taken by the attacking unit or units.
D1/2/3/4 is the number of hits taken by the defending unit of units.
A1/D1 both attacking and defending units take 1 hit.

The modified CRT rather than having retreats and eliminations now has the hits taken by the defending or attacking units. Units are eliminated after taking 5 or more hits.

Initial setup on a game.

The sequence of play from the game is:

  1. First player turn - movement phase followed by combat phase.
  2. Second player turn - movement phase followed by combat phase.  

General rule notes in no particular order:

  • Only cavalry and light infantry can withdraw from combat if they are within 6 inches of an enemy unit. They can do this during their movement phase, but they must not end their movement within 6 inches of an enemy unit.
  • All enemy units within 6 inches of a player's units must be attacked. This means that a single unit may have to attack two or more enemy units.
  • Only light infantry can move into woods.
  • Defending infantry units in towns, woods, or being attacked uphill have their combat value doubled.
  • Artillery can attack units within 12 inches and can fire over friendly units.
  • When a unit is destroyed by taking 5 or more hits, one of the opposing units involved in the combat (except artillery) can choose to advance and occupy the space that the destroyed unit occupied.
  • All movement is in a straight line unless following a road.
  • To determine the outcome of combat, add up the combat values of all the attacking units and all the defending units. Then compare the ratio to the combat results table.
  • If cavalry are involved in an attack on infantry or artillery alongside other infantry or artillery units, increase the attacking odds by 1 (shift the columns on the combat results table 1 to the right).

Commander and Army Resolve:
  • Commanders are placed at the back of the table and do not move.
  • If an enemy unit gets within 6 inches of a commander, the commander is removed and replaced during the player's next turn. However, units that are not already in combat cannot move within 6 inches of the enemy unit until the player's next turn.
  • An army loses resolve when 50% of its units are eliminated. Once an army has lost resolve, its units cannot advance through combat to replace lost enemy units.
Victory in the game:
  • A player loses a game when they have lost 50 percent of their units and their total remaining units have 2 units less than the other player.
A game in progress. I use soft toy stuffing for the smoke which indicate which units are within 6 inches of an enemy unit.

All these rules now need to be written up after a few more games have been played. The next post will be the battle report.