This post is about a Samurai game using the "Take the High Ground" scenario from the One-Hour Wargame (OHW). In the game I am testing a rule mechanism aimed at introducing the occasional unit reaction into the game.
I have been trying out a couple of reaction rules over the last week or so, one which I posted last week where a player rolls the dice for every unit they activate. On a roll of 1 or 2, their opponent has the chance to react with one unit providing they in turn roll a 3 or higher. If successful, they can take the opportunity to, for instance, shoot, move a unit to safety, head off a flanking manoeuvre by advancing their own unit, or initiate a counter charge. (More detail is provided in my previous post.)
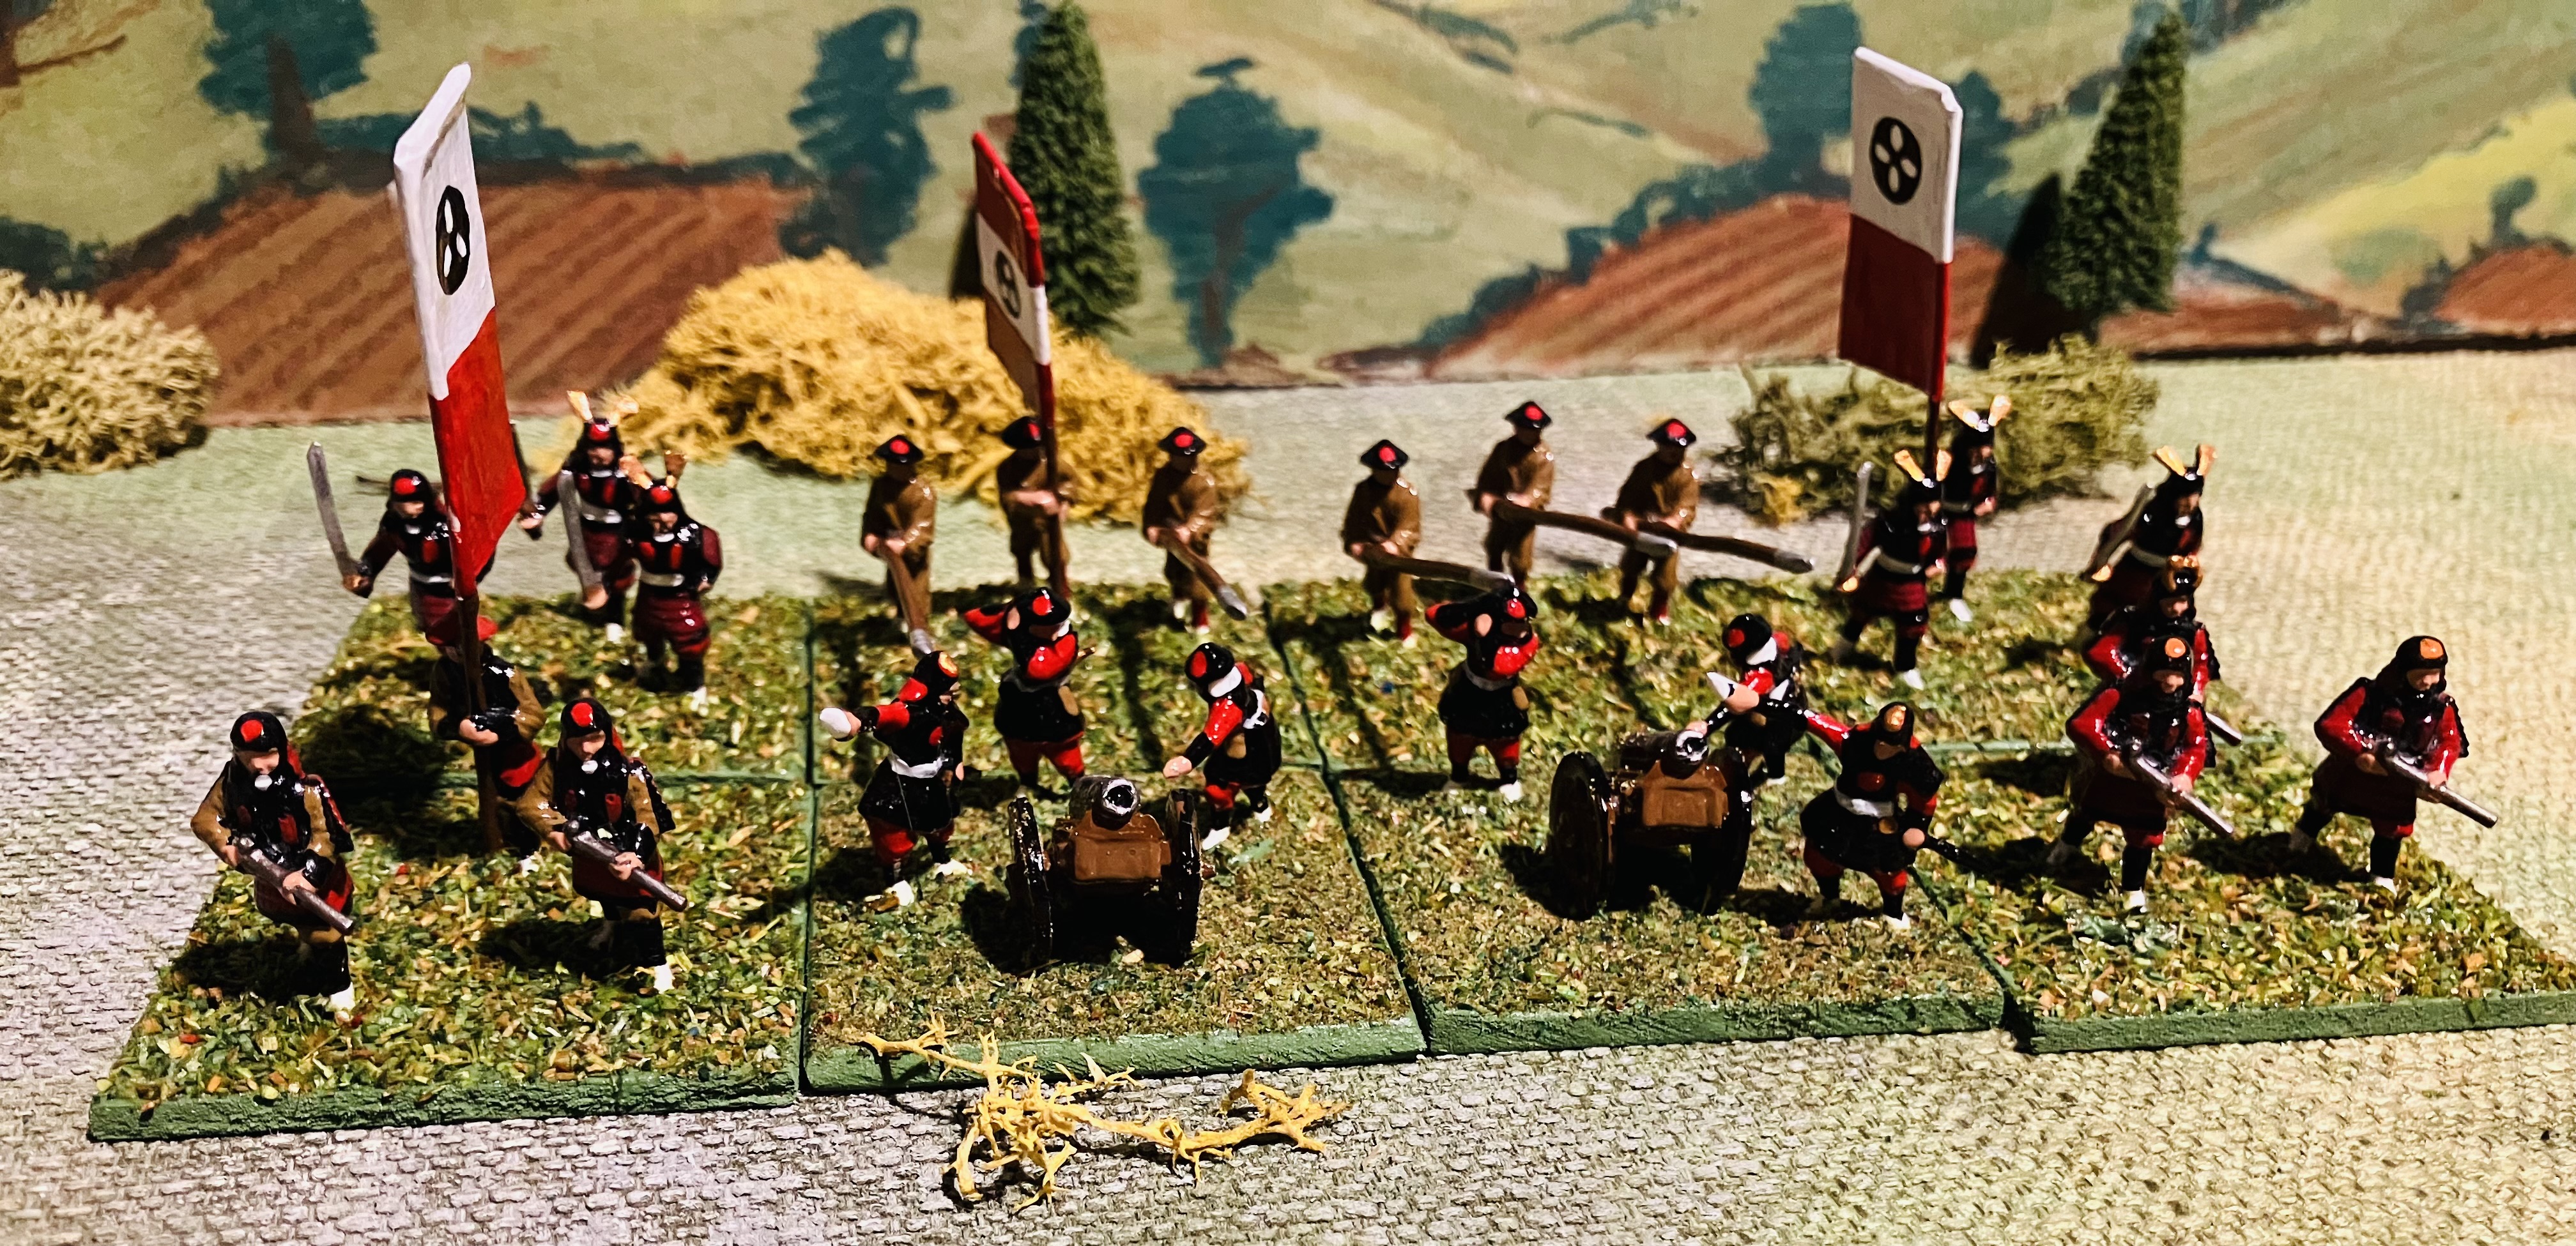
 |
| A close up of an earlier test game. |
- At the commencement of a player's turn, place one die for each active unit on the tabletop and any reserves arriving that turn into a dice bag or tin, ensuring they are all of the same colour. Add one extra die of a different colour to the bag.
- Shake the bag and draw a die. If it's not the differently colored die, the player can move or shoot with one of their units. If it is the distinct die, the opposing player can react by moving, charging, engaging in combat, or shooting with one of their units.
- Continue drawing dice until the player has finished activating the units that want to, or there are no more dice.
- Repeat step 1 for the other player.
 |
| Preparing the dice bag - 6 green dice one for each available unit and 1 black die for the reaction by the opposing army. |
Background…
Set in the midst of the Sengoku period, the Aoi-kage clan launches an unexpected morning assault, shrouded by the early morning mist, aiming to capture a crucial hill to safeguard a vital road. The Raitetsu clan, anticipating the threat, have strategically stationed a third of their forces to defend the hill and have established a camp in a nearby town.
Notes on the rules used…
I have used the Pike and Shot rules from OHW where:
- Ashigaru are treated as infantry but can only move or shoot,
- foot Samurai are treated as swordsmen, and
- mounted Samurai as cavalry but with only a D6 in combat.
One foot or mounted Samurai unit can have an assigned Daimyo (commander) and are treated as his personal bodyguard of samurai (Hatamoto) and in combat always roll two D6 selecting the highest scoring D6.
A limited number of Ashigaru units can have addition ammunition supplies that allow them to ignore the first time they are out of ammunition. Also one Ashigaru unit can have cannon which allow them to roll two D6 when shooting and select the highest scoring D6. However, the cannon are lost should the unit move, run out of ammunition, or be engaged in hand-to-hand combat.
Order of Battle
Aoi-kage clan
- 4 x Ashigaru (2 of the units have additional ammunition supplies)
- 2 x Foot Samurai (1 of the Samurai are the Daimyo’s Hatamoto)
Raitetsu Clan
- 4 x Ashigaru (1 of the units have additional ammunition supplies and have a cannon)
- 1 x Foot Samurai (the Samurai are the Daimyo’s Hatamoto)
- 1 x Mounted Samurai
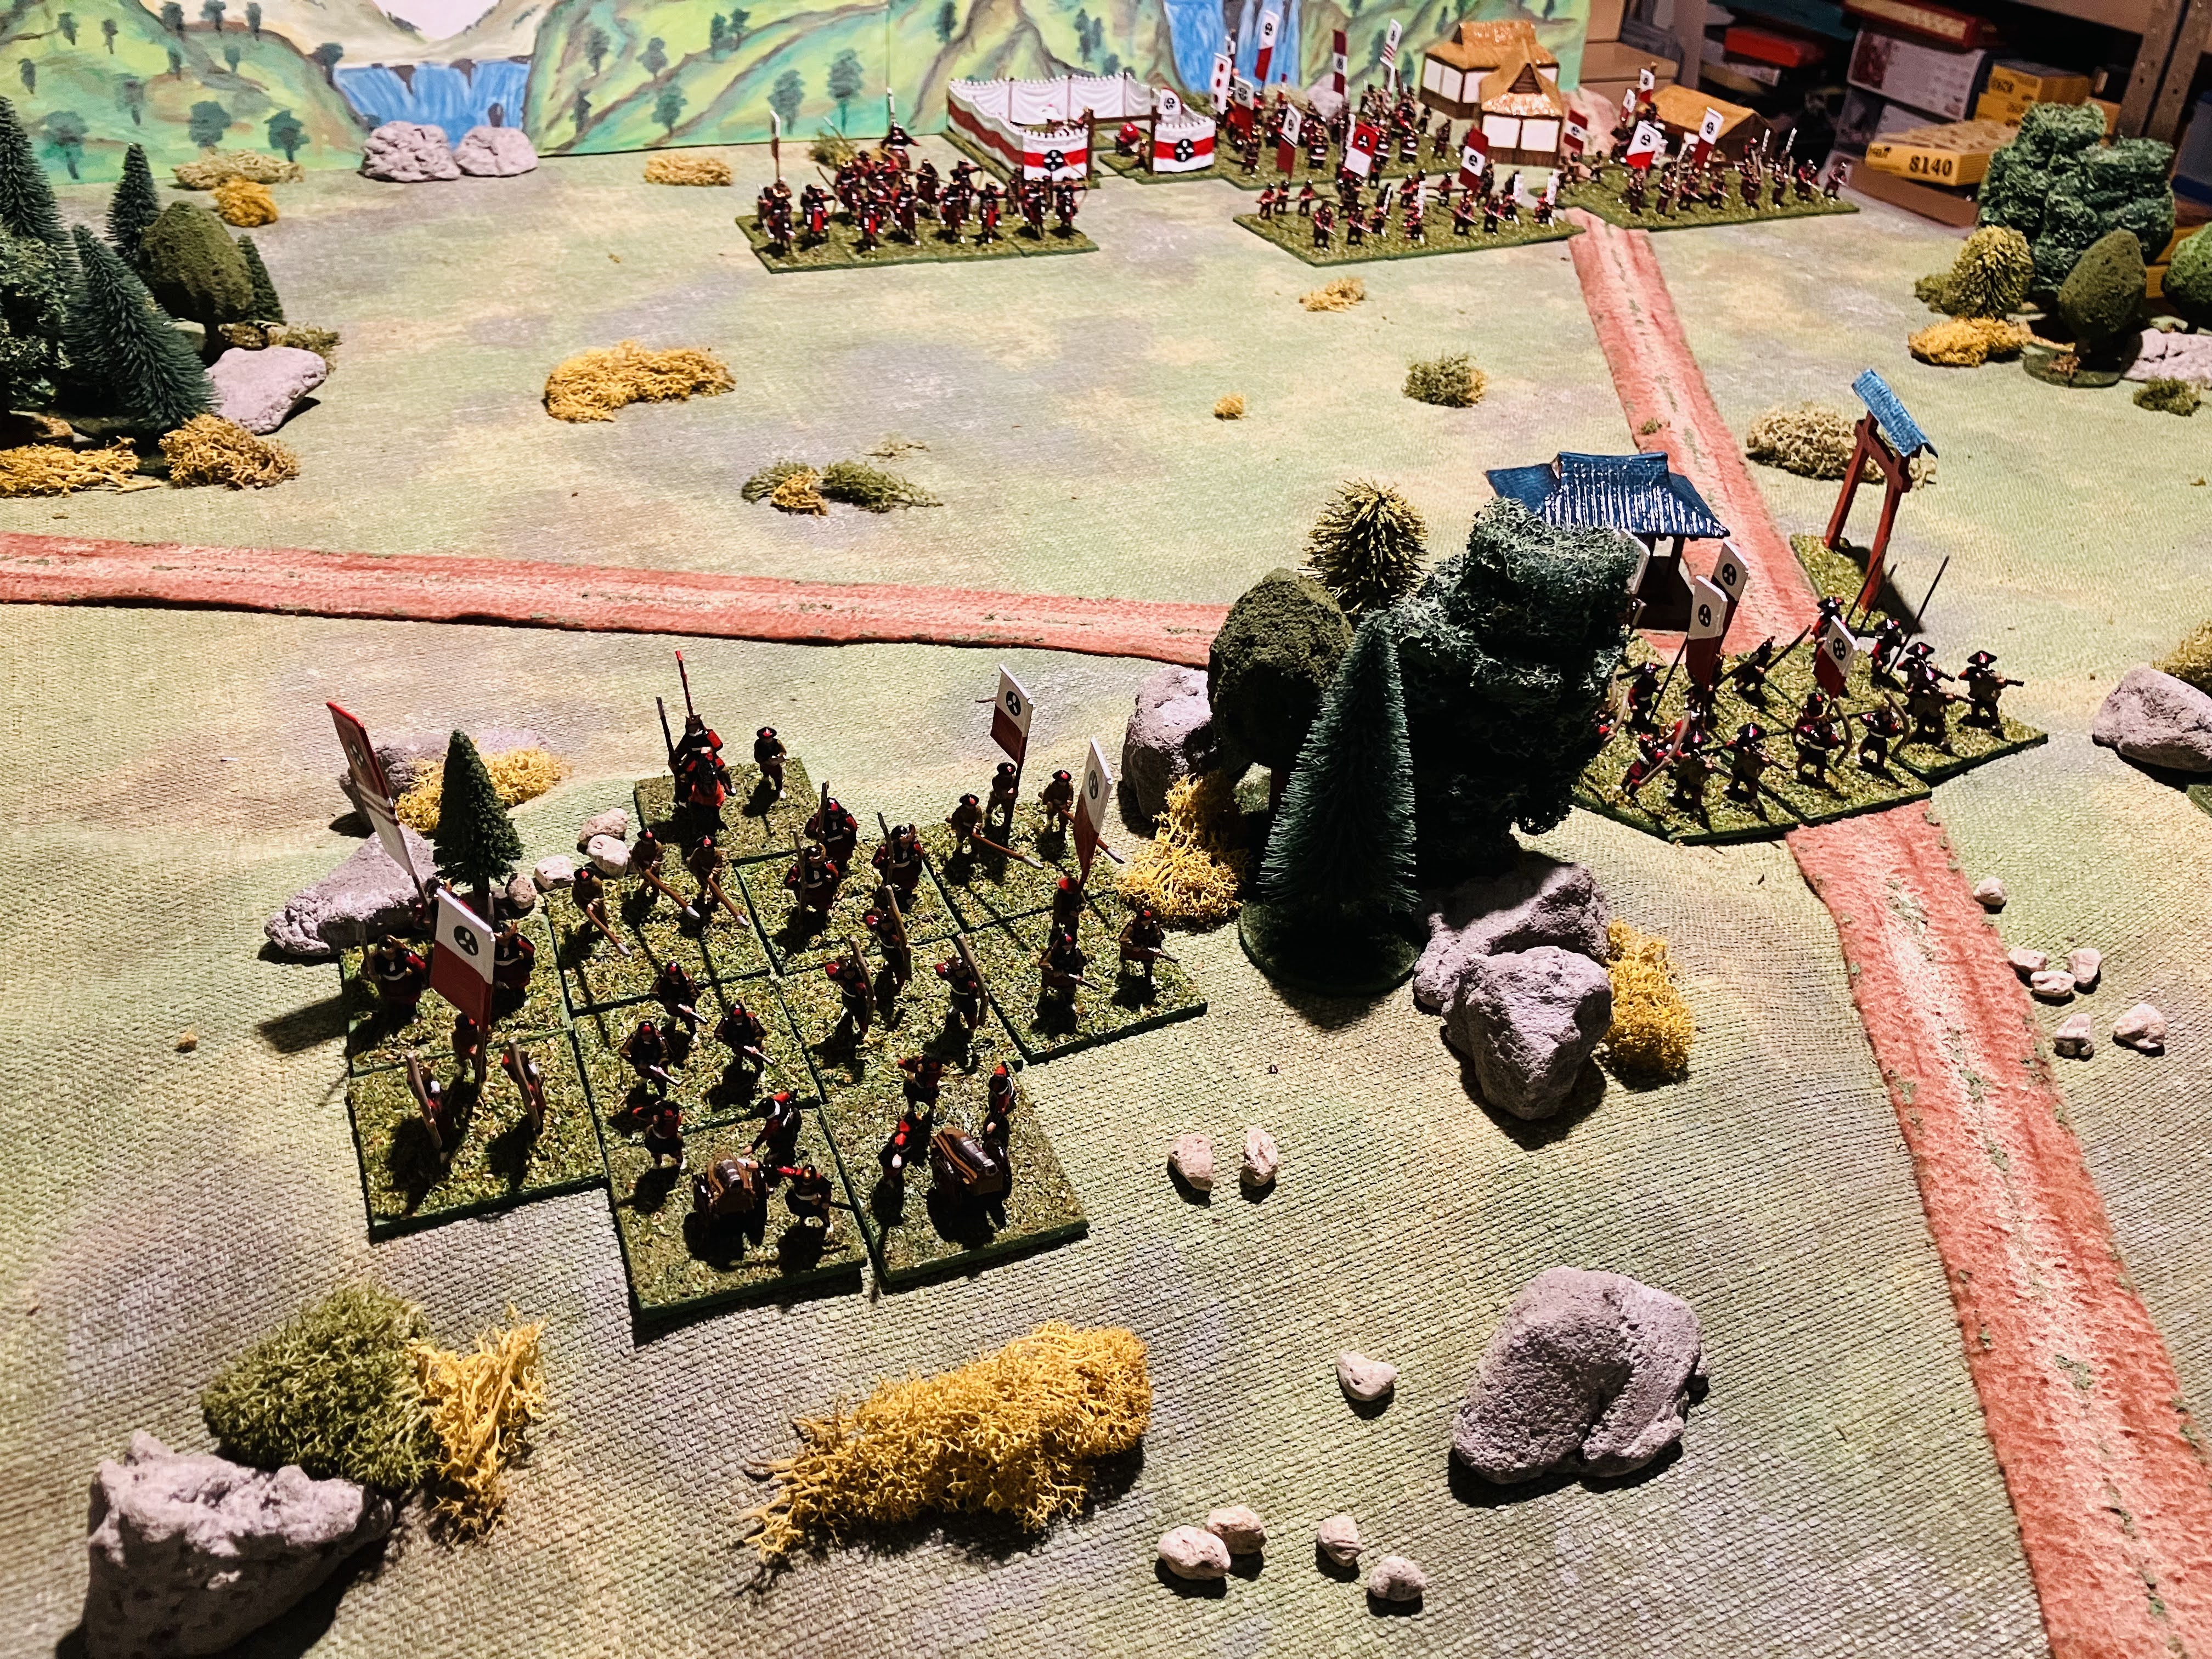
Tabletop Setup…
The tabletop used measures 6 by 4 feet and is oriented lengthwise, enabling all the units to be deployed on the tabletop at the start of the game. The Aoi-kage clan are positioned behind their starting line, ready to launch their assault in the first turn. Positioned on the ridge to the left of the road, two Ashigaru units from the Raitetsu clan remain unaware of the impending threat. The remaining Raitetsu force is encamped in a nearby town and is set to provide support starting from turn 2 when messengers arrive sounding the alarm.
 |
| A view of the tabletop from the Aoi-kage starting position. The Raitetsu can be seen positioned on the hill and their camp in the background at the other end of the tabletop. |
 |
| Two Raitetsu Ashigaru units defending the hills and road. One of them has cannon. |
Game report - Opening turns…
Advancing with determination, the Aoi-kage forces pushed towards the ridge, aiming to oust the Raitetsu defenders before any reinforcements could arrive. While they managed to catch the defenders off guard, their hopes were soured by poor shooting and they soon needed their additional ammunition supplies. In contrast, the defender’s shooting was proving to be for more accurate from their elevated vantage point, and the presence of supporting cannon posed a formidable challenge for the attacking forces.
 |
| Aoi-kage units advance on the defended hill. |
 |
| The attacking Aoi-kage forces used a reactions to shoot at the defenders on the hill. Whilst, the defenders used their reactions to quickly move up their reserves once the alarm was sounded. |
 |
| The defending units are still hanging on and their reserves can be seen not far away. |
Gaming notes:
- On the opening turn and after drawing 5 green dice, the attacking Aoi-kage opted to stop drawing any further dice ending their turn so there was no reaction by Raitetsu units. After the game I was thinking I should not have added the reaction die into the bag to reflect surprise, even though it was not drawn in this occasion.
- The attackers used their reactions to shoot to compensate for poor shooting rolls and the defenders used any reactions to move up their reserves as quickly as possible.
- The attackers had used up all their ammunition supplies to offset the out of ammunition rolls.
Middle game turns…
The Aoi-kage clan achieved a breakthrough by successfully routing one of the Raitetsu units defending the hill, establishing a foothold on the right side. However, their momentary joy was quickly extinguished when they saw the Raitetsu reserves arriving and thwarting any ideas they had to outflank the remaining unit defending the hill. In a last-ditch effort to regain momentum at this critical point of the battle, the Aoi-kage Daimyo ordered a unit of samurai to charge up the hill and dislodge the remaining Raitetsu defenders.
 |
| The Aoi-kage forces have gained control of the right of the hill and are now faced by the arrival of Raitetsu reserves. |
 |
| The battle is fierce in the centre. |
 |
| Aoi-kage samurai about to charge up the hill and in the centre they suffer a loss of a unit. |
Gaming notes:
- The Aoi-kage used some of their reactions to swiftly move their Samurai into position to attack the hill.
- The Raitetsu reactions were used for shooting which allowed them to gradually get the upper had in the centre.
- The dice being put into the dice bag are reduced to 4 for the Aoi-kage forces which are down to 4 units.
End game turns…
 |
| As losses mount the dice for Aoi-kage’s turn are down to 4 dice. |
 |
| Raitetsu forces regain part of the hill. In the centre the Aoi-kage Hatamoto charge the enemy centre. |
 |
| The remaining Aoi-kage unit retires after the loss of their Daimyo. |
A poem of the battle described it as so…
As Aoi-kage's fortunes waned upon the hill,
Samurai, though weary, reclaimed with skill.
Yet ill-prepared for Raitetsu's swift reply,
Daimyo charged, but glory met an arquebus sigh.
Gaming notes:
- As units were lost on both sides and the number of dice in the bag decreased, the probability of drawing a reaction dice became higher.
Summary
The bag of dice activation mechanism worked well for me, especially with smaller OHW games consisting of six units. The dice are placed by the activated unit to track activations and is quick with less dice rolling that the previous method to test for a reaction. As the game progressed with unit losses, the chances of reactions increased. This does encourage players to retire units before they are eliminated, so they don’t reduce the number of dice in the bag.
In the game the option of not activating all units, especially after activating 3 to 4 units without interruption, is very tempting.


