 |
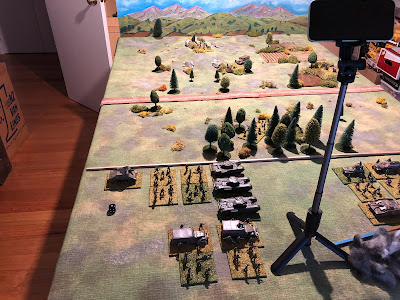
| A recent purchase of a tripod |
 |
| Just off the painting desk |
 |
| Ork chariots emerge after a decade in a storage box to be rebased. |
 |
| A recent purchase of a tripod |
 |
| Just off the painting desk |
 |
| Ork chariots emerge after a decade in a storage box to be rebased. |
This post has a quick 2-minute video of the Hundred Years War game played out this Sunday. My Daughter, who was my opponent, is a keen Vlogger and she took the video so we could later edit it into a short video. The game used some modified One-Hour Wargames (OHW) rules which I have been testing over the last few weeks.
 |
| Medieval forces make it to the tabletop again |
The game used OHW scenario #24 - Bottleneck. In our scenario, the French are tasked with moving the English out of their path and clearing the road. While their forces are greater, the French are blocked by a seemingly impenetrable forest on their left flank and marshland on the other. Can the English maintain their position on the road or will the French overwhelm them?
We used double the number of units stipulated in the OHW scenario. So 6 units become 12 units, and 4 units became 8 units. The orders of battle:
English
French
There are no photographs of the action as we were videoing the game see below...
The French, commanded by my Daughter, attacked quickly using their mounted units with their levy and crossbow units following closely behind. Some English mounted units counterattacked to support the first line of defence, but they had to eventually give ground to the French foot units. A final English charge by their mounted reserve men at arms was enough to further delay the advancing French. This allowed the retiring English foot to hold the road by the end of turn 15. A close and enjoyable game.
 |
| The local law enforcers |
 |
| The gang or undesirables |
 |
| The first setup |
 |
| The second game setup |
 |
| The Facility by Tenfold Dungeon |
 |
| Opening the boxes reveals more boxes for rooms and corridors. |
 |
| There is a lot packed into one of these boxes |
 |
| Some of the other rooms |
 |
| A game underway |
Not much painting time during the week as I am still fairly busy with other non-wargaming activities. However, during the week I was mulling over ideas for some rule variations to the One-Hour Wargaming Medieval rules. The variations are to do with army organisation, unit activation and unit elimination. Today I was able to try them out on the tabletop.
 |
| A game underway |
The unit activation ideas are similar to the approach taken more recently with my English Civil War (ECW) rules where the army organisation dictates how units are activated (see here). As with the ECW rules I found one book to be very useful is shaping the approach. In this case, it was the book "Medieval Warfare" by Terence Wise.
“It was usual to divide an army into three divisions, called Battles, with the light troops occasionally operating separately under their own commander. The three Battles are generally referred to as the Vanguard (Vaward Battle in England, Avant Garde in France), the Main Battle and the Rearward Battle. The three Battles always marched in this order and normally deployed for battle with the Main Battle, the most honourable command and usually led by the king or his deputy, in the centre; the Vanguard on the right as the second most honourable command; and the Rearward Battle on the left. Where there was insufficient room for such deployment the Battles might be placed two in the front line and one in reserve, or in three successive lines.” (Medieval Battles, Terence Wise)
My medieval games generally have between 15 to 20 units per side. At the start of the game a player's units are assigned to 3 to 4 Battles:
The first step of the game, before getting to the tabletop, is for a player to assign their available units to the Battles and Command, and there are a few of constraints placed upon the player:
 |
| Battles are deployed |
Battles and their units are deployed on the tabletop in a set order. Unless specified in a scenario, players begin by rolling the dice to decide who begins the deployment, re-roll any ties. The winner, player A, starts the deployment.
A Battle's units must maintain coherency when deployed and during the game. This means all units must be positioned to be within 12” of all other units in the battle.
I play on a 6’ by 4’ tabletop and units must be placed within 18” of their base edge.
During a game turn each player will have the opportunity to activate all their Battles and Commands. The order of activation is unknown as cards are used to determine the order of activation.
At the start of the game add a card for each Battle is placed into the Activation card deck. At the start of each game turn the Activation deck is shuffled and placed face down. The top card is drawn and the owning player gets to activate all of that Battle's units. Then the next card is drawn and the identified Battle is activated. This continues until all cards are drawn. Then the activation cards are shuffled and placed face down for the next game turn.
As a solo player I like this random activation approach to the Battles. A book quote again:
"The main problem seems to have been not the fighting quality of the troops, but the inability to maintain discipline over them once battle commenced..." (Medieval Battles, Terence Wise)
The idea of using cards comes from the "Never Mind the Billhooks" rules by Andy Callan. Except all units have the opportunity to activate with the approach used here.
 |
| The Activation card deck determines the order of activation. |
When a Battle or Command is activated, a player can activate each unit within the that Battle:
When units disintegrate they do not disappear from the battlefield and can have adverse effects on other units they run into. So when units are eliminated upon taking 15 hits. Before the eliminated unit is removed, any units directly behind and within 12" the eliminated unit are marked as disordered from the fleeing troops. Units marked as disordered cannot move or shoot until they remove the disordered marker with their next activation.
 |
| A unit of bowmen is eliminated. Directly behind them 2 units within 12" become disordered from the fleeing bowmen. |
I got the idea of battle fugitives from the old SPI game Agincourt. Although the rule mechanisms are very different, I did like the disruptive concept of fugitive troops delaying troops behind them.
 |
| A final photo of a game in progress |
Not a lot to post about this weekend due to being busy with other commitments, but I did manage to paint a couple of bases of Medieval crossbow men. A few weeks ago I purchased a few additional Minifig crossbow men to make up a complete unit. All my spare medieval figures are now painted.
 |
| A unit of crossbow men - two bases make up a unit. |
On the gaming side of things I was able to pick up a secondhand copy of the Battle Cry game. As a bonus I was able to purchase it a in Australia and avoided costly postage.
 |
| A recent purchase |
Here is the game report from the WW1 Palestine campaign - turn 3, game 4. The setup can be found in the previous post.
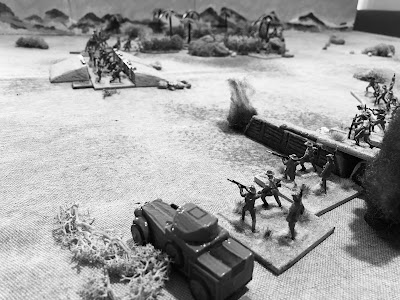 |
| Armoured cars support advancing ANZAC infantry. |
Background
The Egyptian Expeditionary Force (EEF) is trying to breach the Turkish defensive lines around the city of Gaza. This is the fourth attempt and their advance has been delayed my many months. Pressure is mounting upon EEF Headquarters for a breakthrough as troops are desperately required elsewhere. The attack is upon two fortified positions and will be carried out by two assault waves. Both fortified positions need to be taken to achieve a breakthrough.
Plan
The plan was for the first assault wave to begin the attack at 4am on the closest fortified position. Once the position is taken, the second assault wave would attempt to roll up the Turkish line and capture the second fortified position. The EEF would use their armoured car unit to delay any Turkish attempts to provide support from their reserve.
The troops have supplies and water to last them the day and will have to retire if the positions are not taken.
Battle Report
The EEF's first assault wave began moving towards the closest fortified position. The artillery took up position and targeted the Turkish artillery.
 |
| The first assault wave moves on the fortified position supported by an armoured car. |
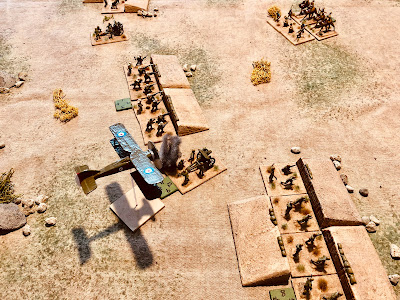 |
| Aircraft support the attacks on Turkish artillery. |
 |
| By turn 6, mid-day, the first fortified position is cleared and a Turkish artillery unit eliminated. |
The second assault was well underway by 1pm. The artillery shooting was proving to be particularly accurate and the second Turkish artillery unit was put out of action. Removing the artillery was important for the EEF as their troops will not come under fire as they advance on the second fortification.
The armoured car unit was able to hold off the Turkish reserve cavalry allowing the second wave to advance swiftly.
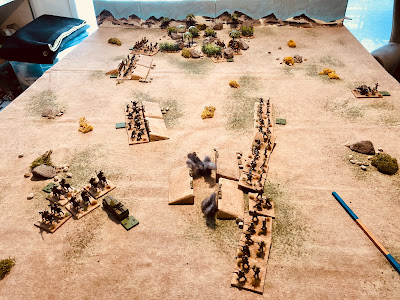 |
| The second wave advances and the armour car can be seen intercepting the Turkish reserve cavalry. |
 |
| The assault was briefly held up by Turkish entrenched infantry which was eventually eliminated. |
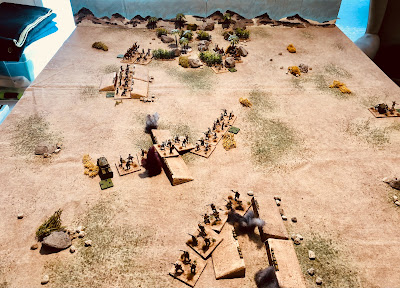 |
| The EEF advance pushes on to the second fortified position. |
 |
| By 7pm the EEF finally cleared the Turkish troops from the second fortified position, and victory to the EEF. |