Wednesday 29 March 2017

Painting continues with 19th Century Spencer-Smiths

This week I continued with painting my 19th Century Imagi-Nations armies using old plastic Spencer-Smith miniatures. However I did have a little diversion to rework a couple of recent second hand WW2 purchases, painting them up to add a bit more variety to my German late war army.

WW2 additions
19th Century Image-Nation Lancers


Monday 27 March 2017

Hundred Years War Campaign - Game 7

The Sheriff of Lockdew and his forces were slow to march north to join Prince Riddick and Sir John Chewford. This provide the opportunity for Baron Chastain to marshal all available units and march upon the English rear.

Neither force had the baggage in tow and so would be fielding two less foot sergeants or archers due to attrition on the campaign, desertion, sickness and dispersed troops foraging for food. Every 3 campaign games reduces the number of available troops by 1 to reflect the hardships of campaigning.

Campaign map
Baron Chastain lined his forces up behind the river between the two crossing points:

  • 1 x mounted men at arms
  • 1 x foot men at arms
  • 2 x crossbow men
  • 1 x foot sergeants
French deployment
The Sheriff of Lockdew fielded:
  • 1 x mounted men ay arms
  • 1 x mounted sergeants
  • 3 x longbow men
His plan was quite simple. Wear down the French with volleys of arrows then charge in with his mounted forces.


The English archers moved up and volleys or arrows were exchanged, but the better shooting was done by the French crossbow men. The English archers started to drift away from the fight. Emboldened by his crossbow units success, Baron Christian ordered his foot sergeants across the wooden bridge to apply more pressure on the English.

Both sides exchange volleys of arrows (and bolts for crossbows?)
The French gain a foothold across the river attacking the English archers
The Sheriff sent his mounted sergeants across the stone bridge in an attempt to disrupt the French crossbows who were proving to be very accurate this day. French mounted men at arms lead by Baron Christian soon countered the English threat and had them on the run.

Half the English army had been eliminated (run off, wounded or killed) and not wanting to offer a major victory the Sheriff left the field of battle without once engaging in battle. A minor victory is eliminating half the opposing forces, while a major victory is that and eliminating the opposition commander.

English forces quickly fled north to join the rest of the English army. The Sheriff is turning out to be quite the villain of the English army after he was overheard explaining to Prince Riddick his horse had lost a shoe at a critical point during the battle, and he was unable to join the fight. The Prince observed wryly that while he could not join the fight, he was able to join the flight, but he was just grateful to have his army consolidated again.

Campaign map after the battle

Sunday 26 March 2017

Hundred Years War - Game 6 of the 6x6 challenge

This weekend I was able to play out a another Hundred Years War (HYW) game as part of my 6x6 gaming challenge. The games are being played as part of a campaign where the English are trying to navigate their way back to their ships without bumping into too many elements of the French army who are naturally trying to stop them escaping.

Moving on with game 6 with Prince Riddick being attacked (black arrow) while in game 5 the French  retired (red arrow)
Game 6

The French force under the leadership of Baron Bechard had at his command the following units:

  • 2 x Men at Arms
  • 2 x Foot Sergeants
  • 2 x Crossbow

The French line up along the river
The English were able to field one more unit because they were with the baggage. Part of the campaign rules are that after every 3 games the number of foot sergeant and archer units a force can field (originally 5) are reduced by one to reflect attrition and desertion on the campaign. As this is the sixth game after this game only 3 of these units types can be fielded. The exception is for the units with the baggage which ignore this rule and can still field 5 units.

So the English field (with their baggage):
  • 1 x Mounted Men at Arms
  • 1 x Foot Men at Arms
  • 2 x Foot Sergeants
  • 3 x Archers


English forces and baggage represented by the tent
The English started by pushing units towards the stone bridge on their right and towards the ford in the centre. While at the same time moving up their main battle line.

English archers quickly move up to harass the centre French units by the ford
The English position themselves to attack the woods next to the stone bridge crossing
At the ford French foot sergeants charged forward forcing the English archers to retire quickly to the woods. Their advance was countered by some English foot sergeants. By the stone bridge things were going better for the English with a unit of foot sergeants charging into the woods in an attempt to flush out the crossbowmen within.

English archers retire quickly to the cover of woods
French crossbowmen are attacked in the woods by the stone bridge
Move French units crossed the ford to support the foot sergeants who had beat a quick retreat into some difficult terrain. While by the stone bridge a single unit of men at arms defended the bridge after the crossbowmen were successfully eliminated by the English foot sergeants.

The French move their forces across the river
A unit of man at arms prepares to defend the stone bridge
Seeing a slight opportunity with the English spread out. Baron Bechard leads his last reserve unit of men at arms across the river to support an attack on the English centre and woods. Taken by surprise a couple of English units are forced to give ground.

French foot sergeants push back the English left flank
In the centre the advancing Baron supported by good crossbow shooting put step English centre at risk
The English centre was able to neutralise the threat with volleys of arrows and positioning of their mounted men at arms. Seeing his brave gamble had not come off the Baron mad a hasty retreat before the English could charge and turn a minor victory into a major victory. This would have been done by eliminating the Baron and his unit.

The French retire to limit their losses

While this battle is the last of the 6x6 challenge the campaign will be played to a conclusion. So the campaign scene is setup for some campaign moves in readiness for game 7.

State of play as we left it at the end of game 6.
Movement post the game 6 saw Sir John catch up with his commander Prince Riddick. The last element of the English army under the command of the Sheriff of Lockdew will be having to fight another rear guard action, after Baron Chastain had mustered all his available troops and attacked.

Game 7 will have two depleted forces battling it out
The English really need a major victory or hope the French have few campaign moves to enable them to make a run for the ships. Too many more battles and they will not be able to field many units. The French can always field additional units when fighting in and around their towns and villages.

Saturday 25 March 2017

Future projects and current 19th Century Imagi-Nations project

During the week a couple of book purchases turned up. The first was "Wargaming Nineteenth Century Europe 1815-1878" by Neil Thomas. While I have the book already as an ebook I thought a hardcopy would be useful with my current Imagi-Nations 19th century project. The recruitment drive (painting) is progressing steadily with a couple more units painted up.


The second book "Wargame the Spanish Armada - 1588" by Peter Dennis is for my 6x6 game challenge using Galleys and Galleons rules by Ganesha Games. The book by Peter Dennis comes with pages of ships to photocopy and cut out. Something I have done before with his "Wargame 1066 Saxons-Viking-Normans" book from which I was able to quickly assemble some Saxon, Norman, and Viking forces. Both books come with their own rules which I have not yet used (but should do) as both use a square grid playing surface.

Anyway, this will be a mini-project as I only need a few ships to pay Galleys and Galleons, and it will provide a little break and diversion from just painting 19th century units.


Here are some photos of my most recent Imagi-Nations painting effort. This weekend hopefully will be spent getting back to playing a couple of games from my Hundred Years War campaign.

An infantry unit in column and two units of skirmishers
Infantry unit in line formation

Tuesday 21 March 2017

19th Century Image-Nations unit painting continues

A couple more units of my 19th Century Imagi-nations units completed. In this case a couple of cavalry units. Green-stuff was used on these Spencer-Smith ACW confederate cavalry to add feathers to their hats. This is an attempt to help disguise them and make them look a bit European(ish).

Cavalry in line and column 
A closer photo showing the simplicity of painting

Sunday 19 March 2017

Messing around with One-Hour Wargame WW2 rules

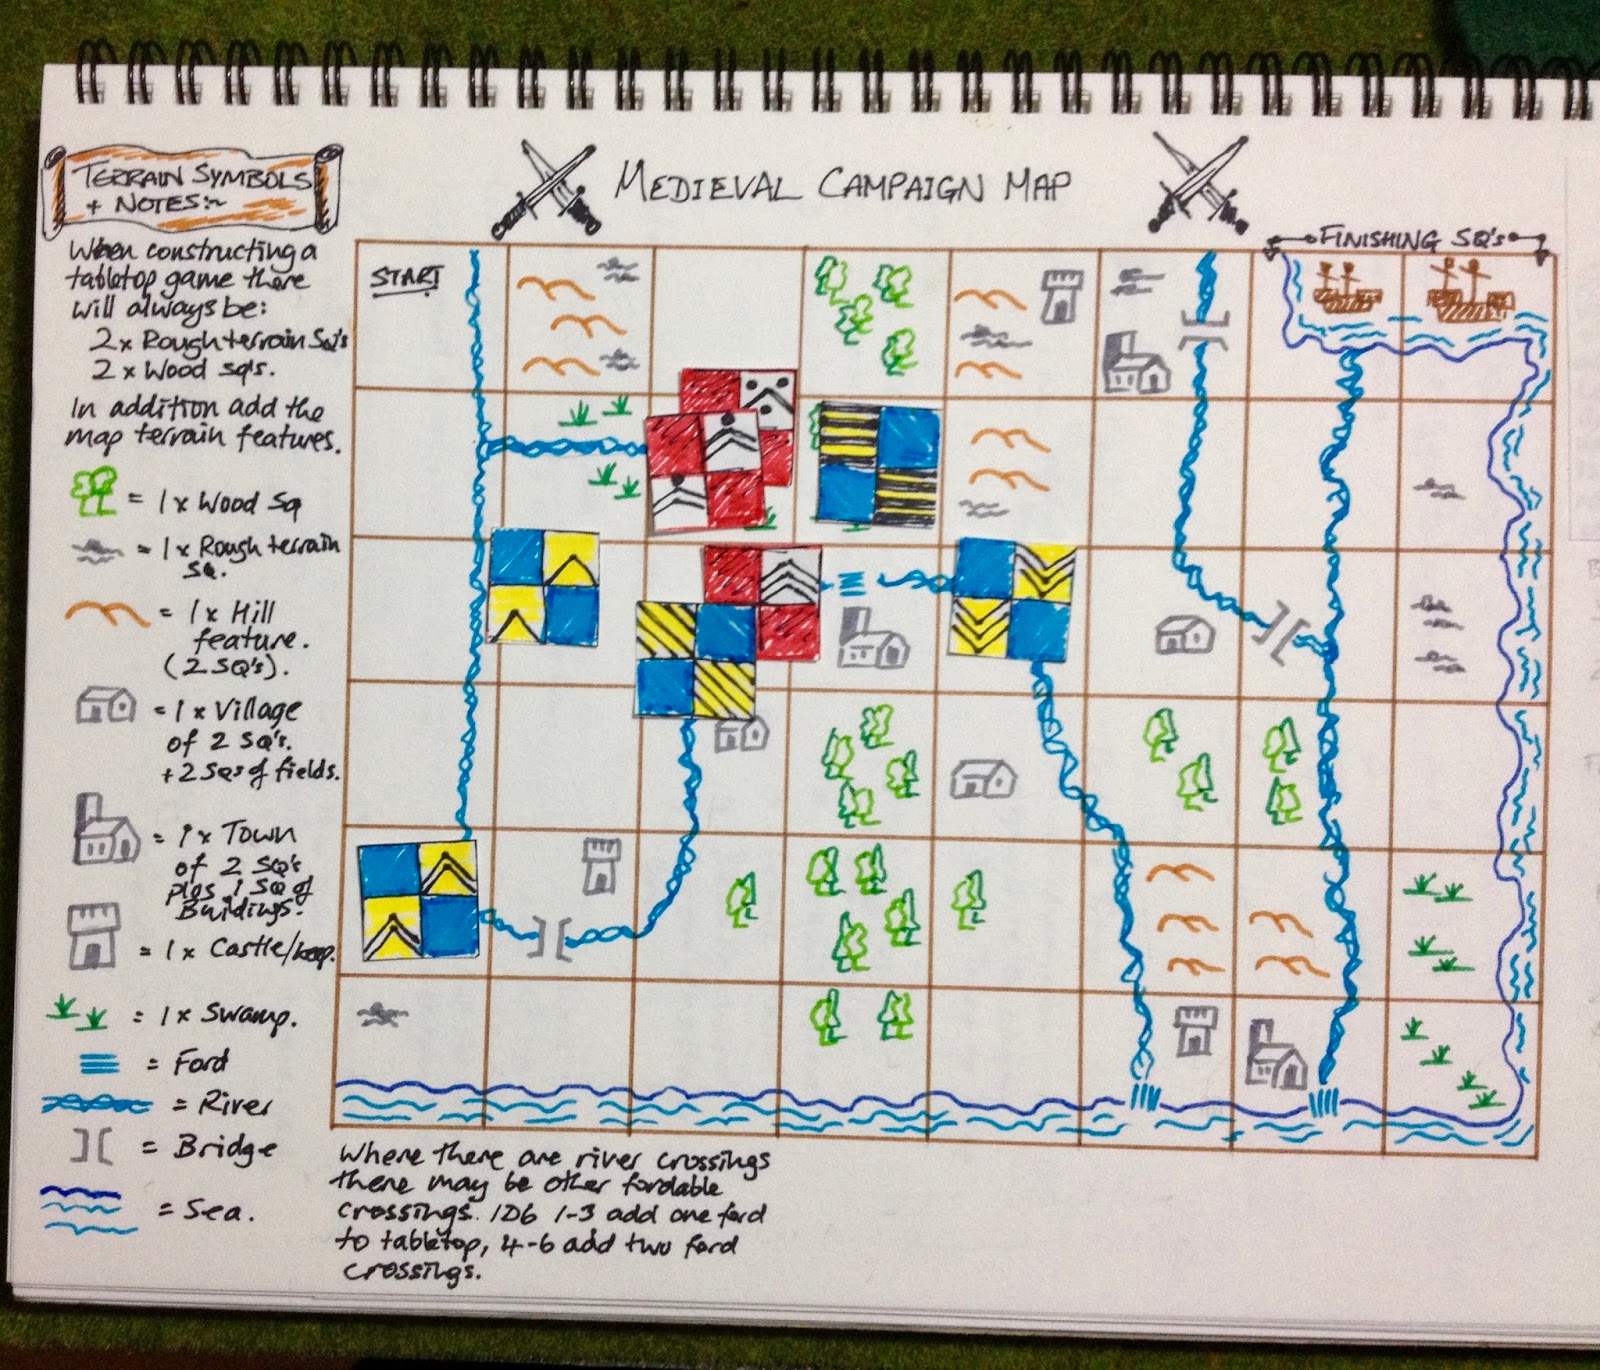
While I have been painting away on my 19th Century Image-nations units. I decided (while waiting for the paint, PVV glue or varnish to dry) to have a play around with One-Hour Wargame WW2 rules and try out one of two options.

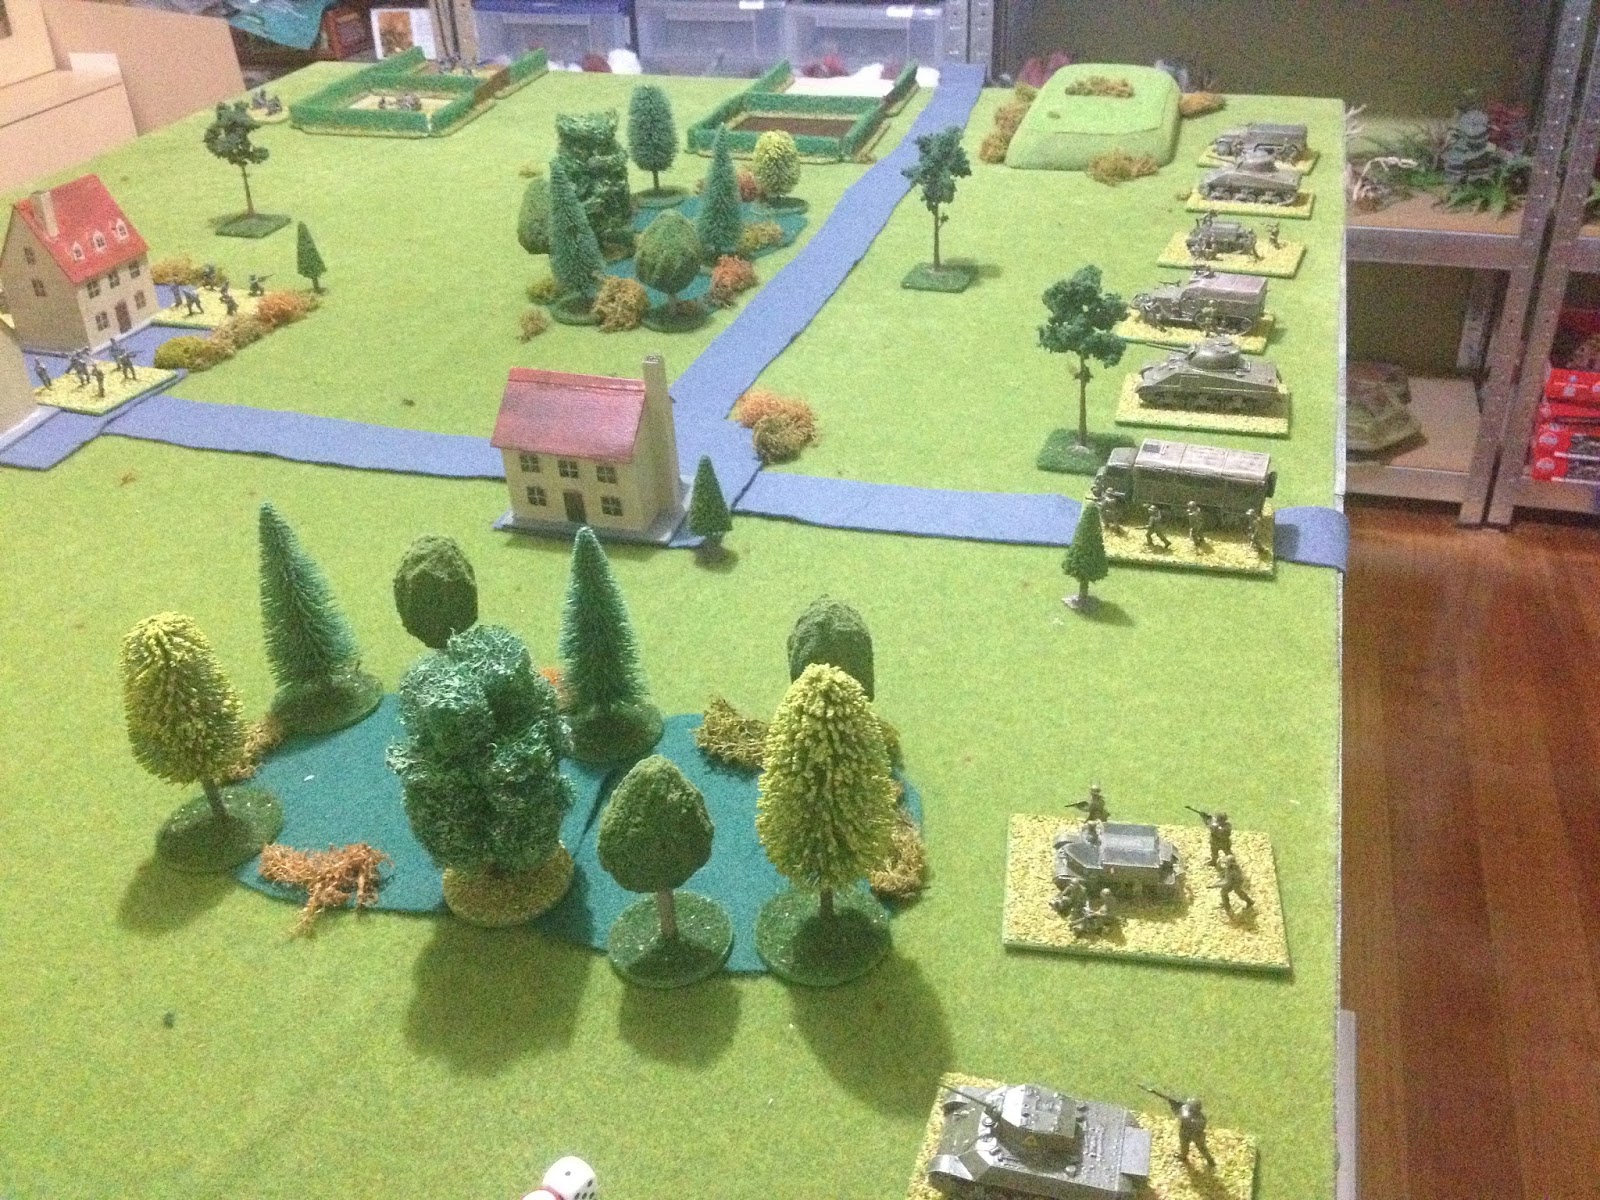
A grid-based game about to start to test out some rule options
I already use a OHW WW2 rule variation modified for a grid. Rather than build on those, I thought it best to go back the original rules as they provide such a good foundation to add to.

German defenders with orders to hold the buildings at all costs and let the reserves counter-attack (they can be seen lined up top right-hand of picture)
Rules options I was trying out were:

Tracking of hits
I find tracking 15 hits on a unit quite frustrating at times with having to move markers or up to 3 hit dice around with a unit. I don't mind moving 1 (or maybe 2 dice at a pinch) around with a unit. Mainly because they can fit the dice on to a stand. So I choose to try halving the to hit dice scores and also reducing the number of hits a unit can take to 6 after which it is eliminated (on the 7th hit). All to hit dice scores are rounded down:

1 = 0 hits
2 = 1 hit
3 = 1 hit
4 = 2 hits
5 = 2 hits
6 = 3 hits

This then has implications to halving again for cover as occurs within the OHW rules. Leading on to treatment of cover option...

Cover
In OHW the number of hits is normally halved. The alternative option is to double the number of hits a unit can take to 12. This does mean once a unit has taken hit number 7 when in cover it is committed to remaining in cover. For should it move out of its defensive cover it will be eliminated.

Defenders are able to endure more hits. The attackers are at their limit with 6. One more hit and they are eliminated.

I incorporated this mechanism into my American War of Independence OHW variation rules awhile back and found it works well, making units commit to a defensive role (especially with militia units). It does mean if you want to launch a counter-attack you need to hold units in reserve to do so.

Shooting (and multiple attacks)
Rather than having multiple attacks on a unit, only one combined attack can be made per turn on a unit. With combined attack the primary attacking unit (normally the one with the best modifier) rolls an additional dice for each supporting unit engaged in an attack. Then selects the highest dice score to apply the number of hits.

For example: an AT gun with two infantry units against a tank rolls 3 dice selects the highest score and adds +2 modifier.

An AT gun with two supporting units rolls 3 dice and selects 5 as the highest scoring roll. Adding the +2 modifier as the  target is a tank causes 3 hits (5+2=7 halved and rounded down). This will cause the tank unit to be eliminated as it is already on 4 hits and the 3 additional hit will take it past its allowance of 6 hits.
(This also allows the opportunity for units at half range (excluding artillery) to roll an addition dice or for flank attacks get an addition dice to roll. I have yet to try these.)

Overall the mechanism does favour the defenders over attackers, who will need a minimum of 2 to 3 attacks (depending on modifiers) to eliminate a defending unit assuming they are in the open.

Movement
To introduce an element of unpredictability to movement, roll one dice:

1 = unit does not move
2 to 5 = unit moves as normal
6 = unit moves as normal and is able to shoot

So far the options are working to provide an enjoyable and quick game. There are a couple more changes I want to try out over the next few weeks.

German reserves counter attack

Thursday 16 March 2017

Steady progress on 19th Century Imagi-Nations

Painting is progressing steadily on my 19th Century imagi-nations armies with a couple of artillery units completed during the week.

Being image-nation units I am can pick a colour scheme which helps with the ease of painting, along with a simple paint approach (which also seems to look best on them).

Next up for painting will be a couple of cavalry units.

Two artillery units
A couple of cavalry used to represent the limbers
Very simple painting looks best on these Spencer-Smith figures
Some added green-stuff added to the hats for feathers
My current reading (re-reading) is "War Games through the Ages - Vol.4 1861-1945". I purchased the book along time ago through an ad in one of the wargaming magazines in the late 1970's. Lo and behold the sale was from the author himself who had kindly signed it with the message "good wargaming". A treasured item in my library of wargaming books.


Monday 13 March 2017

19th Century Imagi-Nations Armies

Having worked out the base sizes I have started the painting in earnest with a goal of two units every week. The painting is very simplistic with no washes or dry brushing, so I am reasonable hopeful of being able to maintain this target. In fact I am quite enjoying the painting aspect because there are few fiddly bits to pain and I am not looking for painting perfection. Far from it as the aim is to paint them quickly and with a toy soldier feel to them.

The aim is to have the following for each of the imagi-nation armies:

  • 6 x Infantry units
  • 2 x Skirmish units
  • 2 x Dragoon units
  • 2 x Cavalry
  • 2 x Artillery

That will me 150 or so figures per army needs to be painted or 300 all up. Tally so far 45. I suspect I will increase these numbers once I have achieved my initial target, more in increase variety and use the figures than increase the number of units on the tabletop.

Units on 3x3 inch bases
These units are the most complex I will get paining with different coloured trousers to tunic.

Sunday 12 March 2017

Basing Spencer Smith figures

Having printed my second unit for my imagi-nations armies I have been playing around with how best to base units and the base sizes themselves. I am not yet decided as to whether I will use a grid for these armies or not.

The armies themselves will be a combination of ACW and Napoleonic Spencer Smith figures.

My memories of Spencer Smith figures are all in black and white from those early wargaming books borrowed from the library on multiple occasions.
My basing constraints are:

  • A unit must fit into a 6 inch square. (I have no desire to rebase if I choose later to use a grid.)
  • Must be big bases. (My recent basing has been one unit all on a big base as I don't like moving fiddly units.) 
  • I want to be able to show units to be in line or column without the need for a marker to indicate this.
  • A want as many figures as possible on a base. (Spencer Smith figures have similar poses and grouped together look wonderful.)
Infantry Column
Infantry Line

So after a few basing trials I have decided upon two bases for all units and two different base sizes.

  • 3x3 inches for infantry and cavalry.
  • 3x2 inches for skirmishers and artillery.

I was unsure on the artillery basing. Should it be one stand big based or two smaller bases. After a bit more playing about I went for the two smaller bases. All bases are made for good old 3mm MDF at a couple of dollars a sheet.

Infantry and cavalry use 3x3 inch bases and skirmisher and artillery units 2x3 inches. This photo shows artillery options - I went for the smaller base size.
Artillery on a smaller base size.
Artillery unit
Artillery unit limbered
Cavalry unit in line ready to charge onto the painting table!
I started this project with the idea of using my remaining ACW units which had not become brittle. Thanks to a swap of figures I have now some Spencer Smith Napoleonic figures. A lot more than expected which will add to the variety of units. The cavalry show in the above photos are lancers.