Thursday 31 May 2018

Telegraph poles for the tabletop

When I setup my terrain for WW2 games, and before any miniatures are placed, I find there is little to distinguish it from my Napoleonic games. So with that in mind I decided what I needed was some telegraph poles.

Telegraph poles ready to leave the painting table
The telegraph poles were quickly made using 4mm dowel and a matchstick cut in half for cross pieces. Holes were drilled in the MDF bases and cut dowel glued to the base. Painting was simple, dark brown with watered down grey quickly painted over to break up the brown.

Allied forces advance into a town.
In all 13 telegraph poles rolled off the painting table, sufficient to add a hint of 20th century to my tabletop.

Wednesday 30 May 2018

French Indian War - Game 13 battle report

Game 13 of the French Indian War campaign has a strong French force commanded by Drucour attacking Seneca warbands and their settlement. The attacking French force is almost double that of the Seneca who will be hard pressed to defend their settlement.

The opening moves saw the Seneca warbands swiftly moved up to meet the advancing French units, while taking cover in the trees.

Seneca warbands take cover in the trees 
The French units advance 
Both sides exchange shots. As the numbers of French units move up and their volleys start to take a toll on the warbands.
After losing two units the remaining warband unit retires to the settlement to regroup. In the initial engagement the French lost one militia unit and one unit of regulars was verging on the point of  exhaustion.

Seneca warband retires regroup and reorgnise
Having regrouped and reorganised the Seneca take the battle to the French again.
Under the direction of Commander Drucour the regulars make a flanking move to attack the settlement. While the militia are occupied with the warband in the woods.

French flanking moves
A single warband unit defends the settlement against the flanking forces. 
The loss of the settlement sees the Seneca exit the field of battle.
A victory to the French with both regiments in tact. The Seneca warbands while defeated were able to  retire without suffering heavy losses.

This was a small game with a likely French victory as an outcome. One of those type of games which campaigns throw up, but are just as enjoyable to play out. There is still one more game to be fought out on the tabletop from the latest campaign moves made and described on Jonathan's Palouse Wargaming Journal blog.

Tuesday 29 May 2018

French Indian War - Game 13 setup

The next battle in the French Indian War campaign has the French commander Drucour in June 1758 move against the Seneca and their settlement. The campaign map (see Jonathan's Palouse Wargaming Journal for the campaign moves) has a forested area for the game and I added a fordable river into the mix making an assumption the settlement would be near a river.

Terrain is setup on the tabletop
Before placing the Seneca settlement on the tabletop French forces had roll a dice to determine the side they would arrive and deploy their forces in the first two edge rows. Once done, the settlement was placed on the opposite table edge and the dice decided which side of the river the settlement was placed.

Drucour deploys his forces on either side of the river
Seneca Warband units deploy be the settlement 
An overview of the tabletop set and ready to begin the game
Order of battle - the numbers in brackets are the number of units used to represent the regiments and warbands.

French:

  • Commander Drucour (A0D1)
  • 1 Regiment (3) Regulars
  • 1 Regiment (3) Militia
Seneca:
  • 1 (4) warband. A factor of 4 rather than 3 was used to represent the Seneca warband, but the one unit must remain within 2 squares of the settlement.
Drucour has an A0D1 command quality in the campaign game. Because the French are attacking the A0 means no upgrades to the units involved.

Sunday 27 May 2018

A weekend of painting ECW and FIW scenery

Most of this weekend's wargaming time has been spent on painting and modelling. With the French Indian War campaign moves recently competed by Jonathan (see Palouse Wargaming Journal). I found one of the games will involve an attack on a Seneca settlement. So I needed some scenery quickly so I will be able to play out the games during the week (all being well).

A quick search on Google gave me the imaged upon which to base my Seneca camp settlement. The next question was how to model the camp, which leads into one of the difficulties of grid-based wargaming. Fitting the scenery into the square grid with the units. I remember a while back reading on Wargaming Miscellany about how to deal with this issue for built up areas. Not that a settlement camp is necessarily a built up area, but it does present the same problem of having a unit which a 3x4 inch base fit into a 6 inch square with some scenery.

So taking the same approach I have made a couple of semi-flat scenery items to represent the camp...


Here is how they fit into the square grid quite comfortably without making it a squeeze...


And here is how they are made...

3mm MDF is cut out and sanded. The rectangle is the base.
The bits are stuck together with one of the smaller triangles stuck to each side of the larger triangle to give teh impression of depth to the model.
Painters masking tape is then applied to smooth out the sharp edges. 
PVA glue is then applied.

...and painted...
Once the glue is dry the painting begins with the base coats.
Watered down paint is applied to give some depth and apply detail. Once this is dry the base coat is applied again with a hatched painting technique.
A coat of green on the base before applying flock.

Finally, another English Civil War Foot unit gets completed.


Wednesday 23 May 2018

A couple of book purchases

This week is turning out to be a week of deliveries. First the arrival of some gifted WW2 and SYW Spencer Smiths on Monday, then today a couple of second-hand books turned up which I had spotted a couple of week ago and had ordered.


Once upon a time I used to own a copy of "Military Modelling: A guide to Solo Wargaming", but somewhere with various moves it got lost. Quickly flicking through the chapters I had forgotten there was one on siege wargaming and how it was suited to solo gaming. This could prove very useful in some up coming siege games with house rules I am planning.

The "Wargaming World War Two" was an impulse buy, partly as it was hardback at a reasonable price. At first glance it provides summary background and data on equipment and organisation of armies.

Monday 21 May 2018

ECW units and a surprise package

Two more English Civil War units leave the painting table. I am now about a quarter of they way through the figures I have waiting to be painted.

A unit of Foot mostly of Hinchliffe figures, but some where along the way I picked up the odd Minifig figure which makes it way into the unit.
Dragoon unit
Over the weekend I played a couple of small SciFi games of Space Marines vs. Tyranids to try out some rule ideas.

A trial game in progress.
I was going to write up the rule mechanisms which did not get rejected over the weekend, but a surprise package arrived today (Monday) from Wargame Hermit: Solo Wargaming. This was amazingly generous gift containing WW1 and WW2 plastic figures from a range of manufacturers and a few more plastic Spencer Smith Seven Years War (SYW) figures.

Surprise package
The SYW figures will help add a few more units to my French Indian War forces. I have yet to work may way through the full contents, but a quick rummage through found some WW2 British and Germans to add to my WW2 forces. The remaining figures I plan to create a couple of hypothetical inter-war armies.


Thursday 17 May 2018

French Indian War - Game 12

Game 12 has French Commander Drucour defending Fort Oswego with one regiment of regulars, who are being treated as veterans due to Drucours defensive capabilities. He is facing Commander Amherst with one regiment of regulars and two militia regiments. Due to Amherst's attacking qualities the regulars are treated as veterans and the militia as regulars. (see previous post which discusses the commander capabilities)

The campaign date is May 1758 and the operational progress can be found here on Jonathan's Palouse Wargaming Journal.

While at 3:1 odds advantage is definitely with the British. Providing they are not careless or unlucky with the dice.

The British line advance quickly to be within range to avoid accumulating unnecessary hits from the fort artillery.
The British first line closes and engages the French units manning the fort walls
The British plan was quite simple. Advance quickly and use the Militia to wear down the French garrison, before the regulars assault the fort. As Militia units start to accumulate hits they are withdrawn to avoid unit losses and any reduction in the army resolve. (Army resolve is equal to the number of units plus one. On the loss of each unit a D3 dice is rolled and the score subtracted from the army resolve. Once an army's resolve is reduced to zero the game is lost for them.)

Militia units are withdrawn from the line as hits are accumulated. There is a risk to the British that they fail  a movement test and take another volley which eliminates the unit. Timing and luck are important. 
The Militia are doing their job and the fort walls are soon replenished with fresh units. The British  regulars are taking quite a pounding and are forced to push a unit forward to the walls, thus forcing the French to redirect their volleys against the closest enemy unit. 
Finally the French succumbed to the British assault and sue for terms of surrender, which are accepted.
This game was the first time incorporating the commanders capabilities into the tabletop game using a similar approach to the campaign game. Overall It seems to work well. Without being able to upgrade all his units British commander Amherst would have faced a greater challenge.

From a campaign perspective neither side had any units totally destroyed, but another British victory is only putting them in a stronger position.

Tuesday 15 May 2018

French Indian War - Preparation for campaign game 12

We are now into game 12 of the FIW campaign. The campaign background and lead up to this game can be found as usual here on Jonathan's Palouse Wargaming Journal.

The tabletop is setup for the next game - Battle of Fort Oswego
The campaign game has an order of battle of:

  • British commanded by Amherst (A3D1) with 1 Regular and 2 Militia regiments
  • French commanded by Drucour (A0D1) with 1 Regular regiment. They also get an artillery piece within Fort Oswego.

In this game I am able to field on the tabletop 3 units for each regiment. Both forces have commanders with (A) attack and (D) defence capabilities. I originally at the start of teh campaign games had the defence capability adding to the army resolve and the attack capability reflected as additional attacks by units adjacent to a commander. During the games I have a tendency to forget about the attacks, so in the last game I just added all the capability scores into the army resolve. Not a satisfactory approach.

After some discussion with Jonathan on how the board game Montcalm and Wolfe treats commander capabilities. I plan to take a similar approach with this tabletop game. What this means is French commander Drucour (with D1) who is defending can increase the capability of one regiment's units. For the game this means a regiment can take additional hits before being eliminated. Whereas, British commander Amherst as the attacker with A3 can increase the capability of 3 regiment's units.

A quick sketch of the tabletop and OB
The French have opted to remain in the confines of Fort Oswego and wait for the British to attack. This way they can take full advantage of being in cover and improved shooting which fortification rules provide.

French prepare Fort Oswego for attack
British forces arrive.
With no French forces outside the fort the British plan is quite simple. Advance and assault the fort as quickly as possible.

Sunday 13 May 2018

ECW painting project and Napoleonic games

A mixed bag of a post this week. On the painting side I was able to complete an English Civil War foot unit to add to the mounted unit from the previous week. This brings the ECW project painted total to 4 foot and 3 mounted units.

Mounted unit from last weekend
Foot unit completed this weekend
During the week I was able to get in a couple of Napoleonic games and continue trying out and clarifying the reserve rules. The reserve rule allows reserve units at the end of their turn the ability to reduce all hits from one infantry, grenadier or skirmish unit within 6 inches and forward of them. This is only allowed once per game for each reserve unit. I use standards attached to a unit to indicate which units have reserves. Removing the standard once reserves are used and the attached unit is then treated as a normal unit.

Reserves indicated by the standard are well positioned to be fed into the line. 
Alternatively, rather than feeding reserves into the line, they can instead be used by the attached unit itself to strengthen an assault using the unit. A useful approach when the attached unit is a veteran or guard unit.

If the unit with attached reserves is destroyed before the reserves are used, then they are lost.

If the unit is engaged in combat, then the reserves cannot be used, other than on the attached unit itself.

No game reports this week, just a few photos of the current game in progress. Once completed I will be able to setup for the tabletop ready for the next French Indian War campaign game.

Early stages of a game with some forces still to arrive
Reserves positioned to support units
French infantry advance supported by artillery
A game in full swing. Reserves have been used by the advancing French, while Austrian  forces hand on to their reserves.

Tuesday 8 May 2018

Napoleonic wargame trying out reserve rules

This last weekend I was able to find sometime to have a Napoleonic game. The aim of the game was to test out some changes to the reserve rules.

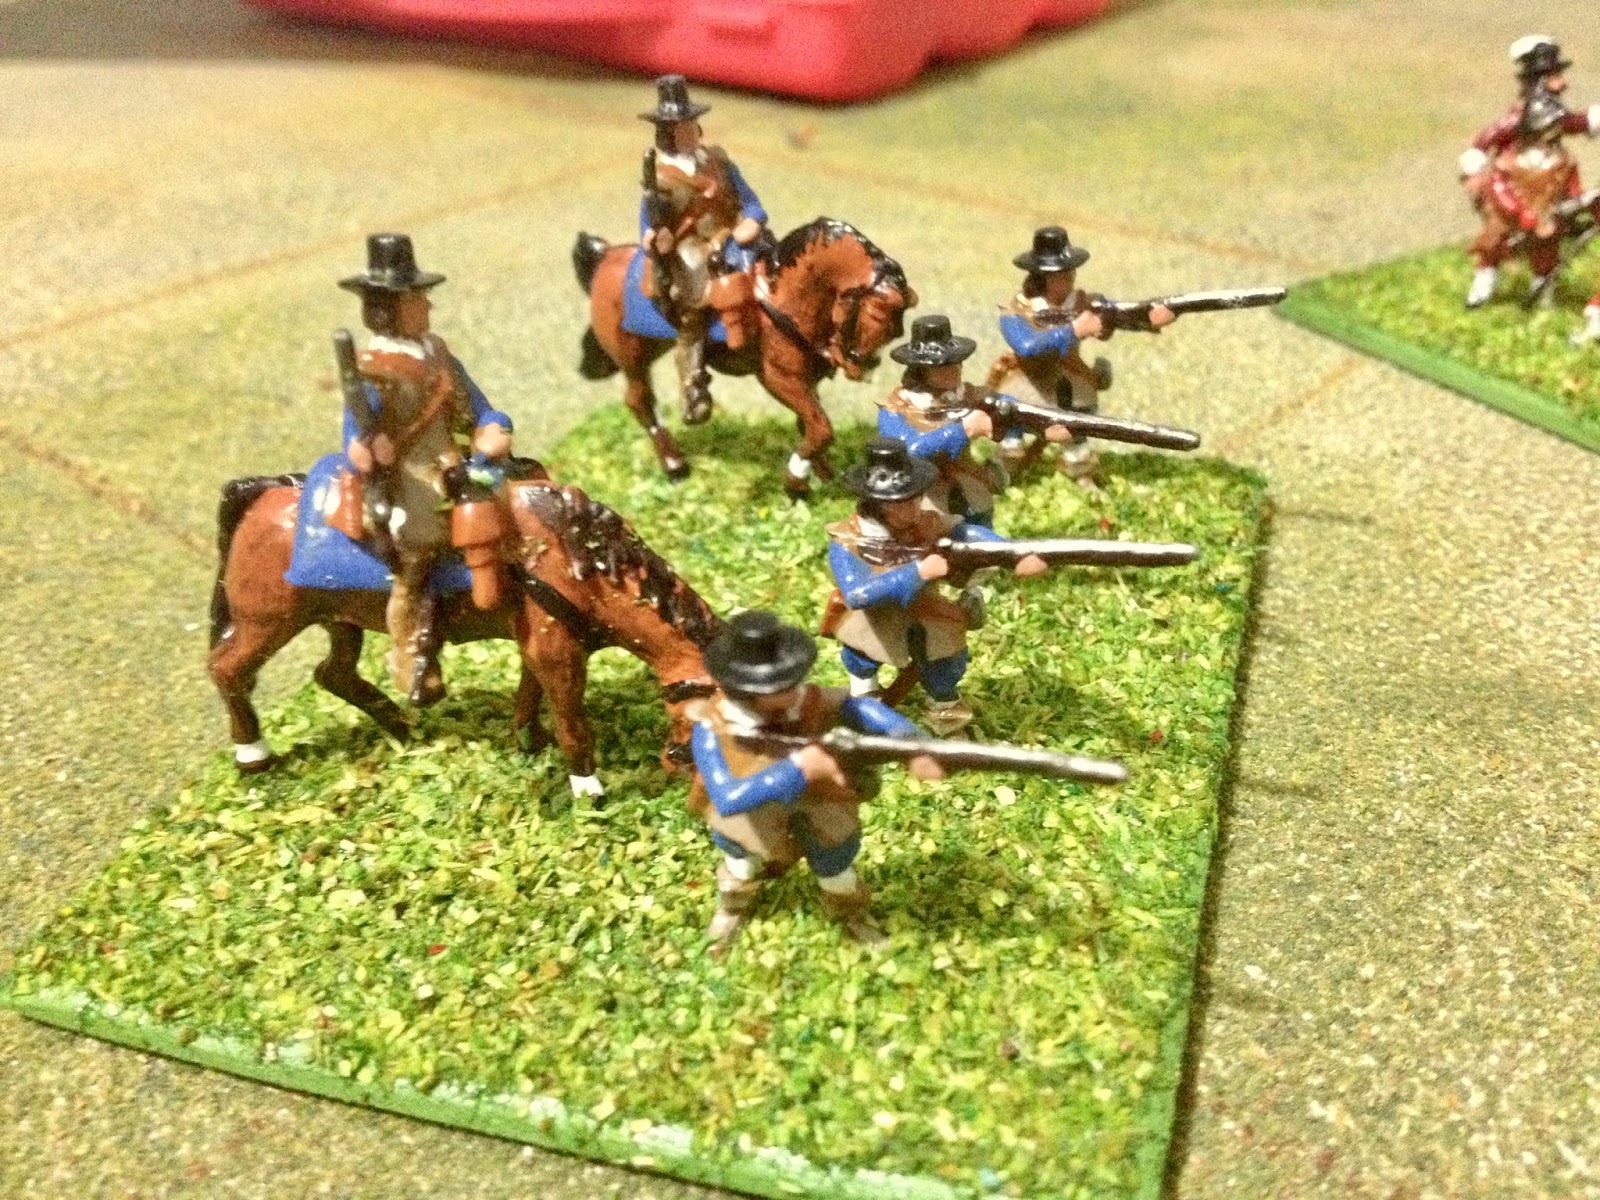
Spencer Smith hit the tabletop again. This time its Napoleonic.
To get some inspiration for the game setup. I searched the command and colours napoleonic website for game maps and came up with a game based upon the battle of Schleiz - 9 October 1806. The tabletop and troop deployments were then setup.

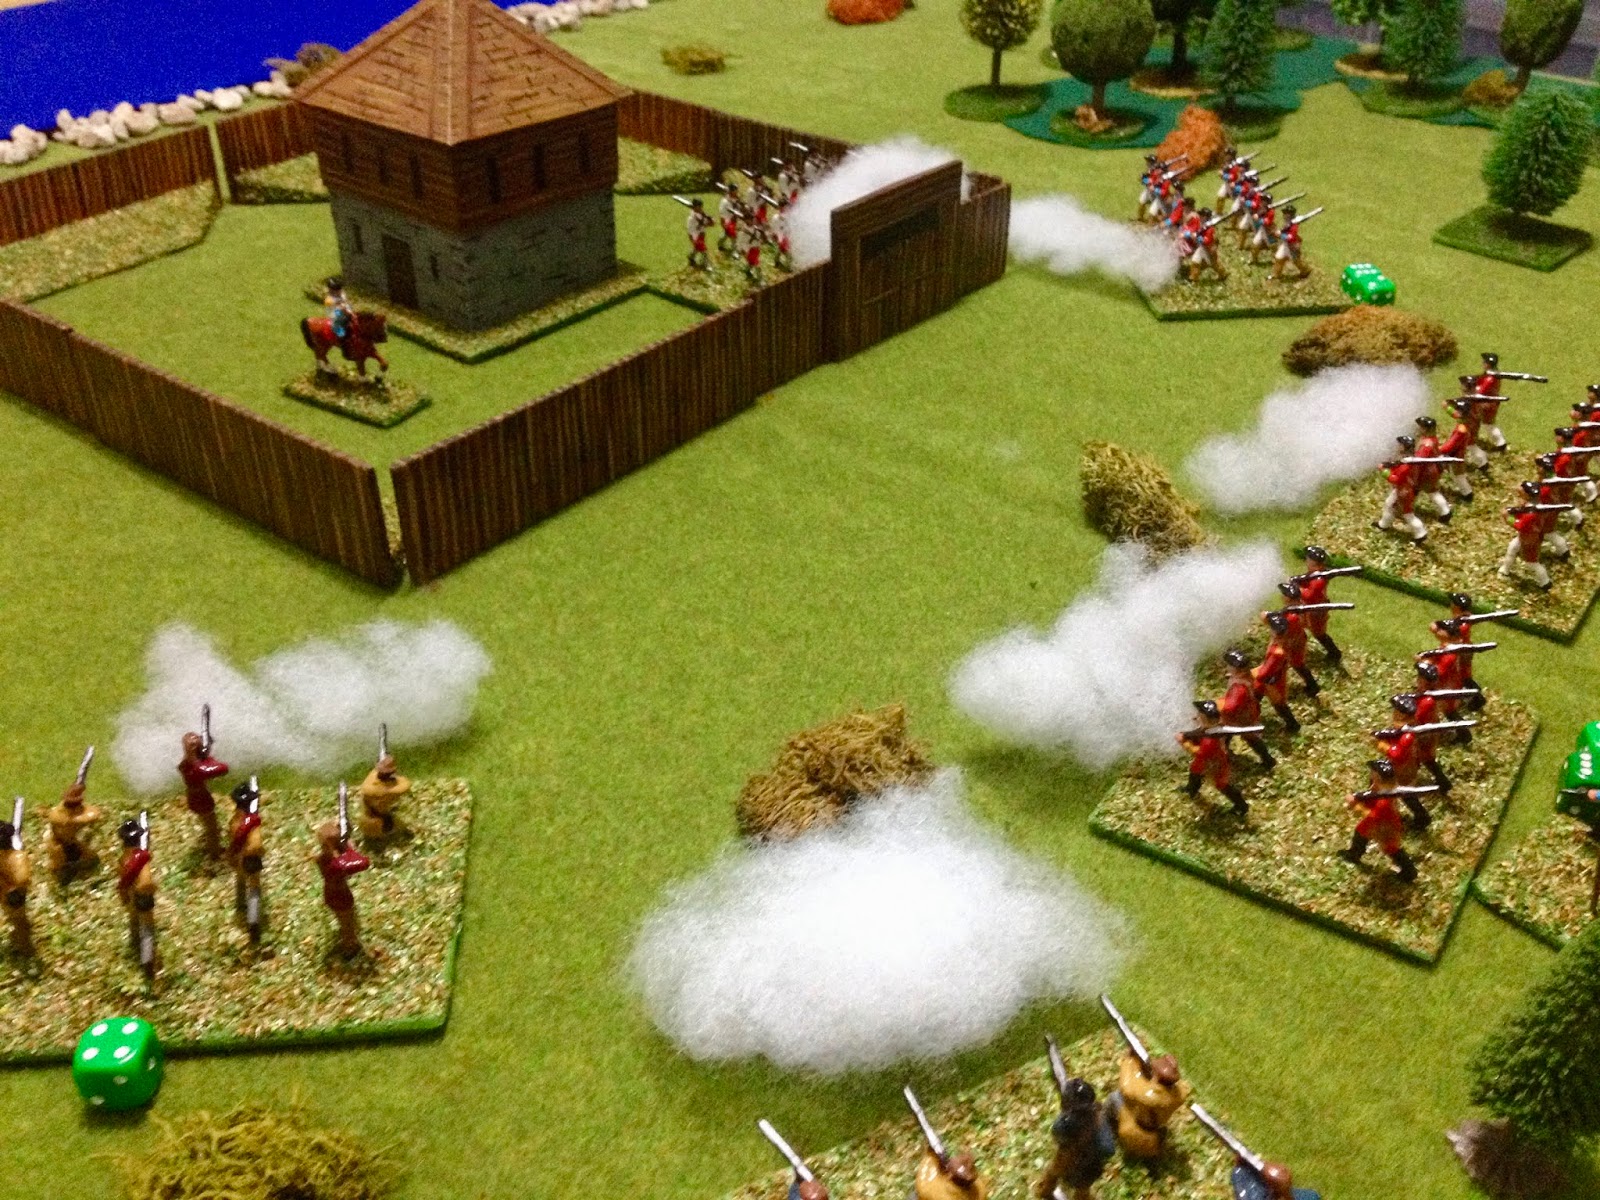
French move up with reserves represented by the standard (more about that later in the post).
The French centre with reserves (again marked with a standard).
The rules I use are very much in the one-hour wargame style and use D3 dice (D3-1, D3, D3+1) with units eliminated after accumulating more than 6 hits.

In the rules reserves are represented by a standard which is attached to a unit. Up to 3 reserves are allowed in a game which can be anywhere, but typically are positioned on either flank and in the centre.

Reserves well positioned to support. The removal of the 5 hits seems most likely.
My initial reserve rule was at the end of a player's turn each reserve was allow to reduce 1 hit from any infantry or skirmish unit within 6 inches forward of a unit representing the reserves. All this approach seemed to do was to slow down the attrition rate on units and also slow the game.

Reserves can be seen in support of a French attack
My second attempt at a reserve rule allows players at the end of their turn to reduce all hits from one infantry, grenadier or skirmish unit within 6 inches forward of the unit representing the reserves. This is only allowed once for a reserve unit and the standard removed to indicate reserves are used. The unit with the attached standard still remains in place as a normal unit.

The reason I quite like this approach is it means the timing of reserves is important. Feed them in too early and you don’t get the benefit. For example, sending in the reserves to relieve a unit with 5 hits is much more beneficial than one with just 3 hits. However, leave it too late and the unit may be eliminated.

Alternatively you can throw in the unit with attached reserves (standard) as a shock force to break an enemy line. Commit the Guard! Using reserves on the attached unit itself as and when hits mount. Quite effective when used with a guard unit.

Rather than these rules I suppose I could deploy another unit on the tabletop and have another unit held in reserve. However, this approach does force me to use and deploy reserves.

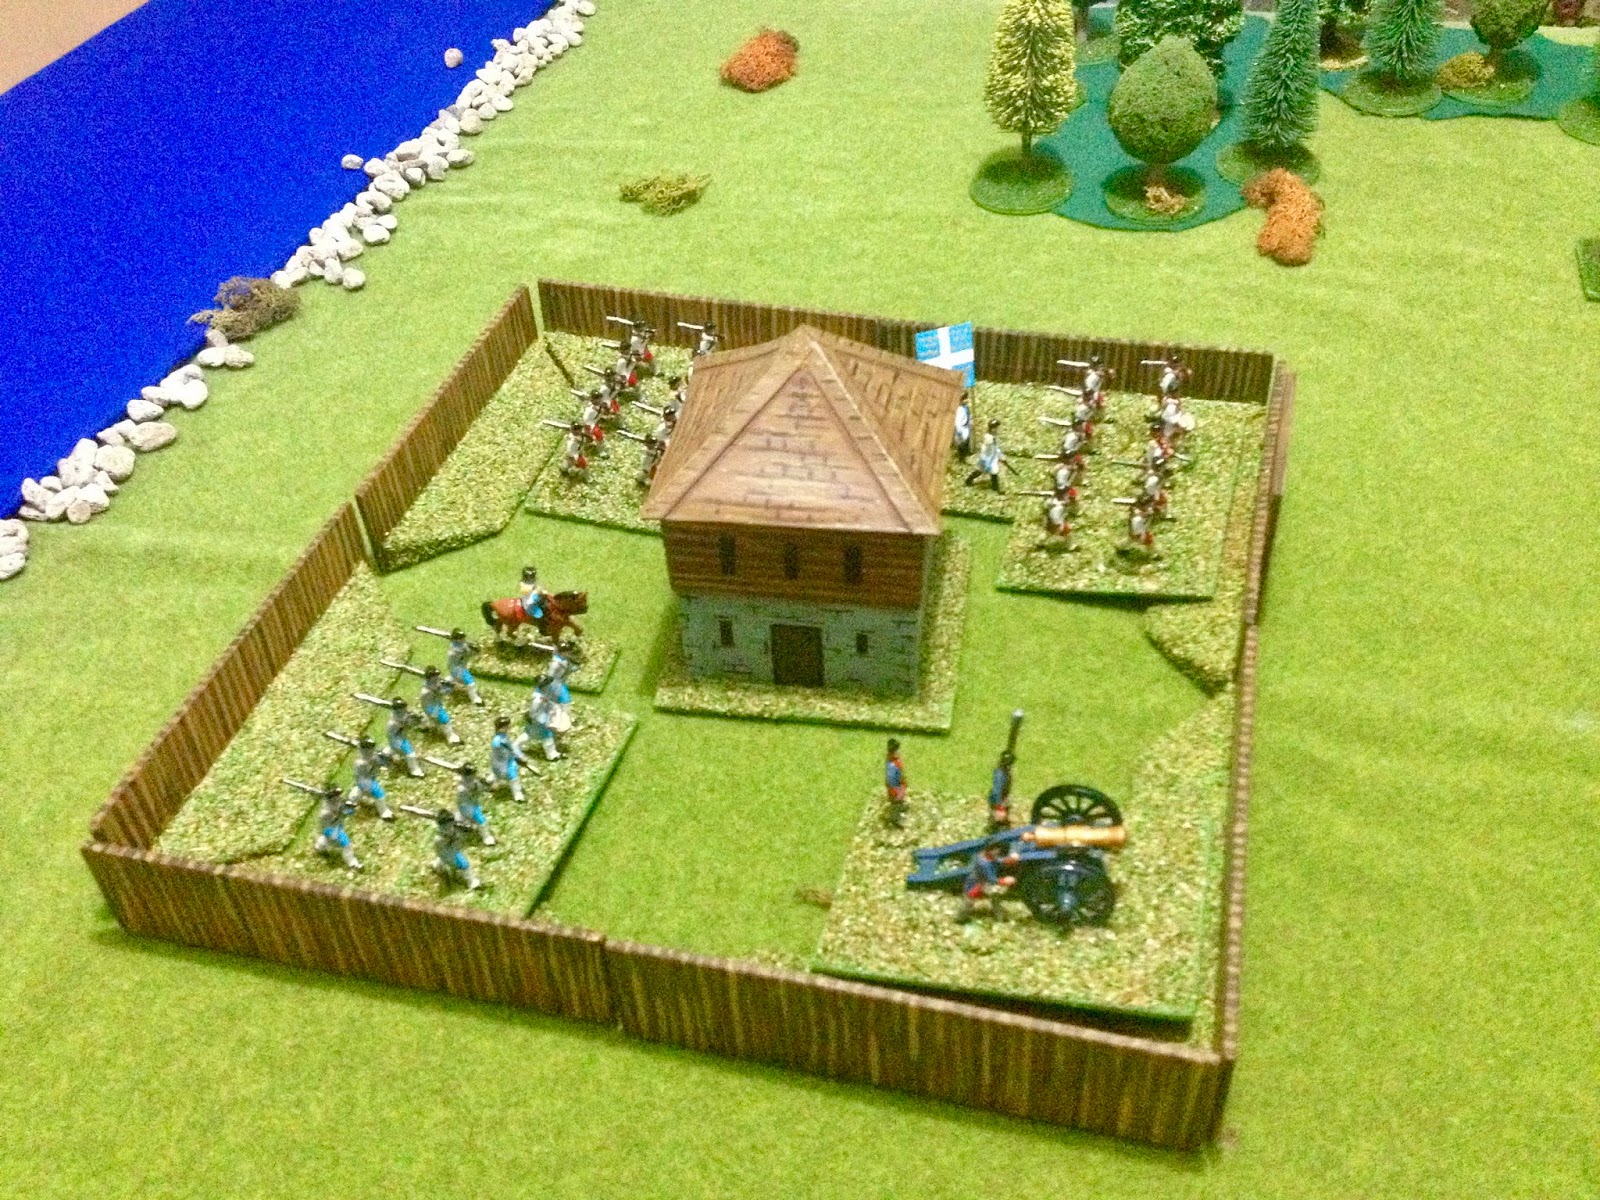
A final photo of some artillery units