Wednesday 28 February 2018

French Indian War Campaign Relay - Game 2 Report

Game 2 of the French Indian War campaign has a defending British force mainly made up of militia commanded Johnson defending Fort Willian-Henry which is situated next to Lake George. An attacking French force of regular infantry commanded by Rigaud approaches.

This game is part of a campaign relay and collaboration with Jonathan of Palouse Wargaming Journal who runs the campaign and came up with the concept. The game setup is described in my previous post.

British Orders of Battle
Commander: Johnson, (A0D1)
6 Militia Units (representing 2 Militia Regiments from the campaign)
3 Ranger Units (representing 1 Ranger regiment from the campaign)
1 Artillery piece which must remain within the fort.
Army Resolve = 10 (9 units plus 1 for Johnson's defensive quality of D1)

French Orders of Battle
Commander: Rigaud (A0D1)
6 Regular Units (representing 2 Regular Regiments from the campaign)
Army Resolve = 10 (9 units plus 1 for Johnson's defensive quality of D1)

On to the game report...

Start of the game
Turn 1 - The main body of French start to move forward towards the fort and militia. Trying to stay clear of the Ranger units deployed in the hills.
Turn 1 - Ranger unit starts to move in to harass the advancing French.
Turn 3 - Being out of musket range the Ranger units move out into the open to get into range.
Turn 4 - As the advance progresses musket fire is exchanged and the French looking rather hemmed in against the river. The British commander seems to have taken the initiative in the battle.
Turn 5 - The experienced French units musket fire began to tell on the militia units outside the fort and they began to retire.
Turn 6 - The Rangers were proving to be remarkably annoying and were drawing the attention of  French units away from the fort. As a consequence French lines were becoming fragmented.
Turn 7 - The militia shooting had been effective early on, but they began to falter and were eliminated as the musket fire intensified.
Turn 8 - Ranger units in the open were starting to suffer from controlled volleys of musket fire from French Regulars. However, they had done an effective job of disruption and slowing the French advance. The French commander was having to carefully positioning himself so all adjacent units would benefit from an increase in their unit resolve. This meant holding up the advance.
Turn 9 - Finally the assault on Fort William-Henry itself begins. The French Grenadiers were left behind to mop up or see off any remaining Ranger units.
Turn 10 - Shaken militia retire behind the fort to avoid being eliminated and further impacting the British army resolve.
Turn 11 - The last of British Ranger units are eliminated or forced to retire.
Turn 12 - French attacks on the fort are now in full swing and soon to be assisted by their Grenadiers who are rushing up in support after eliminating the Ranger threat.
Turn 13 - Some of the French units worn down by hits while advancing upon the fort are eliminated. At this point French army resolve had almost been reduced by half, but their opponent's army resolve was soon to be teetering on the edge.
Turn 14, 15, 16 and 17 - With the support of the late arriving grenadiers the fort is stormed and with the loss of those defending units British army resolve fails and Fort William-Henry surrenders.

So a French victory with a smaller experienced force overcoming the larger British militia force who surrender the fort. All regiments involved in the battle were depleted, but not destroyed from a campaign point of view.

Tuesday 27 February 2018

Montcalm-Wolfe Campaign Relay - Game 2 Setup

The second Montcalm-Wolfe campaign relay game (Battle of Fort William-Henry) is going to be a similar set up to the first game. Except the forces involved are quite different with a better experienced French force attacking a larger inexperienced British force mainly made up of militia.

For campaign background and how the campaign relay works see Jonathan's blog - Palouse Wargaming Journal.

A quick google search found the map below which helped me decide the the tabletop would have a few woods.


As with the previous game each campaign regiment was represented by of my 3 units on the tabletop. The fort also comes with one unit of artillery which must be deployed within the fort.

Not all British troops defending the Fort William-Henry could be accommodated within its confines. Some are in defensive positions outside the fort on its left flank. Ranger units are positioned in the hills, which are treated as difficult terrain, from which they will harass the advancing French should they stray too close.

From a rules perspective Militia units will be treated in many ways as irregular units, except they cannot double their resolve when in cover like irregulars. So they are quite fragile unless in fortifications when they can double their resolve.

Fort William-Henry defended by militia units
Ranger units waiting in the hills
The French force of two regular regiments are deployed in two lines each of three units. The French have been allowed to select one unit of grenadiers as part of their six units.


The French plan of attack is to first eliminate the threat of the militia outside the fort, before attacking the fort corner housing the artillery. By removing militia their hope is to quickly wear down the British army resolve.

The French while being experienced regulars will have to be careful to minimise their losses with only 7 army resolve points, which if exceeded will result in their forced withdrawal from the battlefield.

The army resolve rules have a D3 dice rolled for every unit lost (doubled for grenadiers). The scores are recorded and once the total exceeds the army resolve the game effectively ends.

French plan of attack and order of battle (OB). The campaign units are in brackets. 

Ok so the game is setup and ready to play...


Sunday 25 February 2018

Montcalm-Wolfe Campaign - Game Report

This game report is game 1 in the Montcalm-Wolfe campaign relay. For a quick reminder on how this campaign relay works and the background can be found here Palouse Wargaming Journal.

Fort Oswego and garrison ready for battle.
The British battle plan was to use Cayuga native war bands to move forward and contain the French irregular units in the woods. While the main force of regular units push on quickly with a breakaway group to remove the French irregulars on their left flank positioned in difficult terrain.

Once reaching the fort the units were instructed to attack the corner and artillery piece.

Battle plan
A quick reminder on the units involved:
  • British - 6 regular units and 3 Cayuga native Indian units.
  • French - 3 regular units and 3 irregular units.
A quick dice roll gave the first move to the British.

Cayuga war bands quickly engage French irregular units in the woods. While the main force advances.
On the other flank an irregular unit harass advancing British units
The view from Fort Oswego
British regular units push forward while Cayuga war band units continue to contain French irregulars in woods.
The Cayuga start to suffer casualties.
Fighting on the far flank has held up and disrupted the main British advance.
French irregulars are finally eliminated, but the British line is fragmented and units not adjacent to their commander will  have a lower unit resolve.
The assault on Fort Oswego begins with the British targeting the corner.
The British commander managed to reorganise his second line and move up to support attacking units
The Fort wall is breached with a British unit scaling the walls after eliminating the artillery unit.
Cayuga units retire to avoid being eliminated and reducing the army resolve further which was looking rather perilous.
French attempt to repulse British regulars from the fort using their commander's sustained attack options
French irregulars having seen off the war bands begin to attack British flank. At this point the game was finely balanced.
The British are forced out from the fort, but the defenders are almost exhausted
British scaled the defences for a second time and the French surrender the fort.

This was a close and edge of your seat game played over 14 turns. The British plan did come off in the end, but not without a few challenges along the way.

The Cayuga war bands did their job containing the irregular French units in the woods. It was only in the last couple of moves, after the Cayuga unit retired to avoid elimination, did the irregulars harass the main British force.

The main British force had a few problems with the irregular unit on the other flank. This one unit caused heavy casualties to one regular unit and disrupted the British advance placing the front rank units at risk as they detached from their commander. They would not get the additional unit resolve and could have been eliminated by shooting from the fort.

The Assault and scaling the walls on the fort corner with the artillery piece was eventually successful.  The French commander Contrecoeur used his 2 sustained attacks to drive the attackers out. The sustained attack rule was a late addition to the rules (see previous blog) and allows a commander to double the hits for an adjacent regular unit.

In last few turns the army resolve for both sides was exhausted and another unit elimination would result in an army retirement or surrender. The British had suffered high rolls for a number of their unit losses and their army resolve had been quickly whittled away.

In the end it turned out to be a British victory. The casualties are:

  • British - 2 regular regiments both depleted with casualties and the Cayuga war band also depleted.
  • French - Irregular regiments depleted and the regular regiment eliminated during the taking of the fort.
For this game each regiment or war band was represented by three units on the tabletop.

The two British regular regiments represented on the tabletop - all old plastic Spencer-Smith figures.


So the campaign relay it is now back with Jonathan at Palouse Wargaming Journal.

Saturday 24 February 2018

French Indian War Campaign Relay - Game 1 Setup

As this is the first tabletop game of the Montcalm and Wolfe campaign relay. This post is just about game setup and a battle report will follow in a day or two. This is because the setup has been really interesting for me as I take the first campaign orders with their battle description and order of battle (OB) from Jonathan's blog - Palouse Wargaming Journal. (This is where you can read about the campaign background and Jonathan's concept of a "campaign relay").

Oswego fort on the shores of Lake Ontario
Having read the battle situation and OB my initial questions were:

  1. How big to make the fort?
  2. Should artillery come with the fort?
  3. How best to reflect the commander quality from the campaign game on to the tabletop?
  4. Is open terrain all open?
  5. By what factor do I scale up units for an enjoyable game?
  6. How will I setup tabletop terrain?

The scaling up of units was quite simple to answer. By a factor of 3, I don't have enough units for a factor or 4. So here is the order of battle with the original campaign units in brackets:

  • British - 3(1) Caynga war bands and 6(2) regular infantry. These come with a commander and trusted officer. Army resolve = 9.
  • French - 3(1) regular infantry and 3(1) irregular infantry. These also came with a commander and trusted officer (which are part of my FIW house rules). Army resolve = 8.

Initial jottings for the game
The quality of commander had me scratching my head for a while. Actually, I did not come up with an approach until the following today having slept on it. The commanders come with attack rating and defence rating, which both can range from 0-4. I opted to use a commanders defence rating to add to the army resolve score so they are less likely to retire or surrender as they take unit losses.

The attack quality was the one which had me stumped. In the end it required a new rule mechanism to be added to my FIW house rules. For each attack quality a commander can make a regular unit make a sustained attack which doubles the hits. The unit must be within command range (in an adjacent square to a commanders unit) and this sustained attack action use is limited to the value of a commanders attack quality.

So in this game the British commander Shirley with A0D1 adds 1 to the army resolve and cannot perform and cannot make any sustained attacks during the game. While the French commander Contrecoeur with A2D2 adds 2 to army resolve and can make 2 sustained attacks during the game.

The game is being played on a 6x4 foot tabletop. The top foot is covered by Lake Ontario. So actual playing area is 4x5 foot played longways. I have put lichen and individual trees on the square corners to make the grid more visible.
Terrain needs were well described in the battle situation and I opted to add a couple of areas of difficult terrain which improve irregular infantry resolve and make regular unit's movement a tad more problematic.

Fort size and how many units may occupy it was another question. A quick search in google showed Fort Oswego to be quite substantial. This answered my questions and I opted for a large fort covering 4 tabletop squares and 1 artillery piece. This lined up nicely with the available French forces, allowing all 3 regular units to be placed within the fort and have irregular units outside the fort harassing the British.

The fort with gun.
With the question sorted out and tabletop setup this is looking like a nicely balanced game.


Friday 23 February 2018

French Indian War campaign preparation - The rules being used

I now have information on the first battle from Jonathan's Palouse Wargaming Journal so I can start the campaign games. Before I post the setup for the game I thought it may be useful to post the rules. So here they are rather hastily written up.

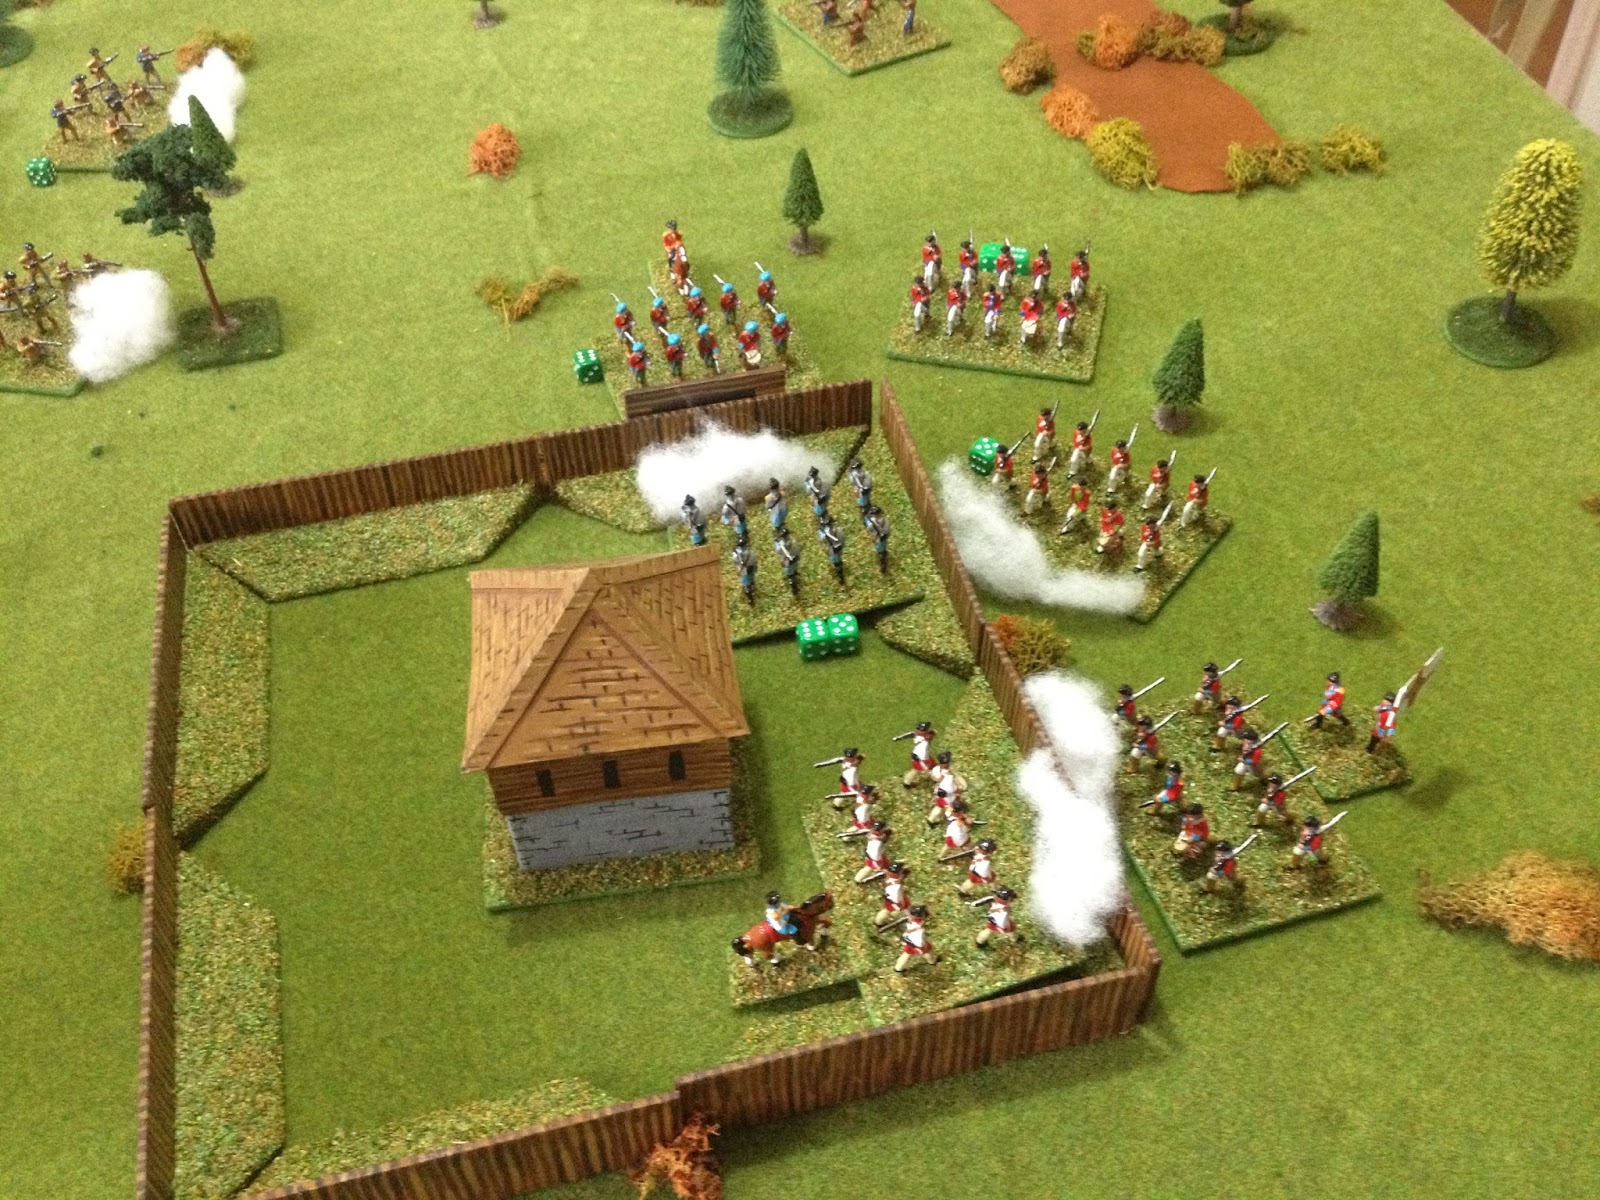
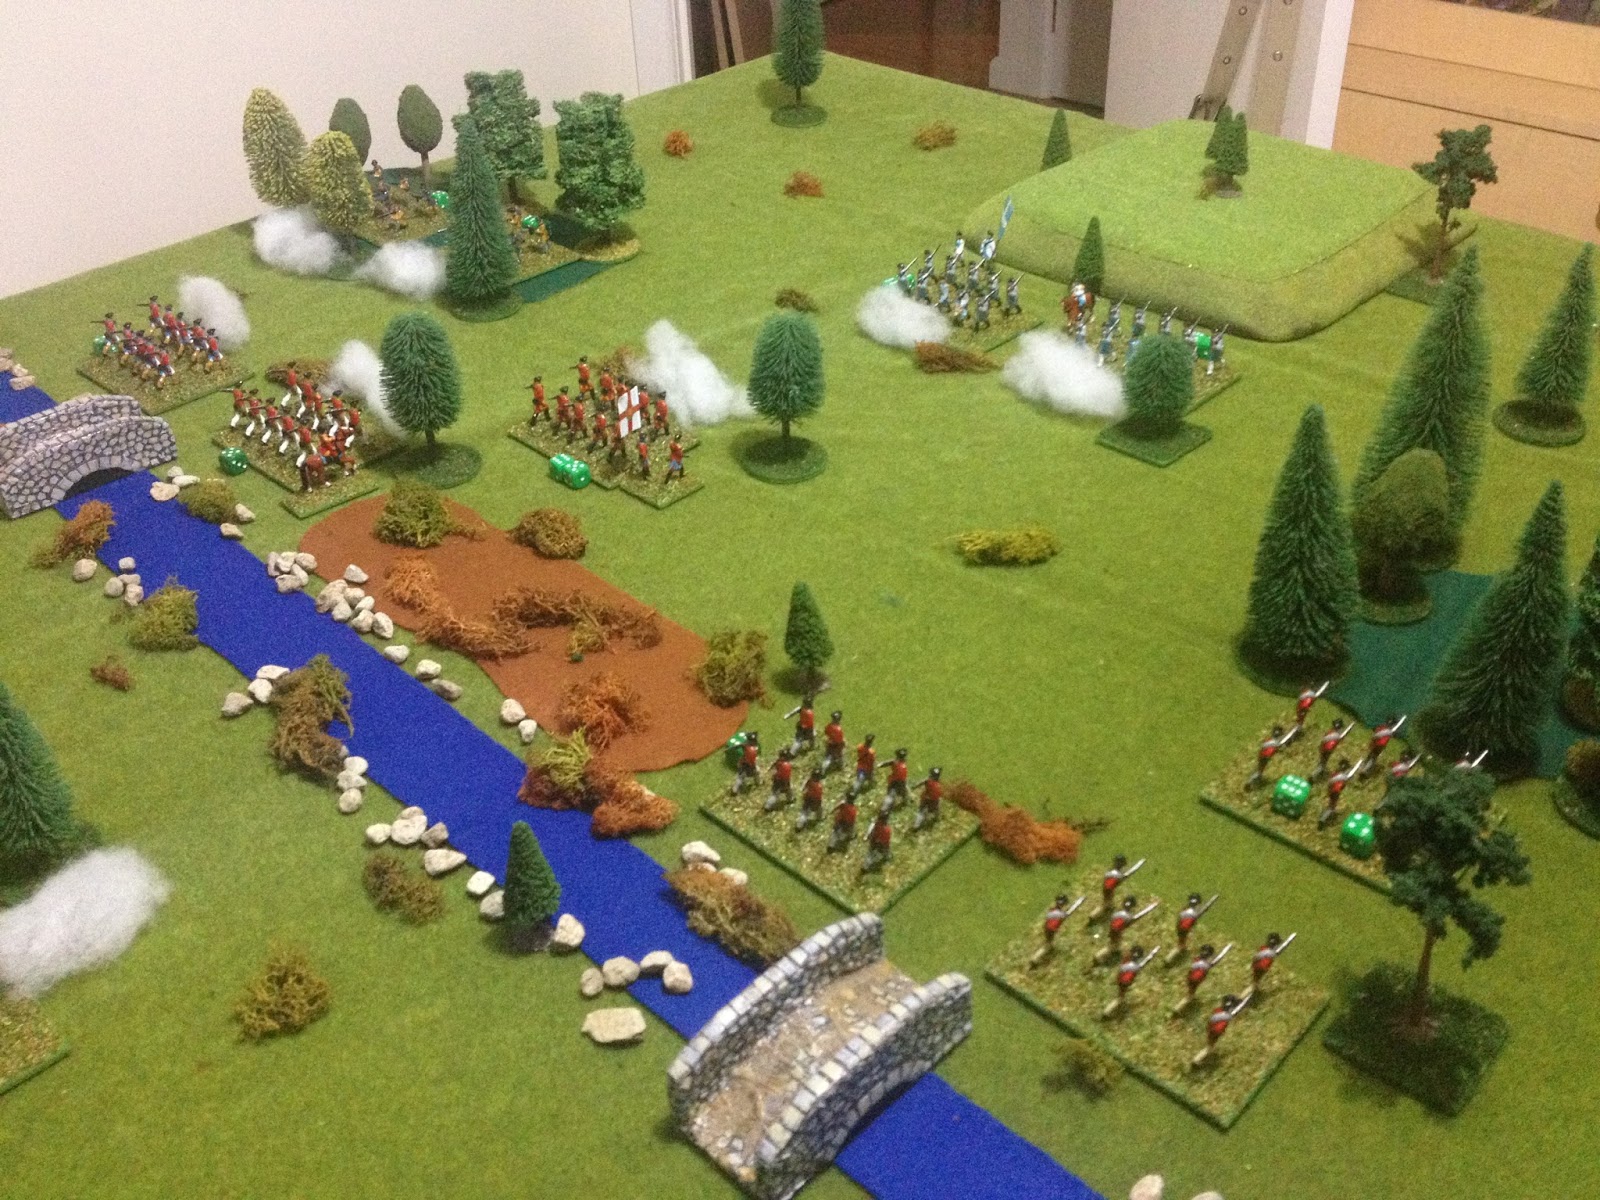
And as I cannot put up a post without a photo - here is the game setup ready to be played over the weekend.
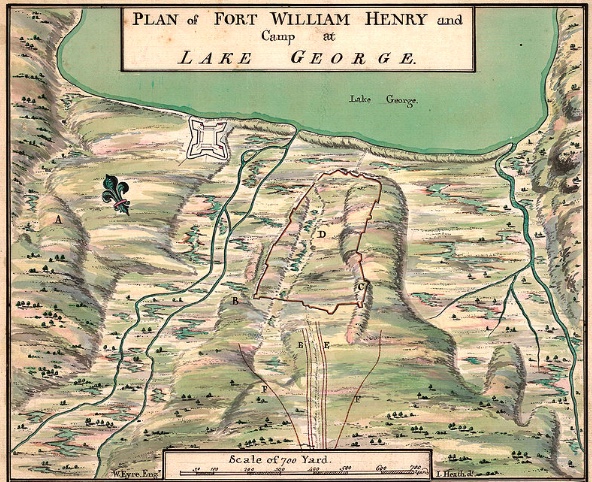
Fort Oswego

French Indian War Rules - OHW Variant

Introduction

These rules are a variant of One Hour Wargames Horse and Musket rules. There are a number of additional rules include:

  • The need to dice to move a unit
  • Cover increases a units resolve by allowing them to accrue more hits while in cover, rather than reducing the hits taken.
  • Army resolve used to determine when a commander decides to retire from a battle
The game is played using a 6 inch square grid to regulate movement and ranged shooting. The facing of a unit is free form and not dictated by the square. In the rules the term "bound" is used for movement and shooting where one bound is a square.

The game uses both D6 and D3 dice (where D3 is 1,1,2,2,3,3)
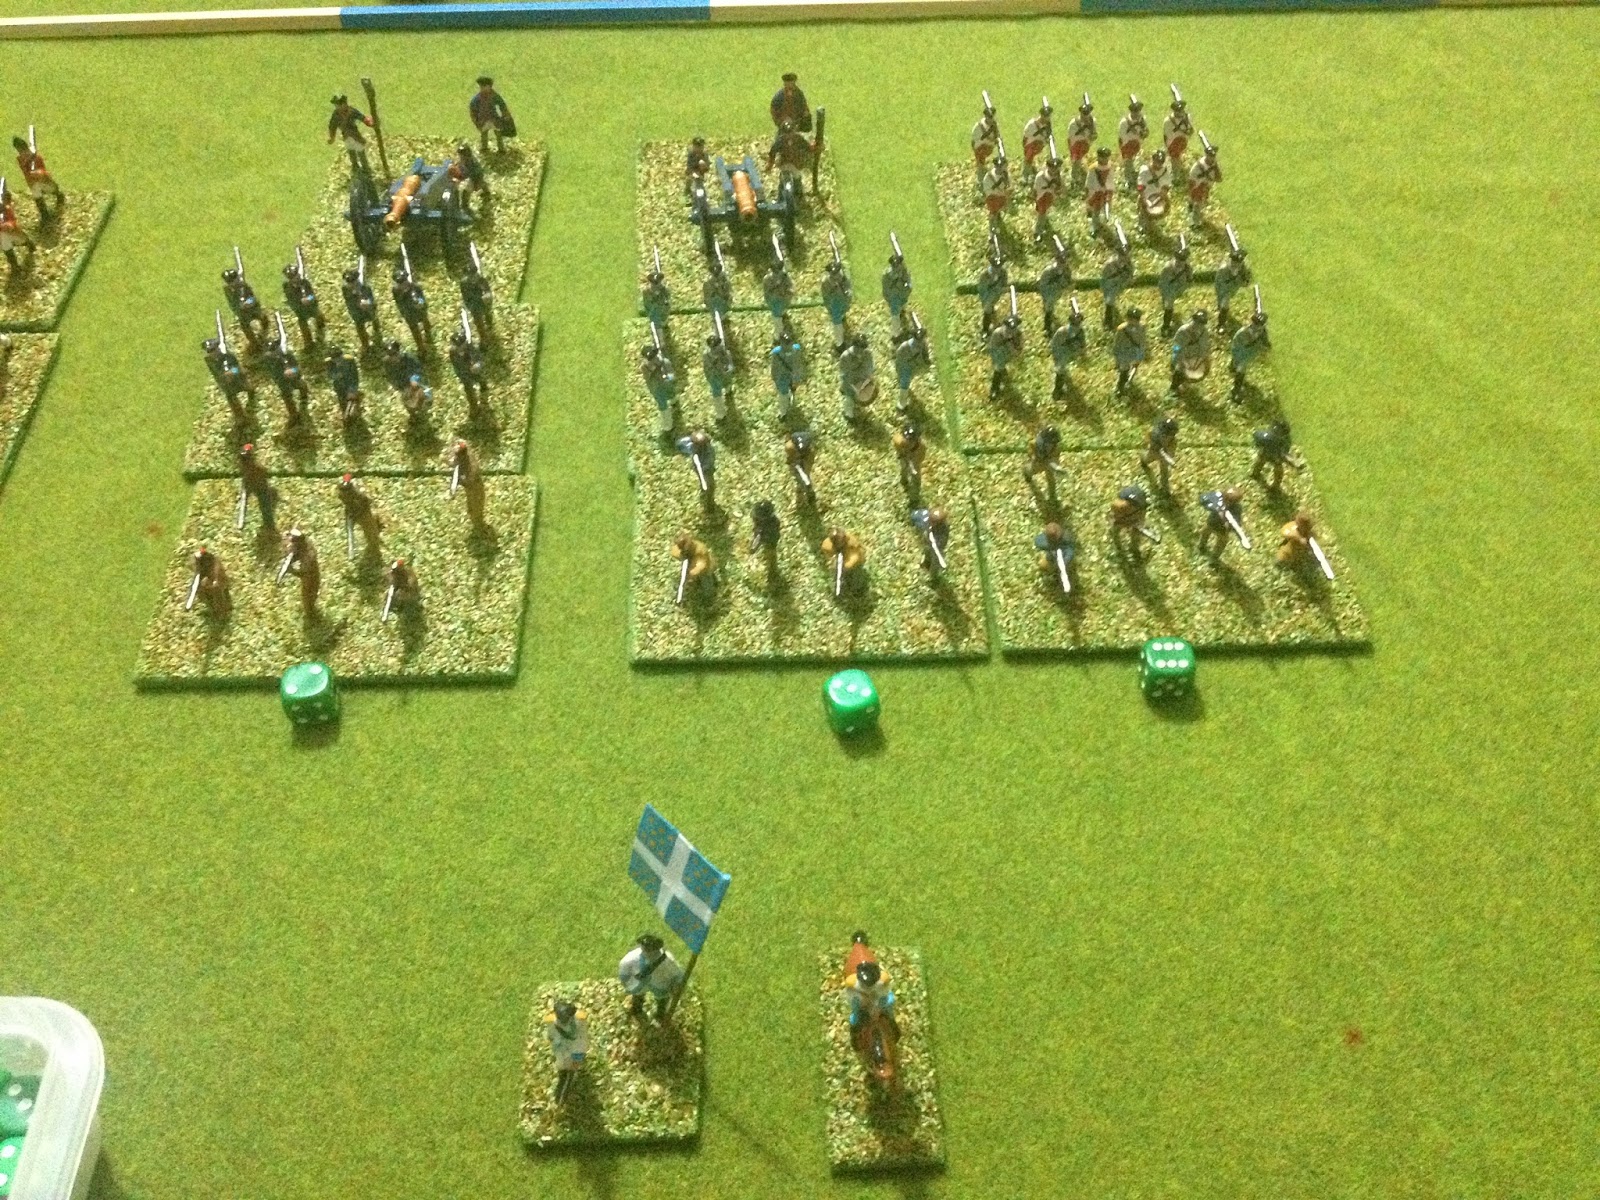
Units


The rules cater for the following units:

  • Regular/Line Infantry
  • Skirmisher/Irregulars/Light Infantry
  • Indians/Natives
  • Artillery
  • Grenadiers

Sequence of Play

The game is played in a series of turns. During a player’s turn they complete the following steps:

  • Movement
  • Combat
  • Unit Elimination
  • Check Army Resolve

Movement

For units to move they must first be activated. To activate a unit roll 1D6 on a score of 2+ a unit can move. Subtract from the score should the following conditions apply:

  • -1 Line Infantry or Grenadiers in woods or difficult terrain
  • -1 for every 3 hits a unit has accumulated

A unit that failed a move activation may still engage in combat.

All activated units may move one bound. Indian units may move two bounds until they accumulate a hit, after which they too only move 1 bound.

Artillery must cease movement after shooting. They are still allowed to turn their facing.

Unit may turn as part of their movement.

Turning a unit to change it's facing still counts as movement.

Units may not move or shoot.

Units may not pass through other units.

Design Notes - Terrain is quite unpredictable and introducing chance for movement helps reflect this and differentiate between units that deal well with difficult terrain and those that don't.

Terrain

Woods


  • Artillery may never enter woods. 
  • Infantry and grenadier units when rolling to activate for a move into woods -1 from their activation D6. 
  • Skirmishers can sustain 6 more hits when in woods. 
  • Infantry and Grenadiers -1 from their shooting score when occupying woods.

Towns


  • Artillery may never enter towns.
  • Units occupying a town has a 360 degree field of fire
  • All units can sustain 6 more hits when in a town.

Marshland and Lakes


  • No units may enter.

Rivers


  • These may only be crossed via bridges and fords.

Difficult Terrain/Streams

  • Artillery may never enter woods. 
  • Infantry and grenadier units when rolling to activate for a move into difficult terrain -1 from their activation D6. 
  • Skirmishers can sustain 6 more hits when in difficult terrain. 
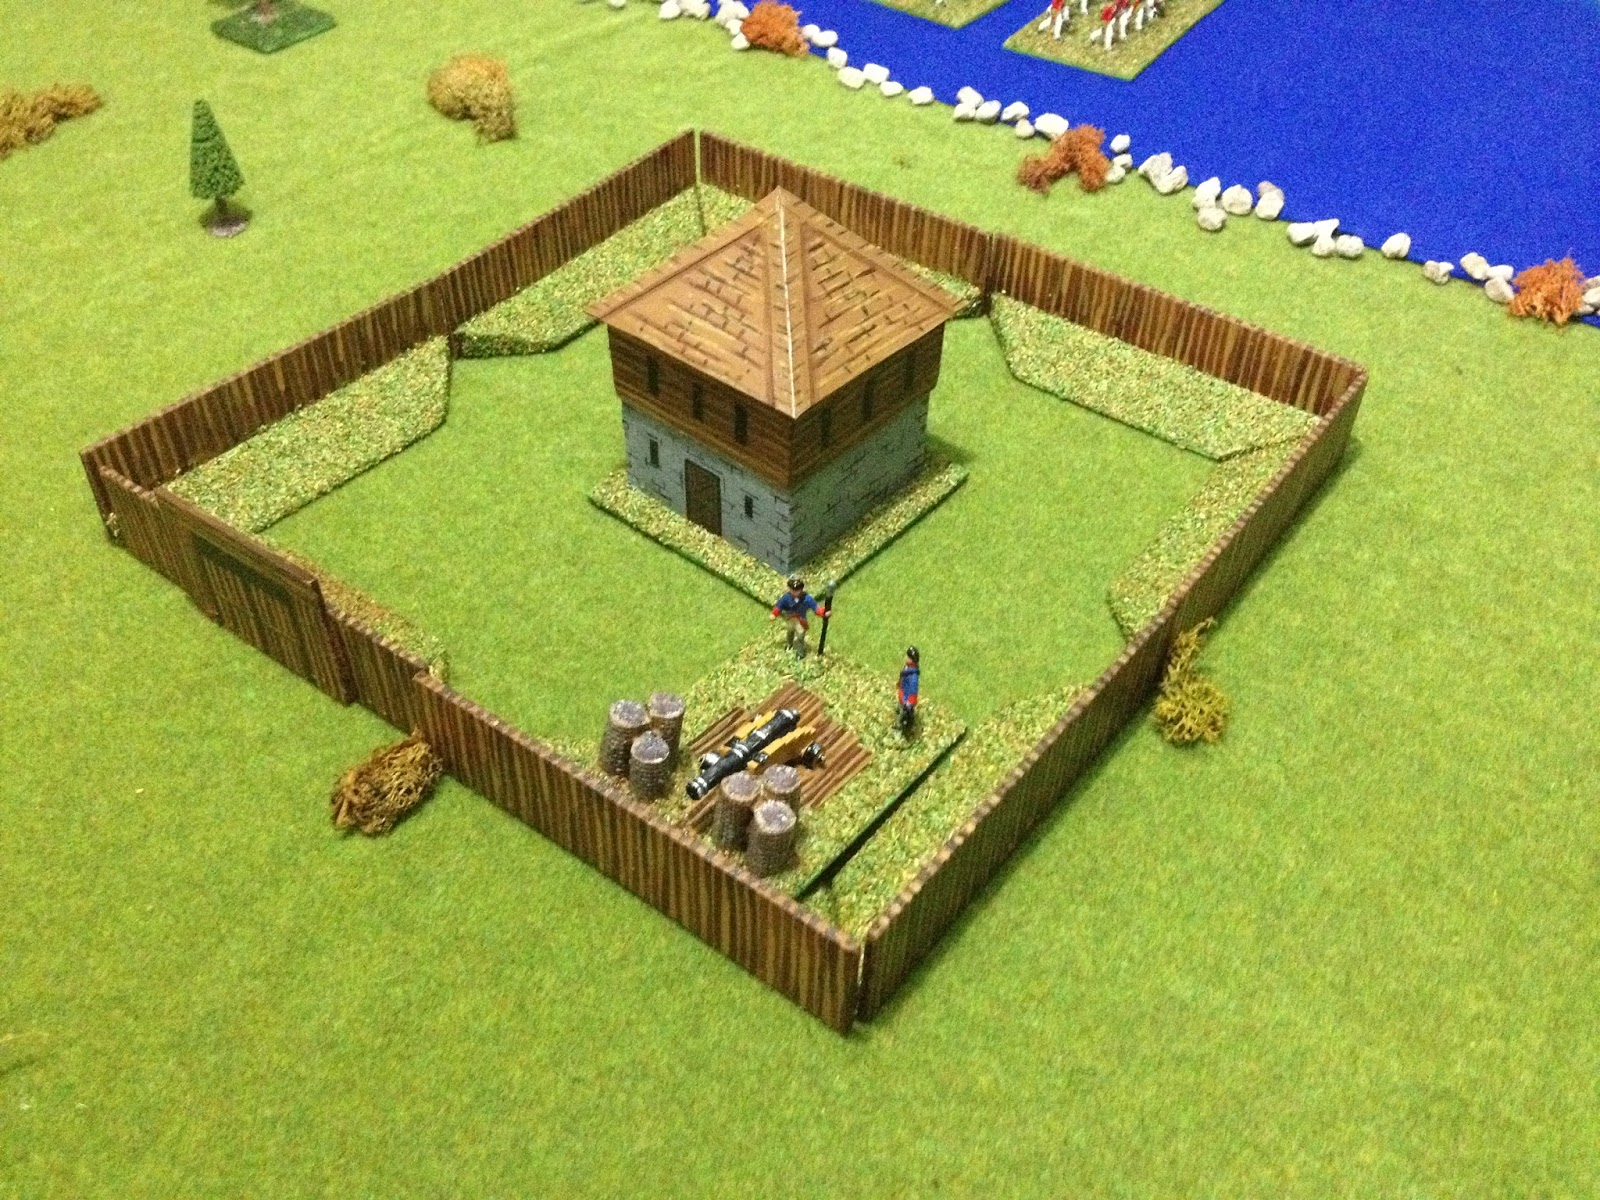
Fortifications

  • All units can sustain 6 more hits when in a town.
  • Attacking units must be at short range to engage in combat.

Combat

Units may only shoot at units within 45 degrees of their frontal facing.

Units in towns and fortifications have a field of fire of 360 degrees.

Muskets have a range of two bounds (1 bound short range and 2 bounds long range).

Artillery have a range of 4 bounds (2 bounds short range and 4 bounds long range).

To determine casualties units roll a D3 and make the following adjustments:

  • Grenadiers roll D3+1 short range and D3 long range
  • Infantry roll D3 short range and D3-1 long range
  • Skirmishers/Indians roll D3-1 for both short and long range
  • Artillery roll D3-1 for both short and long range

There is no adjustment for cover. This is factored in by units being able to absorb more hits when in cover.

When attacking units in fortifications the attacking units may only engage at short range.

When infantry, grenadiers and Indians are attacking a unit in an adjacent square. If the unit is eliminated, then they automatically move and occupy the vacated square.

Design Note - Skirmishers hits do not degrade at long range as they are considered to be better shots. Regular infantry do better at close range when they can use the cold steel.

Unit Resolve and Elimination

Units are eliminated when they accumulated more hits than their resolve value.

All units have a base resolve value of 6 which can increase in the following circumstances:

  • Skirmishers (not Indians) in cover increase their resolve by +6 hits.
  • Infantry and Skirmishers in towns and fortifications increase their resolve by +6 hits.
  • Infantry when in the open terrain, towns or fortifications and within 1 bound of their commander increase their resolve by +6 hits.
  • Grenadiers and veteran units always have their resolve increased by 6 hits.
Design Notes - Increasing a units resolve in cover rather than reducing their hits does mean once a unit has exceeded 6 hits, they must remain in cover for should they leave it they are eliminated. Likewise regular infantry with 6+ hits may rout on mass (be eliminated) should the commander be removed. So have him in reserves rather than leading the charge!

Commanders

Each side fields one commander who is attached to a unit and remains with that unit throughout the game. If the unit is eliminated the commander is removed as well.

Commanders raise the resolve level of all line infantry units within one bound.

Commanders can re-roll any failed move activations for units within one bound.

Design Notes - the commanders ability to help infantry resolve and movement encourages infantry to operate closely and as a block of units and not go charging off all over the tabletop.

Trusted Officers

Each side can field one trusted officer. They are attached to a unit and must remain with the unit throughout the game. If the unit is eliminated the officer is removed as well.

Trusted officers can re-roll any failed move activations and re-roll any shooting dice, but must accept the second score rolled.

Design Notes - Trusted officers can be used to help increase the success of units undertaking critical orders often on the flanks or a forlorn hope. Typically, they can be attached to an elite unit such as a grenadier unit to take advantage of their attack value.

Army Resolve

At the beginning of the game determine an army's resolve which is equal to the number of units being fielded.

When a unit is eliminated the army resolve is reduced by the score of a D3 with the following additions:
  • +1 if the unit eliminated is a grenadier, veteran or artillery unit.
  • +2 if the commander is lost
Design Notes - If you want to introduce a commander quality into the game. Add the score of a D3 if commanded by an above average commander, or subtract the score of a D3 for a below average commander.

Wednesday 21 February 2018

A different approach for a campaign

Last week I wrapped up my French Indian War campaign. The purpose of the campaign was two fold. Firstly to provide a background narrative and context to the games, and secondly to work through my house rule modifications which based upon One-Hour Wargames rules. Sorting out the rules was successful for the most part (more of that later). However, the background and historical context to the games was not as compelling as I had hoped.

Following my post on the campaign and reflections, in stepped Jonathan of Palouse Wargaming Journal with an idea described as a "solo campaign relay". What is that you ask? Rather than repeating the concept I now point you to Jonathan's post here which summarises the idea and how it works.

I think this will be a fascinating wargaming collaboration, presenting me with a variety of battles and a context to games I have no control over. While providing Jonathan with a board game style campaign where tabletop dispatches inform him of a battle's outcome.

A recent game with an attack on a blockhouse (somewhat successful judging by the smoke).
I am planning to post this weekend the rules developed during the last campaign, which I will be using for this campaign. They are presently hand written. The only area of the rules I am contemplating changing is to do with army resolve. I had been playing games where an armies resolve fails when more than half their units are eliminated. At that point they effectively retired from the field of battle.

This can make the end of games a tad predictable. You know, eliminate one more unit and you win. So the alternative I am looking at using is this...

An army has resolve points. These are calculated by multiplying their number of units by 2. So an army of 10 units will have a resolve of 20. During the game whenever a unit is lost a dice is rolled and its score reduces the resolve. When the resolve reaches zero the army retires from the field of battle.

To add a couple of twists to the resolve:

  • Whenever elite units (eg grenadiers) are eliminated two dice are rolled and their combined score reduces the resolve.
  • If the commander is rated above average, then before the game a dice is rolled and the score added to an army's resolve.
  • If the commander is rated below average, then before the game a dice is rolled and the score subtracted from an army's resolve.
I plan to test out this modification over the next few days.

Finally, a few more Sci-Fi skirmish figures are ready to leave the painting table.

Some wild life to introduce into games.


Saturday 17 February 2018

A few more Sci-Fi skirmish additions

Over the week I was able to complete a few additions to add variety to my Necromunda style Sci-Fi skirmish games. Next items to work on are some wild life which will add some random dangers to my games.

Some heavies to help out the local Arbites
I am raiding my bits box to add bits of interest to my stands.

Wild life mounted on bases with corrugated plastic sheet and available bits to add interest.

Friday 16 February 2018

French Indian War campaign end and game report

I have decided to bring my French Indian War to a close. I was going to set up another game, but looking at the campaign map after 7 games the attacking British forces were no closer to taking the French town. The games themselves were 4 French victories and 3 British victories. With winter coming the British decided to call it a day for this season and started to retire back to their bases.

While the campaign has provided a background narrative to the games. It just hasn't been one that has added that extra interest to the games for me. I was thinking about what I would do differently when setting up another campaign. Here are some initial thoughts:

  • I should have had a set number of turns by which time the fortified town needed to be taken.
  • The map had too many options and should have been kept simple with two linear paths, one north and one south of the river. The prize would still be the town, but taking the fort on the south bank would provide additional troops for the British. The choice would have been: taking extra turns to capture the south fort with the opportunity of adding troops, or focus on the taking the town.
  • Both sides would have to commit to dividing their forces north and south of the river at the start of the campaign.
  • Use random event cards to mix up the games. For example, addition Indian allies, units getting bogged down, etc.

Campaign map
Having decided to end the campaign and with the tabletop ready for a game. I though it would be interesting to replay scenario 20, a fighting retreat, from One-Hour Wargames (OHW). I had played out a really enjoyable game using Napoleonic armies a week ago.

I decided to play the game with 9 attacking units and 6 defending units. The attacking British lined up 4 columns of 3 units and rolled dice for the each one. The lowest scoring column was removed.

Dicing for the British force. One column would be removed.
Dicing for the French force. One column would be removed.
The defending French lined up 3 columns of 3 units and rolled dice for the each one. The lowest scoring column was removed.

6 defending French units
9 attacking British units
The game lasts 15 turns and the side in control of the hill on the northern baseline wins.

French units retire quickly across the river.
French units retiring on the eastern bridge are taking more time.
Disaster the French artillery get bogged and fail to make it across the bridge before British forces arrive.
The British made short work of the unsupported artillery.
Remaining British forces arrive
The first British units cross at the bridge, but were quickly dealt with. 
More British units push across the western bridge while their artillery began to find their targets. 
French units begin to retire out of artillery range.
British units are slow to follow up the retiring French
Casualties are starting to mount on both sides. The frontiersmen were putting up a very effective defence from the far woods. 
British units finally start to organise an assault on the French second line of defence.
More units join the attack. 
British light infantry move through woods to flank the French defensive line.
French defence finally ends on turn 11.
I should have retired the French earlier as soon as the British artillery fired. Artillery in the rules must remain in place once they shoot. The delay meant they took more punishment from some accurate artillery shooting than necessary.