Showing posts with label SciFi Rules. Show all posts

Tuesday, 15 October 2024

Mech Campaign - Part 7 - Rule Changes and Game Report

While painting our new house, I have had plenty of time to think about the mech rules (see draft rules here) and consider amendments. The area or the rules I was not overly happy with was how mechs take damage. The rules currently has mechs simply accumulating hits until a certain threshold is reached, at which point they are destroyed.

More rule changes.

The first change I wanted was to allow mech shooting to be able to inflict multiple hits on a target. Instead of rolling a single die with modifiers to hit on a 4 or higher, mechs now roll multiple dice. The number of dice can increase or decrease based on factors like long range or a target in cover. Each 5 or 6 rolled counts as a hit.

For example:

  1. A titan-class mech normally rolls 3 dice, but when shooting at a target beyond half its range, it is reduced to 2 dice. It rolls a 5 and a 6 and inflicts 2 hits.
  2. A raider-class mech, which has fewer weapons than a titan-class, rolls 2 dice. If it shoots at a target within half its range but the target is in cover, the dice rolled are reduced by 1.

The second change adds a check whenever a mech takes any hits to determine if a critical system is damaged causing the mech to be destroyed. The chance of destruction increases as the mech accumulates more hits. After applying the hits, a dice is rolled. If the result is lower than the total number of hits, the mech is destroyed. 

For example:

  1. A mech with 2 accumulated hits takes 2 more hits, bringing the total to 4. It then rolls a 3 on the die, which is less than the total hits, so the mech is destroyed. (If it had rolled 4 or more it would have survived.)

This approach means that a mech will be automatically destroyed upon taking its seventh hit, as it's impossible to roll a number equal to or greater than 7 on a dice.

The following battle report tested the above rule changes.

Battle Report…

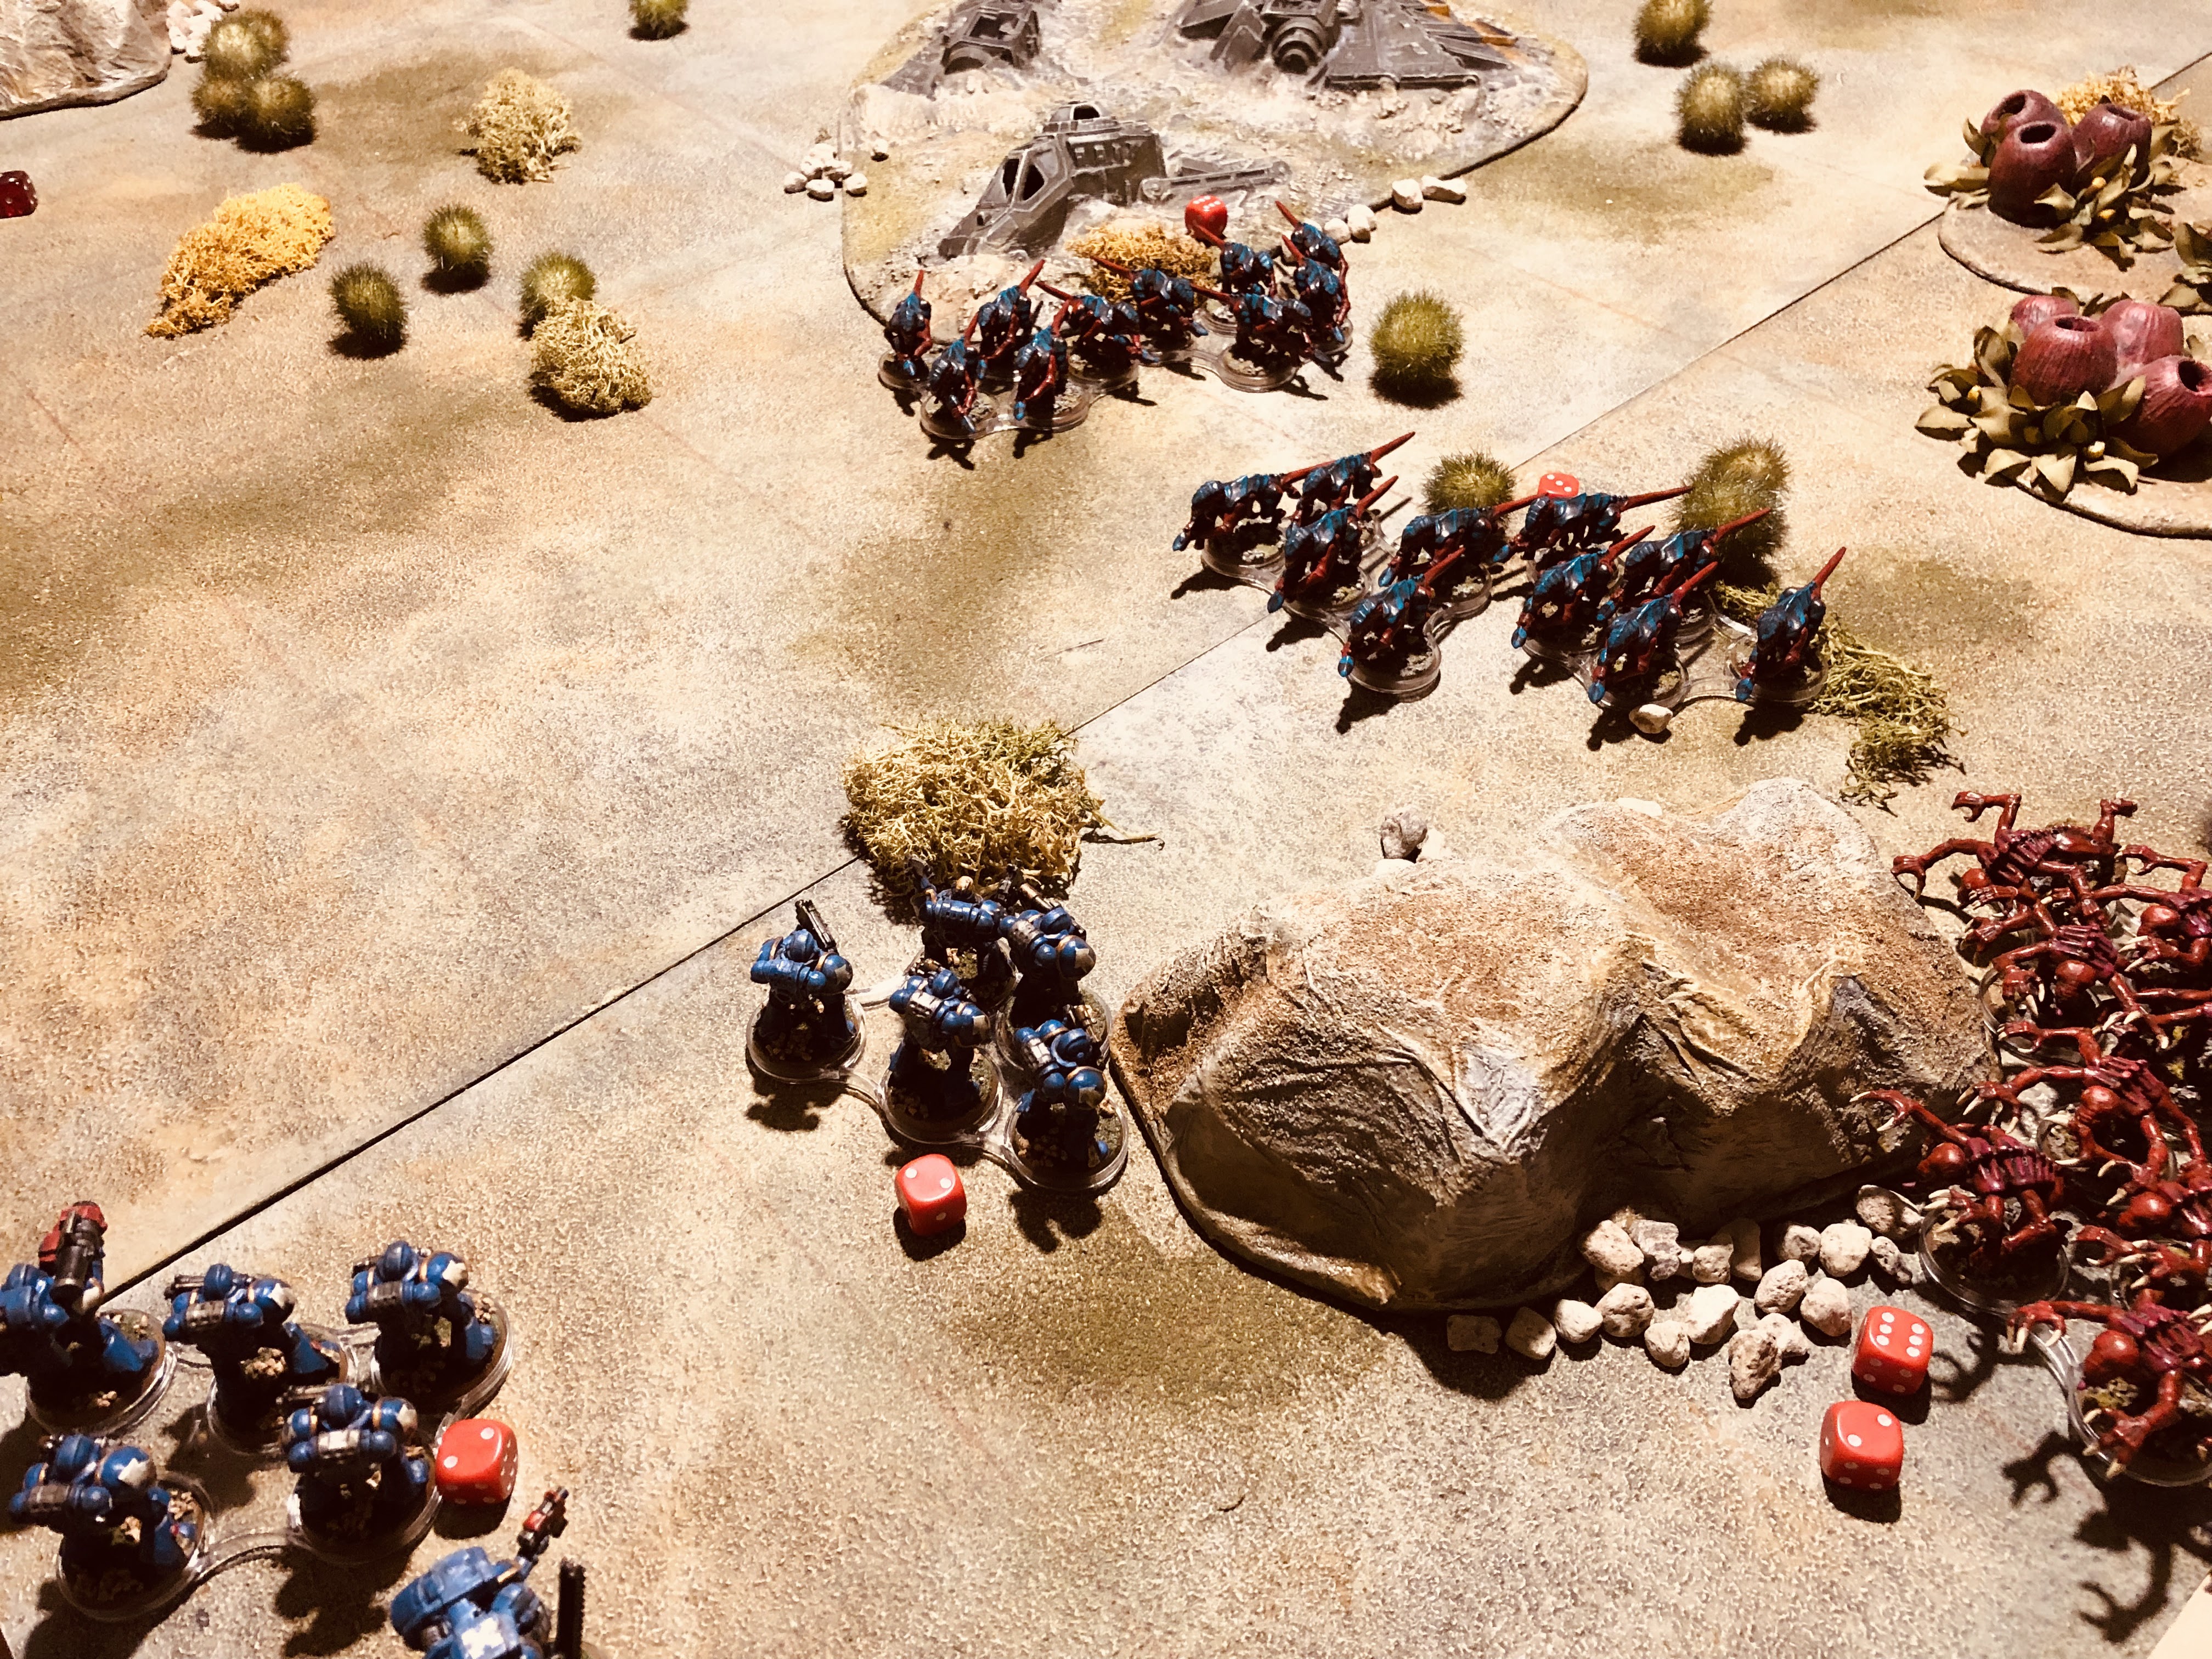
The game features two groups - Rorek Syndicate mechs (blue) and StarCore Corporation mechs (red) - converging on two mines located near the Rift of Perdition, an impassable crevice. These mining complexes are strategically important, as they are the only way to cross the crevice.

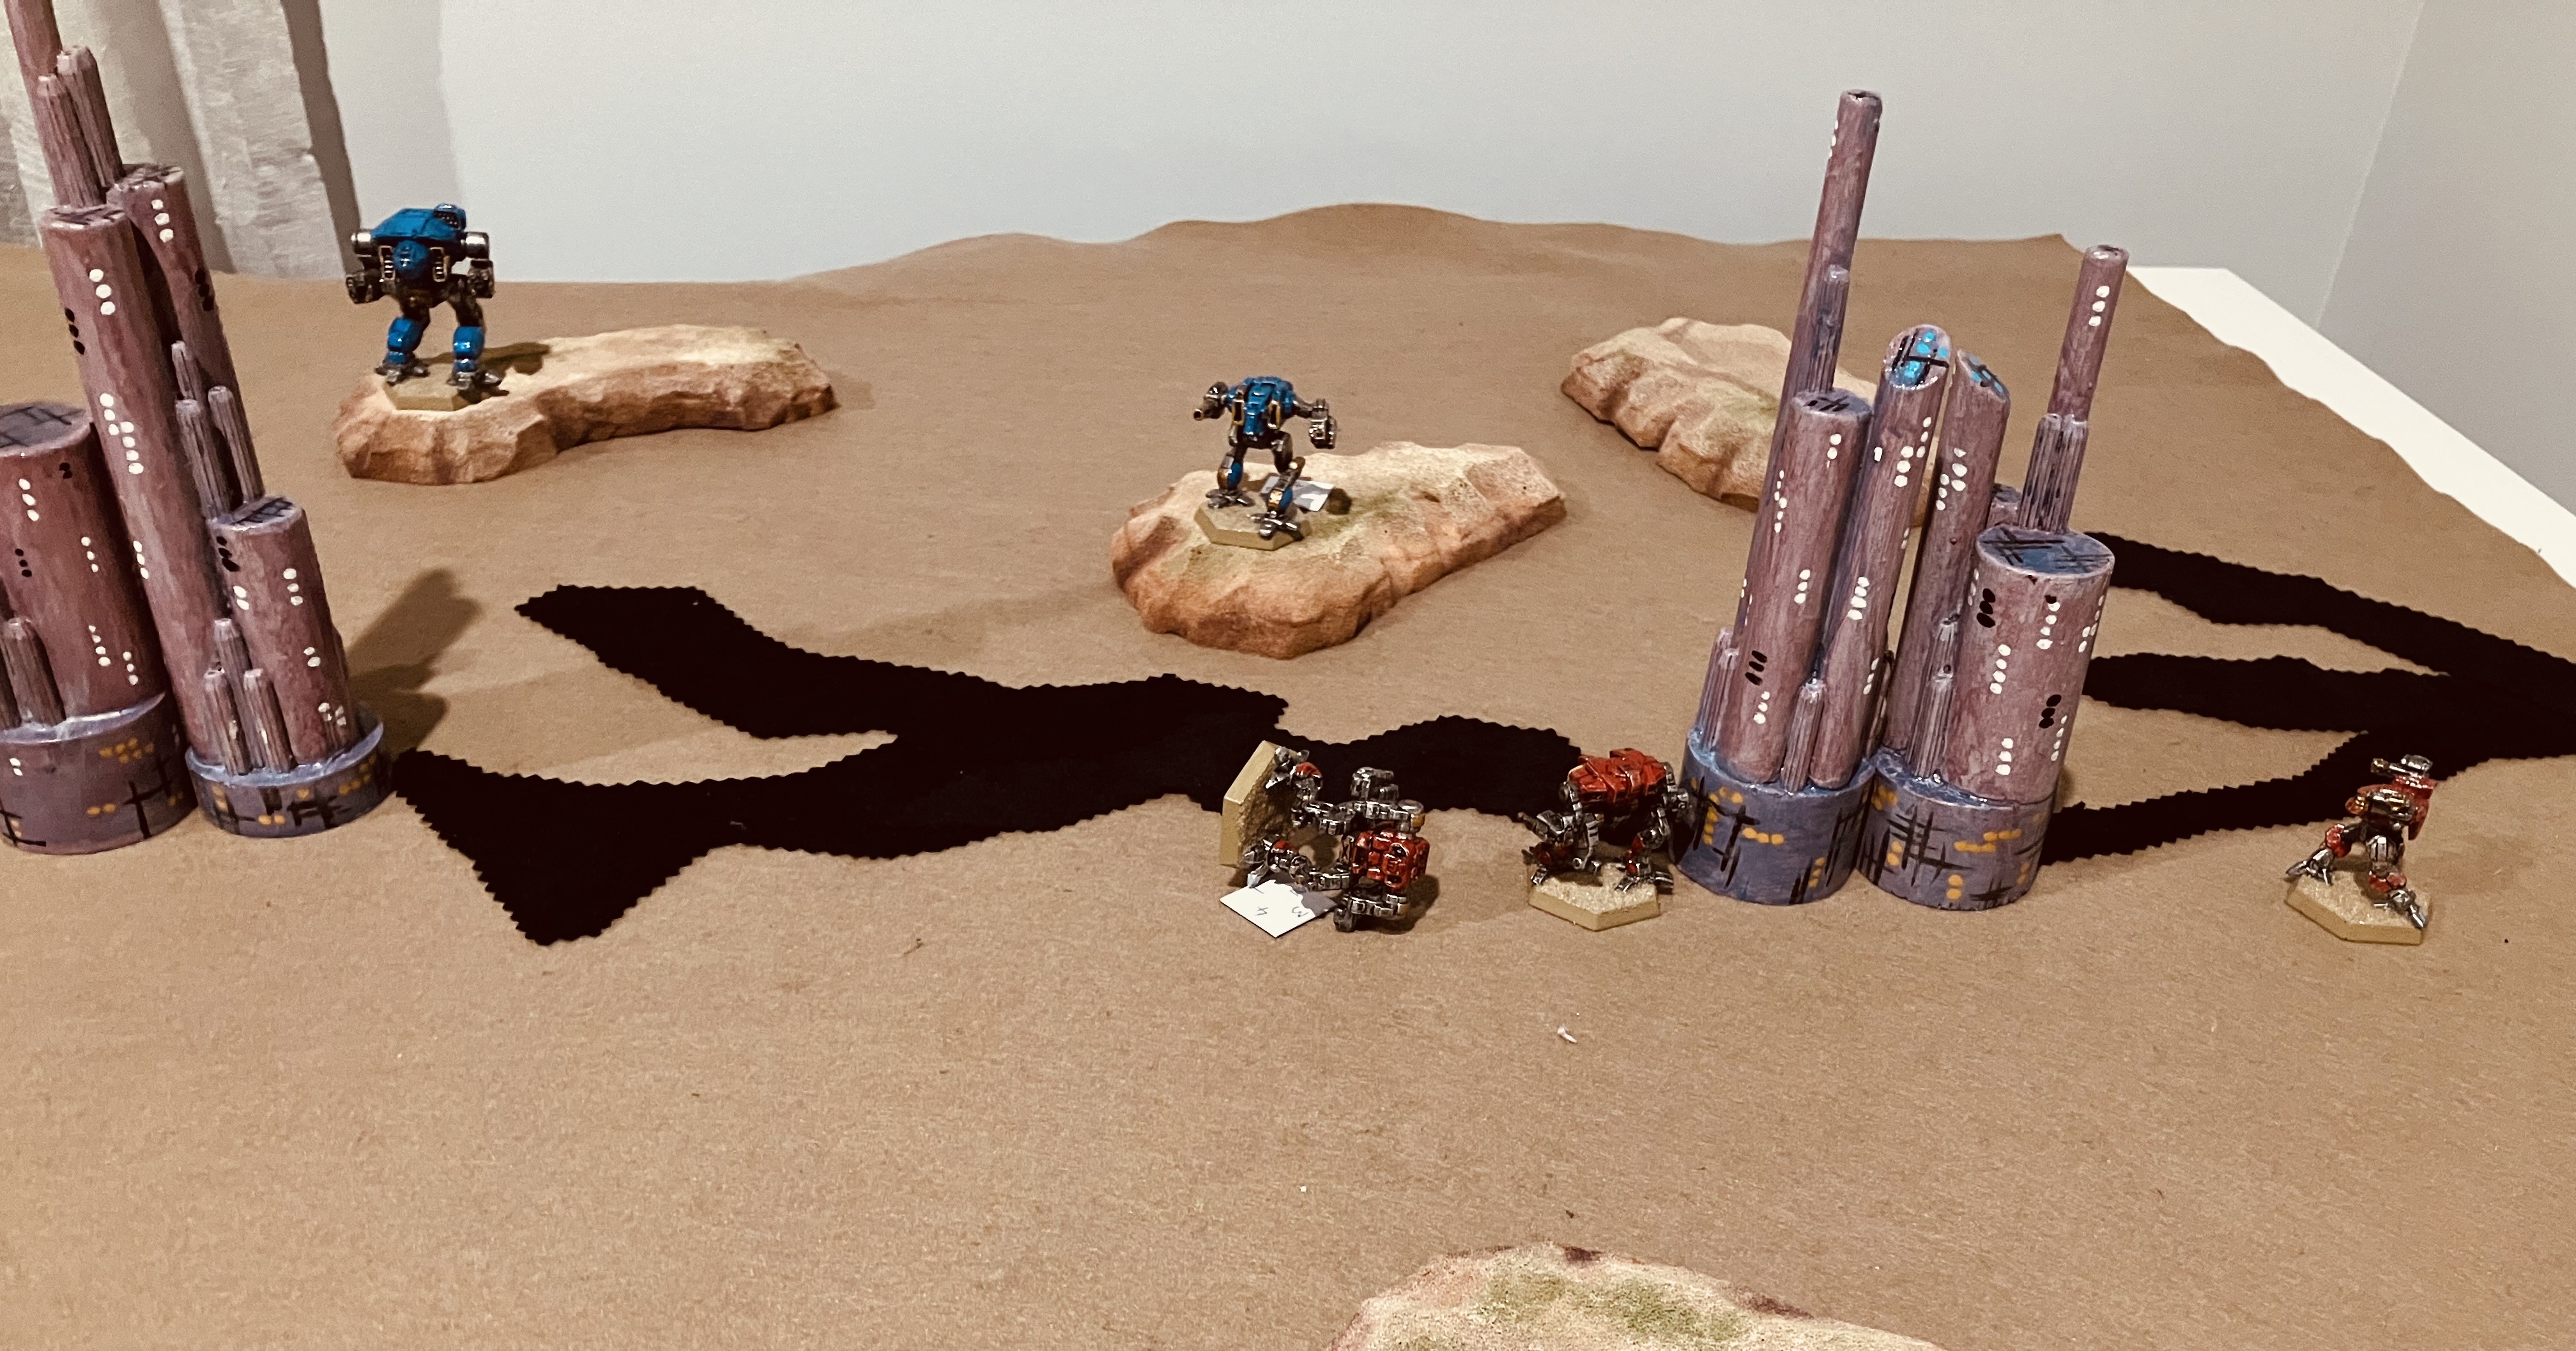
The tabletop setup. StarCore mechs are closest.

Both mech groups advanced quickly. Rorek deployed their lighter, faster raider-class mechs to reach the mining complexes, staying hidden behind the buildings. The StarCare mechs struck first, focusing their fire on a Rorek titan-class mech that had strayed within range and managed to destroy it. In response, the Rorek mechs delivered some highly accurate shooting, hitting critical systems on several StarCore mechs, effectively splitting the StarCore force into two groups around the two mining complexes. 

StarCore strike first.

Rorek shooting proves to be accurate hitting critical systems.

Rorek maintained their momentum by downing another StarCore mech. The tide of battle briefly turned for the StarCore force when their remaining titan-class mech secured one of the mining complexes after destroying a Rorek mech that had been contesting control of it. After a period where both sides exchanged fire, Rorek’s superior numbers eventually proved decisive, and they destroyed the last StarCore titan-class mech. With their forces depleted, the remaining StarCore mech retreated, allowing Rorek to move in and capture both mining complexes, securing victory.

StarCore try to change momentum and move on the mine complexes, taking more damage in the process.

StarCore capture and control the left hand mine complex.

The loss of their last titan-class sees the remaining StarCore mech retire. 

Campaign Implications…

The Rorek Syndicate has secured two more prospecting territories in the disputed zone, bringing their total claims to match those of StarCore. This back-and-forth exchange of territory can continue for a while, but eventually one of the organisations will need to change their strategy from focusing solely on expansion, to one of disrupting the opponent's claims or attempt to seize some of their rival's territory.

Claimed territories - Rorek in blue and StarCore in red.

The campaign rules and the possible strategies can be found here.

Rule Changes...

I am definitely keeping the rule for checking damage to a mech's critical systems, as it adds a level of uncertainty as the hits accumulated. However, I'm still unsure about the other rule change allowing for multiple hits from an attack. I will need to play a few more test games before deciding about this rule.


Tuesday, 24 September 2024

Mech Campaign - Part 4 - Draft Game Rules

Before playing any more games in this mech campaign, I figured it would be timely to do a post about the draft rules I am using. They are fairly simple, as I prefer rules that fit on a single, double-sided sheet of paper. These rules are designed for a small-scale game using between 4 to 6 miniatures per side. The majority of units will be mechs, large, human-piloted robotic machines built for combat in the harsh planetary environment. However, for a bit of variety, the rules also feature drones, sentry guns, and tracked mechs.

I have kept combat simple and it is all via ranged attacks, with mechs armed with advanced guns and missiles. These weapons allow them to inflict damage, provide suppressive fire, and lock onto targets to boost the accuracy of other mechs shooting. However, to counter this, the mechs are also equipped with sophisticated defensive repair systems. 

Given the limited number of mechs in play, the rules allow multiple actions per unit, creating I hope a fast-paced game. I did not want the games to always finish with the last man standing, or in this case last mech standing. So fitting in with the campaign background, mechs are costly on the remote mining world and pilots will break off the battle before facing complete destruction.

The units I am using are:

Mechs - These make up the core of most forces, as they are specially designed to function in the planet's hostile environment. Typically, they come in two varieties: light mechs, which are fast and agile, and heavy mechs, which can carry extensive weaponry but sacrifice speed. 

A large mech - Slow but with powerful weapons.

A small mech - fast and agile.

Tracks - These are tracked mining vehicles repurposed for combat and used to make up the numbers. They are slow and have limited firepower. Their one advantage is their ability to navigate the warren of underground tunnels left by mining operations and suddenly appear to ambush the enemy.

Tracks - repurposed mining equipment.

Drones - Built to operate in harsh, thin atmospheres, using advanced propulsion like anti-gravity stabilisers and thrusters to fly. They are remotely controlled from a base unit and also use AI to direct their movement and attacks. Though lightly armed, they are useful for providing target locks and suppressive fire.

A drone and base launching vehicle.

Gun Sentries - Mining operations frequently deploy gun sentries as a cost-effective way to safeguard their assets. With limited weaponry, these stationary defences rely on AI to control their targeting and firing.

Gun Sentries.

Sequence of Play

Each game turn consists of two player turns. During a player’s turn, the following steps are performed in order:

  1. Calculate the player's available action points.
  2. Spend action points to activate units one at a time, until all action points are used or the player wants to take no further action.
  3. Remove all suppression and target lock markers from the player's units.

Calculating Action Points

To determine the number of action points a player has for their turn, total up the total number of active units (excluding any eliminated ones) and add the result of a dice roll. These will determine how many actions a player’s units may perform.

Activating Units

Select a Unit: Choose a unit to perform one or more actions. Complete all actions for the selected unit before choosing another unit.

Action Limits: Each unit may perform up to three actions per turn. Actions require action points to be spent:

  •    The first action costs 1 action point.
  •    The second action costs 2 action points.
  •    The third action costs 4 action points.

A unit cannot perform an action if a player has insufficient action points. Keep track of the remaining action points as they are used.

Available Actions:

The available actions a unit can take are:

  • Movement
  • Shooting
  • Suppressive Fire
  • Target Lock
  • Repairs
  • Recover from Suppression
  • Special Action

Movement

Heavy and tracked mechs are limited to 1 move action per turn, while light mechs may perform multiple move actions. Move actions must be consecutive; a unit cannot move, perform another action, and then move again.

Ground Unit Movement:

  • Ground units allowed to move may advance 4 inches in a straight line per move action. Turning at the start and end of their movement. Heavy mechs and tracked mechs are limited to 1 move action per turn, while light mech units can perform multiple move actions. 
  • Movement must stop if a unit comes within 4 inches of an enemy unit. Ground units already within 4 inches of an enemy can only move if they are moving directly away from the enemy.

Air Unit Movement

  • Air units, such as drones, have unlimited movement in a straight line. Turning at the start and end of their movement. However, movement must stop if they come within 4 inches of an enemy air unit. 
  • Air units are required to perform at least one movement action each turn, even if it means circling to stay in the same position. If a player opts not to move an air unit, it is removed from the tabletop and may return in a future turn, placed anywhere on the battlefield.

Note: Air units must complete a movement action before they can perform any other action, eg, shoot.

Shooting

To perform a shooting action, a unit must have line of sight to the target, be within the frontal facing 180 degree arc, and be within a 12-inch range. Heavy mechs may take up to 2 shooting actions per turn, while all other units are limited to 1 shooting action. After shooting, units may only perform additional shooting actions (if allowed) and cannot take any other actions.

When shooting, roll a die. On a roll of 4 or higher, the target is hit and takes 1 damage point. The roll can be modified by the following factors:

-1 if the target is in cover.

+1 if the shooting unit is on higher ground.

+1 if a target lock is active on the target (remove target lock marker once used).

-1 if the shooting unit is a drone or gun sentry.

Suppressive Fire

Units may choose to use their firepower to suppress enemy units rather than inflicting damage, forcing the enemy to spend action points to remove suppression. A maximum of 2 suppression marker per enemy unit is permitted. All suppression markers are removed at the end of the owning player’s turn.

Note - Suppression is a good way to force an opponent to use up their action points or tie up heavy mechs.

Target Lock

Units, excluding sentry guns, may place a target lock on an enemy unit to enhance the shooting accuracy of other friendly units. Place a target lock marker on the target unit. 

Repairs

Any unit, except fixed defences and air units, with more 2 or more damage points may attempt 1 repair action per turn. Roll a D6. On a score of 4+, remove 1 damage point. For example, a unit with 2 damage points may repair 1, but a unit with only 1 damage point cannot repair. They carry that damage for the remainder of the game.

Recover from Suppression

Units with suppression markers must use 1 action to remove the marker. For example, a suppressed mech spends 1 action to remove the suppression (1 action point) then moves (2 action points).

Special Actions

Any special actions specified by a scenario. The action may be automatic or require a dice roll to determine their success.

Eliminating Units and Resolve

Units are removed from play after sustaining 4 or more damage points. They can perform repair actions to recover from some hits, but they cannot fully restore all damage points. Whenever a unit is eliminated, the player must test the mech group’s resolve. Roll the dice and add 2, then subtract the eliminated units. If the score is less than 1, then the force retreats and the game is lost.

End of a Player’s Turn

At the end of their turn, a player removes all suppression and target lock markers from their units.


Saturday, 2 September 2023

Time for a Sci-Fi game - Tyranids vs. Space Marines

It's been a while since I've had some sci-fi miniatures on the tabletop. I think the last time was when my daughter visited and we played a Necromunda-style game using the One-Hour Skirmish Wargames rules.

Anyway, the purpose of this game was to test an activation approach using cards to order activations for a larger skirmish game where figures are grouped together into units. I chose scenario 8 (Melee) from the One-Hour Wargames book. This is a scenario that I enjoy, in which a small detachment tries to defend a hill against a couple of waves of attackers while waiting for their reserves to arrive.

The game is played the game on a 4x4 foot table, the two key features positioned in the centre of the tabletop are the hilltop and the nearby petrified woods. 

The tabletop setup with hill and petrified woods.

If you are wondering what the woods are made from, they are made from dried seaweed I found washed up on the shore after a storm. 

A unit of Space Marines and Dreadnought are assigned the task of defending the hill.

Order of Battle

The Space Marine force consists of:
  • 1 x space marine squad (10 figures)
  • 1 x Dreadnought
  • 1 x Assault squad (10 figures)
  • 1 x Landspeeder
  • 1 x Rhino
  • 1 x Command squad (3 models)


Space marine reserves arriving on turn 3 and 6.

Tyranid force arriving in two waves on turn 1 and 3.

The attacking Tyranid Behemoth force consists of:

  • 1 x Gaunt Brood (20 figures)
  • 1 x Hormagaunt Brood (20 figures)
  • 1 x Gargoyle Brood (20 figures)
  • 1 x Warrior Brood (5 figures)
  • 1 x Carnefex
  • 1 x Hive Tyrant with 2 Guards

For the game I was using some home-brew rules based upon OHW rules which allows for different sized units. Units with little armour can be larger using their number rather than armour to survive.

The Game

I managed to take a good number of photographs of the game as it progresses.

The first wave of Tyranids arrive headed by a Carnefex and led by a Warrior brood seen in the rear.  

The first set of Space Marine reserves arrives just in time as the Tyranids start their assault of the hill.

The second wave of Tyranids has arrived. Since units cannot pass through other units unless they are fliers, this is causing a lot of congestion as the larger front units are getting activated after the rear ones. The Assault Marines can be seen charging into the Carnifex, their chain swords whirring.

The Tyranids seem to have sorted out their traffic jam with the bulk of their forces moving towards the hilltop. 

The Carnifex was brought down and eliminated by the Assault Squad's chainsaws, but not before it had slain half the squad. The Hive Tyrant looms large in the foreground, preparing to enter the fray.

Hormagaunts swarmed over the Dreadnought, their scything talons scraping its armor, searching for any weakness. In the background, the Command Squad can be seen preparing to charge into the woods and engage the Gaunt brood in close combat.

The Hive Tyrant and the Rhino clash. The Rhino fired its twin-linked lascannon, but the Hive Tyrant's chitinous carapace shrugged off some of the shots. The Hive Tyrant retaliated with its Venom cannon spitting acid and venom across the Rhino’s armour. Meanwhile, in the center of the battlefield, the Space Marines were locked in close combat with the Tyranid warriors. The Space Marines were outnumbered, but they are fighting with determination and are slowly gaining the upper hand, hacking and slashing their way through the Tyranids.

It seems like the Tyranid force has gained the advantage in this battle. The Rhino eventually met its demise, dissolved into a seething pool of acid, but not without inflicting significant damage to the Hive Tyrant, leaving it considerably weakened.

The surviving Tyranid forces are readying themselves for an assault on the defenders stationed atop the hill, while the Space Marine Command squad remains occupied, clearing up the remaining Hormagaunts.

In the climax of the battle, the Space Marine Command squad makes a decisive charge against the remaining Tyranid forces, successfully eliminating the Hive Tyrant to win the game.

The Activation Approach

The activation approach draws a card from a shuffled deck and assigns a single card to each unit. Units are then activated based on the cards they hold, following the hierarchy from kings to aces, with the suit hierarchy being Spades, Hearts, Diamonds, and Clubs. As a solo gamer, I've find this approach to be effective, introducing an element of unpredictability and infusing the game with a controlled chaos that seems to suit a large-scale skirmish game. 

The card deck gets shuffled with the used cards when the cards run low.

The start of a turn with all cards assigned to each unit on the tabletop and any units expected to arrive from reserves.

Time to get another game in this weekend and test out the rules.

A close up of the action to finish up on.


Wednesday, 22 February 2023

Three books arrive

Three books have arrived over the past week or so. 

Recent purchases

So far I have just read Sci-Fi Skirmish Scenarios by John Lambshead with the subtitle of “Small-unit missions for use with your favourite wargaming rules”. I like the book for the following reasons:

  • I especially found the chapter on creating your own world and settings particularly useful with its  tips and techniques. The example provide is interesting as you see the tips being used.
  • There are 36 scenarios and a random scenario generator as well. Finally, there are two solo scenarios. Lots of scenario options all around.
  • The chapter on designing scenarios and campaigns has 6 guiding principles to assist you in setting up your own campaign. This is followed by 3 example campaigns.

I often use One-Hour Skirmish Wargaming rules (by the same author) for my Necromunda style games, and will be using this book for setting up the games and adding to the background setting for my gangs.

I will no doubt be getting my AWI and ECW armies on to the tabletop after I read the other two books.

Saturday, 26 November 2022

A Xenos Rampant game

During the week a copy of Xeno Rampant rules arrived in the post and I have been waiting for the weekend to setup a game. It also gave me the opportunity to get the sci-fi themed backboard out again, which I finished a week or two ago.

A assault between Genestealers and Space Marines

The rule book has 194 pages and contains:

  • Building Detachment
  • Battle Rules
  • The game uses the same mechanisms as Lion Rampant 
  • Xeno Rules
  • Scenarios
  • Campaigns Rules
  • A series of scenario campaign settings
  • Appendicies - rule quick reference and detachment roster sheets

The rule set

Part of the game's preparation is building the detachments and unit profiles. The unit profiles are similar to other Rampant rulesets. The differences are units have strength points and quite a few options to tailor a unit's capabilities. Included in these options are ability to increase the units size from the standard 5 strength points to 10 or 15 strength points. This is particularly useful for units with minimal armour strength is it makes them more resilliant. Depending on the unit type, some get free actions to shoot, move or attack. Elite units get a couple of free actions to reflect the level of training and experience.

Unit profile sheets at the back of the rules are very helpful

Both detachments were setup ready for an encounter game. The Space Marine force consisted of:

  • 5-man Tactical squad (with commander)
  • 5-man Tactical squad with heavy weapon
  • 5-man Assault squad with jetpacks (flyer)

The Tyranid detachment consisted of:

  • 2 x Termagants 10-creatures with short range weapons
  • Genestealers 10-creatures
  • Broodlord with Genestealers 10-creatures
As this was my first game using the rules I opted not to include any commander traits.

Space Marine Detachment

Tyranid Detachment

The encounter battle has both detachments arriving from the tabletop edge. The Space Marines have the shooting capabilities and will be sitting back and taking aim as the Tyranids advance towards them to engage in close combat.

Game setup

On to the game report...

Tyranid units advance towards the Space Marines

The Space Marine squad with heavy weapons prove very effective in causing casualties, but the Tyranid units keep moving forward with their free moves. On the right Assault Marines and Genestealers clash repeatedly with neither gaining an advantage.

While the Assault Marines are forced back by the Genestealers, the combined firepower of the tactical squads eliminate the Broodlord and the benefits of the "hive-mind" option.

The Genestealers are finally eliminated, the heavy weapon option proving very useful again.

Thoughts on my first game using the rules:

  • I liked the different sized units They give lighter armoured a better level of resilience, especially as units that have list more than half their strength points halve the number of dice they roll.
  • The free actions work well reducing the likelihood of failing an activation and ending a player's turn.
  • I enjoyed building the unit profiles with the options, including quite an extensive list of Xeno Rules to further add the a unit's options. These include flyer, hive mind, psychic, and number about 35 in all.
  • The firefight rule allows units shot at to return fire. However, I forgot about the rule during the game. This would have benefited the Space Marines if I had remembered.
  • Writing up the profile cards helped speed up the game. The core rule mechanics of activations are quickly remembered.


Sunday, 15 July 2018

A few Sci-Fi games

In between playing French Indian War campaign games. I thought this week I would get some of my Warhammer 40K figures onto the tabletop. The reason for this choice was I had a few rule ideas for a One-Hour Wargame style Sci-Fi game. These were thought up while walking on my lunch breaks. I am yet to find or write a simple set of Sci-Fi rules that work fully to my satisfaction. This proving both enjoyable, as I get to test out different rule mechanisms. Yet at the same time frustrating, as the new rules often don't work out they way I expected.

In this game a group of Space Marines prepare to defend against the advancing Tyranid horde.
Another game where each side tries to take and hold objectives.
Anyway, it is so far so good with these rules, and it is now time for me to take all my notes and write them up. All being well I should be able to write the rules in a sufficiently concise way, so that I can create a little booklet of the rules. Just like I did with my WW2 house rules.


 Soon it will be time to clear the tabletop for the next instalment of the French Indian War campaign.

Monday, 12 February 2018

Sci-Fi Skirmish Games

Now that all figures from the Necromunda starter set are painted. It was time for a couple of larger skirmish games with 10 figures each side. Rather than use the Necromunda rules, which come with the starter game and are just too complicated or detailed for my taste, I am using some house rules. I really prefer rules to be sufficiently simple to memorise, particularly for skirmish rules, which I believe are best played quickly with no pondering the next move or action to take. Having to look up rules or figure stats just slows the pace of a game for me.

Defending the supplies
Since last playing a game with my house rules with approximately 5 figures per side. Where each figure got an opportunity to perform their actions, I found with 10 figures I was losing track with which figures had taken their actions. My initial reaction to this was to add an activated counter, placed as each figure was activated and collected at the end of a turn. The unfortunate effect of this is to slow down the game turn, not by too much, but it sufficiently irked me to try out other activation approaches.
A gang on the prowl searching for the enemy
The activation approach I eventually settled on assumes there will never be more than 10 figures per side. This is meant to be a game of small scale skirmishes between gangs. At the beginning of each turn both players roll a D6 dice which indicates how many figures they may activate. Like Player Initiative Points (PIPs) from DBA. However, the player with the lower score activates all their figures first, followed by the player with the higher score. This helps to even out the effects of the higher score and introduces the uncertainty of activating first or second in a turn.

Some long range targets
To begin with I started having players re-roll the dice whenever there was a draw, but decided draws could be treated as a lull in the fighting and allow players to remove wounds from injured figures depending upon the scores of the drawn dice. So if two 3s were rolled, three figures per side could recover from wounds, and if two 4s then four figures could remove wounds, etc. This is a very gamey approach, but I liked the unpredictability it introduced, rather than have figures spending actions to remove wounds.

Close combat
Having had a couple of fast paced and enjoyable games using this activation approach. I am now in the process of writing up the rules to fit on to one page. 

As a painting project there are some additional figures I will be adding to provide more variety to my games. These include...
Local Adeptus Arbites to add interference to gang fights
A bit of muscle to support the local Arbites
Local wild life to randomly enter the games?