Sunday 29 August 2021

Some more samurai figures painted

Here are a few photographs of progress on my samurai project. I have started painting the second clan, for which I am using a combination of browns and reds for their uniform. The clans I am painting are imaginary ones and are being painted either with blues and greys or with red and browns. They have been named (using Google Translate):

  • Aoi nuno - Blue cloth clan
  • Akai nuno - Red cloth clan

All figures in the picture are from the Minifigs samurai ranges. The front rows of ashiguru pikemen and bowman are from the S range, which were purchased secondhand about 12 plus months ago.The samurai in the second are I believe a later range which are a lot more chunkier. I purchased the samurai back in the late 1970’s.

I'm just doing the block painting of these figures and keeping detail to a minimum as I am going for a glossy toy soldier look, and the simple style of figure seems to suit this approach.


Thursday 26 August 2021

Ancient campaign - Vigiliae 215 BC Battle Report

One thing I forgot to cover in my previous post about the setup of this game was the order of battle. The make up of units is determined by a table and a dice roll (see here) and Cartage must choose one Gaul unit as an alternative to heavy infantry. The limit of seven units is because I am continuing to use 3 base units which give a unit frontage of 12 inches. I have continued using larger units for two reasons: 1) I like the look, and 2) they make the units quite unwieldy on the tabletop unless they are moving forward or retiring backwards.

Carthage

  • Hannibal exceptional commander
  • 1 x Warband (Gauls)
  • 3 x Heavy Infantry
  • 1 x Light Cavalry
  • 1 x Heavy Cavalry
  • 1 x Light Infantry

Rome

  • 2 x Light Infantry
  • 4 x Heavy Infantry
  • 1 x Heavy Cavalry
The Roman commander has deployed his heavy infantry on the large centre hill and pushed forward his light infantry and cavalry to cover the flanks and centre. The Carthaginians and Hannibal have extended their lines in the hope of outflanking their opposition.

Deployed Armies with the Romans nearest. All units have 3 bases.

The Romans have the opportunity to move first because they began deploying their units first (see previous post). They take this opportunity to move their cavalry onto a small hill on their left flank. Carthage charges forward with their Gauls and heavy cavalry on the opposite flank near the town. An initiative chance card allows for a swift advance and Roman light infantry are caught up in a melee and are quickly eliminated. The Roman commander moves one heavy infantry unit from the hill to counter the threat from the Gauls.

The opening moves as both sides pushed forward on opposite flanks. An early melee occurs in the centre between Rome's light infantry and Carthage's heavy infantry.

Roman light infantry are quickly eliminated as Carthaginian units advance.

Fate, or the chance cards, were being very fickle to the Romans who were drawing confusion cards and no rally cards. Lots of rally cards would hopefully appear soon, but you cannot rally eliminated units. They have lost their light infantry and heavy cavalry, which had eventually succumbed to an attacking combination of light cavalry supported by light infantry. Not that luck had gone all Carthage's way. They had lost their Gauls and were making heavy work of it in the centre.

The Roman centre is holding firm, but the Carthaginians have been able to secure both flanks.

The Carthaginians using their flanking and numbers advantage pin Roman units with a frontal attack and have a second unit attack the flanks. Responding to this remaining Roman heavy infantry on their large hill reposition their forces for the next wave of Carthaginian attacks.

Roman forces pullback to defend the large hill and Carthaginian units reorganise.

Even with rally chance cards being quite plentiful for Rome in the latter part of the game to reduce their hits. The Carthaginian numbers and flanking units were able to concentrate and slowly pick off the remaining Roman units. 

A victory to Carthage.

Carthaginians attack on all sides and Roman forces are eventually defeated.

This loss in Southern Italy does not bode well for Rome's future. They will desperately need a win in this region during the next campaign turn, otherwise they will not have the ability to recruit as Carthage's control increases.

Campaign map at the end of turn 2.


Saturday 21 August 2021

Ancient campaign turn 2 game 2 - Battle of Vigiliae 215 BC

The second campaign battle of turn 2 has Hannibal in Southern Italy with a couple of armies facing three Roman armies. This post is just covering the set up of the game, and the game report will follow once the imaginary Battle of Vigiliae 215 BC gets to be played. 

Roman armies prepare for battle.

The campaign map - the area of focus is Southern Italy where Hannibal has two armies vs. Rome's three armies.

The tabletop layout was determined by terrain cards. Four terrain features were randomly picked and added to four blank cards. These were then shuffled and six cards placed to represent a 6x4 foot tabletop. If there is no opposing feature on the flank sides, then the feature is moved to the middle. 

Terrain cards are revealed.

The flanks did not have opposing features and the features will be positioned equal distance from each table base edge. This approach of centring does not apply to the centre, even when there is no opposing feature.

The tabletop is setup. I have added some rocks to the hills so they stand out in the photos.

A coin flip gave Rome the option of choosing sides. They picked the side with the large centre hill. While Carthage won the deployment flip and opted for the Roman commander to begin deployment. The deployment rules can be found here.

The first lines are deployed.

Second line deployment.

Third line deployment. (Hannibal is with his heavy cavalry top right.)

The final step was to prepare the chance card decks for each army. I began with the standard deck for each army. There are slight differences between decks for "initiative", "rally", "confusion", and "no ammo" cards (see first photo). These then get adjusted for the campaign situation. For Rome they get two additional "Rally" cards replacing two "no event" cards for having two additional armies in the region. 

Carthage gets one additional "Rally" cards replacing a "no event" card for having one additional army in the region. They also have an exceptional leader in Hannibal and will replace a "confusion" card with an "initiative" card. 

Note - while the campaign only has exceptional leaders. In a game with good leaders one "initiative" card would replace a "no effect" card.

Basic chance card setup Carthage is blue and Rome is red.

The chance cards after adjusting for armies and exceptional leaders.

The game is now setup, and I now need to spend some time out in the garden to reduce the number of weeds. All being well I will find some time later to play the game.

All set for a game.

Thursday 19 August 2021

A Medieval Game and Rules

This past weekend I decided to move some of my terrain from one of the draws under my tabletop to a plastic container to free up some space for my old medieval Minifigs collection, which were hidden away in some boxes. Somewhere in this process I decided quite naturally to set up a quick game. For inspiration a quick glance through "Wargaming Ancient and Medieval Period" by Donald Featherstone sound the Battle of Morlaix, 1342. 

Provided inspiration for the game.

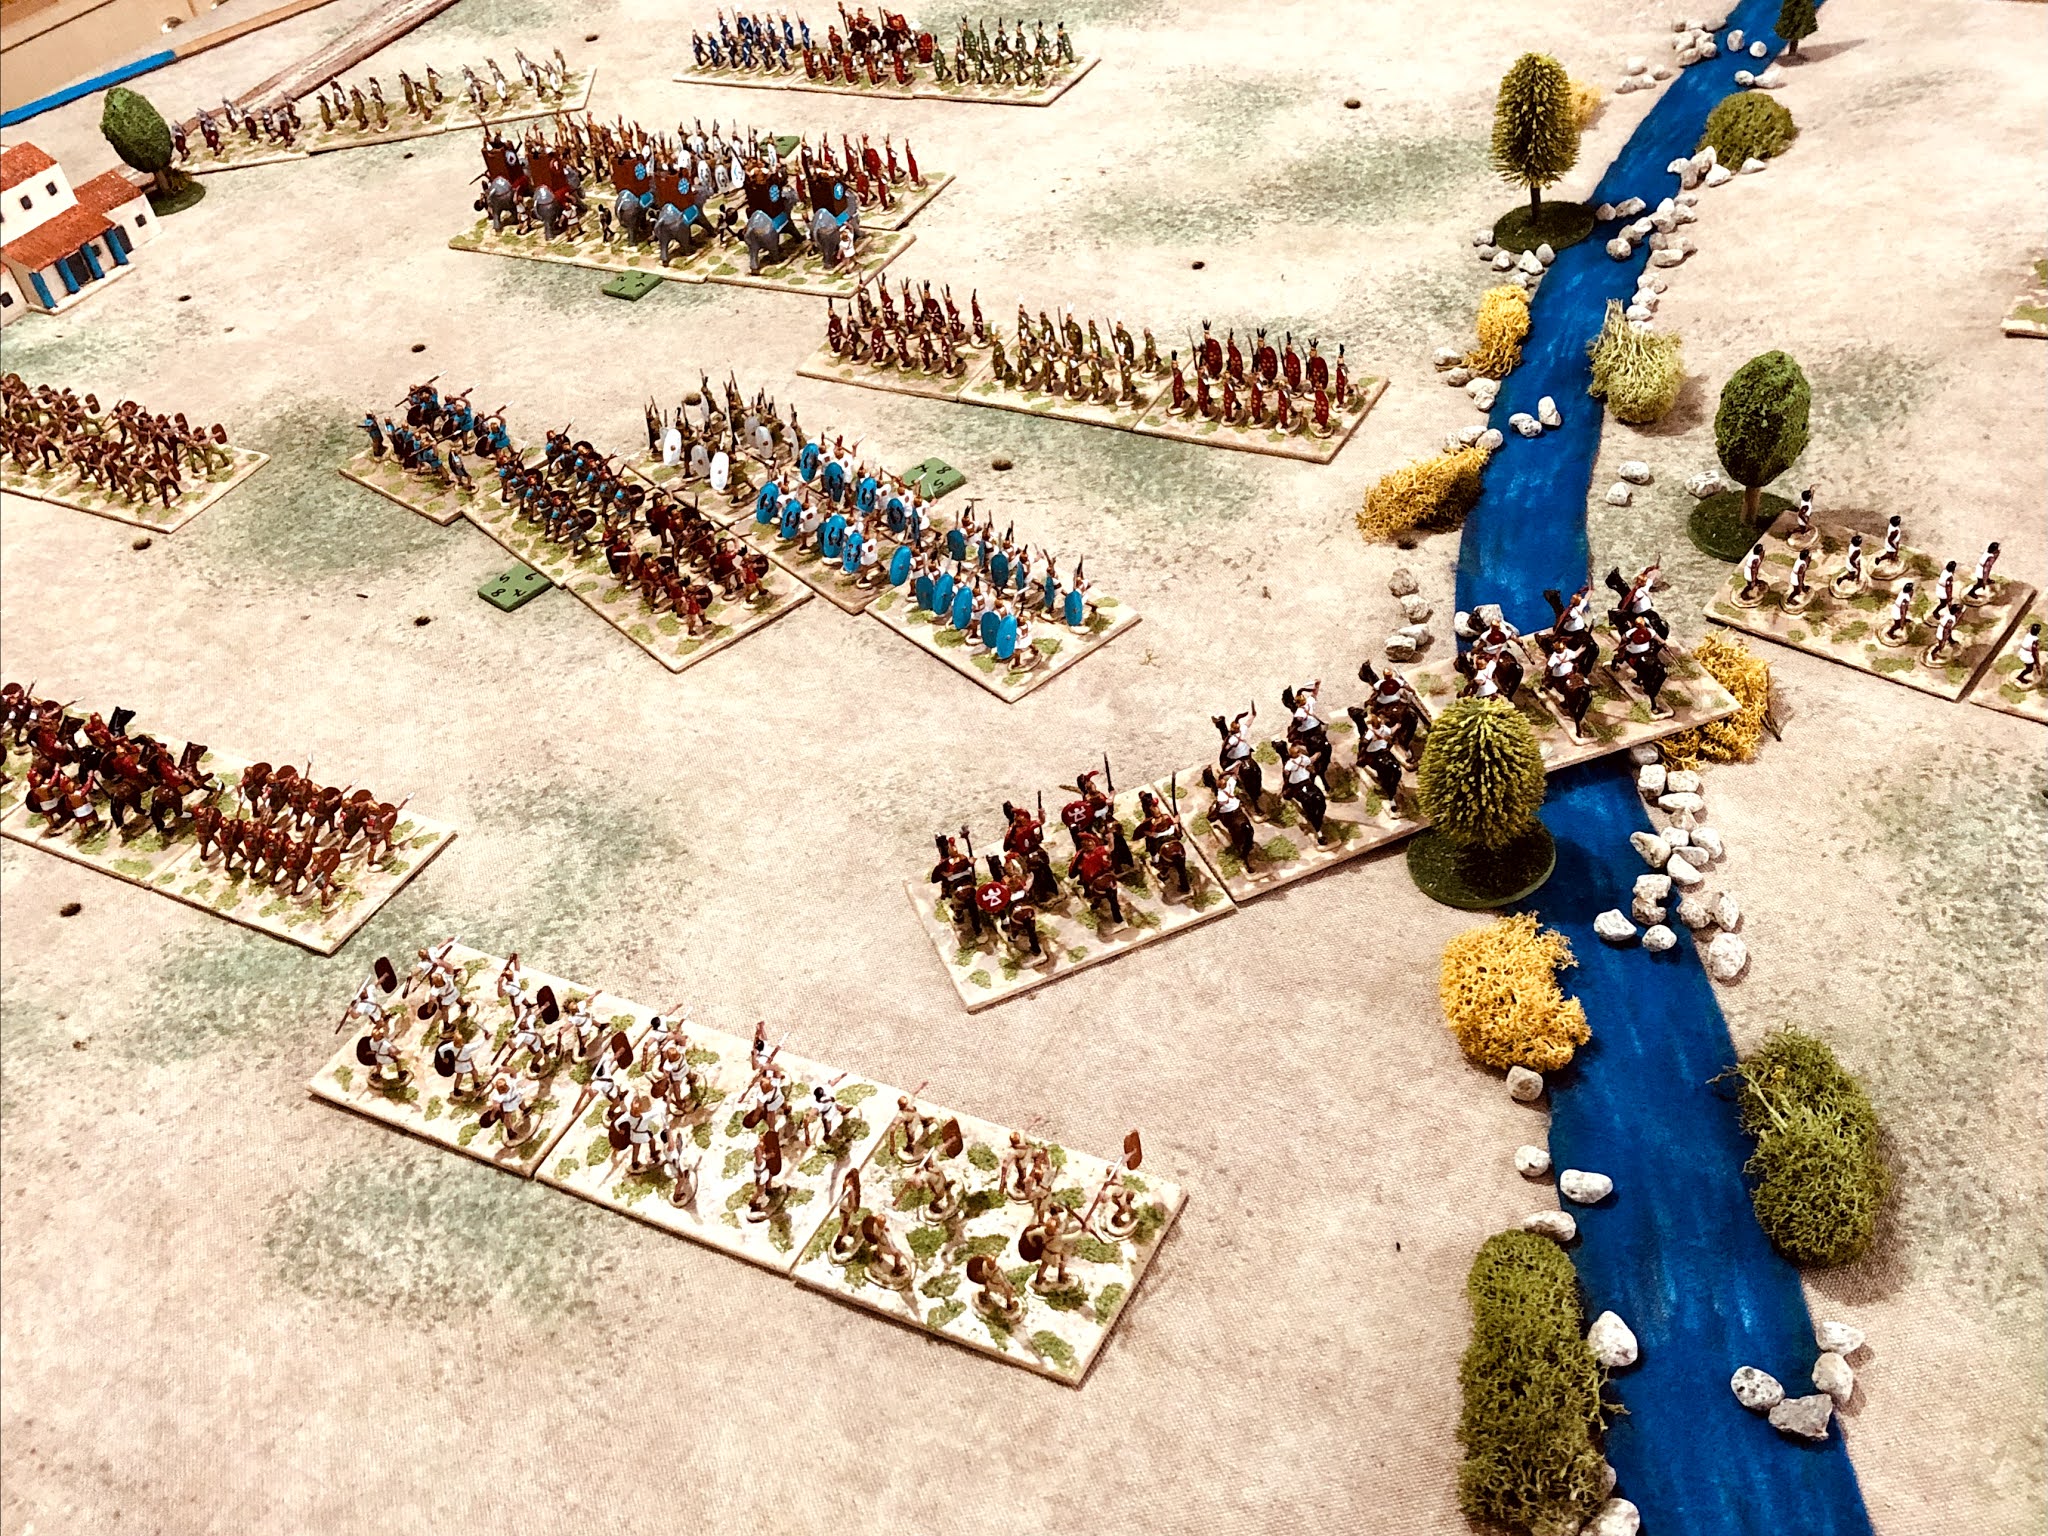
The battle has a small English force of 3000 defending a position in front of a ditch against a 15,000 to 20,000 strong French relief force which had arrived to lift the siege of Morlaix. The English were in a strong defensive position in front of a ditch. After successfully repelling multiple French attacks, the English force commanded by the Earl of Northampton made a tactical withdraw through the woods. Using the advice within the book as a guide I setup the tabletop (4 x 4 foot) and army deployment.

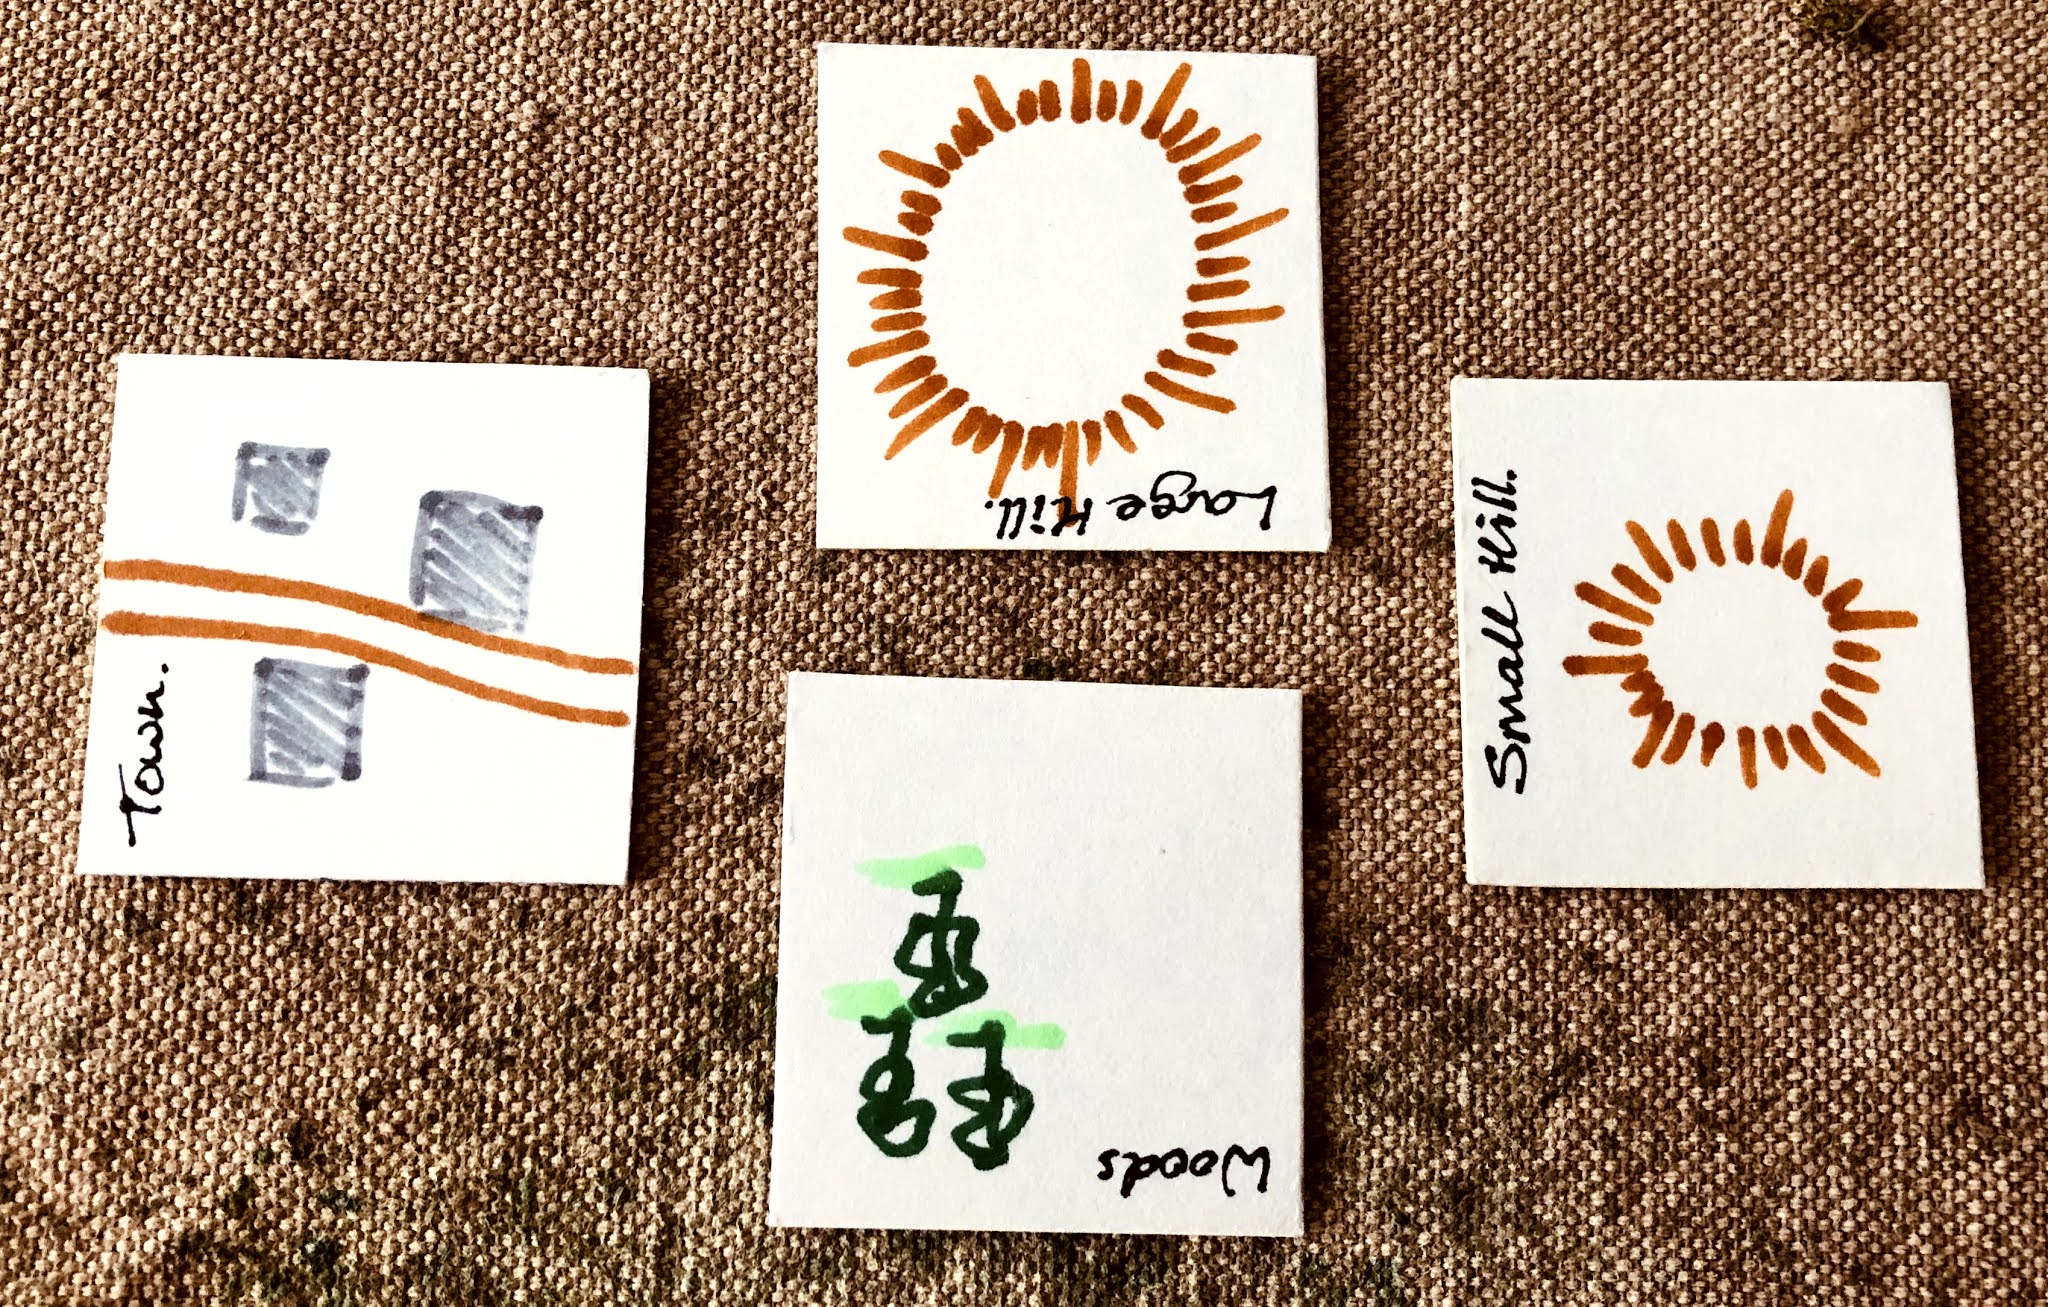
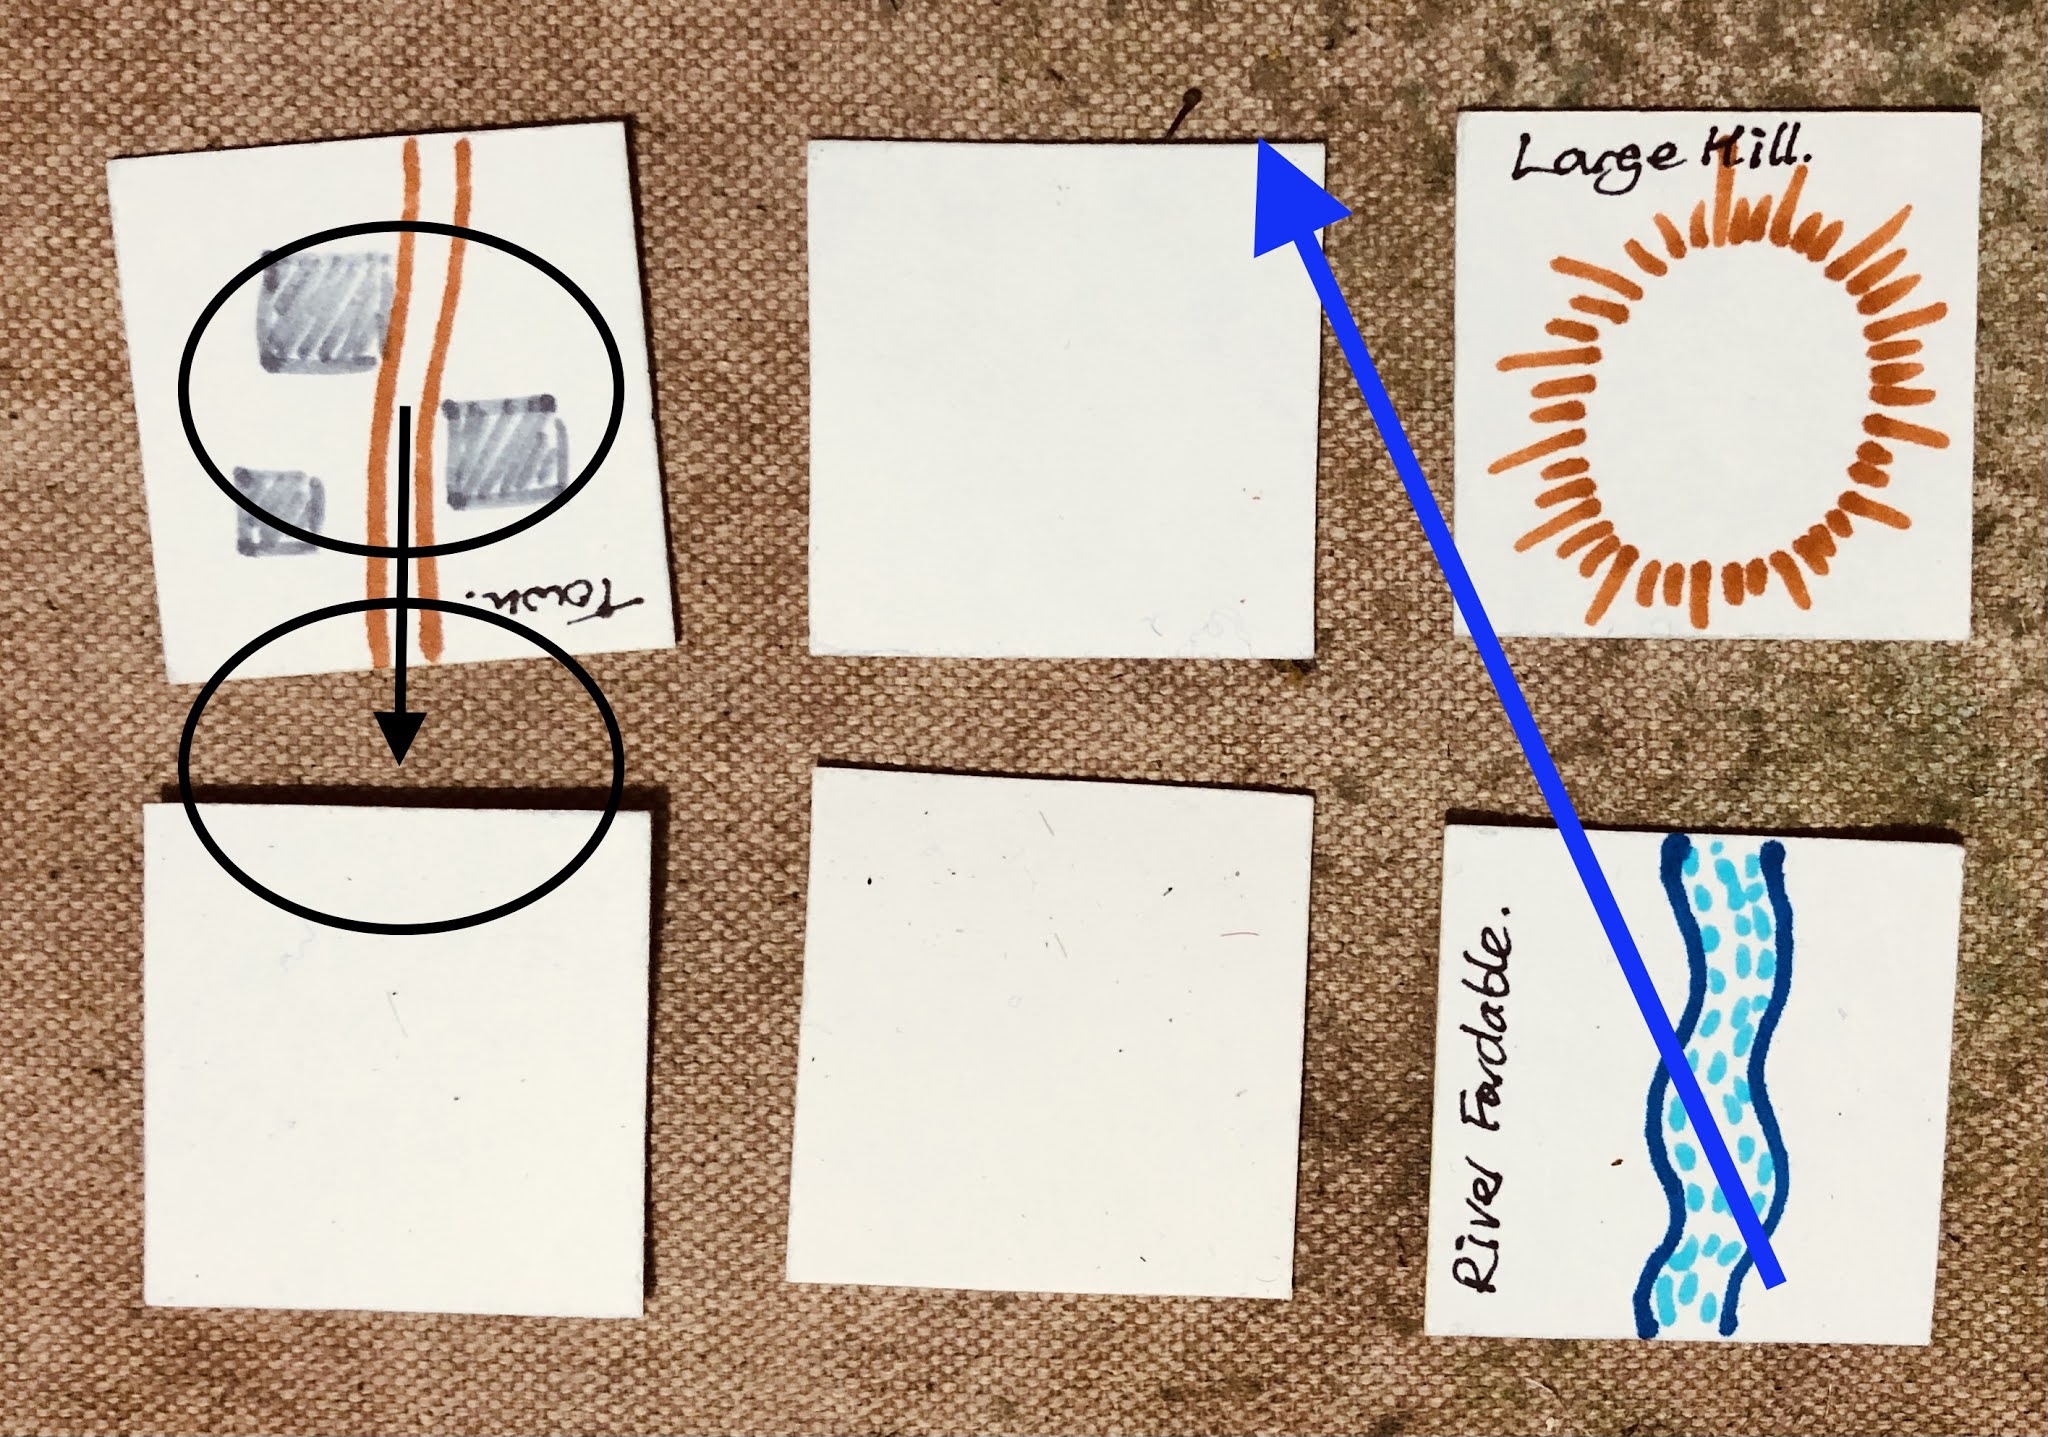
The tabletop setup has a shallow valley between the deployed armies. The stream has no  effect on movement, it is there more to show where the valley.

The order of battle for the English army:
  • 1 unit of man at arms (dismounted)
  • 2 units of long bowmen
These are positioned in front of a wood along a rise. To represent the ditch the English archers are positioned behind stakes. The French order of battle has:
  • 2 units of levies
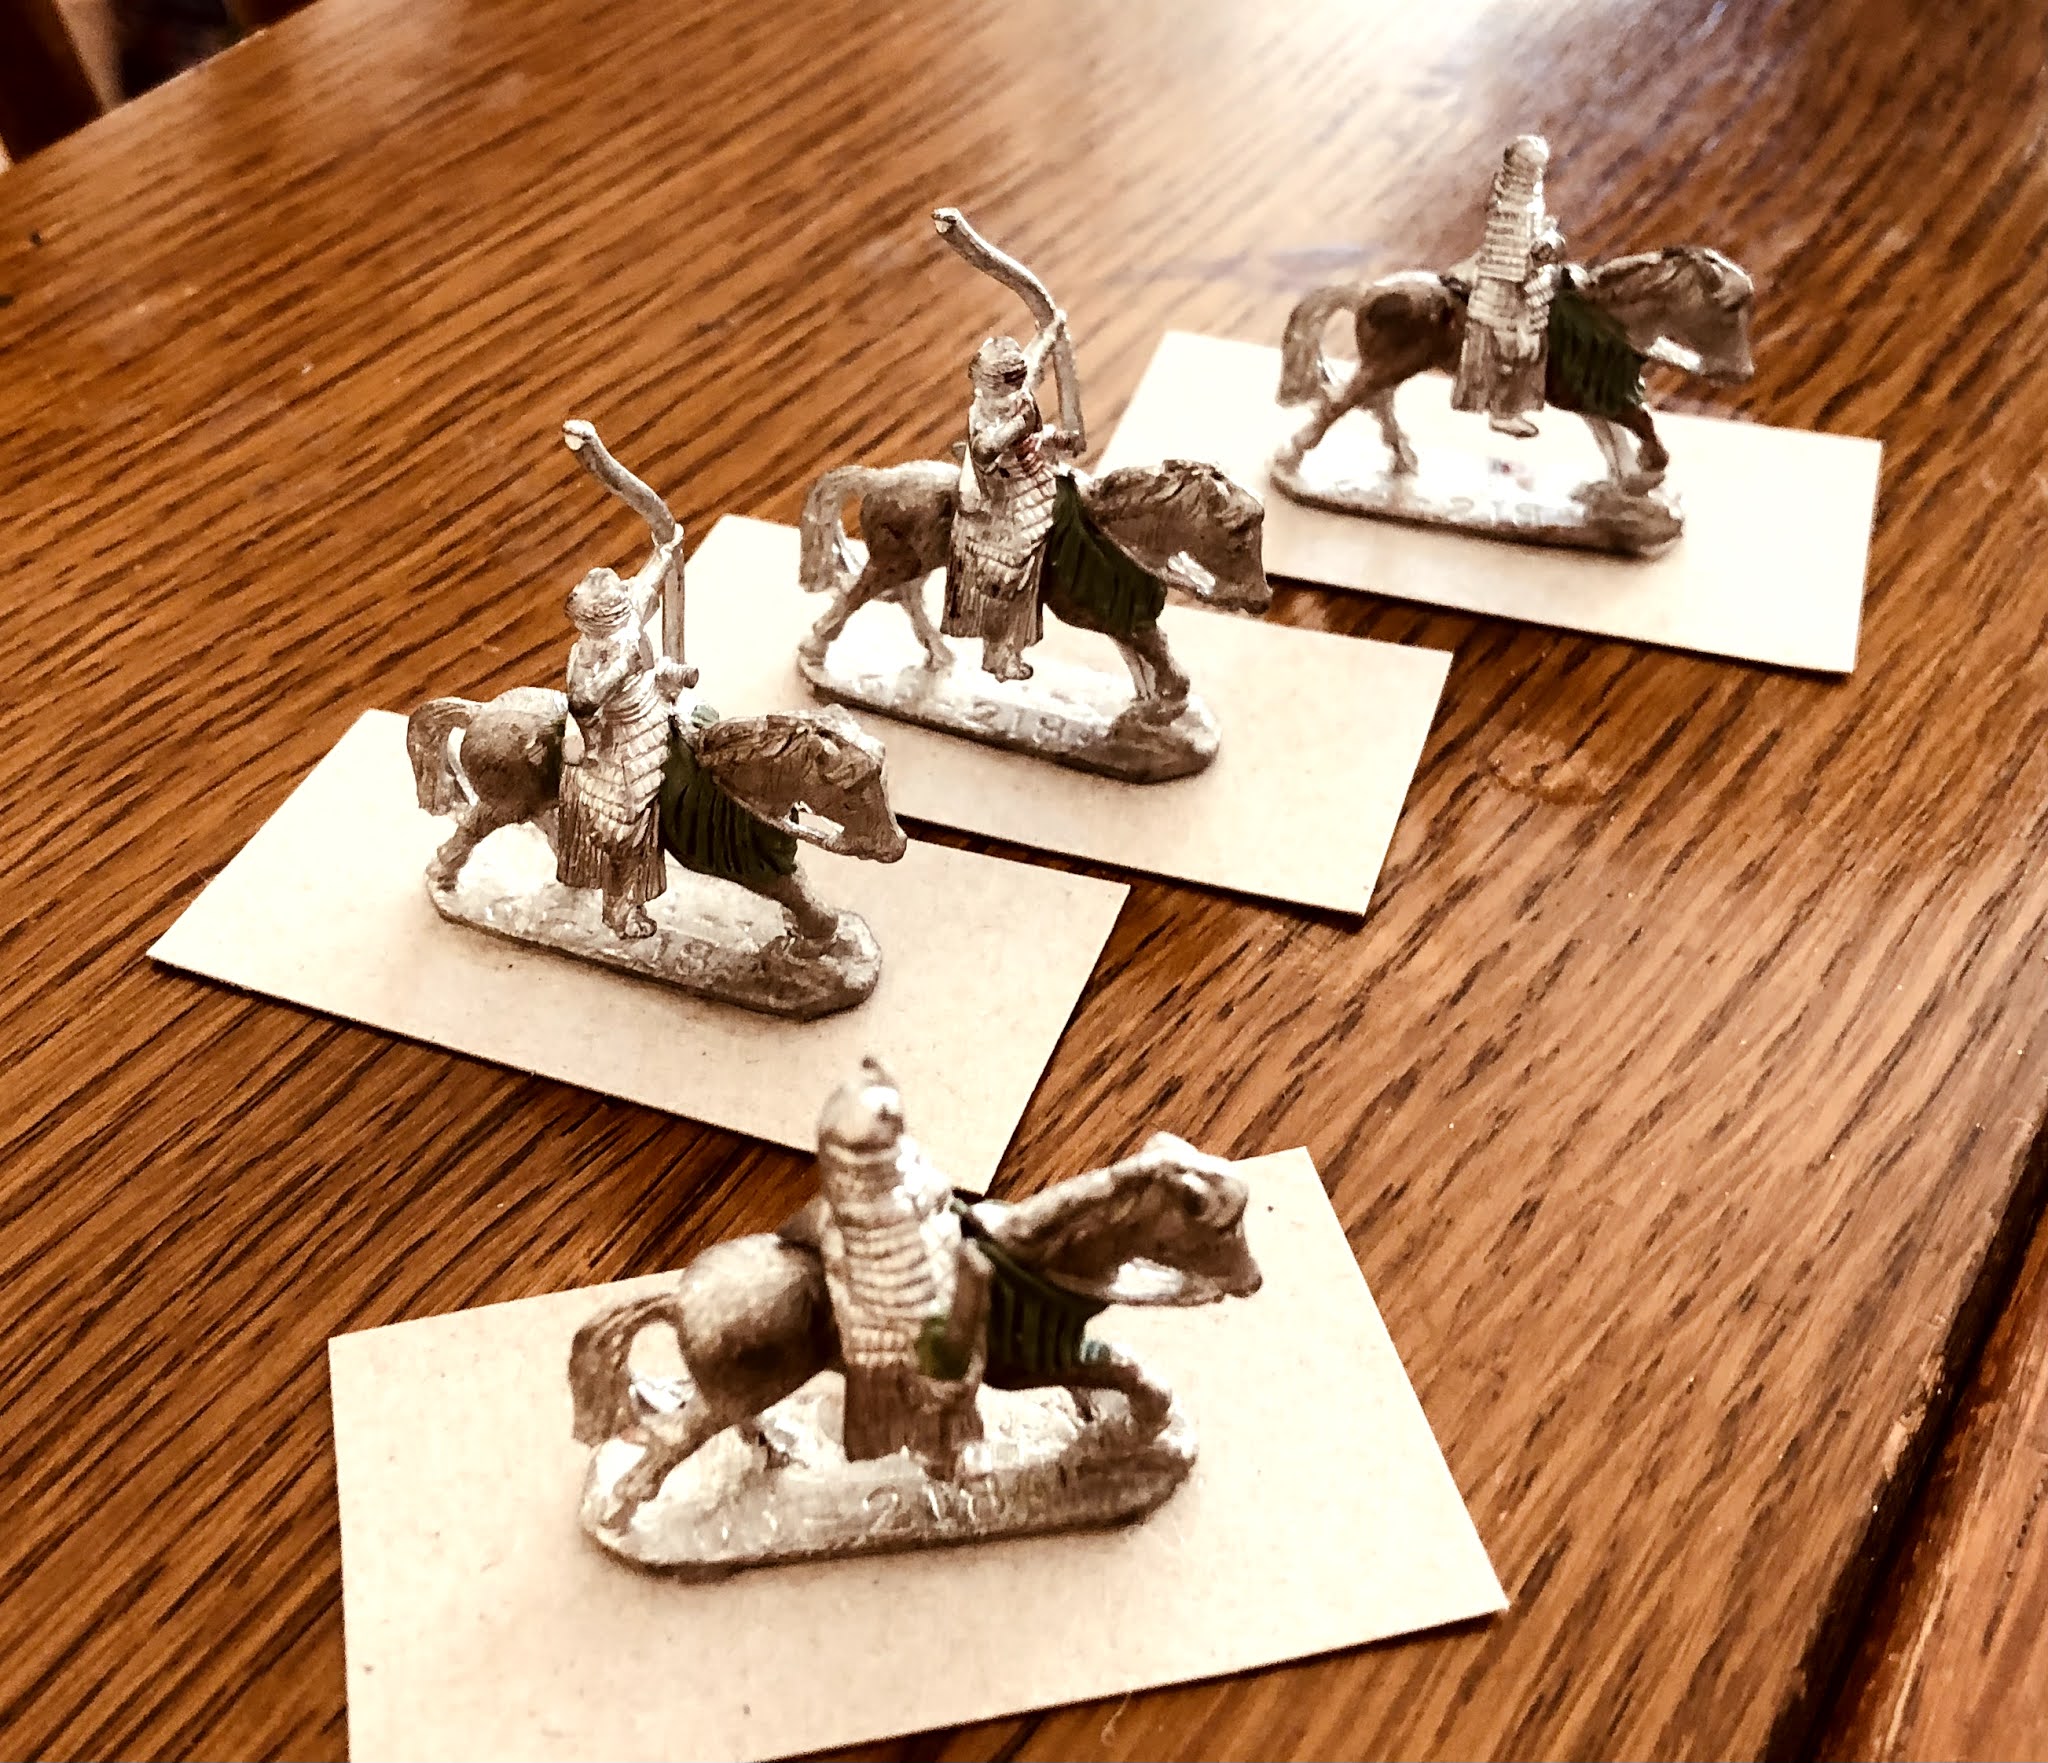
  • 2 units of mounted men at arms
  • 2 units of men at arms (dismounted)
This does not represent all the French army, but if the English can hold their position against double their number they can then make a tactical withdrawal through the woods. The French attack was constrained by the following rules:
  1. Attacks had to be made in the following order - levies, mounted men at arms, and foot men at arms.
  2. The following line could not attack until the previous line had been eliminated.
  3. Men at arms, mounted and foot, had to first engage in melee the English men at arms before they can engage the bowmen. (A matter of position and honour.)
A few photographs of the game as it progressed...

The French levies advance upon the English line who quickly let loose their arrows.

The levies were repulsed and the mounted men at arms charge ahead, although one unit become disordered from shooting. 

The last French line of dismounted men at arms advances

Bowmen leave their positions to joint the fight.

The English see off the last line of attack before withdrawing.

The rules used for this game...

D3 Medieval Wargame Rules

These home-brew rules started out as a variant of Neil Thomas’ One-Hour Wargames Medieval rules. They have been changed to use D3 for combat, and 2D6 dice for checking disorder, and a D6 for unit movement.

Units Types

The game has the following units types:

  • Levies
  • Knights (mounted Men at Arms)
  • Men at Arms
  • Longbows
  • Crossbows

The units are consistently based. I am using two 4x3 inch bases to represent a unit.

Sequence of play

Each player takes a turn to move, shoot and melee with their units in the following sequence:

  1. Movement
  2. Shooting
  3. Melee
  4. Disorder and elimination

The game ends after 15 turns.

Movement

During the movement phase a player can attempt to move their units. Dice must be rolled to determine if a unit can move. The D6 score required is dependent upon the order number of the unit being moved.

  • 1st Unit requires 2+
  • 2nd unit requires 3+
  • 3rd unit requires 4+
  • 4th unit requires 5+
  • 5th unit requires 6+

When failing to achieve the required score, all movement must stop. A maximum of 5 units can move during a player’s turn.

Units may move up to the distances listed below:

  • Levies, Longbows, Crossbows, and Men at Arms move 6”
  • Knights move 12”

Units may pivot at the start and end of their move.

Units may not pass through other friendly units.

Units that have moved or pivoted may not shoot or engage in melee.

Units may move into contact with enemy units with the following constraints:

When charging a unit may not pivot during their move. They must move straight ahead.

Only one attacking unit can contact each side of an enemy unit (front, left flank, right flank, and rear)

Combat is resolved in the melee phase

Units that are disordered cannot move.

Terrain

Terrain has an impact on a unit’s movement and combat.

  1. Woods - Impassable to units
  2. Towns - Impassable to units unless on a road
  3. Marshland and lakes - Impassable to units
  4. Rivers - Can only be crossed at bridges and fords
  5. Roads - Units moving all their move on roads increase their move distance by 50 percent.

Shooting

Only longbow and crossbow units can shoot. The procedure for shooting is as follows:

  • Units may only shoot at a target within their frontal facing.
  • Crossbow units have a range of 12” and Longbow units have a range of 18”.
  • Assess the number of hits for Crossbows rolling a D3+1 and Longbows roll D3.
  • -1 if the target unit is Men at Arms (dismounted).
  • -1 if the shooting unit is disordered.

Units in combat cannot be shot at.

Melee

Units only inflict hits during their own player turn. The procedure for determining the number of hits is as follows:

  • Longbow and Crossbow units - D3-1
  • Knights - D3+1
  • Levies and Men at Arms - D3

Modify the score for the following:

  • -1 from hits for attacks on Men at Arms.
  • +1 If attacking from a flank or rear.
  • -1 where units are defending river crossings or have deployed wooden stakes.
  • -1 if the attacking unit is disordered.

Units are allowed to face an attack upon their flank or rear, only if they are not already being engaged frontally.

Disorder and Elimination

Units are eliminated after taking more than 8 hits and are removed from play.

When a unit has taken hits during a turn check to see if they become disordered. Roll 2D6, if the score is not greater than the number of hits taken by a unit, then the unit is disordered for their next turn. Disordered units cannot move during their turn and -1 from any shooting or melee hit scores.

A unit is only disorderd for one turn, unless they become disordered again.


Saturday 14 August 2021

A mounted Samurai unit completed

I am still working through painting the different unit types for my Samurai project. This week it was a unit of mounted Samurai with retainers. The simple colour palette of blues and grey is working out well for these figures and my painting style is just blocks of colour.

Completed mounted Samurai.

I bought these Miniatures Figurines S Range Samurai figures secondhand a while ago. The horses did not come with any tassels. A look at the Caliver Book site, where some of the S range can still be purchased, showed Samurai horses can no longer be purchased due to a missing mould. To address the lack of decorative tassels I added them using Green Stuff.

An Ashigaru katana was converted to carry a banner using wire and painters masking tape which sticks nicely together when folded around the wire. No messy glue or waiting for the glue to dry.

Mounted Samurai and banner

Green Stuff is applied to create tassels.


Tuesday 10 August 2021

Ancient Campaign Turn 2 - Game 1 Battle of Egara 216 BC

This game report is for the first land battle of two battles to be fought in the second campaign turn. The turn represents the period 216-215 BC and the battle of Egara 216 BC is being fought in Spain where Carthage has an advantage with two armies in the region against a single Roman army. The name of the battle, Egara, was picked out from a quick Google search for Latin names of Spanish towns and rivers. From a narrative perspective sounds much better than campaign turn 2 game 1.

Campaign Map Turn 2 - Game 1

This game report will step through the setup, army deployment, and chance card selection. Areas where I am still testing the rule mechanisms.

The Roman commanders view of his troops.

Terrain cards are used to determine the tabletop layout. One rule I am trying out is when a terrain feature appears on one of the sides and there is no feature opposite, then the feature gets moved into the centre. The example here is the town which will be placed equal distance between the base edges. This approach does not apply to the centre which I want to keep as clear as possible as armies of the period generally tried to select suitable terrain to fight on. On the other edge the fordable river will be adjusted to avoid the hill feature. 

Since the last game, I now treat towns as impassable terrain for the deployed units, even for light infantry. Should towns appear they will be useful to help protect a flank.

Terrain cards drawn from a deck of cards decide the tabletop layout.

Rome won the dice-off to decide which army begins deployment. While there is always an advantage to seeing the opposition deploy first, the trade-off is the army that deploys first gets to move first in the game. I used the same approach as last time, no tweaking of these deployment rules:

  1. Armies deploy their first line of units up to 18” from their baseline. Only cavalry, light infantry, and warbands (which move greater than 6” normally) can be placed on flanks. There are no restrictions on units deployed in the centre.
  2. Armies deploy their next line of units up to 12” from their base edge. The same unit restrictions apply for the flanks.
  3. Armies deploy their final line of units up to 6” from their base edge. Heavy infantry can be rushed into position and placed on the flanks, but must sustain 25% hits if used on the flank.

A cheat-sheet to remember the deployment rules

Deploying 1st Line
Carthage deploys elephants and light infantry across the centre and a bit into the flank areas. This is allowed as all these unit have a movement allowance for more than 6 inches. In response Rome positions two heavy infantry in the centre and extend the line into the flank area with light infantry. They position their light cavalry on the hill.

First line deployments.

Deploying 2nd Line
Carthage position their heavy infantry in the centre and their Gauls partially in the centre and flank areas (they move greater than 6 inches). Rome continues to position two heavy infantry units in their centre and second line which is 12 inches from their base edge.

Second line deployments.
Deployment 3rd Line
The last of Carthage's two heavy infantry is placed in the third line along with their heavy cavalry on the flank, but close to the centre area. Rome's last of their five heavy infantry are placed in the third line 6 inches from the base edge.

Third and final line deployments.

With the tabletop ready for action the one remaining step is to prepare the chance cards. There are no exceptional leaders involved, Hannibal or Scipio (who arrives in campaign turn 5) to influence the card choice. But the Carthaginian army benefit from fielding more armies in the Spanish region and will replace one No Event card with a Rally card.

Chance cards used in the game.

A closer look at the cards shows there are differences between the cards used for Carthaginian and Roman armies. These differences are to reflect the experienced mercenaries used by Carthage versus Rome with their well discipline legions and army organisation. Unfortunately Roman armies are yet to be well led in this campaign.

The Carthaginian General's view before battle begins.

On to the game...

The battle opened up with both sides advancing in the centre with neither side gaining any immediate advantage. Gradually the Roman heavy infantry were gaining an advantage until a couple of Carthaginian initiative cards (allowing extra attacks or moves) reversed the Roman infantry's advantage. 

Both centres advance into contact.

Carthaginian cavalry quickly swing round on the advancing Roman flank.

After a brief pause where the centres for both armies to reorganised themselves they closed again for battle. The centre was being won by the well disciplined Roman heavy infantry, while on the river flank Carthage light infantry secured the hill from Rome's light cavalry.

The centres reorganise.

Carthage send in their last heavy infantry unit and general to shore up the centre.

In the final couple of game turns the weakened Carthaginian centre is supported with heavy cavalry and light infantry.

As the day closes in there is a stand off between the opposing armies.

The game turns ran out before Carthage could make any final attacks. I opted to call the game a draw even though Carthage has four units to Rome's two units. This was mainly because Carthage's heavy infantry were all but shot and in no fit state to lead an attack, while Rome's was still in a good state. Both sides will be able to reorganise their troops as neither army had been routed and as a consequence will not forfeit an army in the campaign.

Tuesday 3 August 2021

Samurai project progressing slowly

My painting for the Samurai project has slowed. On the positive side it has not stopped with about half a unit, 6 figures, being painted each week. I now have completed 20 percent of the units required to reach my first goal of 20 units painted. Why 20 units? I generally try to paint up 10 for each army so I can play a One-Hour Wargaming game. After this point, even if I choose not to play a game, the painting of the remaining forces always seems to get easier.

The Samurai forces are slowly getting painted.

While painting is slow. I do seem to be getting through quite a few games on the tabletop. Either testing out some new rule changes, or try out games with larger unit sizes. 

A few Jacobite Rebellion games were played to test out some moral and activation rule changes. They seem to work and I now need to play a series of games, possibly in a mini snakes and ladders style campaign.

A quick WW2 game using 3 bases for each unit. A base is removed for each hit a unit takes, and units are eliminated after 3 hits, which is the reason for increasing the unit base number. However, I think I will stick with 1 or 2 bases per unit and use markers for hits. It all got too cluttered for my liking.

After this gaming diversion I think it is time to return to the 2nd Punic War campaign and get going with the two land battles for the turn.