Saturday 27 November 2021

A week and weekend of painting

While I still have more samurai figures to paint. Their painting progress has been interrupted by the painting of zombie miniatures from the Zombicide board game. My aim is to get them all zombies finished and ready for a game at Christmas. 

The latest samurai unit to be painted

This week most of my hobby time has been spent trying to put a dint in the painting of some 70 plus zombies. I have kept the paint really simple and used a black wash for speed. This seems to work well for that zombie look, along with a lot of dark red for that gory look. At the very beginning I did try some contrast paints, but it did not give me the finish I was looking for.

Zombies completed so far

A closer look

Picking up from last week when I made some rocks from some left over mortar I had. I sealed the rocks with some watered down PVA glue and a black pigment. Both were commented suggestions to reduce dust and help bring out the texture. So thank you. 

The photos below are of the tabletop setup for a quick ACW game tomorrow all being well.

The recently completed rocks

The figures are MinFigs 15mm


Tuesday 23 November 2021

Rock formations

Two weeks ago I was repairing a small brick wall in the garden and at the end of the job I had some mortar remaining. Not wanting to waste it and with an idea forming to create some cheap terrain, I put the unused mortar on some boards and set it aside for a week to let it dry.

Unused mortar set aside to dry

Once the mortar was dry and using a hammer I broke up the mortar into a variety chunks mainly of between 1-2 inches.

My collection of rocks after a bit of hammering.

Now I have a nice selection of rocks to make difficult terrain, rocky rivers, and possibly building rubble. Cost wise this cost nothing as it was left over mortar, but if I had to purchase some mortar to do this again the cost of a bag was between $5 to $10.

Rough terrain

Rubble

Rocky river

I have noticed there is a bit of dust with the rocks and I may in the future dilute some PVA glue and give all the rocks a quick coat to seal them.


Sunday 21 November 2021

War of the Spanish Succession Game Report

The game and tabletop setup uses the ideas from the "The Battle of Langensalza", chapter 15 in "Wargame Tactics" by Charles Grant. The original setting was for the Seven Years War, but has been repurposed for the War of the Spanish Succession and also scaled down by half as I have no where near the number of figures described in the chapter.

For the rules I am using the WSS Card home-brew rules mentioned in my previous post, and also found on the blog's header.

Order of battle

France:

  • 2 x Cavalry
  • 3 x Infantry
  • 2 x Dragoons
  • 1 x Artillery
  • 1 x Mortar

Alliance:

  • 3 x Cavalry
  • 4 x Infantry
  • 1 x Artillery

Both sides fielded 3 Commanders and 1 General which are used in the game to rally and reorganise units.

The objectives for both armies are to capture and control the town near an important river crossing.

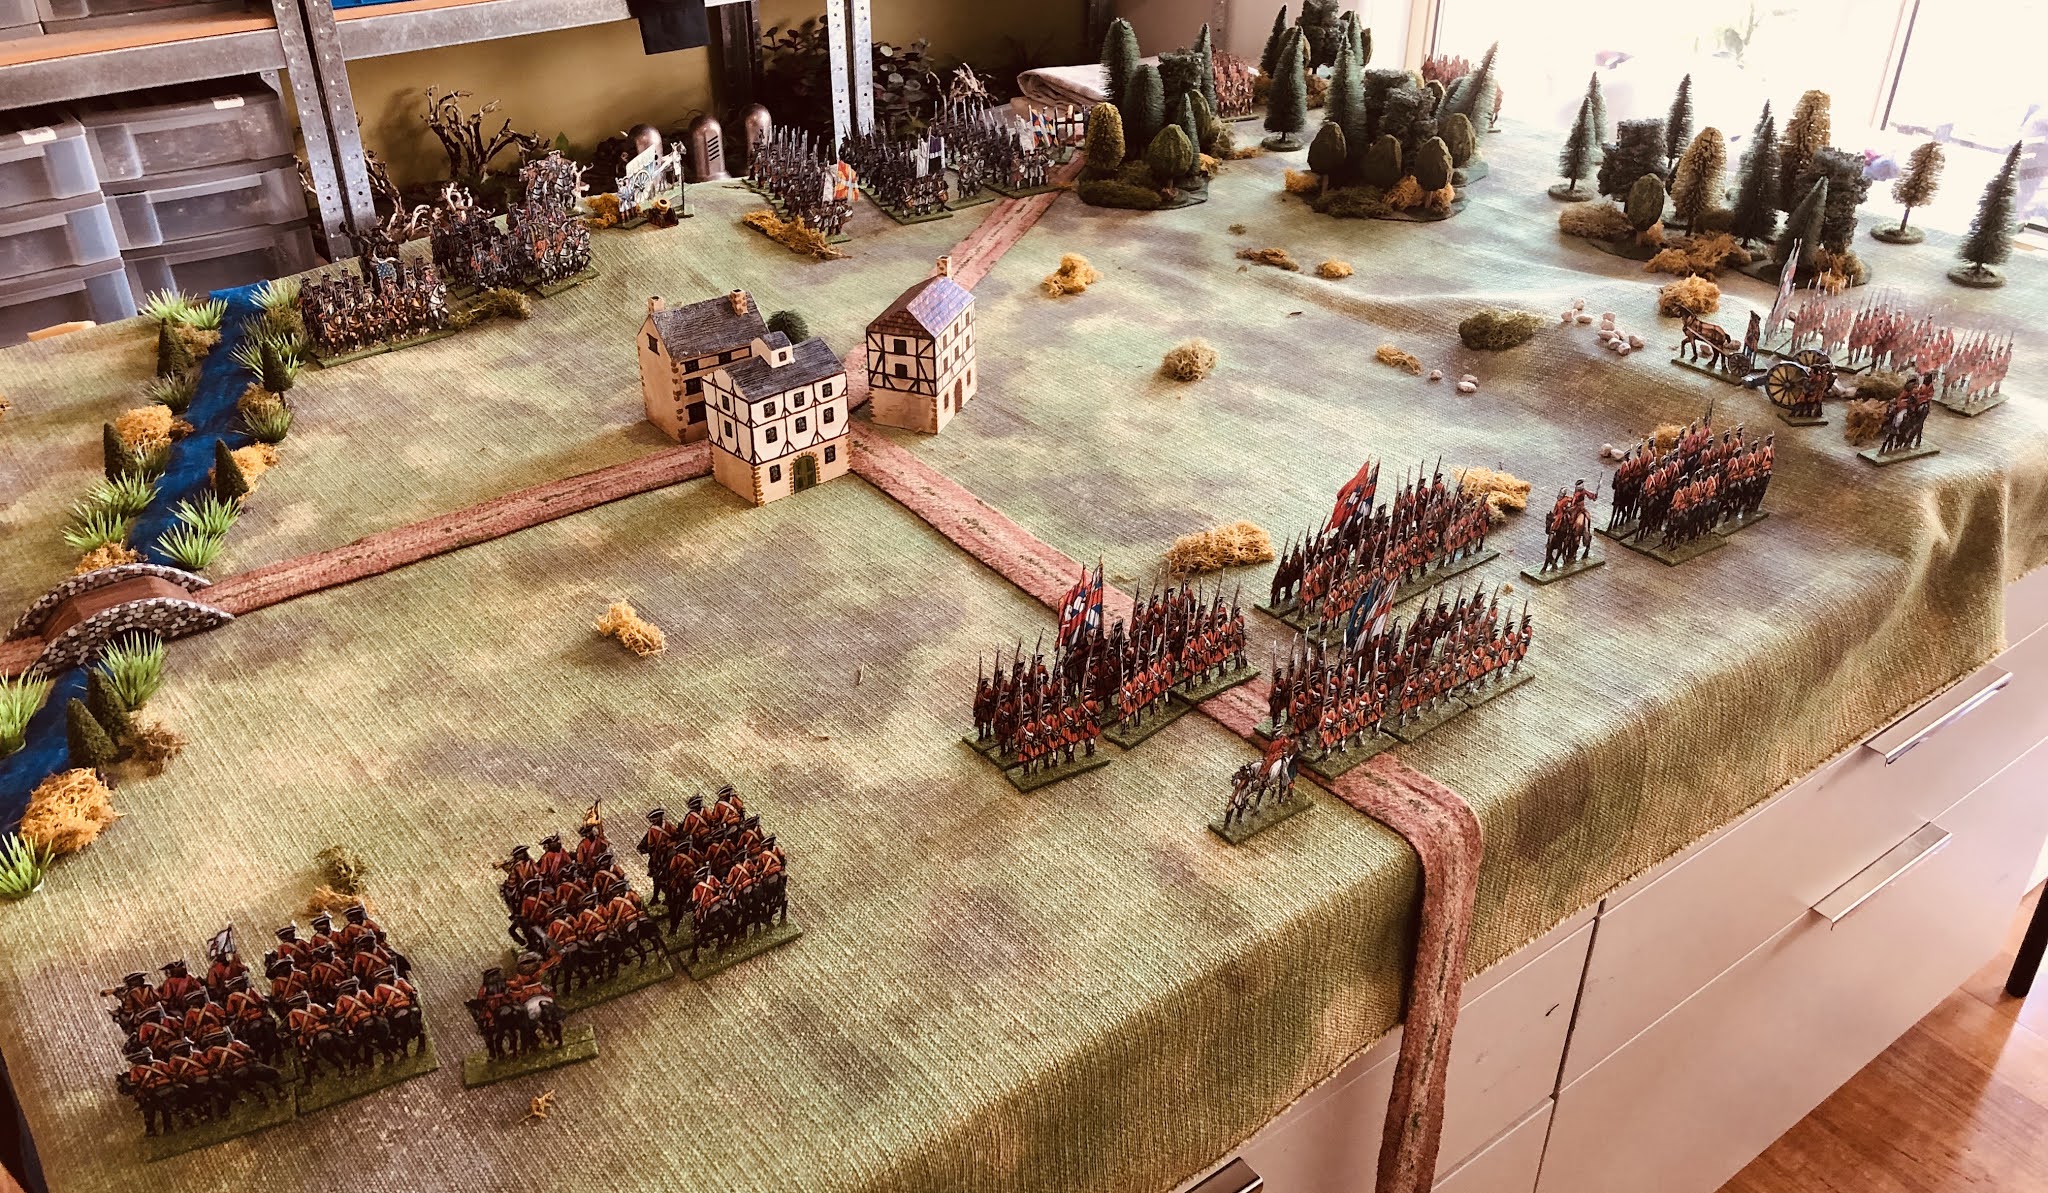
Deployment of forces. French are depicted in blue and the Alliance in red. The French dragoons can arrive through the woods on their left flank.

A view of the tabletop from behind the Alliance forces. All units are Paper Soldiers standing at 42mm tall because I increase the size when printing. I do this so I can see the art work better and they are less fiddly to cut out.

French dragoons arrive through the woods.

The opening turns had both sides pushing forward. On their right flank the Alliance stopped and deployed in the hill. The French were able to occupy the town first, as the Alliance were mostly deployed and moved at a slower pace. The French dragoons soon appeared on the flank from the woods.

A general advance by both sides for the opening move.

The French dragoons appear from the woods, while artillery from both sides exchange shots.

A large cavalry engagement occurs on the other flank.

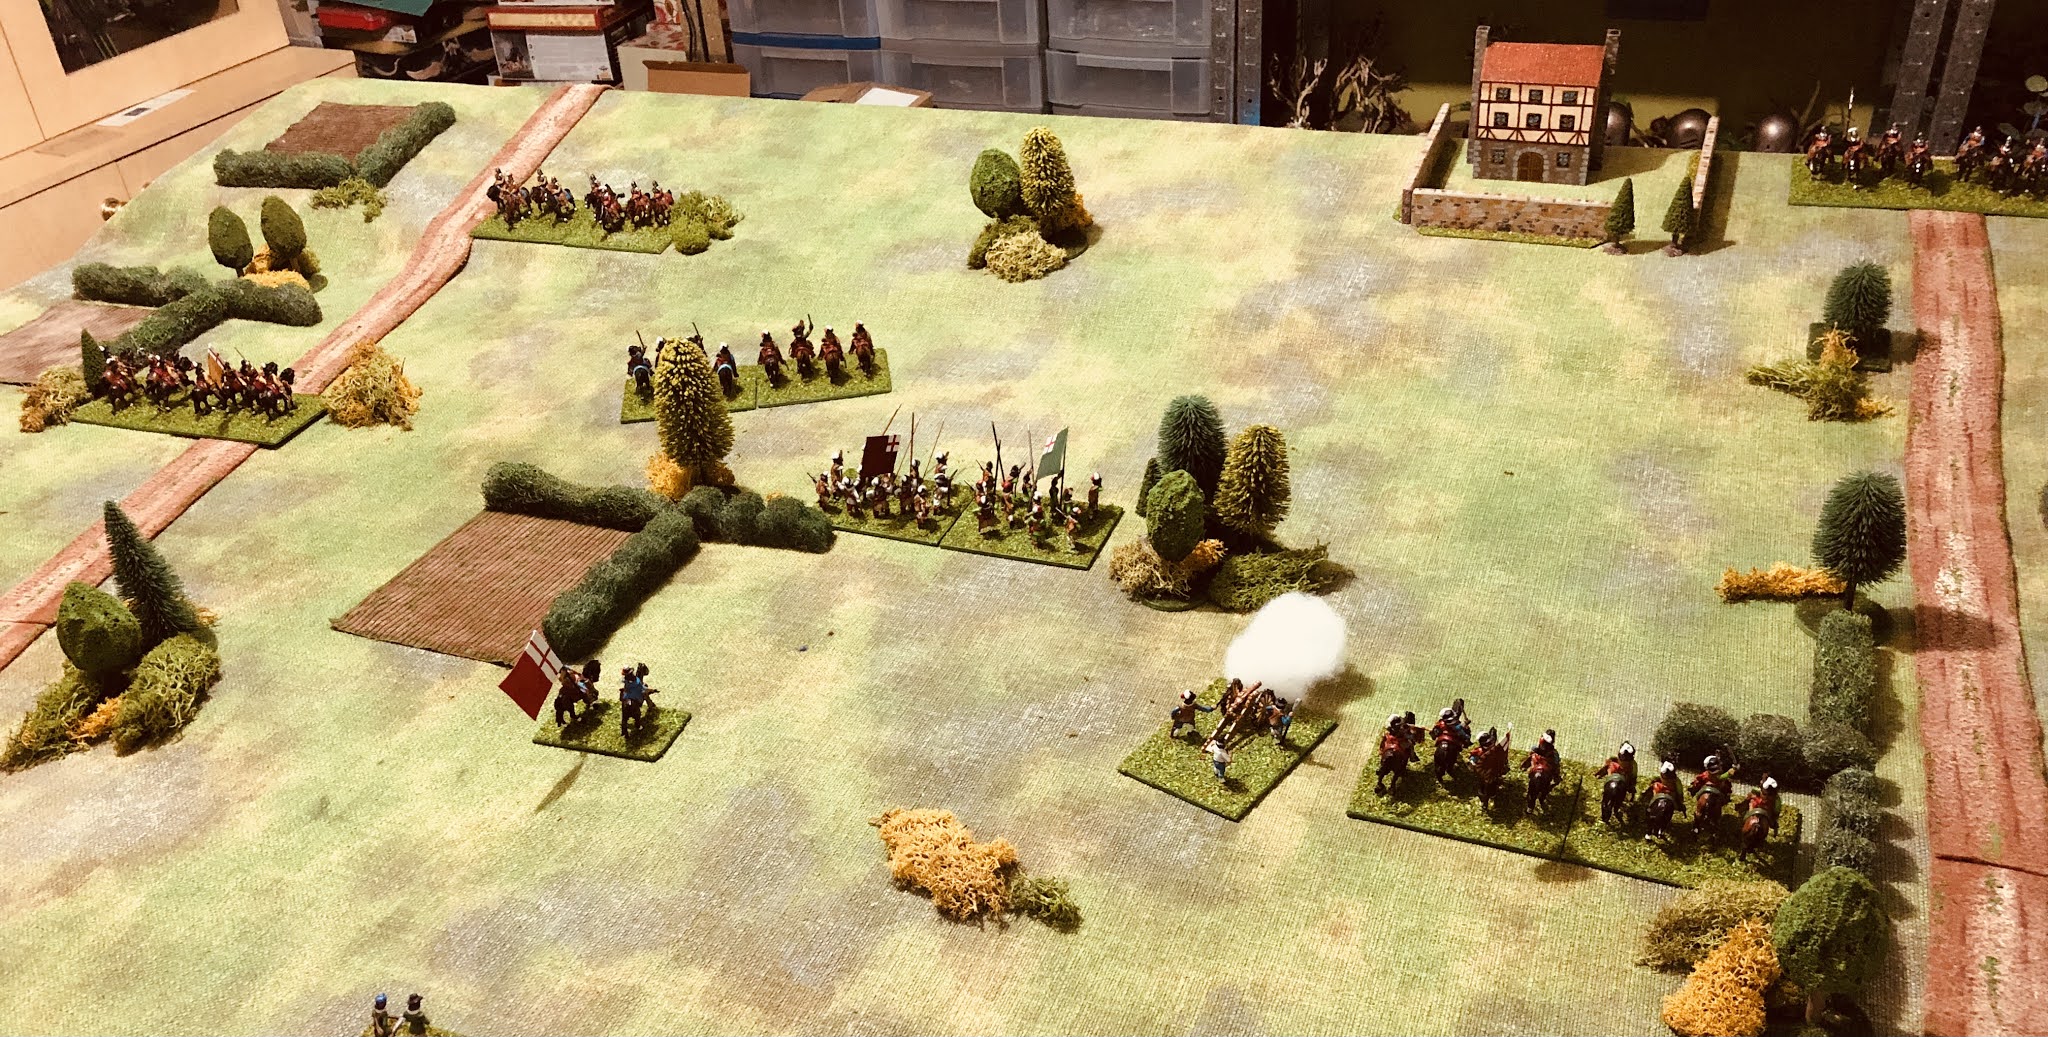
The cavalry engagement was a hard fought affair, and with two evenly matched cavalry forces it was going to be touch and go as to who would win. Both sides used their available commanders to rally troops. In the end the Alliance managed to gain the upper hand.

The Alliance cavalry gain the upper hand in a hard fought engagement. Whoever won the engagement would be pretty much nullified as a threat and unable to withstand any serious opposition.

Movement of forces on the battlefield.

The French Dragoons arrived but had not progressed as far through the woods as they expected, and were less of a surprise and easily countered. While they swiftly attacked it was unlikely to be more than a diversion. Even more so when the Alliance reserve cavalry unit arrived.

The dragoons put up a spirited attack, but failure was always on the cards (excuse the pun)

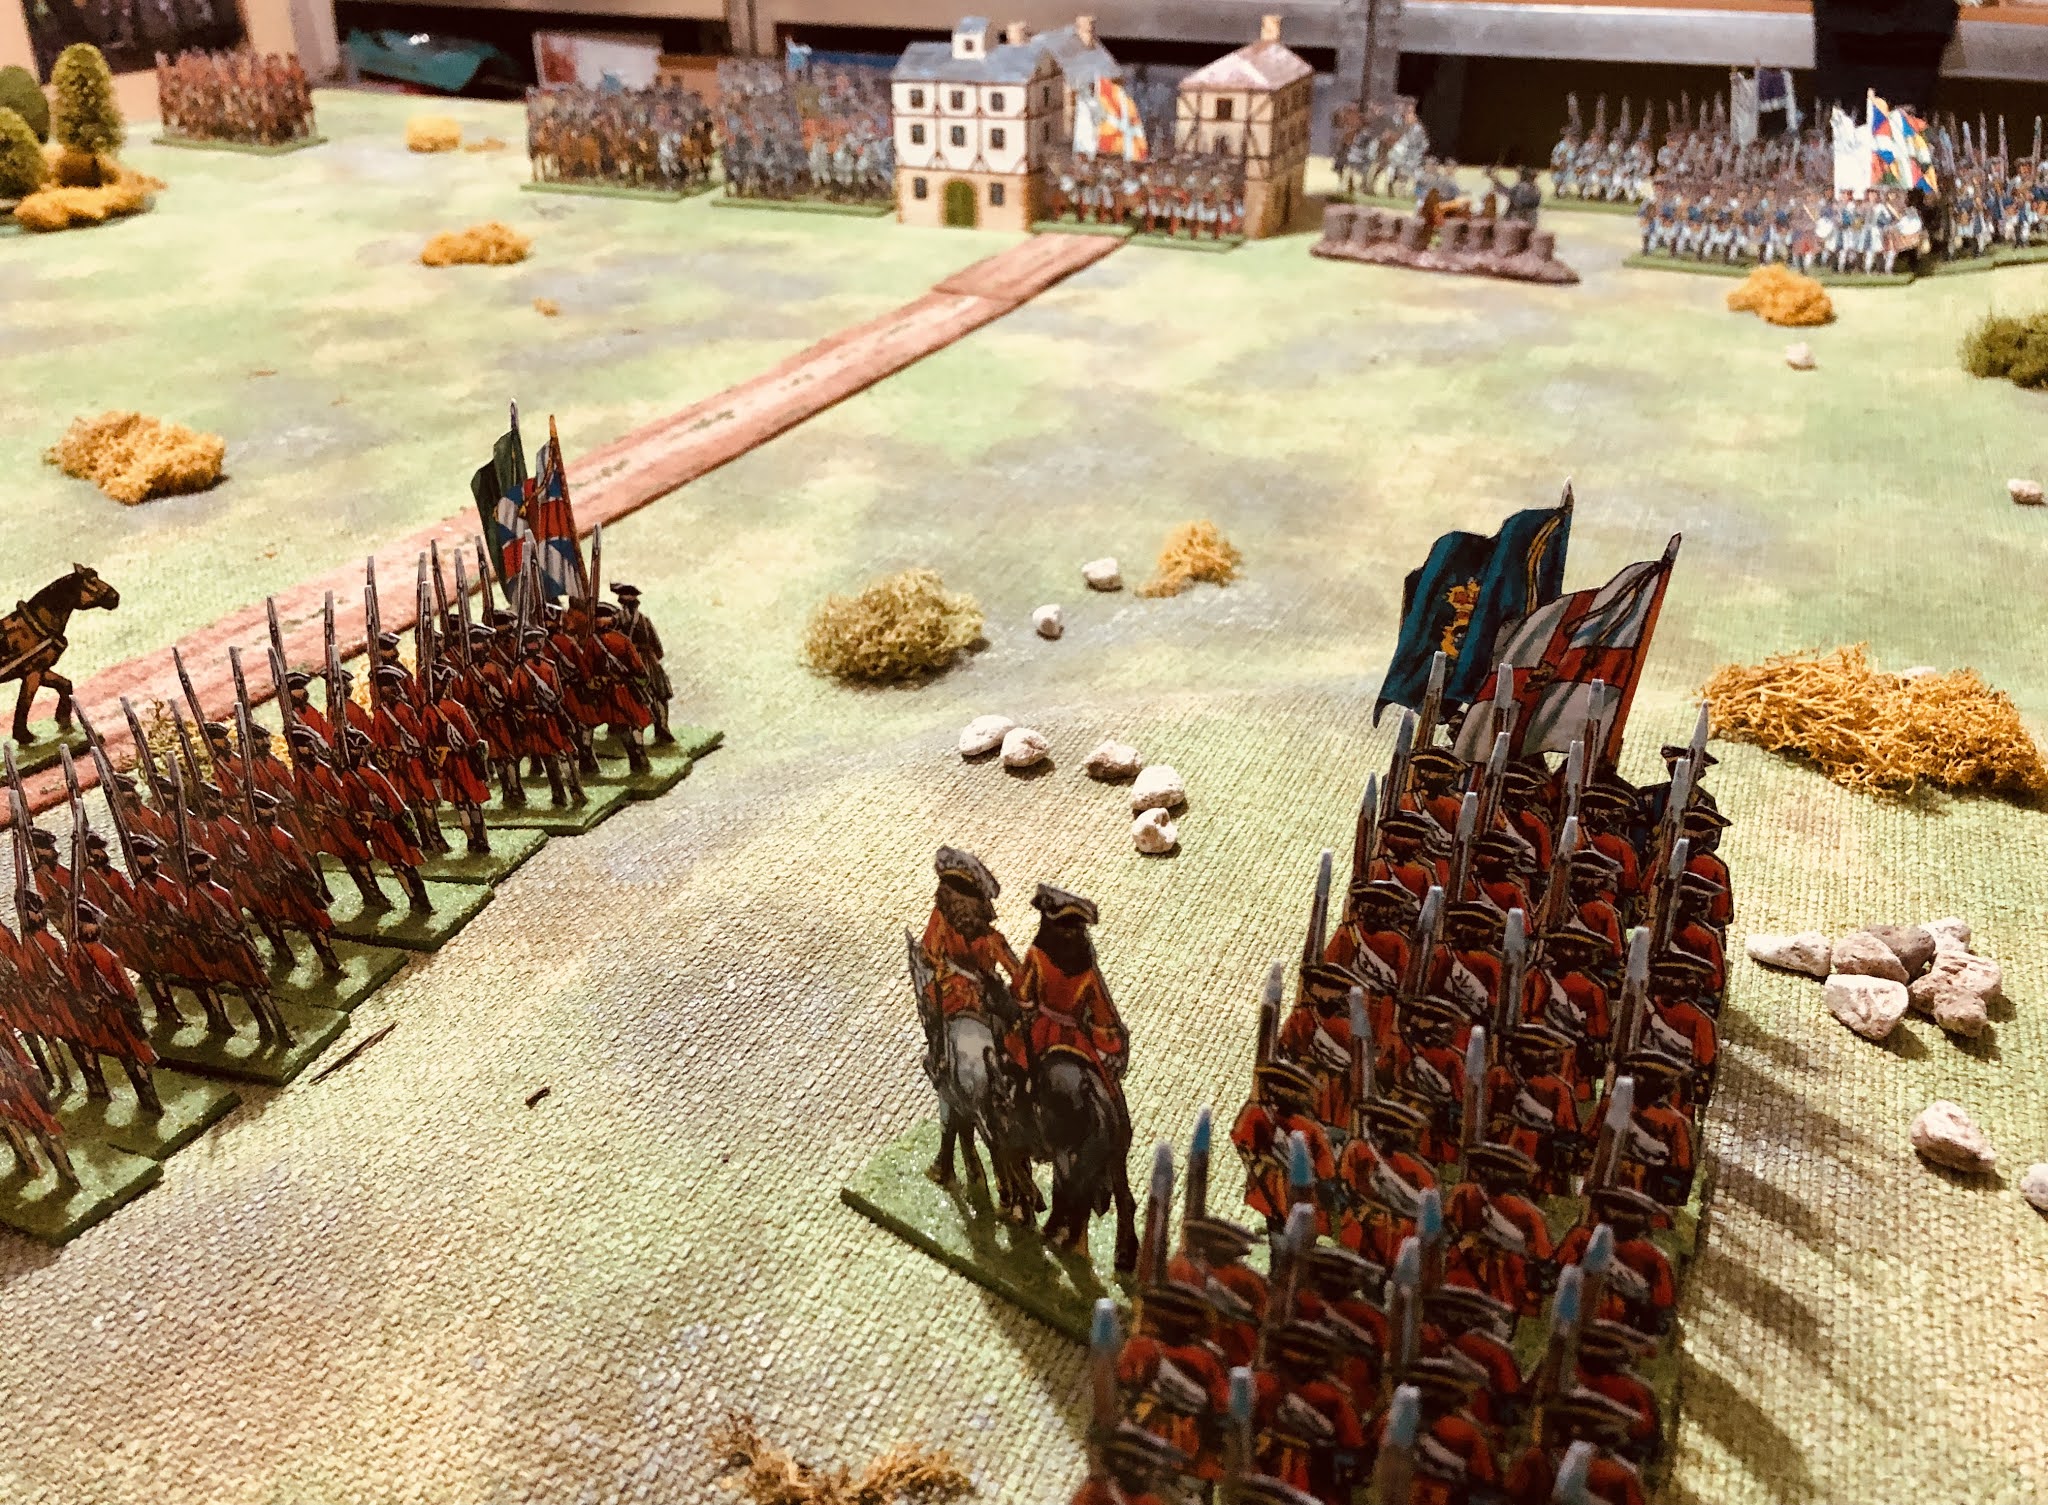
In the centre the French still had some reasonably fresh units, but the threat of cavalry appearing on the flank, and lacking any more reserves, meant they had been reluctant to fully support the town's defence. Eventually, the town changed hands and was occupied by the Alliance.

The Alliance gain access to the town

With a flank exposed, even to a very weak cavalry force, the French line is obliged to retire.

A victory to the Alliance who by securing the river flank where able to do just enough to gain control of the town. The French dragoons who were intended to be the main threat appeared too early from the woods and were easily countered. Had they appeared later and further towards the Allied rear the story could have been different.

How did the rules play? 

There was not a lot of difference from using cards (red/blank) rather than D3 dice (1,1,2,2,3,3) for combat. The slight difference was for the winning unit, which in most cases would not stand up to more than one attack before being routed. Now I quite like this as I am always troubled by units going on to make too much mischief after an engagement, unless they are rallied and reorganised by a commander.


Friday 19 November 2021

Doing without dice

This past week has been spent converting the D3 War of the Spanish Succession (WSS) rules I use to ones which don't use dice. They used D3 dice (1,1,2,2,3,3) for most combat situations delivering below average, average, and above average outcomes. The aim of updating the rules is to reduce the possible combat outcomes to mostly two using a deck of cards and results based on drawing the red or black suits.

A game in progress using a cards only approach

What prompted this madness to rework the rules not to use dice? 

Every now and again I flick through some of old wargaming books that I have. Last week came across a chapter called "Doing Without Dice" in the book "Advanced War Games" (by Donald Featherstone) which asks the question about having fewer dice and less chance in games. The general idea is that wargamers welcome an element of chance, or luck, but that good strategy and tactics should be rewarded more so than good luck. It is an interesting and short chapter of 5-6 pages which looks at various options of restricting the range of results, and chance, and having more expected results. The variety of approaches mentioned include home made percentage cards, playing cards, and even dominoes. 

French units take up defensive positions

The chapter also reminded me of the book "Rules for Wargaming" by Arthur Taylor, published way back in 1971, where chance had been removed as much as possible from the rules.


The result of this reading eventuated with the reworking of the rules, now called WSS Cards for want of a better title, and they can be found in the above tabs or by just clicking here

Allied units arrive

The next post will cover a game report with these rules.

Friday 12 November 2021

Looking ahead towards the next painting project

I recently purchased the board game Zombicide. I have been thinking about getting the game for a while and was able to get a copy in my local games shop when I was in there to restock my paints, which were running low after the last lockdown here in Melbourne. I alway like it when I can support the local games shops, they are always a joy to browse in and look at other products close up.

As for the Zombicide game itself, it has been around for a good few years now and is a collaborative game where survivors fight off ever increasing numbers of zombies which move to set game rules. The game comes with about 70 miniatures representing a few survivors and lots of zombies. My plan is to take a break from painting my Samurai armies shortly and paint up the miniatures in readiness for playing the game over the Christmas holiday break. 

The boxed game

I am as yet undecided how to paint these miniatures. I am quite tempted to try some of the Games Workshop contrast paints not having used them before, and the miniatures are sufficiently detailed for the washes to work.

Survivors and lead Zombie

Zombies

Friday 5 November 2021

ECW Game Report - The Battle of Hopton Heath 1643

I have been tinkering with the D3 English Civil War rules for a few weeks now. Originally, they were a variant of One Hour Wargames using D3 dice, but I have made further modifications to the artillery rules and turn sequence. The turn sequence was the largest change and uses homemade cards which determine the order in which a player’s units perform their actions. There are 10 cards in all:

5 Red cards

  • Horse Activation
  • Foot Activation
  • Dragoon Activation
  • Artillery Activation
  • Commander Activation

5 Blue cards

  • Horse Activation
  • Foot Activation
  • Dragoon Activation
  • Artillery Activation
  • Commander Activation

The deck is shuffled together into one card deck at the start of a turn. One player is assigned blue cards and the other red cards. As the cards are revealed, one at a time, a player activates the unit types on the card. Once complete, take the next card from the top of the pack and repeated until all cards have been drawn. Then shuffle the card deck for the start the next turn. 

This mechanism is trying to reflect the difficulty of commanders coordinating the various parts of an ECW army. Players don't know the order that their unit types (infantry, cavalry, or dragoons) will be activated, or of their opponents. The updated rules can be found above or click here.

For the game I used the Battle of Hopton Heath description from the book "With Pike and Musket" by C.F. Wesencraft as inspiration. The Battle was fought 19 March 1643 between Parliamentarian forces led by Sir John Gell and Sir William Brereton who attempted to combined their forces to face a Royalist army under the command of the 2nd Earl of Northampton.

I decided to draw up a map to help show the positions and tabletop layout. It has been a long while since I drew one of these diagrams for a game. I do enjoy drawing them, but they do add time to creating a blog post.

Map of the Royalist deployment and Parliamentarian off table units.

The game uses the weather barometer as described in the "With Pike and Musket" book. I made one a couple of weeks ago (see here). I have no idea as to what the weather was like on the actual day, but on my tabletop the day was looking pretty dismal with the possible threat of rain to come. A roll of 9 on 2D6 determined the weather which is adjusted by a D6 roll at the end of each turn, a 1 or 2 moves the peg up one slot on the barometer and a 5 or 6 move the peg down one slot.

Weather barometer

The Royalists begin the game deployed between the two roads. Parliament forces arrive one unit each turn along one of the roads. The units arrive in the order of cavalry units first, then infantry units, and finally artillery units.

Initial deployment of the Royalist forces. Two Parliamentarian forces will arrive one unit each turn on the roads. (As a quick note I am using two bases for each unit in this game, artillery are still on a single base.)

The game report in pictures...

The first Parlimentarian cavalry arrive along the road as Royalist forces move up.

The weather did not remain fine for long and soon steady light rain began falling.


A second Parlimentarian cavalry unit arrives on the other road. While on the left flank two Royalist units move towards their Parliament's cavalry.

Parliamentarian infantry arrive and are quickly engaged shooting at Royalist cavalry. They were able to keep their powder dry.

The weather continues to turn for the worse with heavy rain. All artillery pieces become bogged, including  Parliament's artillery which is yet to arrive.

More infantry arrive on the tabletop for Parliament near the building, but their artillery is delayed due to the heavy rain.

Royalist cavalry head towards the other flank as Royalist forces concentrate their attacks on the right flank.

With artillery ineffective Royalist forces close in on the outnumbered Parliamentarian forces.

Casualties are starting to mount as the forces engage.

The weather has become stormy and all movement will be halved and artillery fully bogged and useless for the remainder of the game.

Royalist cavalry attack on the flank and Parliament's situation looks dire. Their infantry on the other flank is being delayed due to the storm (and half movement).

Parliament forces are routed and a Royalist victory.

While the Royalists won, they were aided by the weather which delayed Parliaments artillery and the ability for both forces to join up.