Saturday, 2 May 2020

WW2 Western Desert campaign game 2 setup

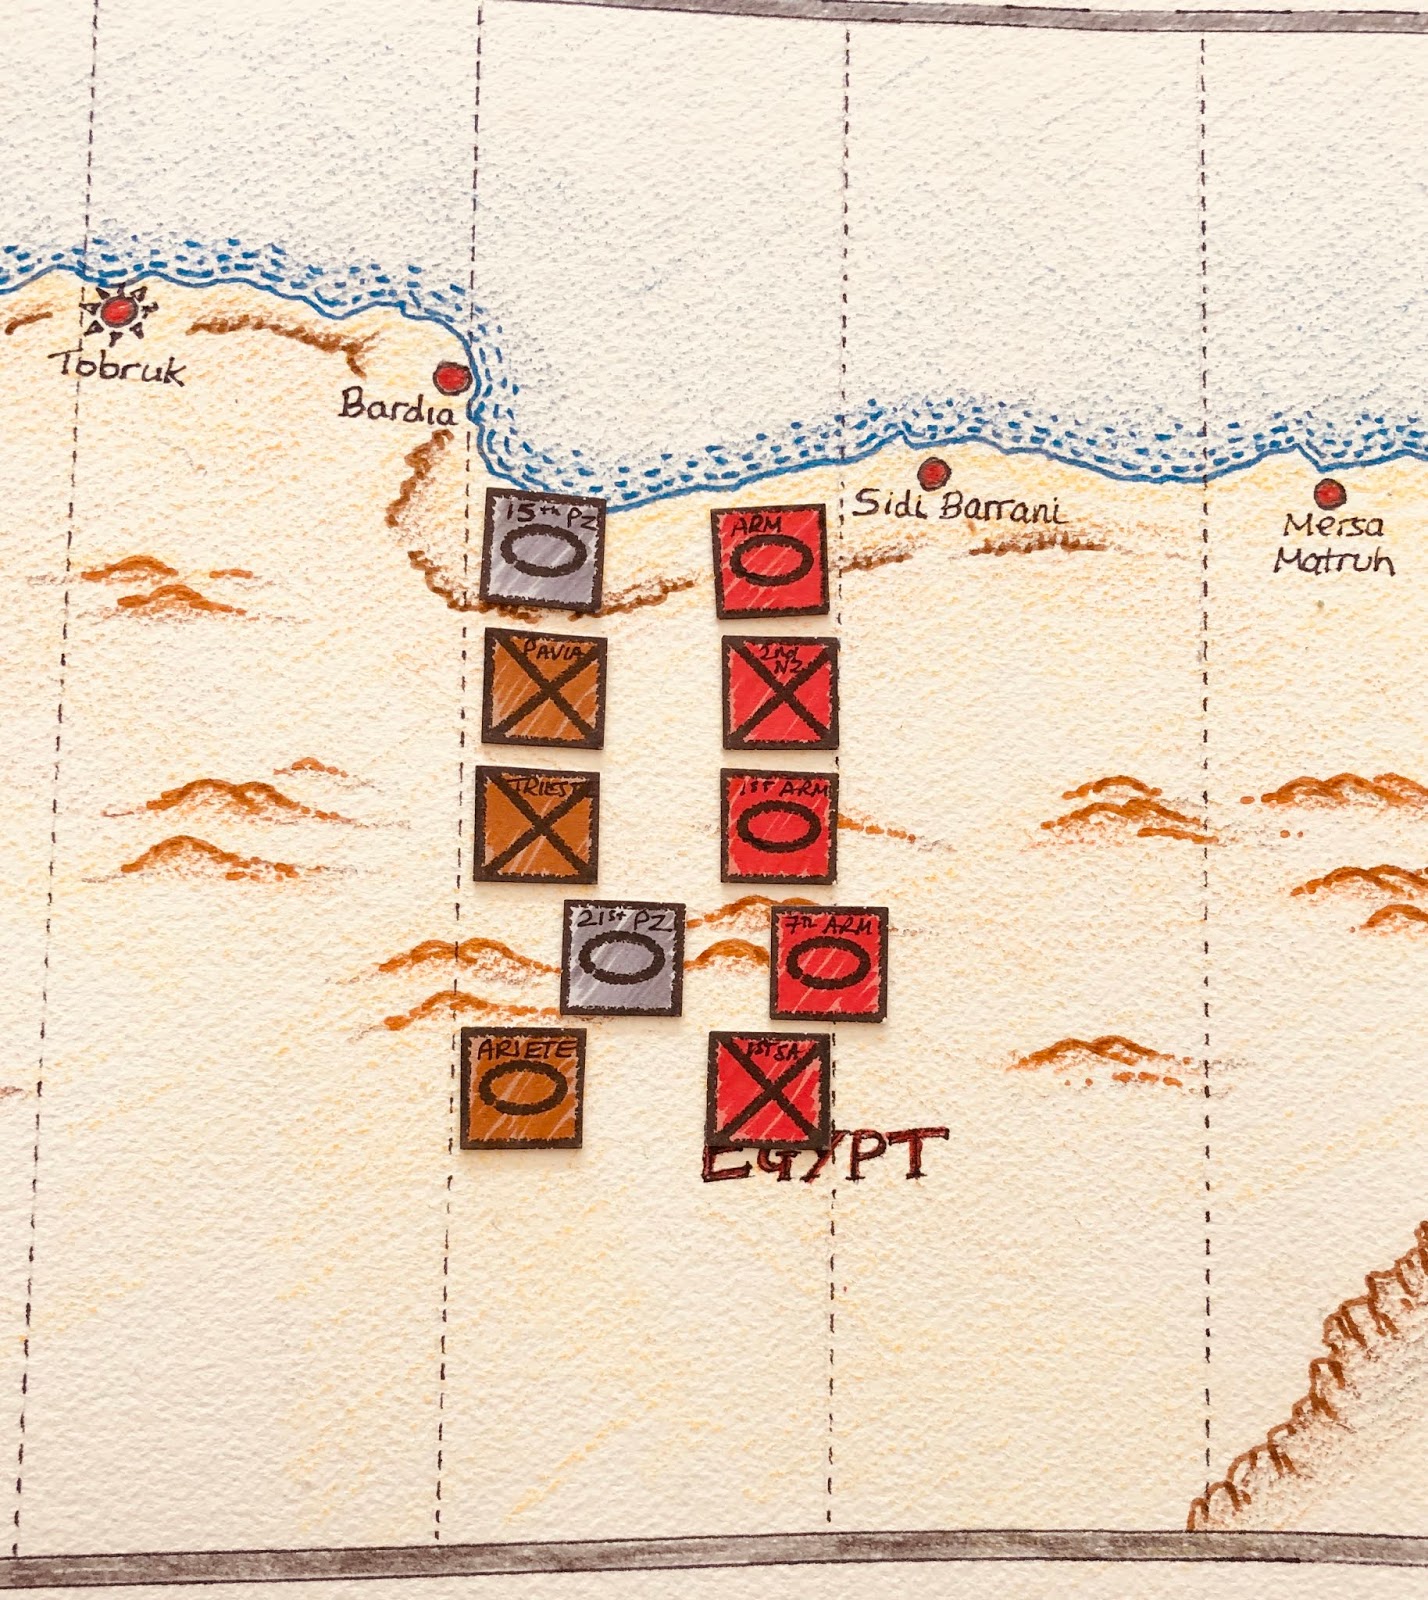
The Allied counterattack in campaign turn 3 continues the second battle where their 1st Armoured Division is attacking the Trieste infantry division.
The campaign map showing the 1st Armoured division advance.
The terrain is determined with the usual terrain cards and the tabletop setup. The defender selects the base edge to defend, then both sides switched to adjacent cards (please refer to previous posts on the rules on how this is done). The key to winning this game will be taking and holding the central hill.

Terrain cards are used to determine the tabletop layout. Black arrow shows the Axis side and read Allied based edge.
Tabletop showing objectives. The defending Italians will take up position on the far edge.
The opposing forces were laid out and each unit diced for to determine whether they are unavailable for battle and not succumb to the wear and tear of operating in the harsh desert. Each unit is unavailable for the battle on a score of 1. As neither force had lost a battle there was no need to deduct 1 from the score. Divisions that have lost a battle would deduct 1 from their score until re-equiped during the campaign supply phase.

Italian forces have to remove 2 tank and 1 infantry units.
Allied forces only have to remove 1 tank unit.
At the start of the campaign I was planning to track unit losses for each division, but later switched to just tracking division that lose a battle and when they are re-equiped during the supply phase. To help with this tracking I have created a campaign supply table (see below). Whenever a division is involved in a lost battle they are marked with a burning wreck, and any re-equipment is shown with barrels.

Supply tracker.
On the bottom line of each army I track the supply choices. An arrow going up is an attack, a down arrow shows taking a defensive stance with improved positions for defending forces, a barrel is resupplying and re-equipping division. A circle with a line shows supplies have been interrupted or redirected to other fronts.

The next post will be the after action report.

Thursday, 30 April 2020

War of the Spanish Succession project

This week I started a War of the Spanish Succession project using the paper soldiers created by Peter Dennis. I plan to start making sufficient units to play some One Hour Wargame games, then see about expanding the number of units from there.

The source of the figures
When photocopying the pages of figures I increase the page size from A4 to A3. This has the effect of increasing the figures from 28mm to 42mm. The reason I like to increase the size is two fold: 1) I like the artwork and it is easier to see scaled up, and 2) it is easier to cut the figures.


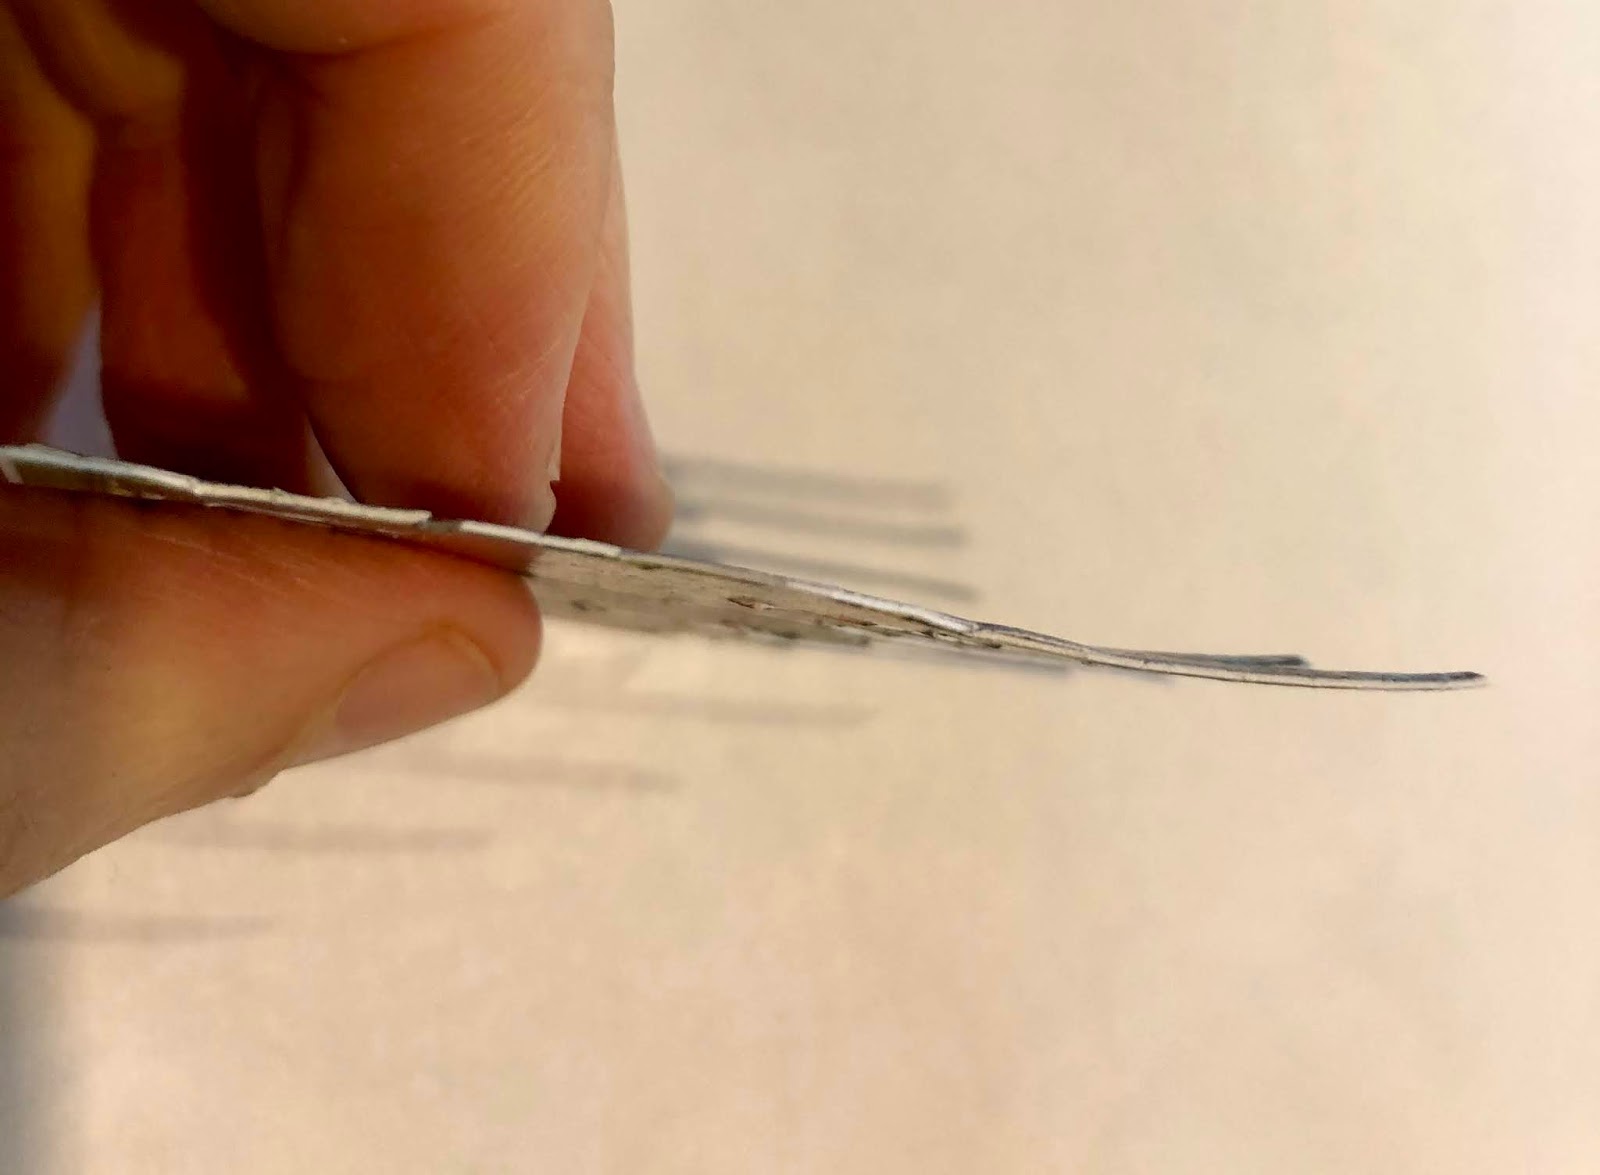
When making the paper soldiers I stick the paper over an insert of light card to give them some strength. When this is later coated with PVA glue it makes the figures quite sturdy. The addition of the card does mean side on there is a more noticable white edge. This is quickly covered up by running a felt-tipped brush pen around the edge. The brush type of nib on these pens make it easy to get into tricky parts of the figures.

A white edge is covered up with a felt-tipped pen.
Brush felt-tipped pen.
The edge after using the felt-tipped pen.

Having cut out the blocks of figures they are stuck to stands with a base piece of thick card and two side bits of similar card cut down the centre which are used to trap the figures.

Bases are made from a bottom piece and two side pieces stuck on top that trap the figures on either side.
Figures are stuck to stands
Once fixed to the base a generous layer of PVA glue is applied. This improves the stiffness of the models greatly. Finally, the bases are painted green and flocked which also gets coated with PVA glue.

A finished unit.
I have tried units with two rows, but units with three rows gives a better look when on the tabletop.

Monday, 27 April 2020

WW2 Western Desert turn 3 game 1

Game 1 of campaign turn 3 has an Italian infantry force supported by limited armour under attack from an Allied armoured force. There is only one objective in this game, a set of hills in the top left. I use my recently made palm trees to mark objectives. So with one objective I took the opportunity to use all 3 palm tree objective markers to create an oasis.

Map of terrain and objective
Tabletop setup
The units for each side were selected and laid out. Each unit was diced for to determine whether it would be available for battle. As neither force has been involved in a loss, units are only excluded in a score of 1. If they had lost a battle and not been re-equiped with supplies, then a score of 1 or 2 would exclude them .

Italians reduce their units by 4 units.
Allies are rather more fortunate and only reduce their force by 1 unit.
The next step in setting up the game was to dice for battle events. The Italian's diced for flank attack and aggressive defence. This will mean they can advance 30 percent of their units and attack first. However, the Allies will have 30 percent of their forces off-table and able to arrive on a flank, which is diced for.

The Allies have a delayed arrival with 30 percent of their forces starting the game off table. This means they will have limited forces available on table due to the delay and flanking units. They will take time to build up their forces for an all out assault.

Both sides will have air support.

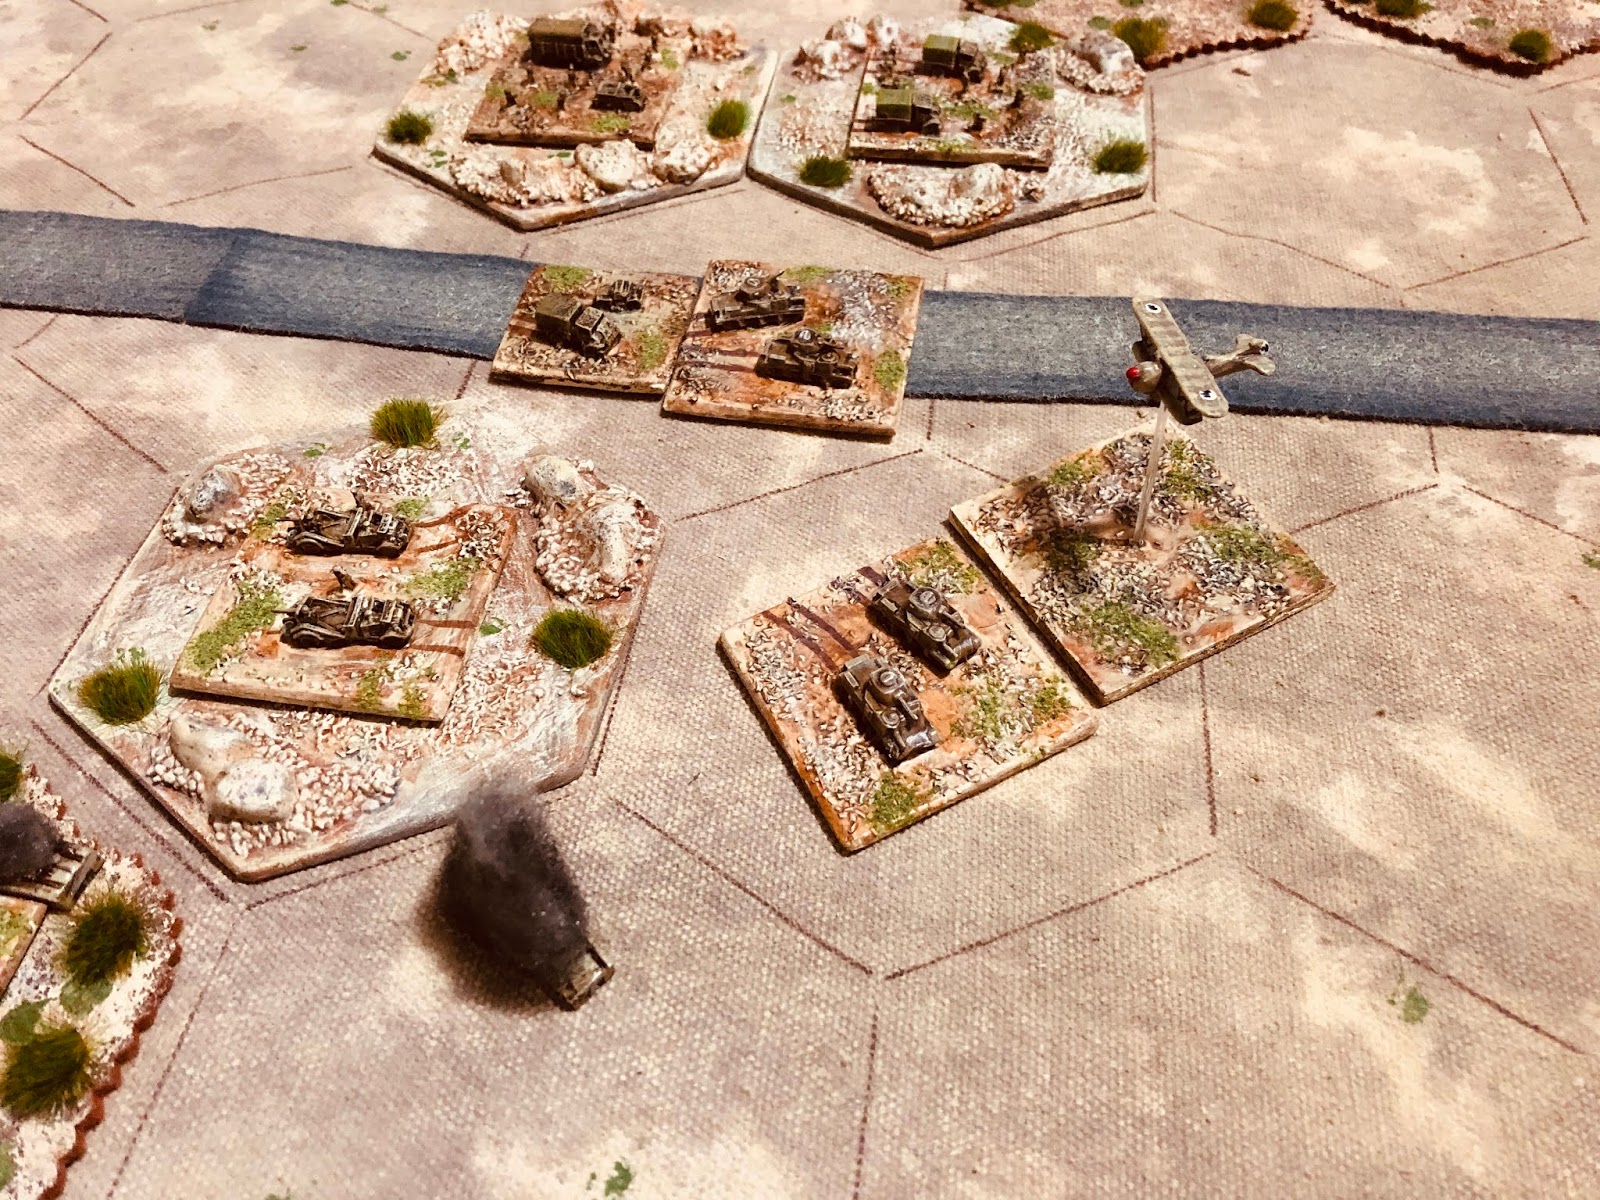
Initial position of forces
Initial force deployment
The opening phase of the battle had an Italian armoured car force quickly strike at the deployed Allies, successfully inflict damage on their artillery units.

An initial strike by armoured car units.
Opening action.
Having done their damage the armoured cars quickly retired to avoid the advancing tanks and were supported by armoured elements. Delayed Allied units started to arrive and both forces started to organise their units for the upcoming battle. Air support arrived early on and attacks for both sides produced no results.

Allied forces start to arrive in greater numbers.
Allied air support arrives.
Italian air support.
Italian armour moves forward hand has initial success.

The battle started to take shape with the arrival of the Allied flanking units on the left. While in the centre tanks from both sides were engaged.

Allied flanking units arrive on the left and threaten forces defending the objective.
Flanking forces.
Allied Grant tanks were able to overcome the M13/40 tanks in the centre. On the flank the defending Italian forces were putting up a good defence and wearing down the attacking units.

Allied forces close in on the objective.
The assault on the objective is underway.

Taking of the objective proved to be very problematic. The Allies had to pause the assault to rush up more units as attacking units were whittled away.

Supporting units are moved up.
Attack on the objective.

The objecive was finally taken after some very stubborn defence.

A victory to the Allies.
25 Pounders support the attack on the objective.

A good start to the campaign turn and Allied counterattack.

Sunday, 26 April 2020

Quick and easy 15mm gabions

Along with playing a few solo wargames over the last few days, including the latest WW2 Western Desert campaign game. I managed to find some time to make some defences with gabions for my 15mm AWI armies. They are very simply made from wall plugs (an idea I found on another blog, but have been unable to find again).

Update - the blog is https://horseandmusketgaming.blogspot.com/2020/01/fieldworks-work-in-progress.html


The wall plugs are cut to size and stuck on strips of MDF. The glue is a type that expands as it dries so it will look like the gabions are positioned on mounds of earth.


Once the glue is dry, PVA wood glue is applied to the bases and course flock is applied which will look line dug earth once painted and dry brushed.


The gabions stands were first painted all over in a mid-dark brown and then dry brushed with a light brown. The gabions were painted a dark grey and dry brushed with a light grey. A final dusting of fine flock was added to help the features tie in with the tabletop.


The above photo shows some 15mm Peter Laing figures.

Saturday, 25 April 2020

Preparing for first game of WW2 desert campaign turn 3

Campaign turn 2 had the Allied forces successfully halt the Axis advance. The Axis misfortune continued with no supples arriving for campaign turn 3. This presents the Allied commander with a choice of directing their supplies, which did arrive, to:

  1. Refitting and re-equipping divisions
  2. Digging in with prepared positions and wait for the next attack
  3. Launch an attack (or counterattack in the current campaign context)

Allied forces have 3 reasonably unscathed divisions, and intelligence indicating the supply difficulties for Axis forces. The Allied commander decides to launch a counterattack led by an armoured brigade on the coast. The opposition is revealed as the Italian Pavia infantry division with some supporting armour (all infantry have some supporting armour in this campaign).

Campaign map at the start of turn 3

With the next action decided terrain cards were drawn and laid out. Axis forces as the defenders selected their base edge.

Axis force selects base edge.
Having decided their edge, the next step was to determine if they wanted to switch any adjacent cards forwards and backwards from their base edge. They chose to switch some hills with the road. This had the effect of not only providing good defensive terrain on their base edge, but it also means there will be only one object on the whole tabletop. Note - only hills, escarpments and towns can be objectives.

Axis commanders switches one terrain card (backwards or forwards comparative to the base edge)

The Allied commander using the option of switching terrain side to side comparative to the base edge. Moves the road into the centre allowing them to bring up reserves quickly and deploy on either flank easily.

Final card switch by the attacking Allies and objective identified.
Once all terrain was switched the single objective from the three hills was decided by a dive roll. All is now ready to setup the tabletop once I clear it of a Jacobite game.

Soon to to finished game


Wednesday, 22 April 2020

Adding morale to OHW horse and musket for AWI

As a break from my WW2 Western Desert campaign and associated games. I decided to get out my old Peter Laing AWI armies for a game (or two) and to test out some morale rule ideas which are bolted onto One-Hour Wargaming (OHW) horse and musket rules.

As regular readers know I quite like using D3 dice and often change various OHW rules from using D6 to using D3. So rather than using D6-2, D6, or D6+2, I use D3-1, D3 and D3+1 for hits, and cover reduces the score by 1 rather than halving.

But first the tracking of hits. In the games I was tracking hits on D6 dice, but decided I would rather track units to 8 hits using counters. They are less obtrusive than dice, particularly with 15mm figures. I cut out a number of squares from MDF, painted them green, on one side numbered each edge 1 to 4, and 5 to 6 on the other side.

When tracking hits the side with the appropriate number is placed against the stand

Numbers are written on both sides of the counter
A unit with 3 hits
For the AWI games I wanted to make unit elimination less predictable than just using the normal OHW approach of accruing of hits, and have the possibility of earlier unit eliminations or forced unit retirement. The morale rule can cause early eliminations of cavalry, skirmishers and artillery, while line infantry are forced to retire.

The rules are below after a couple of photos from a recent game using the rule modifications.

Close up of the action
A game in progress
Units

  • Infantry (line infantry)
  • Grenadier
  • Skirmishers (light infantry)
  • Cavalry
  • Artillery

Sequence of Play

  1. Movement
  2. Shooting
  3. Charges
  4. Morale and Eliminating units

Movement

  • Infantry - 6”
  • Artillery - 6” (remain stationary after shooting)
  • Skirmishers - 9”
  • Cavalry - 12”

Turning: Units may pivot on their central point at the start and/or end.

Woods - Only skirmishers can enter.
Towns - only Infantry & Skirmishers may end a move in a town.
Marsh/Lake - impassable.
Rivers - Can be only crossed via bridges & fords. It takes a full move to cross.
Streams - cannot be crossed by artillery. All other units take a full move to cross.
Difficult terrain - only Infantry & Skirmishers can enter.
Hills - all units can move onto hills.

Interpenetration: only Skirmishers can pass through other units and vice-versa.

Shooting
Units that have moved cannot shoot, and cavalry cannot shoot. The procedure for shooting is as follows:

Check field of fire - units can only shoot at a single unit within 45 degree of their frontal facing side. Units in towns have a 360 degree field of fire.

Measure the range - infantry and skirmishers have a range of 12” and artillery 48”.

Assess hits - units roll a D3 dice when shooting with the following adjustments:

  • Infantry - D3
  • Grenadier  - D3, unless within 6" of target then D3+1
  • Artillery - D3-1
  • Skirmisher - D3-1

Artillery can fire over other units if positioned on a hill.

Units in towns always shoot D3-1.

Charges
Only cavalry units may charge into combat with the following restrictions:

  • Can pivot up to 45 degrees before charging.
  • Can only attack a single unit.

Cavalry units roll D3 dice with the following adjustments:

  • Minus 1 from the score if the target is uphill.
  • Double the hits if attacking the flank or rear of a unit.

After the hits are applied. If the defending unit is not eliminated or fails its morale test, then the cavalry retire 6”.

Morale and Eliminating Units
After all shooting has occurred. Any unit that has taken hits must take morale tests.

Roll 2D6 and if the combined score is greater than the unit’s number of hits, the unit carries on. Otherwise the unit fails its morale test.

Artillery, cavalry or skirmishers failing morale tests are eliminated.

Infantry and grenadiers failing morale must retire 6” away from the attacking unit(s). If their retirement path is blocked they are eliminated.

If infantry and grenadiers are charged by cavalry and fail a morale test they are eliminated.

Units are always eliminated upon taking more than 8 hits.

Whenever a unit is eliminated from shooting by infantry positioned within 6" range. One attacking infantry unit can advance into the vacated space. This represents units using the bayonet and charging in when units start to waver.

Note: If you don't like the use of D3 for hits and prefer the use of D6 for hits. Then the morale rule can work the same way by doubling the score of 2D6


Saturday, 18 April 2020

WW2 Western Desert - campaign turn 3

From a gaming perspective I will be playing a couple of American War of Independence (AWI) games this weekend. Possibly more of that in another post.

This post is however about the next WW2 Western Desert campaign turn. In the last turn, turn 2, we had the Allies win two of the three games played to decide the winner of the campaign turn.

AWI game setup for play.
Because Axis forces were the attacking in turn 2, the Allies do not move forward a zone on the map. Armies can only move forward if they were the ones launching an attack, and win two of the three games. (A bit like the sport Badminton where you can only score a point on your serve.)

Campaign map at the end of turn 2. Axis attacks were defeated. Their one win was by the 21st Panzer division.
Having failed to make a breakthrough in the last turn, the Axis army was in need of resupply and a refit. Unfortunately the supply D6 dice roll was a 2 and no supplies arrive at the front line. The Allies were more fortunate and a roll of 2 has them supplied. They can now choose to attack, and do so rather than direct their supplies to refitting or preparing defences.

Note - this approach has been modified from my original idea to use a D10 dice and a quick reminder of the choices for directing supplies (when they arrive):

  1. Prepare defences - No battles occur for the month other than when battle comes the defending player’s units will have prepared positions and minefields.
  2. Reequip units - No battles occur for the month. Players attempt to recover lost units and refit  all their divisions.
  3. Launch attacks - When both players decide to attack roll the dice to decide which player attacks, if drawn the Axis player is the attacker. The losing player’s supplies will instead be directed to reequipping units.

Map set up for turn 3 and first attack decided.
The Axis counters are mixed up and placed face down on the map. Allied forces can reposition their counters and select their first attack. After the attack is declared the Axis counter is revealed.

The defender is revealed.
The ORBATs for each side is a representation of the forces involved and not the whole division, and the games are key engagements which decide a campaign turn's outcome. A list of these ORBATs can be found later in this post.

I had originally though about recorded the individual units status for each division, but soon found this level of bookkeeping too finicky for my wargaming tastes, and I lost the sheet of paper I wa tracking them. An alternative and simpler approach was needed to reflect the general wear and tear, battle loses and refits.

A unit receives a -1 for each game loss and a +1 for each supply refit. When preparing for a battle the units are setup as per their ORBATs and a D6 is rolled for each of the units. On a score of 1 or less they are removed and do not take part in the battle. For example, a division which has lost a battle and has not benefited from a supply refit will remove any units scoring a 1 or 2. However, if the army had chosen a supply refit then the refit would eliminate the impact of a recent loss. A score of 1, regardless of the number of refits, always removes a unit.

The campaign map in full.

ORBATs

German Panzer Armoured Force
3 x Reconnaissance -(2 x AC and M/C Infantry)
6 x Tank (1 x PzII, 4 x PzIII, 1 x PzIV)
2 x Armoured Infantry
2 x AT Guns (one SPG)
1 x Artillery (SPG)
1 x 88mm Gun

Italian Armoured Force
2 x AC
8 x Tanks (1 x L6/40, 5 x M13/40, 2 x Simovente)
2 x Infantry
2 x AT
1 x Artillery (1 x 105mm, 1 x 150mm)

Italian Infantry Force
2 x AC
4 x Tanks
4 x Infantry
3 x AT (2 x SPG)
2 x Artillery

Allied Armoured Force
2 x Reconnaissance (Stuart tanks and Carrier)
6 x Tanks (A13, Crusaders, Valentines, Stuarts, or Grants)
3 x Infantry
2 x AT (Portee)
2 Artillery (2 x 25 Pounders which can be used as AT)

Allied Infantry Force
2 x Reconnaissance Units (A/C and Carriers)
4 x Infantry
3 x AT (no more than half can be 6 pounders)
4 x Matilda and Valentine Tanks
2 x Artillery (25 Pounder and 5.5” Gun)

Notes:
As a general rule I allow 3 HQs for German forces and 2 for British and Italian forces to represent the better coordination of armour, AT and infantry.