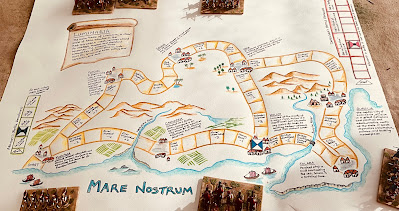
Returning to the campaign map for the next set of campaign moves. Before rolling any dice, the Carthaginian battle readiness token has been advanced by 1 square after their previous tabletop victory on the plains of Helios.
 |
| The campaign position prior to rolling the dice. On the left Carthage’s battle readiness token is advanced for its last tabletop win. |
 |
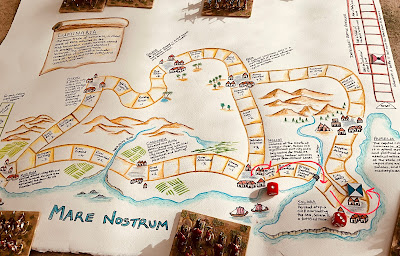
| 2 dice rolls and the Carthaginian army marches across the river Aurelia and through Solara. |
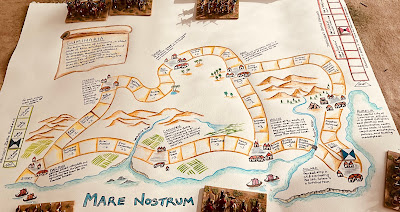
Finally, the Roman battle readiness token advances by two squares, with each dice roll contributing to its progression. Note, when I first drafted the rules I had the Roman battle readiness declining by 3 steps after each lost, but I have dropped this rule.
 |
| The campaign position after the dice rolls. |
Planned tabletop battle…
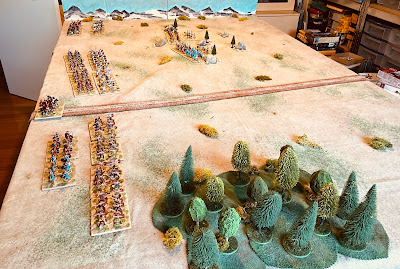
For the next battle, I have chosen scenario 4 - "Take the High Ground" - from the One-Hour Wargames book. In this scenario, the complete Carthaginian force arrives, catching a small Roman force by surprise as they defend a strategically significant hill. The remaining elements of a Roman relief force are expected to arrive soon between the road and the woods. The primary objective for both forces is to gain control of the hill by the end of the game.
 |
| The tabletop all set up for the game. |
Campaign narrative…
Having using bribery to cross the river Aurelia, Mago, the Carthaginian commander, led his army forward, pressing on without the elephants. Meanwhile, the remaining Roman force, still recuperating from a recent defeat, positioned themselves atop a strategic hill that overlooked the coastal road. They eagerly await reinforcements en route from Aurelia as they prepared to defend their position against the impending Carthaginian advance.
Orders of Battle…
- 2 heavy infantry units with supporting catapults
- 2 light infantry
- 1 cavalry
- 3 heavy infantry
- 3 heavy infantry
- 2 Gaul Warbands
- 2 light infantry
- 2 cavalry
The next post will be of the battle report.
Peter, I am thoroughly enjoying campaign. Brilliant and inspiring stuff.
ReplyDeletePleased to hear this series of posts is interesting.
DeleteMan, I can’t keep up with all the posts. This campaign must of really lot a fire under you. Good luck in the battle. I like the way campaigns give a context to the battles. 😀
ReplyDeleteThere will definitely be a posting lull once this campaign comes to a close. The campaign approach, as simple as it is, certainly has helped with the narrative.
DeleteExcellent stuff Peter! Your map and "cause and effect" campaign rules are producing an exciting, narrative rich adventure! I guess you dropped the negative impact of defeats on the Romans because it would have become a snowball effect leaving them incapable of further resistance after only a couple of defeats?
ReplyDeleteThanks. I opted to ignore the negative effect of losses for the Romans due to the snowball effect you mention, and as the campaign has progressed I realised it was an unnecessary rule.
Delete