Building on the markers' theme from last week's post about English Civil War out of ammunition markers. This week my focus has shifted to medieval markers as I am try out some medieval rules that involve recording only 2 hits. With such few hits to record provided a perfect opportunity to see what sort of themed medieval marker I could come up with.
To avoid any costs I opted to create some paper markers. I sourced images of some painted casualty markers from the internet, resized and printed them on paper. Then, I stuck the paper to cardboard, cut them out, and shaped them to give them some depth. I am pretty sure I have seen this done before somewhere, I suspect it was in one of Peter Dennis’s Paper Wargaming books or blog, but my searches did not turn up anything.
 |
| An overhead photo of the casualty markers in use |
 |
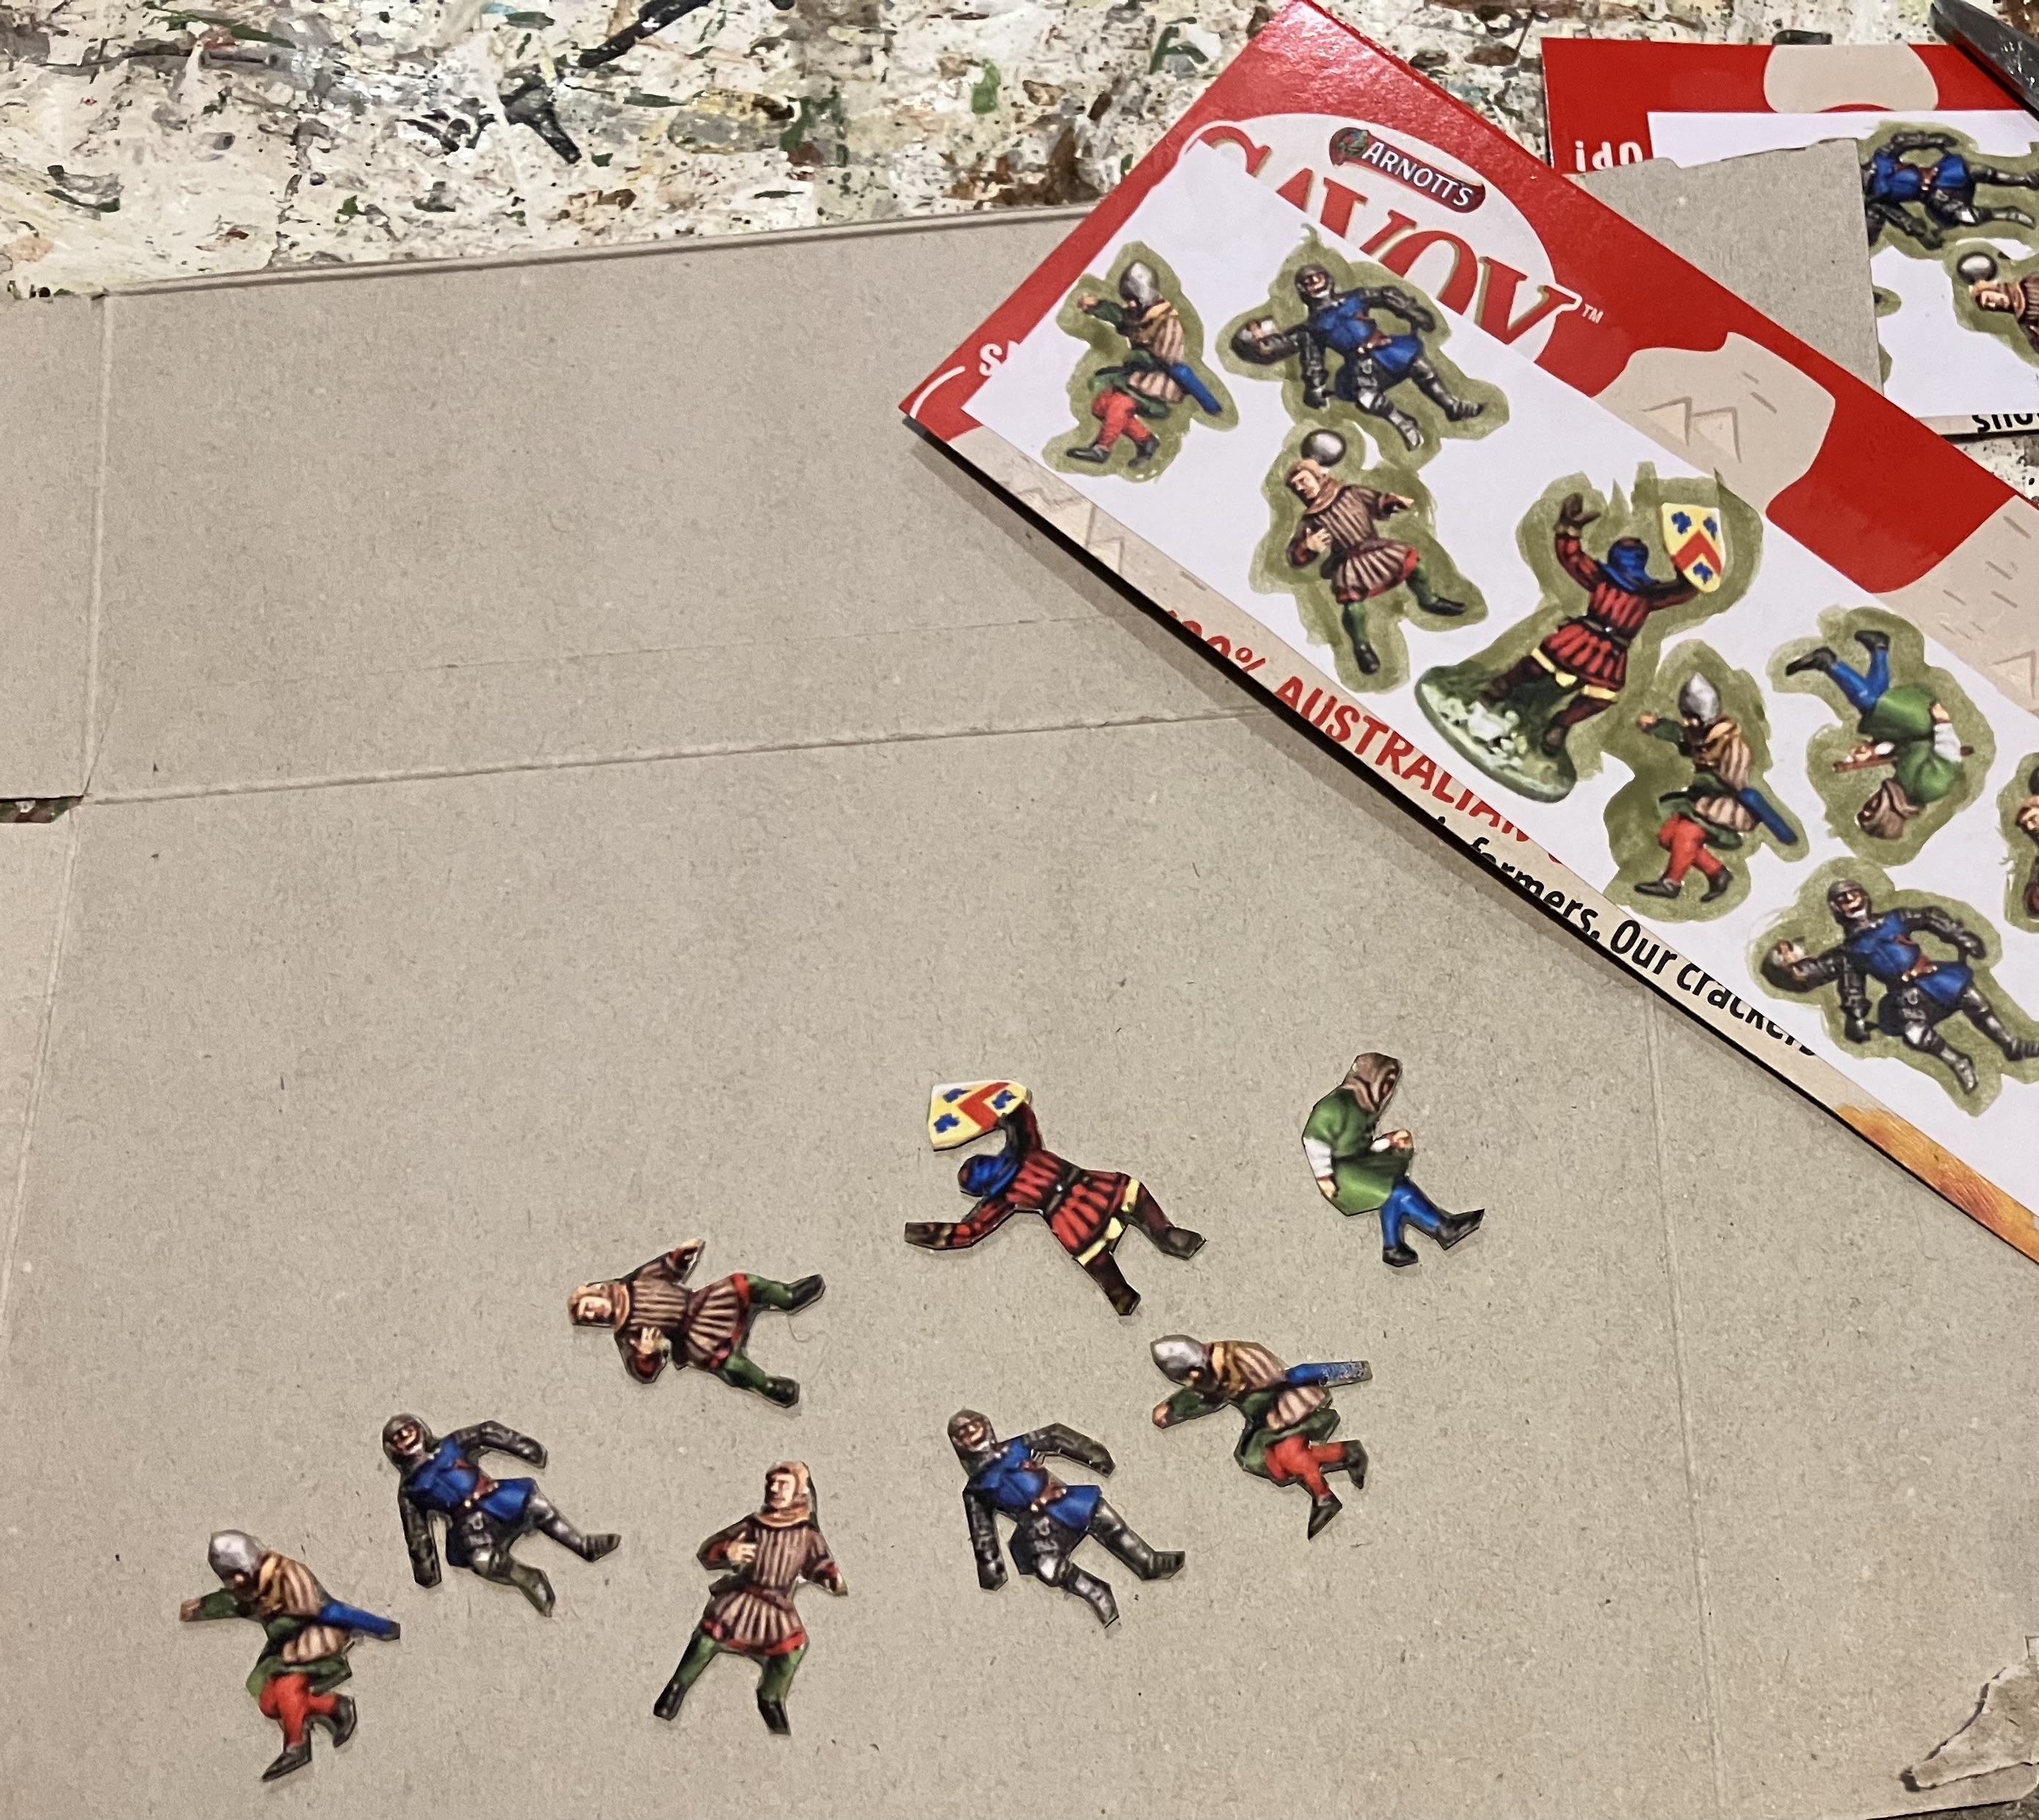
| A closer look at the markers after being shaped, The shaping has two benefits, one they do not look so flat, and second they are easier to pick up. |
So here is a quick run through on how the casualty markers were made.
 |
| The resized and printed images were stuck to cardboard. |
 |
| Using a grey-green wash I quickly painted around the images. Any excess paint was wiped off. By doing this I do not have to be too precise when cutting out the figures. |
 |
| The figures are cut out. |
 |
| I found an old modelling tool with a rounded end to be best for shaping the casualty figures. |
 |
| Using a surface with a little bit of give, I place the figure face down and use the modelling tool to push down and shape the figure. |
 |
| The after and before shaping. |
 |
| The collection of casualties |
A couple more photos of the casualty markers in use.
 |
| A unit with two hits |
 |
| The look on the tabletop with the markers. |
The cost of this experiment is $1 or $2 for the colour printing as I already had the glue and the cardboard was from food packaging.


Very crafty, Peter!
ReplyDeleteThank you. A couple of crafty evenings work.
DeleteGenius Peter! They look really effective.
ReplyDeleteChris/Nundanket
They do look better than my other markers.
DeleteVery nice idea Peter
ReplyDeleteThank you.
DeleteExcellent markers Peter, they look great. Inspired move to shape them.
ReplyDeleteThe shaping does help the look of them.
DeleteThey work really well - much better than the tiddlywinks that I tend to use.
ReplyDeleteThanks. I am starting to look at possibilities with my other markers.
DeleteNice idea, simple and very effective:).
ReplyDeleteA little bit fiddle to cut out but worth the effort. Thanks.
DeleteI have done something similar Peter but just stuck the images to card then cut them into rectangular markers, I didn't cut around the actual image as you have done...they do look pretty nice!
ReplyDeleteI have some neat little scissors which make the cutting out a lot easier.
DeleteA really neat idea, I particularly like the "rounding" to make them a bit more 3d. I'll be making some of your simpler square 8-hit markers soon, using them for either actual casualties (Wofun bases range from 3 to 8) or the D3 rules.
ReplyDeleteI am looking at the possibility of using the casualties on a square. positioned with a head towards the unit is 1 hit, right side 2 hits, feet 3 hits, and left side 4 hits. Or make a bigger hit marker with both numbers and casualty figure.
DeleteA good idea. And came out pretty well. Miniatures would be cooler but then again, not nearly as cost effective. 😀
ReplyDeleteI would have to pay and paint them. Ouch!
Delete