Over the past few weeks, I have been trying out some different activation mechanics for my English Civil War games. For now, I have settled on a card-based system that activates an army’s various commands. These include commands for the right wing, centre, left wing, reserve, artillery, and dragoons. The activation card deck also includes cards for rallying troops and resupplying units that have exhausted their ammunition. The cards are shuffled at the start of a turn and revealed one at a time and units in the identified command are activated. Action cards, such as rally and resupply, allow for a command to rally, reducing the number of hits accrued on 1-3 units, determined by a D3 dice, or resupply one unit that is out of ammunition.
The following battle report used this card activation approach.
 |
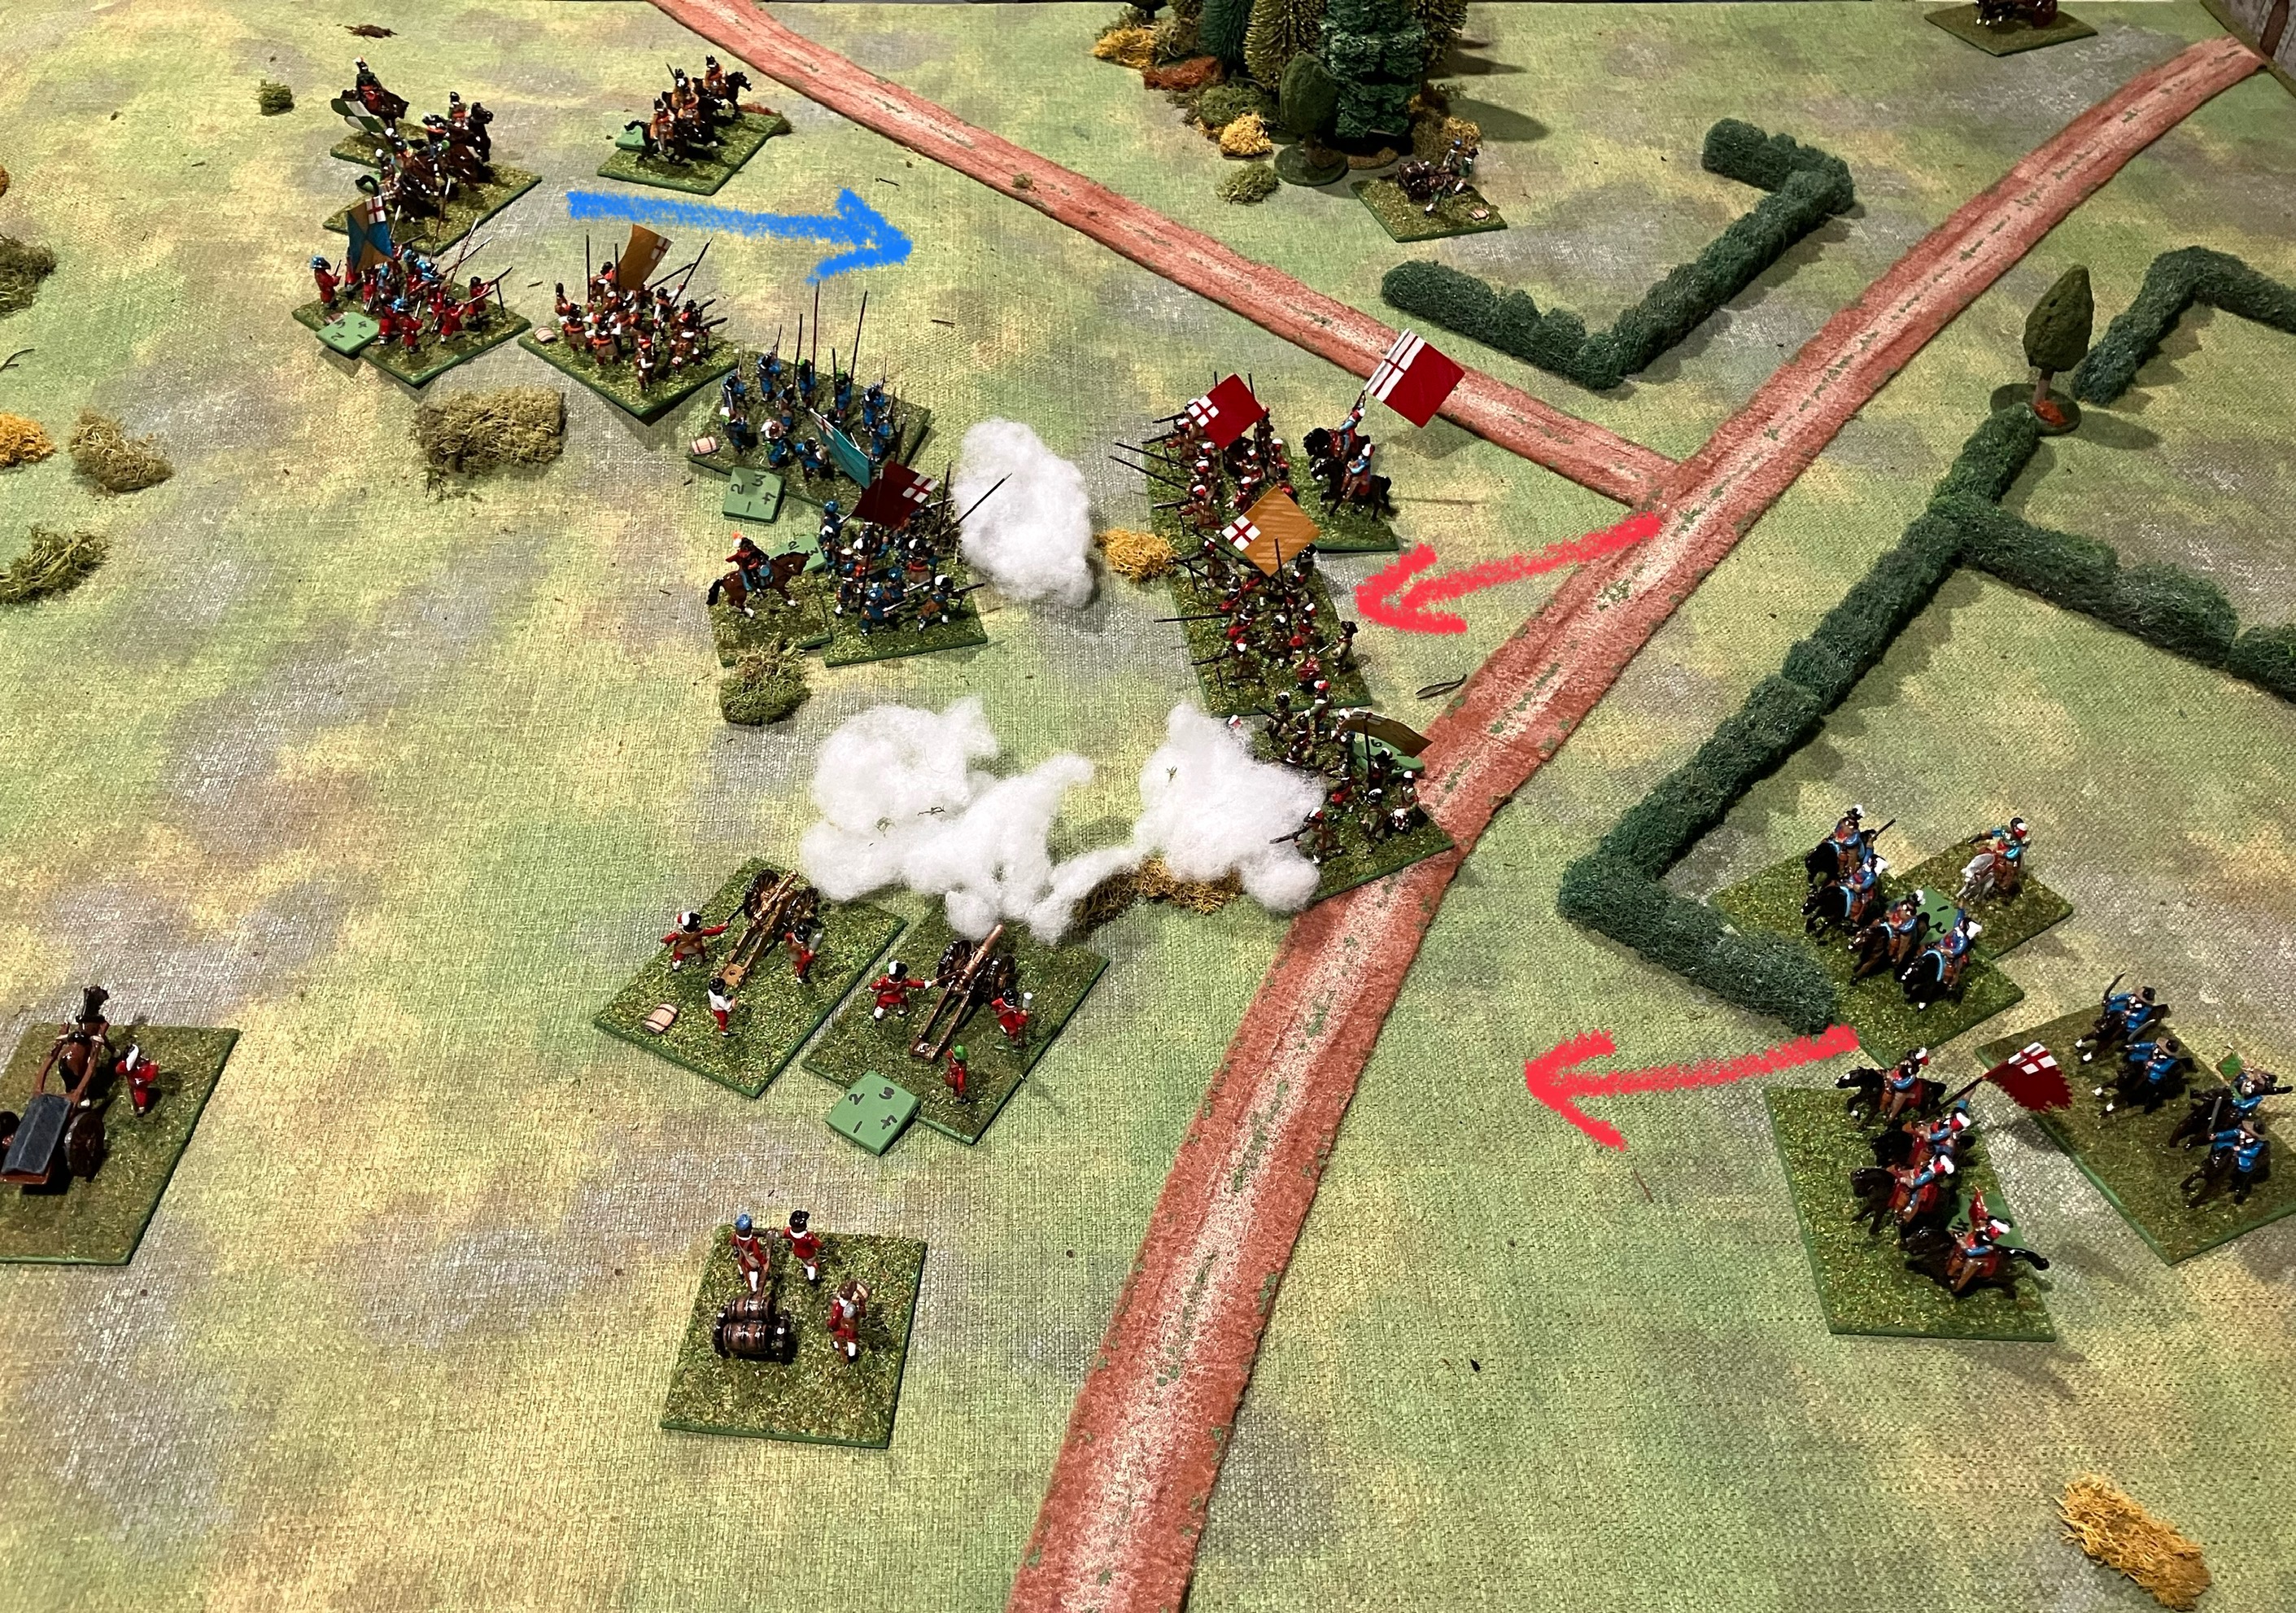
| A close up of the game. |
 |
| Activation cards. These are shuffled at the start of each turn and commands activated as their card is revealed from the pack. |
The game is based upon scenario 4, Take the High Ground, from the One-Hour Wargames book.
Background
At dawn, Sir Richard Chesley’s Royalist forces stood ready to defend a strategic hill southwest of Lower Redwich from Parliamentary troops operating in the area They are expecting reinforcements from their main army, which was advancing from the northeast. Unbeknownst to them, Sir William Harding’s Parliamentarian force had marched through the night. As the early morning mist lifted, Chesley’s men saw their enemy arrayed before them ready for Battle! A tense glance over their shoulders brought a some relief as emerging from Lower Redwich, the leading elements of reinforcements could be seen.
 |
| The tabletop setup with Parliamentarian forces on the right. Royalists positioned on the hill and around the town of lower Redwich in the background. |
Order of Battle
Royalists Positioned on Hill
- 4 units of infantry
- 1 unit of commanded shot
- 1 unit of artillery
Royalist Reinforcements arriving on turn 2
- 4 units of infantry
- 8 units of cavalry split into in two commands each of 4 units
Parliamentarian forces
- 6 units of cavalry, 2 on the left wing and 4 on the right wing
- 8 units of infantry, 5 in the centre and 3 in reserve behind the right wing.
- 2 units of dragoons supporting the right wing.
- 2 units of artillery positioned between the centre and right wing.
Victory Conditions
- Uncontested control of the hill.
Special Rules
- Royalists reinforcements cannot move from their Lower Redwich positions until turn 2.
- Once an force has lost more than half of its units it cannot launch further attacks.
Battle Report
Opening moves...
As the morning fog lifted, Sir Harding ordered his Parliamentarian forces forward, with artillery bombarding the Royalist held hill.
 |
| Artillery begin their bombardment. |
On the right, Parliamentarian cavalry advanced just north of the road, while dragoons took up positions behind hedgerows in the hope of delaying the reinforcements arriving from the direction of Lower Redwich. Meanwhile, Parliament's infantry centre pressed up the slope, engaging the defenders head on. Their left wing cavalry were ordered to flank the Royalist position.
Before long, Sir Harding’s right-wing cavalry and dragoons found themselves engaged in combat with the Royalist cavalry, while a column of Royalist infantry were seen marching swiftly down the road to join the fray.
 |
| Parliamentarian forces advance upon the hill top while their right wing attempts to delay Royalist reinforcements. |
 |
| The Royalist defenders on the hill are hard pressed from all sides. |
Mid game...
Sir Chesley’s defenders on the hill were under immense pressure and beginning to waver. They required multiple rallies to hold firm as Parliamentarian forces pressed their attack. Their artillery had already fallen to enemy cavalry, but Chesley’s spirits lifted at the sound of battle on his left. Royalist reinforcements had engaged the Parliamentarian troops.
Sir Harding was initially pleased in his right wing’s success in delaying the Royalist advance. However, his confidence wavered as his right wing cavalry were driven back to the base of the hill just as his infantry had routed most of the defenders and were preparing to move onto the hill. Amid this chaos, Sir Richard Chesley lay dead among his fallen defenders.
Further to the right, Harding’s dragoons withdrew to join his reserve infantry, now the last line of defence against the surging Royalist cavalry and infantry.
 |
| The hill's defenders are being hard pressed. |
 |
| Royalist reinforcements are advancing and forcing back Parliamentarian units. |
End Moves...
The Royalist right wing cavalry routed their opponents and occupied the hill as the Parliamentarian infantry advanced. Meanwhile, after regrouping, the Royalist left wing cavalry launched another charge, breaking most of Parliament’s reserve infantry. However, the Parliamentarian infantry in the centre proved too strong for the Royalist horse, driving them from the hill.
As the relatively unscathed Royalist infantry finally arrived, both armies found themselves with half their forces routed. Neither side was eager to press the attack further, leaving Sir Harding’s troops in control of the hill. That night, Harding penned a letter to his superiors in London, reporting his hard-fought victory.
 |
| Royalist forces press forward. |
 |
| Parliament forces finally gain control of the hill. |
Next up some medieval forces may get on to the tabletop.
Great pictures of my first wargaming period
ReplyDeleteWhat ratio of pike to shot do you have on those big bases?
Perkin
On a base, 4x3 inches, I normally have 4 pikes, 1 officer or drummer, 1 flag bearer, and 6 musketeers.
DeleteThe Activation Cards idea looks great Peter - did it work as expected?
ReplyDeleteIt was 50-50 on whether to go with a dice draw or cards. The cards make it easier to add other events to the pack, eg extra supplies or rallies for well supplied or well trained forces.
DeleteVery nice. I recognise a fair few of your minis (such as Hinchliffe musketeers and artillerymen). They appear to be standing the test of time quite well.
ReplyDeleteHow did the card activation go? Would you make any further tweaks, or are you happy “as is”?
Cheers,
Geoff
The figures have withstood the test of time by being packed away for 30 years until recently repainted in the last 7 years. I am pretty much happy with the rules and will be writing them up.
DeleteOutstanding looking game Peter and a very close run thing in the end.
ReplyDeleteThe game turned out to be well balanced. A good start by Parliament, then the Royalists were making good inroads towards the end as their reinforcements arrived.
DeleteGood to see your ECW lads back on the table Peter. I like the activation cards. Simple but effective.
ReplyDeleteIt’s been a good while since my ECW figures have been out of the box. Hmmm!
Chris
Hi Chris, it is always a joy to the ECW armies on to the tabletop. Peter
DeleteGreat looking game Peter and interesting idea for the activation cards. I may "borrow" your rules once you post them.
ReplyDeleteThanks. It will be a couple of weeks before I post the updated rules as life has got a bit busy recently.
DeleteGreat looking battle Peter. I like the look of your table as well. Reminds me that I need to give my Pike and Shotte troops some attention. I will likely try your rules with the card activation system.
ReplyDeleteI find getting consistency with my terrain helps with the overall tabletop look. The rules should be posted in the next couple of weeks.
DeleteThat was a battle that really seemed to flow nicely Peter. The cards seemed to do the trick. Thoroughly enjoyable report, helped a lot by the arrows on the photos.
ReplyDeleteThe cards were fun to use and added enough friction without excluding any commands from activating.
DeleteGood looking game, some cracking figures on show. A fine read too and seems like it played well.
ReplyDeleteThe Royalists came desperately close to contesting the hill.
DeleteA good showing. How pleased were you with the cards? The rallying was most effective.
ReplyDeleteAfter a few games of dice drawing then using the cards, I feel quite settled and will be sticking with the cards. The rules for the rally card took a while to allow the right about of hits to be removed from 1 to 3 units depending on a D3 roll.
Delete