Wednesday, 25 December 2019

ACW Campaign Game Report - Afternoon of the 24th Part 1

A week ago I was able to play a couple of actions in the ACW mini-campaign which took place in the afternoon of 24th June 1863 at Redmonds River. Here is the action report of the first of those two games.

Confederate forces defending a hill as Union troops advance.
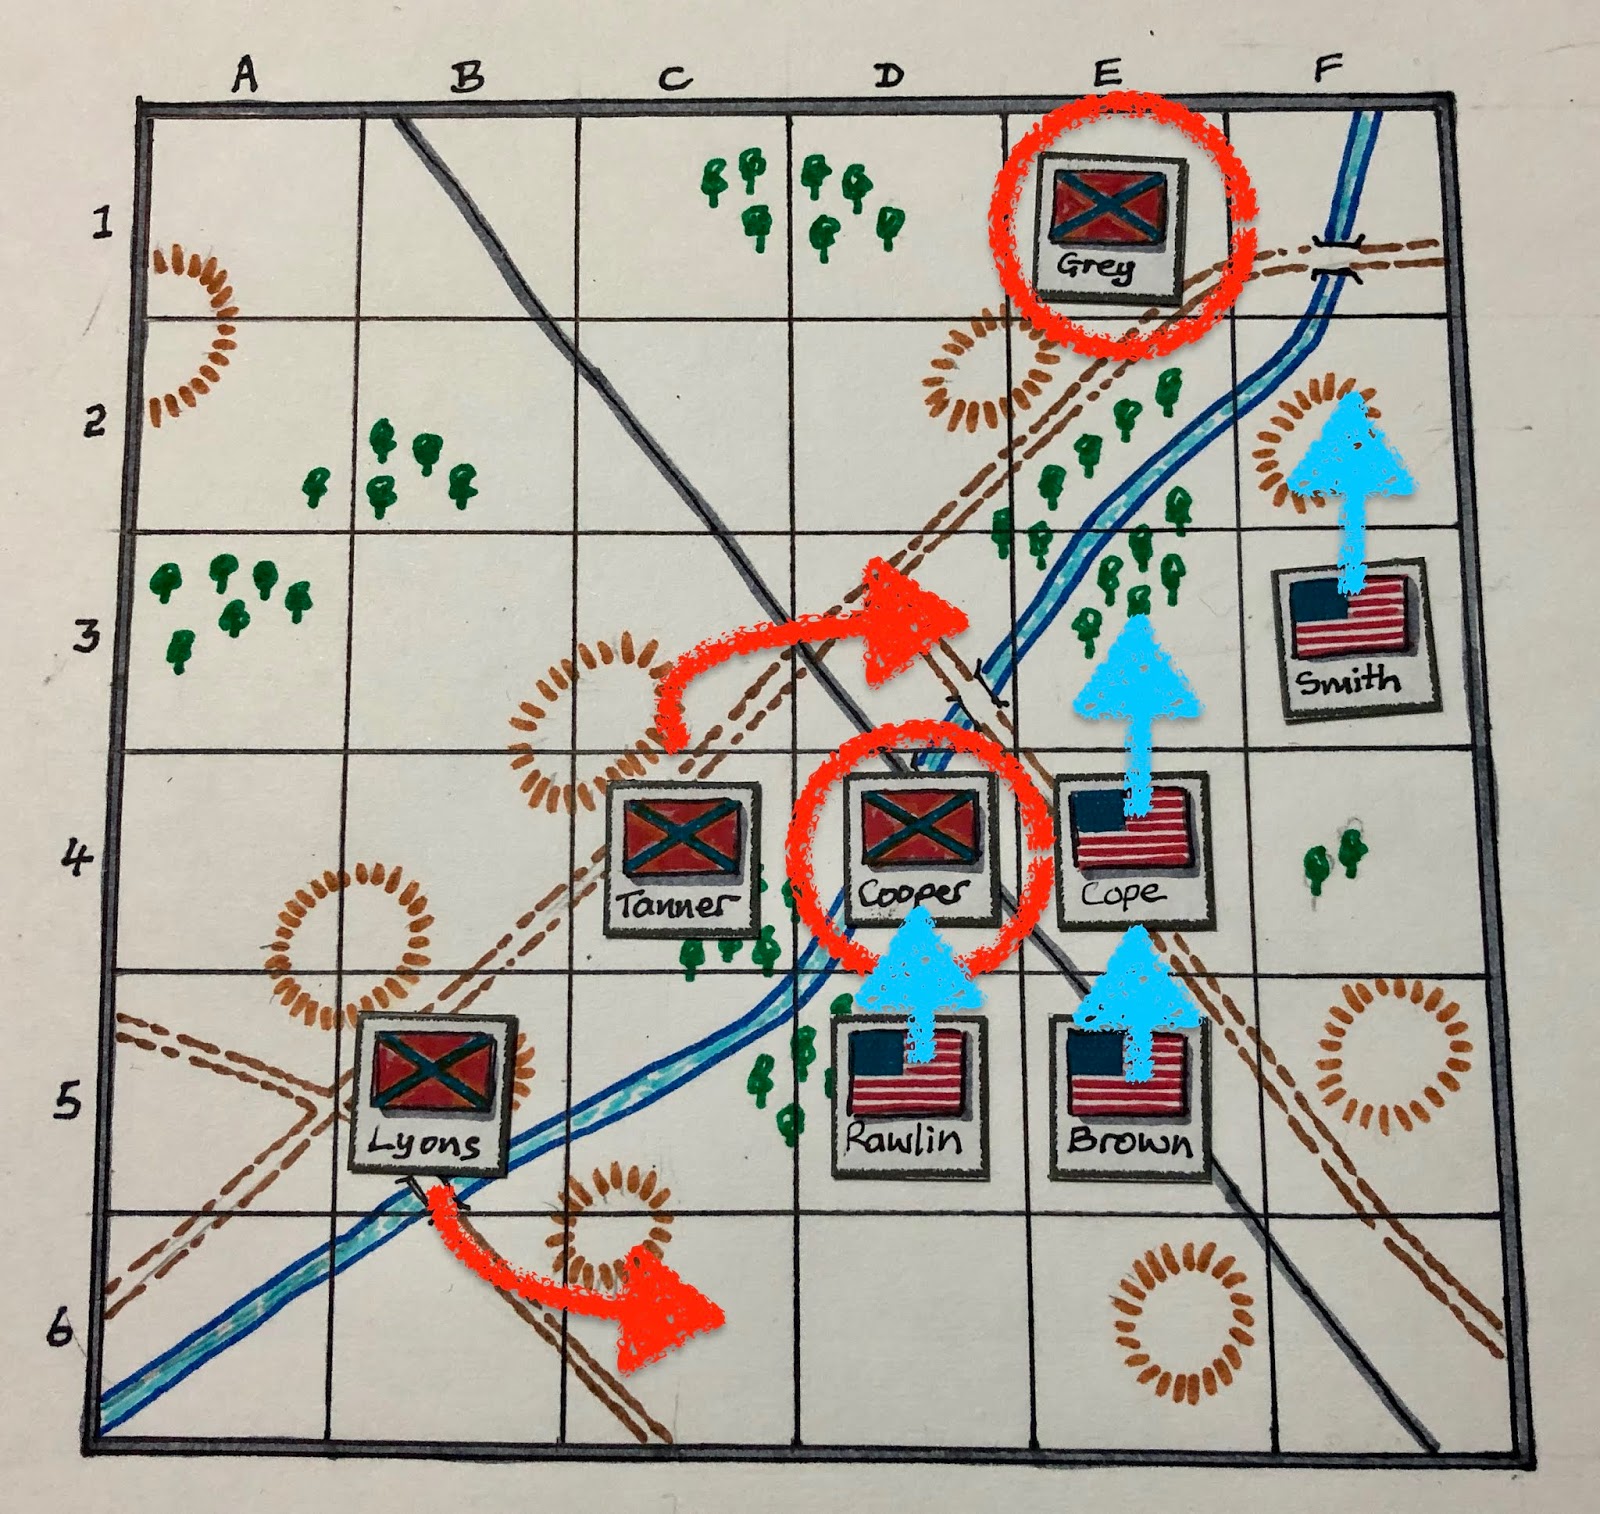
A quick reminder of the campaign map moves which resulted in two actions being fought. The first action has Smith's Union division getting the jump on Greg's Confederate division by successfully crossing the bridge. The second action has Tanner's division launch an attack against a weakened Cope's division.

Campaign map the afternoon 24th June 1863
The action described in this post will be Smith's assault. The first step as usual was to decide the 4x4 foot tabletop by drawing the terrain cards.

Terrain cards
As neither Smith's or Greg's divisions have yet been engaged in the battle it is necessary to dice for their unit composition. The orders of battle are:

Smith's Union Division:

  • 5 x Infantry Brigades
  • 1 x Artillery Battery
Greg's Confederate Division:
  • 3 x Infantry Brigades
  • 2 x Artillery Batteries
  • 1 x Cavalry 

Tabletop deployment
The union plan was launch an assault on the Confederate left flank and gain control of the hill. The Confederate plan was one to hold and counter attack if the opportunity presents itself.

The Union attack begins on the hill
The Union attack began on the hill. The assault made slow going with one of the brigades delayed in advancing. While their opponents on the hill were proving to be very good shots, causing large numbers of casualties. Upon seeing the Union assault was struggling the Confederates launched their counter attack in the centre and on right wing.

Confederate launch their counterattack in the centre while their cavalry move up to block any threat on the right.
The first Union assault failed to dislodge the defenders on the hill. Any thoughts of a second assault were dashed as other units were redirected to fend off the Confederate counter attack.

The Union fail to dislodge the Confederate defenders on the hill.
As the afternoon passed both sides ceased their attacks and returned to their starting positions. Of the two sides the Union were the worse for wear and the Confederate artillery forced their remaining Union units to retire.

Both sides pull back.
Union forces retire
A marginal Confederate victory secured by stout defence and well timed counterattack. We will have to see in the next campaign turn whether they are able to follow up this victory with an evening attack on Smith's division.

Sunday, 22 December 2019

Wooden Terrain and Paper Soldiers

This weekend I have been focussing on getting my terrain ready for a Jacobite '45 game (more on that at the end of the post). My last post covered the making of wooden block houses. For the most part I was happy with them, I was just unsure about the stonework on the walls being as effective as I wanted.

Terrain used in a game
The next batch of wooden terrain was a couple of stone bridges and walls for the Scottish Big House. This time for the walls I used the oil-based pastels to help vary the background colour and used dabs of paint in different shades to give the effect of stonework. Then reworked my houses using the same technique.

A template was created for the bridge sides to help get consistency. With the woodwork I use a mitre-saw contraption and coping saw.
Mitre Saw Contraption - most useful for straight lines and correct angle cuts
Coping saw - for those tricky bits!
All the bits were cut out.
Glued with PVA wood glue
Painted and pastels used to provide colour variation (much darker in photo than actually is)  
Varying stone colours are dabbed on
Pastels used extensively to get variation and a feeling of texture for the bridge span, then a coat of PVA glue is applied to seal the model.
In use on the tabletop.

For those readers who are wondering what on earth has happened to the ACW and ECW campaigns. They will be completed over the next few weeks and there are two ACW action reports waiting to be written up.

The reason for this Jacobite distraction was to try out a solo mechanism used in the ACW campaign and to see if it translates to the tabletop. In the campaign I use orders and write two sets of orders for the opposing force along with orders for my own force. Once all are written, I then dice to see which set of orders to apply to the opposition force moves. As I am using a One Hour Wargaming approach I am hoping it will not be too onerous to write orders for 6 units per side. More on this if it works out.


Saturday, 21 December 2019

More wooden block buildings for a Highland setting

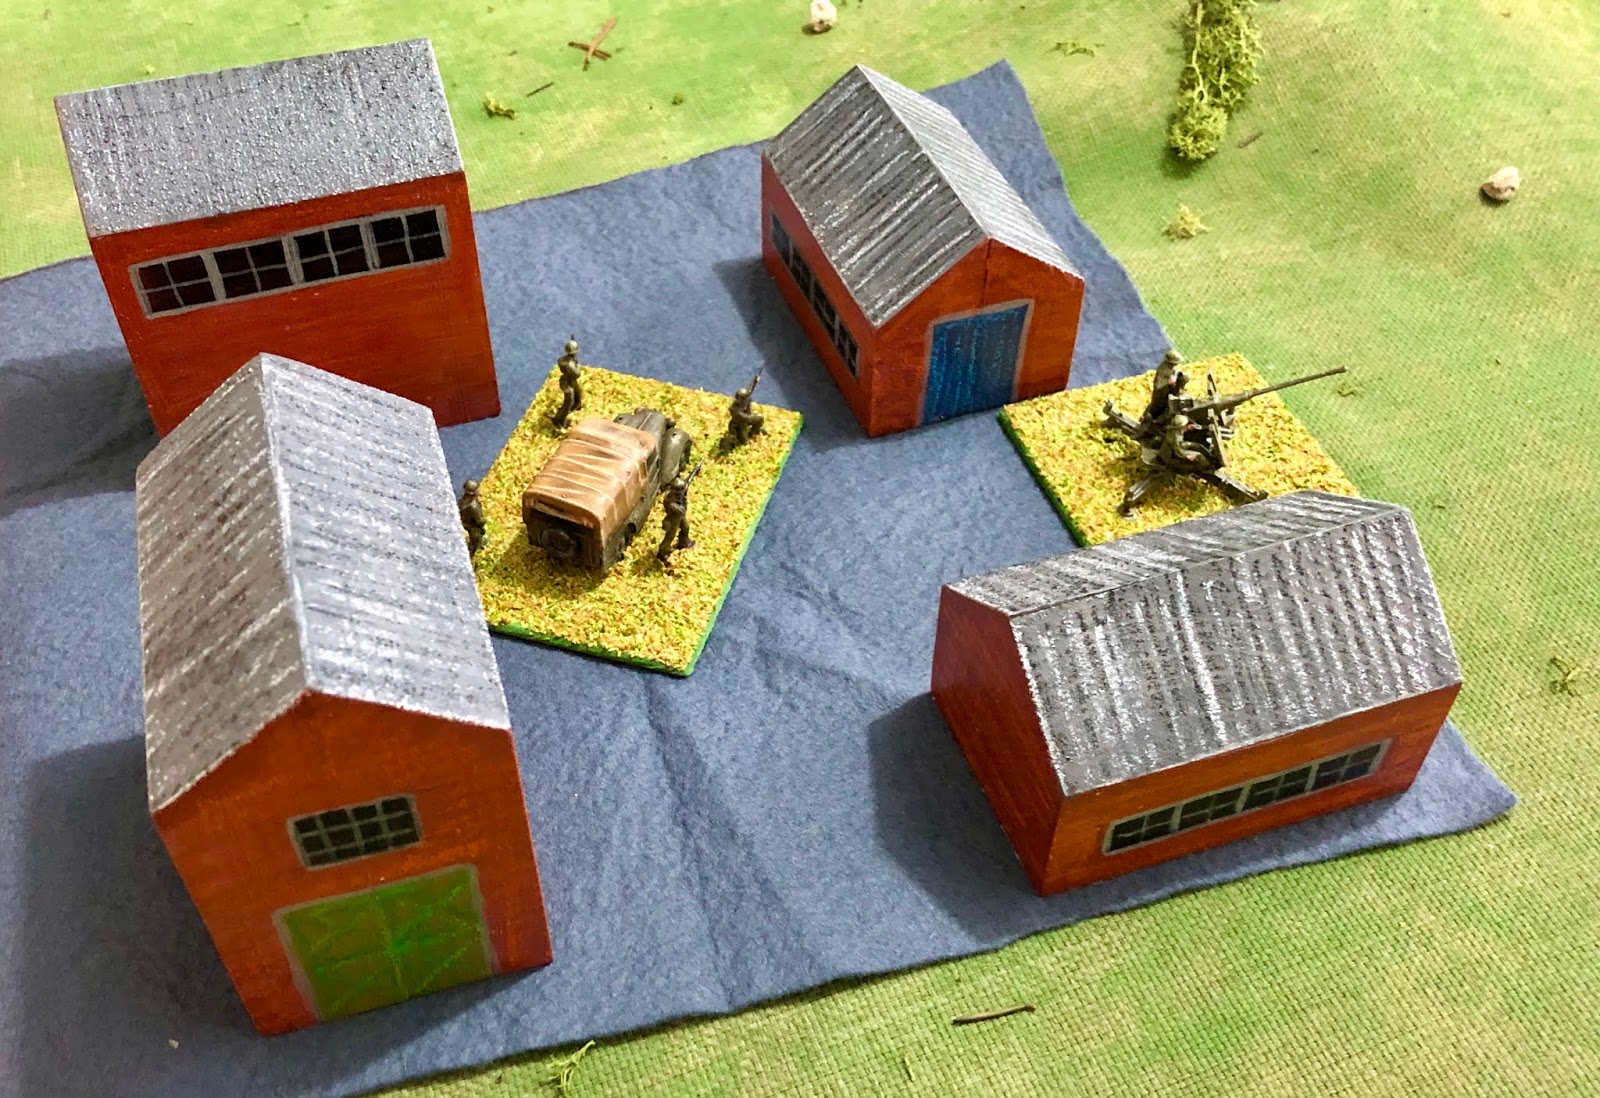
Last week's success in creating some wooden block warehouses prompted me to try build some houses using the same method for my Jacobite paper soldier armies. The only difference here was to add some square dowel as chimneys to the buildings.

Wood block house with square dowel for chimneys
Cottages - the thatched roofs were sanded round
The same approach was used painting the block colours and once dry painting in the windows. I have been using cheap acrylic paint I have left around. Once all try I use oil-based pastels to add the final touches and attempt to give the impression stone work or roof thatching.


The buildings are scaled to 25-30mm but still work with the 40mm paper soldiers once on the wargaming table. The big house and highland cottages were painted and pastel work completed in one evening. This included a coat of PVA glue to seal the buildings.

Highland Cottages
Scottish Big House

I am not sure if these are as effective as the warehouses completed last weekend. I need to practice my stone work effects a bit more this weekend as I build some walls and a bridge.


Wednesday, 18 December 2019

ECW Campaign and a surprise book

I am planning to complete my English Civil War campaign this Christmas holiday. The campaign has moved into its final year 1646. The last battle fought was at Oakham Hall in April 1646, where Parliamentarian forces were able to defeat a Royalist force trying to wrestle the East Midlands from their control.
Current campaign map
In June 1646 Parliament was able to recruit an army to march on Lincolnshire. They were met by a Royalist force at Dunnington. Terrain cards were shuffled and drawn to determine the tabletop layout.

Terrain cards representing the layout of a 6x4 foot tabletop
Campaign cards were also drawn. Parliament's year began well with their continued application of Excise taxes which will enable them field one additional infantry unit each game in 1646. For this battle Royalist forces will field an Elite pike unit, while Parliamentarian are lead by an experience commander.

Campaign cards

The order of battle was determined by dice as usual.

Parliament:

  • 5 x Infantry Units (includes +1 for additional unit)
  • 4 x Cavalry Units
  • 2 x Dragoon/Commanded Shot Units
  • 1 x Artillery Unit
Royalist:
  • 6 x Infantry Units (includes Elite Pike)
  • 3 x Cavalry Units
  • 2 x Dragoon/Commanded Shot Units
Finally, this week a copy of "Scenarios for Wargamers" by C.S.Grant arrived in the post courtesy of Jonathan of Palouse Wargaming Journal. My many thanks to Jonathan for this surprise opportunity to obtain this book, a book I had been keeping a look out for.


Surprise reading material


Sunday, 15 December 2019

Wooden block warehouses and industrial buildngs

I have been attempting to make some cheap and simple warehouses and industrial buildings over the last few months for a St. Nazaire Raid game based on D. Featherstone's book "Battle Notes for Wargames". All in all I will need about 20-30 buildings.


I began with trying to make the warehouse style buildings from card (see post here). It takes quite a bit of work and they cannot be easily stacked for storage. So this weekend I tried something different, blocks of wood.

I purchased a couple of differently sized pieces of wood and began sawing. After a couple of failures I found the most effective way to get a reasonable sized building was to cut two pieces of wood at an angle using a mitre tool and saw for the roof then stick them back to back.

The cut wood
The two pieces of wood get stuck back to back to create the building shape 
Once dry they are sanded, then simply painted with grey for the roof and a brick red/brown for the walls. Once the paint is dry I measure and markup the windows and doors with a pencil and paint the windows black and doors as blocks of colours. The windows get a bit of extra work with a light grey to show the frames.
A base coat is used for roof and walls. Then windows and doors get painted.
At this point the buildings are looking ok, but look a bit flat colour-wise. To address this I used oil-based pastels to give the impression of a corrugated roof by quickly drawing lines of black and white. The similar approach is used for the walls with a brown and a burn orange colour.

The lines of the roof and walls are crudely drawn, but give a the impression of corrugated iron and brick texture, sufficient for the wargaming table and my tastes.
These are robust terrain pieces and can get stacked in storage.
About another 15 or so buildings to saw and make (including some houses).

Houses
The next post will be the two ACW actions played this weekend from my mini-campaign.


Thursday, 12 December 2019

ACW campaign map moves

As the battle progresses into the afternoon of 24th June 1863. Union forces have been able to capture the railway bridge in morning, but exhausted Rawlin's and Cope's divisions in doing so. In an aggressive move Confederate forces have swung Lyons' division across the Redmond River to threaten the Union's left flank.


Orders were written by both generals. In this solo campaign I am taking the Union side and will write one set of orders for them and two sets for their opposing Confederate general. then let the dice decide which set of Confederate orders are actioned.

Union orders:

  1. Smith's division to march north and cross the bridge
  2. Rawlin's division to hold
  3. Brown's division hold and provide support (reserves) to both Cope and Rawlin
  4. Cope's division to hold
Confederate orders to be actioned on a 1, 2 or 3:
  1. Greg's division to cross the bridge moving south east
  2. Tanner's division to advance east
  3. Lyons' division to follow the river north
  4. Cooper's division to hold

Confederate orders to be actioned on a 4, 5 or 6:
  1. Greg's division to cross the bridge moving south east
  2. Tanner's division to hold
  3. Lyons' division to follow the river north
  4. Cooper's division to move north
The dice roll was a 3 so the first set of Confederate orders were actioned. Union forces won the dice-off to make their first move, there on after each force taking turns to action one of their orders in the sequence they were written. When moving a division a D3 is rolled to determine how many squares they can move (no diagonal moves allowed).

Moving first Smith's Union division managed to get the jump on Greg's division. While Tanner's division are advancing on Cope's weakened division and Lyons pushed very slowly north.

This weekend I will hopefully be playing two games over map coordinates E1 and E3.

Tuesday, 10 December 2019

ACW Campaign - 2nd action

Following the morning action fought between Cooper's Confederate division and Cope's division the battle (mini campaign) moves on to midday and orders written. In the case of the Confederates army this means two sets of orders: 1) a likely set of orders and 2) an alternate and less likely orders.

Here are the two sets of Confederate orders:

On a dice roll of 1-4

  • Lyon's division to hold position
  • Greg's division to move east towards the bridge
  • Cooper's division to shift north and cover the road bridge
  • Tanner's division to move east and relieve Cooper's division at the railway bridge

On a dice roll of 5-6

  • Greg's division to hold position
  • Tanner's division to swing north around Cooper's division to the road bridge
  • Lyon's division to cross Redmon's River and swing south east
  • Cooper's division to hold position at the railway bridge

A 5 was rolled.

Battle (campaign) movements
When moving armies a dice is rolled and the highest scoring army moves one of their division first. Then both sides take turns moving alternatively until all division are moved. Divisions must be moved in the order of the orders (e.g. the Confederate army order would be Greg, Tanner, Lyon and Cooper).

With the orders carried out the next action occurs again at the railway bridge between Cooper's division defending and Rawlin's division attacking. The order of battle is:

Cooper's division

  • 3 infantry brigades
  • 1 artillery battery
  • 1 infantry brigade will arrive to support in turn 6 from Tanner's brigade
  • 2 commanders
Rawlin's division
  • 4 infantry brigades (1 brigade had already be sent to support Cooper's division in the morning)
  • 1 artillery battery
  • 1 infantry brigade is avail for support from Brown's division in turn 6
  • 3 commanders

With the tabletop already setup from the previous game, it did not take long for the units to be deployed. Rawlin's division had a slight numerical advantage and planned to take fight to Cooper's weakened division. They planned to cross simultaneously at the ford and railway bridge.

On to the game which was most enjoyable, so much so that I forgot to take photo's towards the latter part of the game.

Tabletop deployments and planned attacks
Union troops quickly crossed the river
Union troops moved swiftly and were able to successfully cross Redmond's River. Skirmishing soon occurred supported by artillery fire. Casualties began to mount on both sides, the Confederate brigade positioned in the fields proved to be very troublesome on the flank of advancing Union units.

Reserve units arrived just as casualties began to result in lost units. The Union reserves marched very quickly and were soon in sight of the bridge.

Reserve units arrive from both sides
Union reserves arrived at the bridge just as they became the only remaining Union infantry unit. When this occurs the units may only defend and not advance towards enemy units. Remaining Confederate units made a last ditch and unsuccessful attempt to dislodge them.

A final attempt to dislodge Union infantry defending the bridge
A slim Union victory which came at the cost of an exhausted Rawlin's division. Cooper's Confederate division was not much better off and limped away westward. These divisions will not be able to recover they losses until night time.

Division positions as the battle moves into afternoon
Having written orders for the campaign has got me thinking about having written orders for the game occurring on the tabletop. Taking a similar approach with Confederate forces by writing two sets of orders and dicing to see which set are carried out.