This is the second game report from the ACW mini-campaign (turn 3) which took place in the afternoon of 24th June 1863 at Redmonds River. This game has Tanner's Confederate division attacking Cope's Union division which has been weakened by combat earlier in the day. Urgent messages were sent by Major General Cope to Union Headquarters and he was relieved to have infantry support from Brown's division (position to the south of him).
 |
| Campaign Map of the battle area. The action is being fought at coordinate E3. |
Terrain cards were used to determine the 4x4 foot tabletop layout. As the campaign map showed the area to be wooded, two wood cards were set aside from my pack of terrain cards. The remaining cards were shuffled and two more selected off the top. Finally, the two wooded and two selected cards were shuffled (including rotating of individual cards) then laid out.
 |
| Terrain cards decided the tabletop terrain. |
 |
| Tabletop with both forces deployed. |
Order of battle:
Cope's Union Division
- 1 x Infantry
- 1 x Cavalry
- 2 x Artillery
- 1 x Infantry re-enforcements due turn 6.
Tanner's Confederate Division
- 3 x Infantry
- 1 x Cavalry
- 1 x Artillery
The plans for both sides were quite straight forward. Union forces wanted to occupy the hill and woods as defensive positions. Then hang on until promised re-enforcements infantry arrived. The Confederate plan was to launch a frontal assault and use their slight edge in numbers (particularly infantry) to decide the action before any Union re-enforcements arrived.
On to the action...
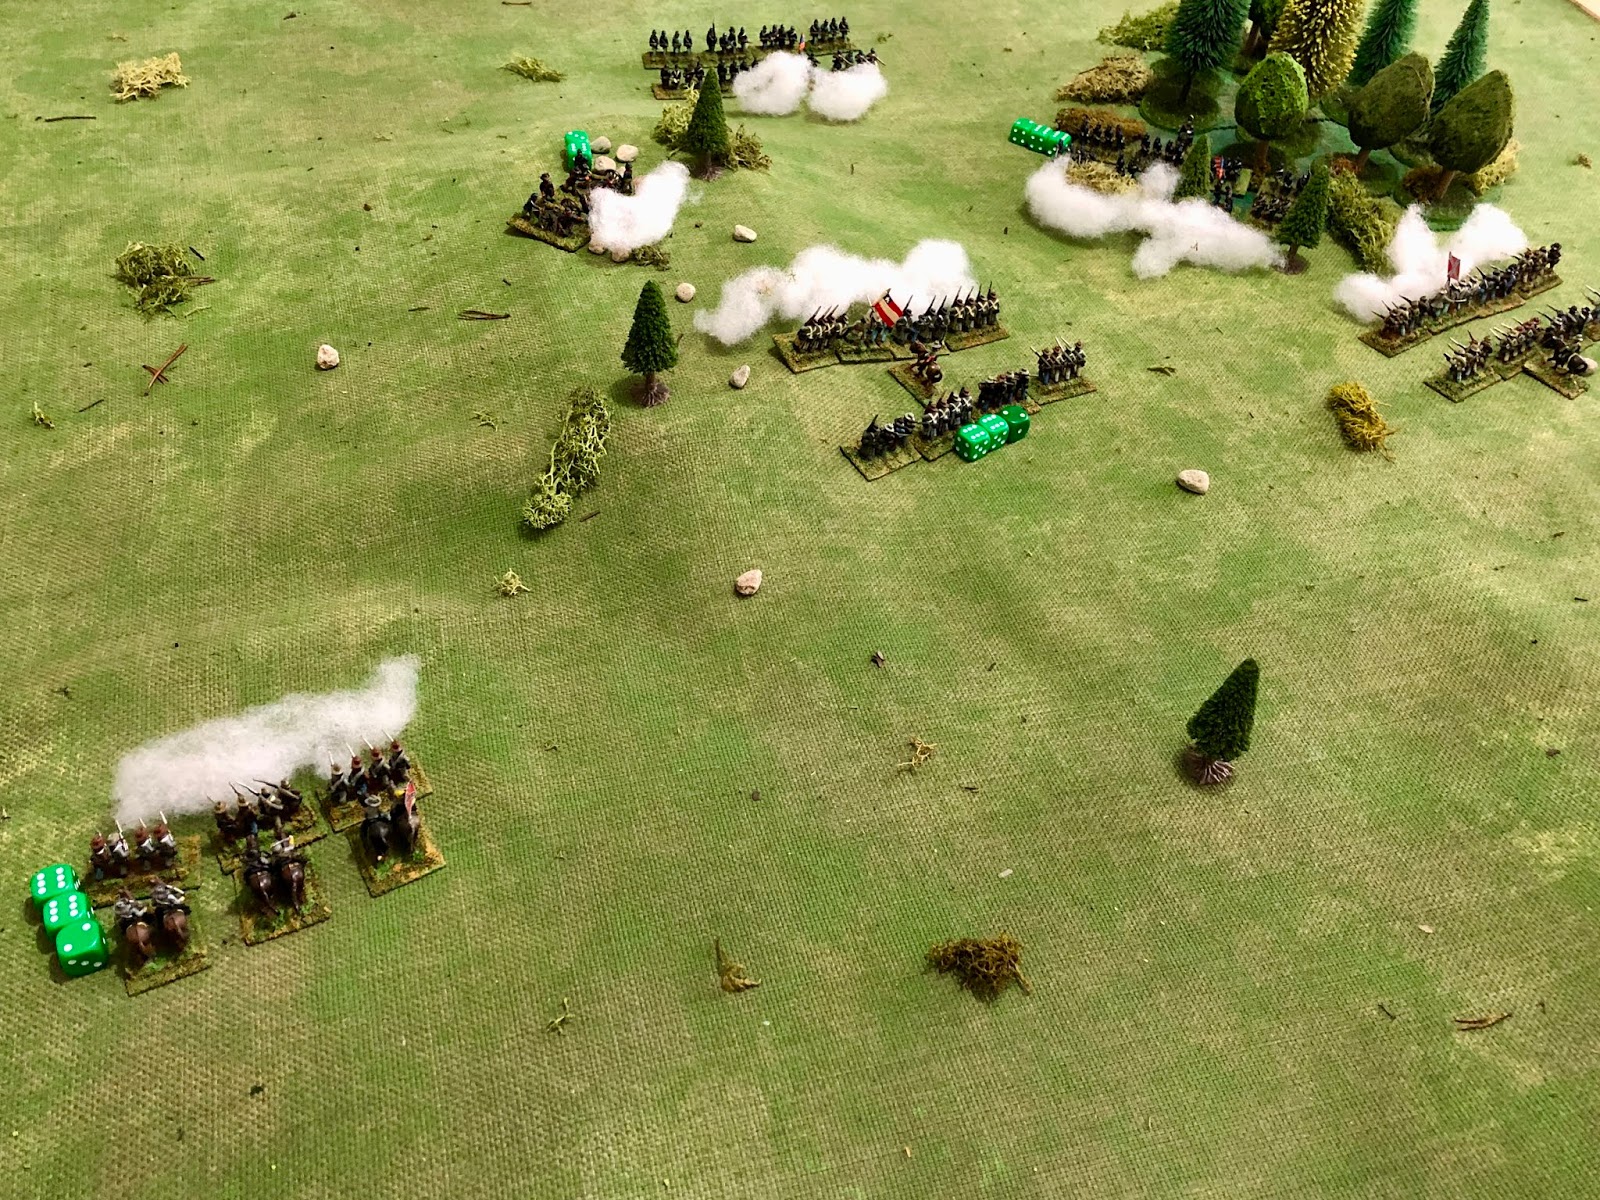
The initial phase of the action had both sides quickly engaged in combat with Confederate forces trying to dislodge the Union's artillery batteries position on the hill. The artillery were proving very effective with firing rounds or canister into the advancing units.
 |
| Union artillery batteries secure the hill in the centre as the Confederate assault begins. |
 |
| Taking the hill is going to be costly to the Confederates. |
Neither side was getting the upper hand on the flanks, although the Union cavalry appeared to be teetering on the edge of routing on then a couple of occasions. While in the centre it looked like the Confederate assault would be successful at some cost. The promised re-enforcements arrived, but would they be enough to turn the tide of battle in the centre?
 |
| The Union centre is in trouble as Confederate infantry get a foothold on the hill. |
 |
| Union re-enforcements arrive. |
In the final phase of this action re-enforcements proved to be sufficient to stabilise the centre. However, both Union flanks gave way and the centre Union position became untenable and their forces withdrew.
 |
| The Union's right flank is open after Confederate cavalry finally overcome their opposition. |
 |
| While the centre is stabilised the woods are lost to Confederate infantry and Union forces make a withdrawal. |
Confederate forces suffered greatly in achieving this marginal victory.
 |
| Campaign map after the action. |
As early evening arrives on the first day of this battle. The Union attempt to gain a crossing has not gone to plan and they have a real threat on the left flank with Lyon's fresh Confederate division. Both sides have some key decisions to make for the evening campaign turn. Do they:
- Have their divisions avoid any action and reorganise those units that routed earlier in the day (achieved by 3+ score in a D6)?
- Launch an evening attack and miss the opportunity to reorganise and regain some of their routed unit for the next day's action (this would apply to the defending force as well)?
A few decisions to make.