This game, the second battle of campaign turn 3, has the elements of the 1st Armoured Division continuing the Allied counterattack against forces from the Trieste infantry division. There are three objectives, to win the game two or more objectives must be occupied. The hills in the centre of the map will be a key objective and a focus for the fighting.
 |
| Map of key terrain features and objectives. The Allies will enter on the bottom. |
Both sides diced for battle events, and both rolled a flank attach and aggressive defence setup (setup guide
here). The Italians being the defenders positioned their units on their half of the tabletop, and after the Allies have deployed up to 30% of Italian units can be reposition forward (outside of Allied unit ranges).
70% of Allied forces are positioned on their base edge, the remaining 30% will arrive on one of the flanks which is determined by a dice roll.
 |
| Starting positions. |
The game began with the Italians positioning units on the central hills. Allied forces occupied the town and prepared for their advance on the central hills.
 |
| Opening moves. |
 |
| The central area is secured by Italian forces who also score an early win by putting out of action a unit of Grant tanks. |
 |
| Very quickly an armoured engagement began as both sides vied to control the hills. |
Allied forces began to arrive on their left flank as the assault on the hills hotted up. The effect of the flanking units was immediately felt and momentum swung to the Allies.
 |
| Allied units arrive on the flank. |
 |
| Allied units can be seen arriving the the flank. |
Having gained the momentum Allied units pushed ahead with their assault to control the hills, but they were suffering casualties from Italian artillery and air support.
 |
| Force positions mid way through the game. |
 |
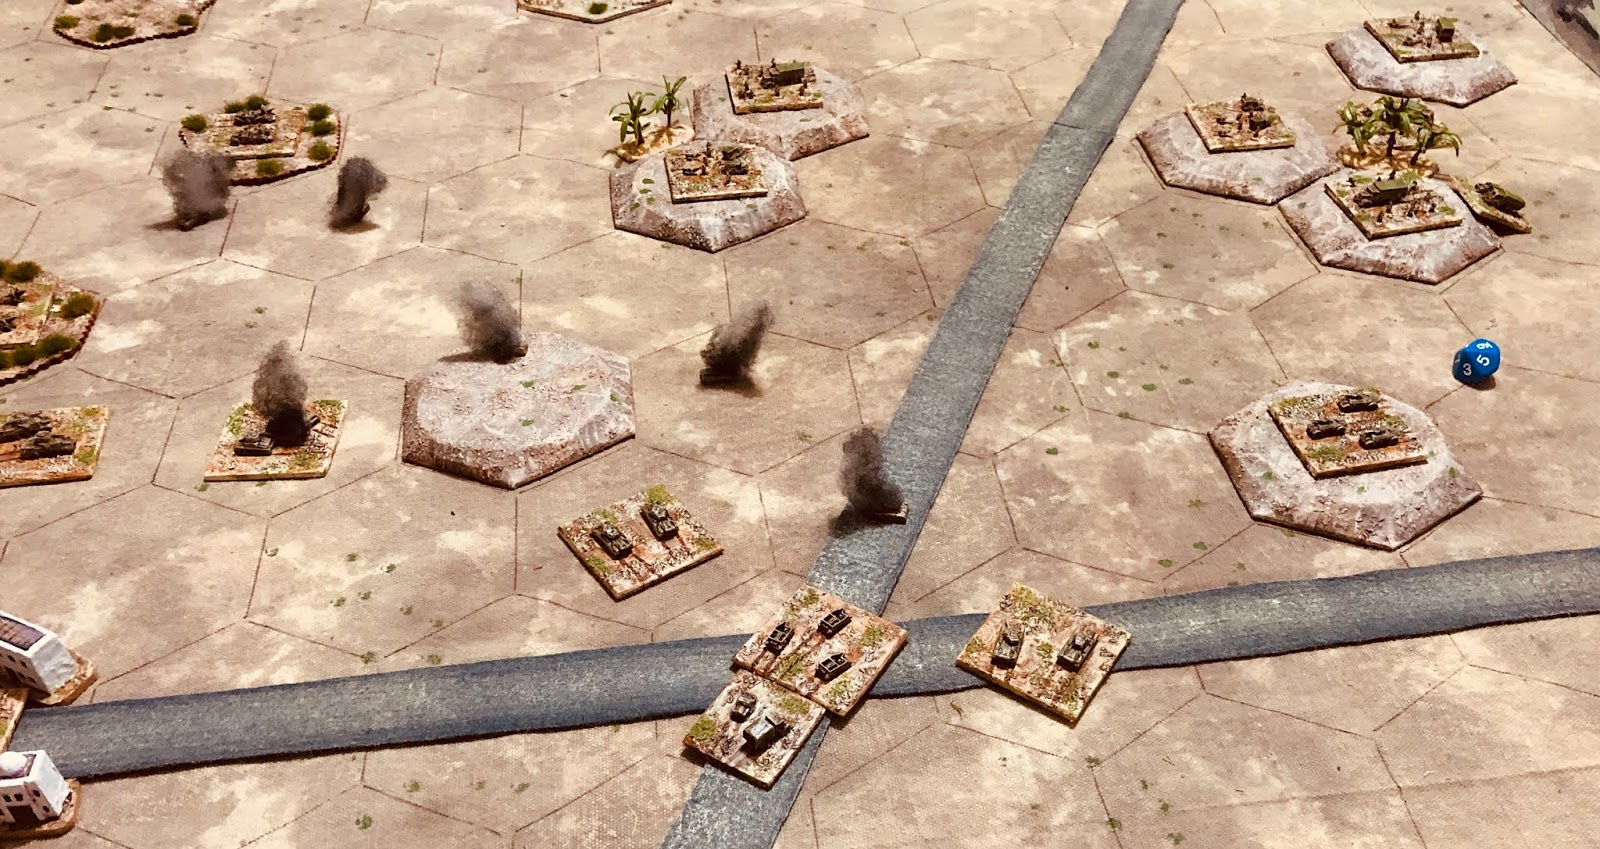
| Allied units trying to clear the hills of stubborn Italian defenders. |
The Allied assault began to struggle as losses from artillery took their toll. This resulted in the need to call off the attack until additional units and artillery support moved forward for a second assault. Additionally air support was called in to attack Italian artillery.
 |
| Supporting units and artillery are moved up for a second assault on the hills. |
 |
| Allied forces get a toe hold on the hills. |
 |
| Air support attacks Italian artillery positions. |
The second assault finally clear the hills of Italian defenders. A brave counter attack by Italian infantry under the cover of smoke regained control of part of the hill for a short while, but proved to be short lived.
 |
| Final postions. |
 |
| Allied units occupy the hill. |
 |
| An Italian counter attack under the cover of smoke was a surprising success. |
 |
| For a brief moment the counterattack retook part of the hill. |
 |
| The second assault is finally successful. |
A hard won victory to the 1st Armoured Division and an important one as it secured an Allied success in campaign turn 3. If they had lost there would have been a 3rd and deciding game, and the Allies had only one remaining armoured division, the 7th Armoured, which was in need of reequipping having been involved in a losing game. They would have most like had to launch an attack with one of their infantry devisions. This would have proved to be difficult proposition.


This was a hard fight and the Italians did not give up easily. Table and action are both superb. Do all units move one sector to the west with the end of the turn?
ReplyDeleteA good game and yes, the Allies will be able to advance one campaign zone because they were attacking.
DeleteThe Allies do seem to have been lucky in striking the line where held by Italian infantry divisions. The Italians have put up quite a show in both games and it's a shame that the Allied Armd Div.s can just shrug this off in their fight as they haven't lost. I'm beginning to think some sort of losses carried forward will penalise Pyrrhic victories and reward a stout defence.
ReplyDeleteWhen choosing to attack there is an element of luck which from a solo campaign perspective provides a level of uncertainty.
DeleteThe reasoning for only applying losses to the losing division is the winning division holds the ground and have the ability to recover equipment from the battlefield. It is a simplistic approach to help streamline running the campaign, and one I may choose to amend as the campaign progresses.
An exciting and closely fought game. For a moment I thought that the Italians might hold on. It will be interesting to see what effect the costly victory has on the Allies going forward.
ReplyDeleteI did enjoy the game. The Italians showed that infantry in cover with artillery support can prove very difficult to shift.
DeleteHard won, indeed.
ReplyDeleteYes, and an important campaign game to win, possibly turning the Allied counter attack into an offensive.
DeleteGreat stuff again, Peter, and that was a heckuva back and forth for the hills! Good to see the Hurricanes get in there and scratch the tanks' backs by taking on the Italian artillery, and a great victory for the campaign. Hopefully the Allies maintain the initiative and continue pushing west.
ReplyDeleteI like your campaign loss concept of only counting the defeated battlegroup, and keeps things relatively simple in terms of campaign administration.
V/R,
Jack
Thanks. I do like to get the aircraft involved in these games, even in a limited way.
DeleteHi Peter- I like what you have been doing with your 6mm WW2 Campaign- well done indeed. Cheers. KEV.
ReplyDeleteThanks KEV. I hope the campaign continues to provide a series of enjoyable games.
Delete