This is my third attempt at trying to make some palm trees. My two previous attempts using material and the second bits from plastic plants having failed. With this attempt I used 4mm round dowel and cardboard.
 |
| A finished palm tree. |
Making the palms...
 |
| The round 4mm wooded dowel is fixed to its base and some masking tape wrapped around the top. Note - when fixing the dowel to the base I mad sure they were on an angle and not straight. |
 |
| I quickly drew four X's on the cardboard to help as guides. |
 |
| Very roughly I cutout the palm fronds. |
 |
| A hole punch was used to clip out a 4mm hole in the centre of each set of fronds. |
 |
| One of the larger fronds is glued on. |
 |
| Then the second frond is added slightly offset. |
 |
| Four layers of fronds are added with the smallest on top. Once the glue was dry I shaped (bent) the fronds. |
The next step is the painting to disguise the cardboard...
 |
| First the fronds were painted a base green. |
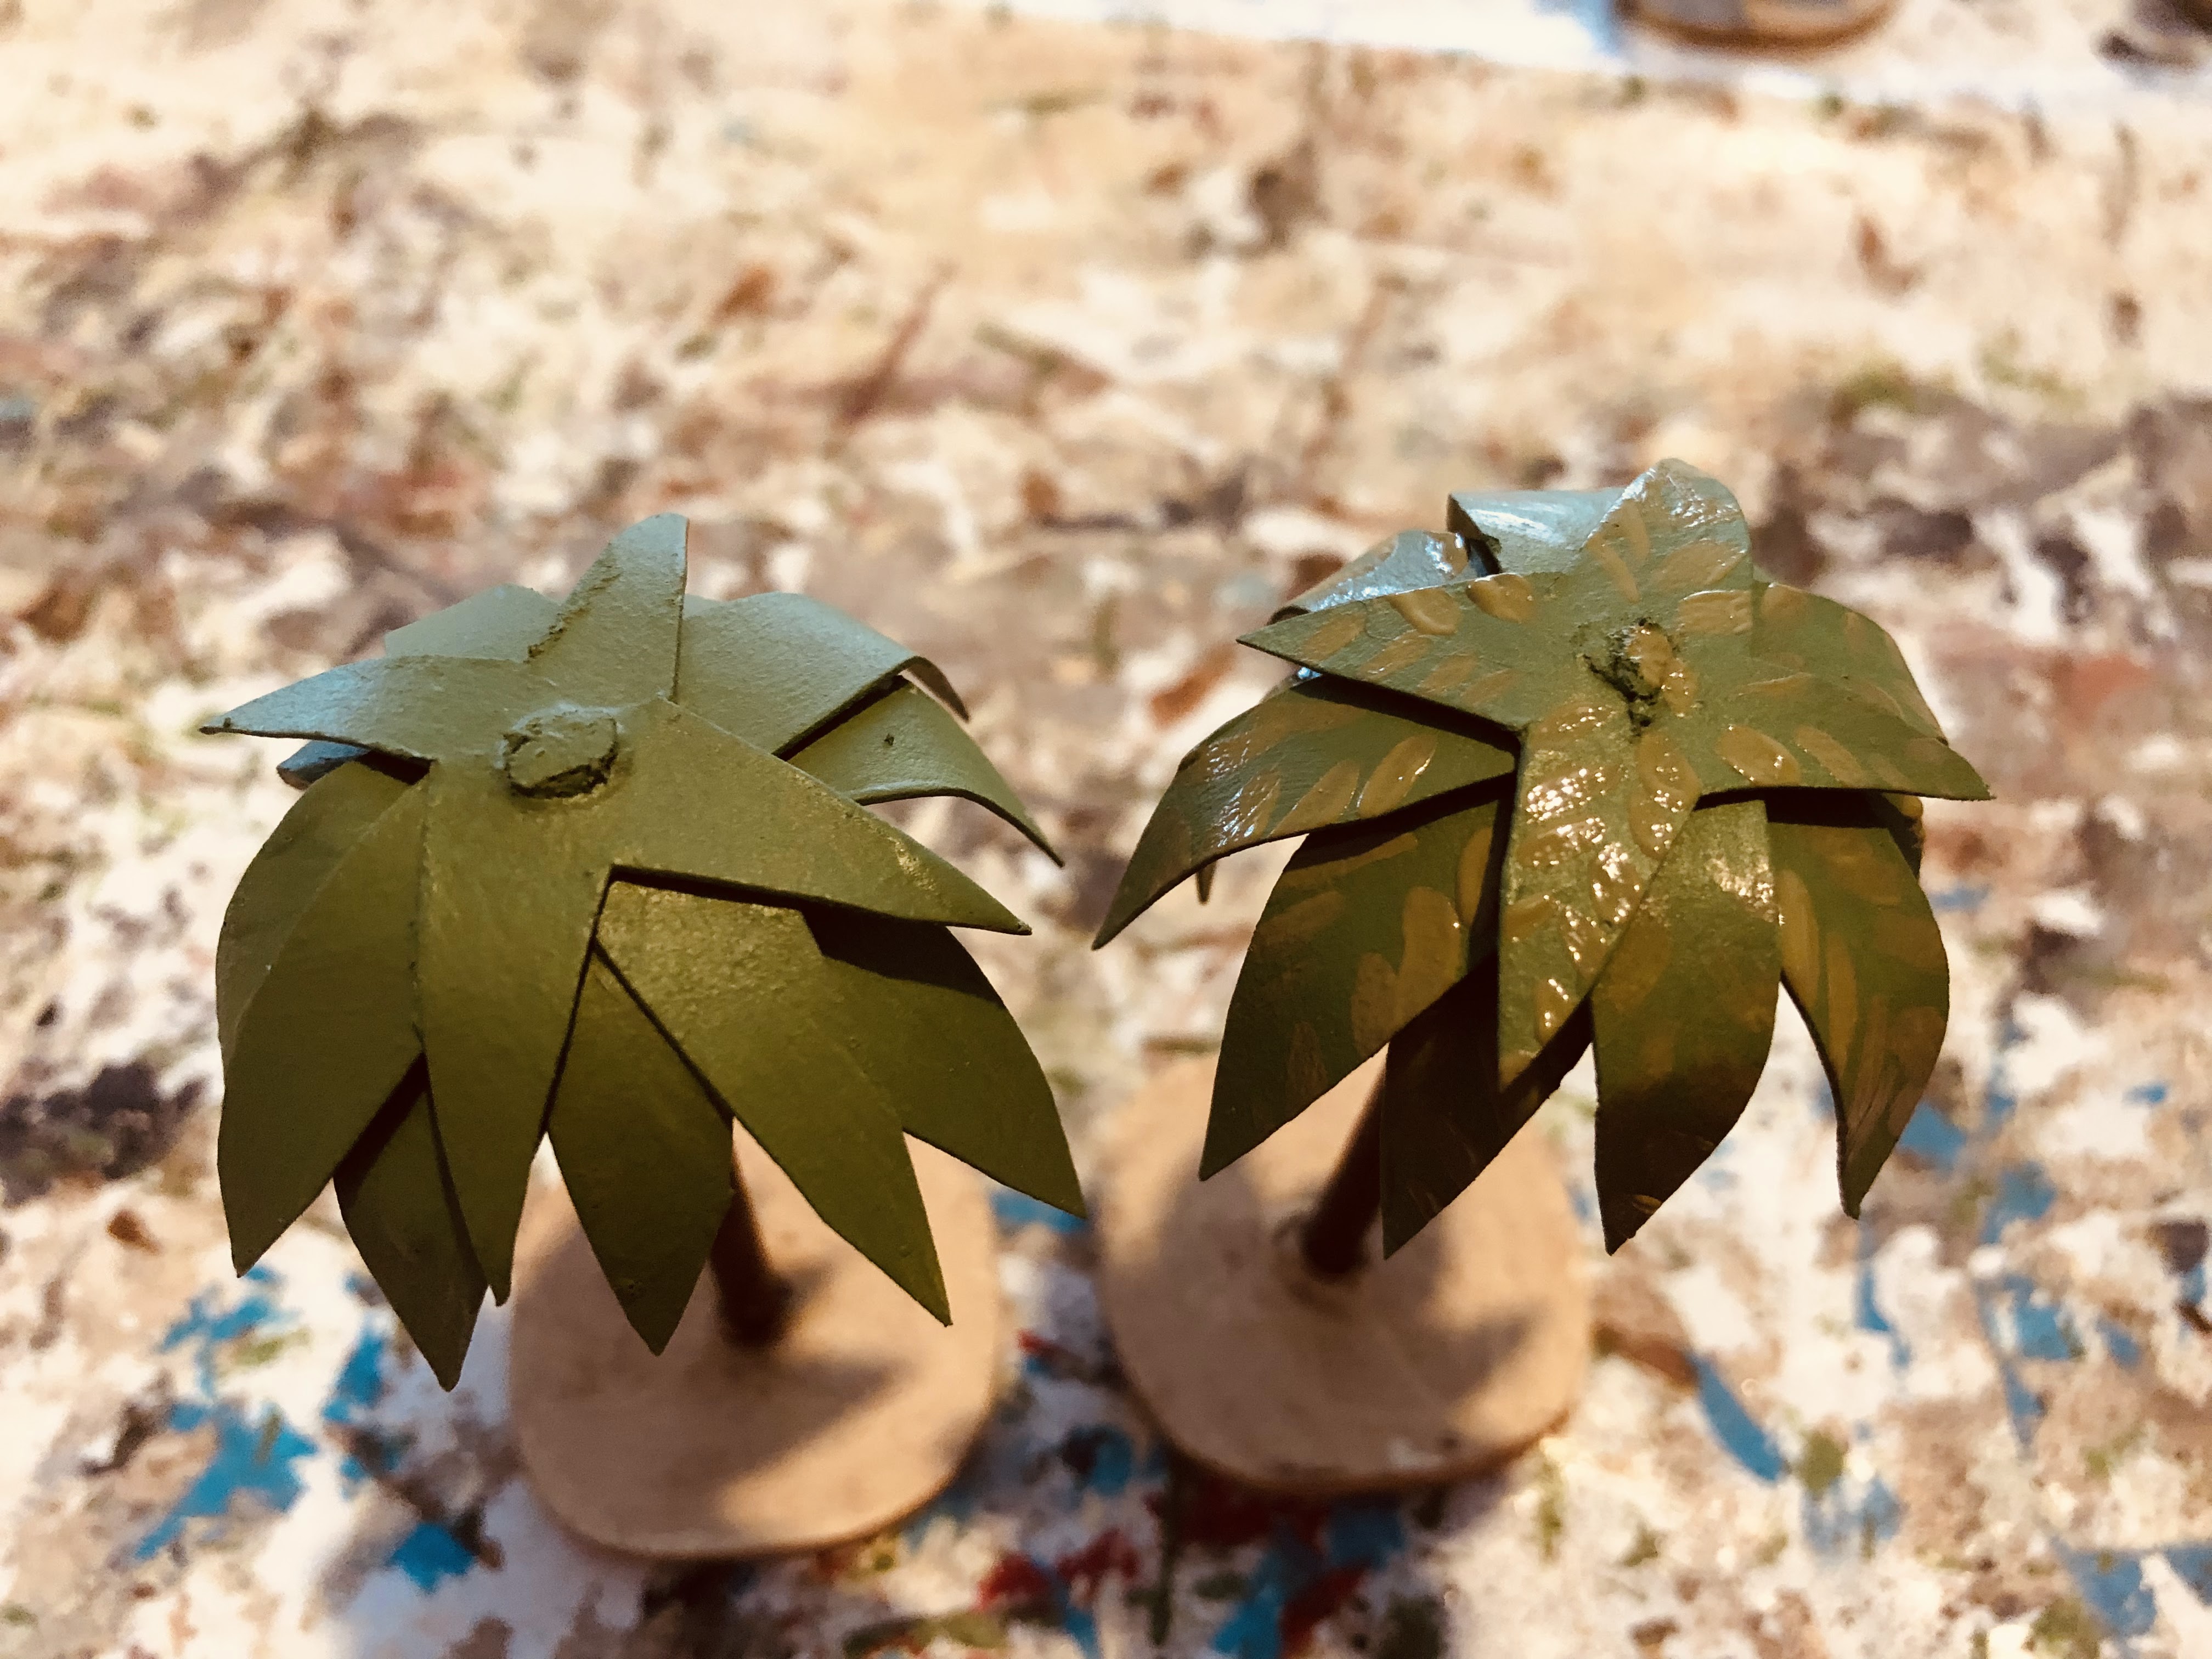 |
| A muted green was applied in strips to give the impression of the frond's leaves. See palm on the right of photo. |
 |
| The strips were added to with a darker green. See palm on left. |
 |
| While the painted fronds were drying I painted the trunk a dark brown. |
 |
| With a light brown/tan paint and a small brush I quickly did flicks of paint up the truck. |
 |
| Using a light green and a small brush the frond leaves are added in detail. |
 |
| The bases were finished with sand and stones. |
 |
| The finished palms on the tabletop. |
The next item for scratch building will be a train as they were key to supplying the frontline troops in the WW1 Palestine campaign.
You really have the knack of making good looking terrain out of nothing, well done.
ReplyDeleteThanks. Making cheap wargaming items always reminds me of when I started wargaming, all the money went of figures so you had to get creative with terrain.
DeleteI like the palm trees but why not do a few 2/3-tree clumps - for variety and stability.
ReplyDeleteThey do look better in clumps. They are stable enough individually based which gives me the option of individual or grouped.
DeleteGreat ideas Peter - very effective
ReplyDeleteThank you.
DeleteExcellent craftmanship, Peter!
ReplyDeleteIt took a few attempts, or prototypes, to get there.
DeleteVery effective.
ReplyDeleteThank you. It was pleasing to finally on the third attempt to have some workable palm trees.
DeleteExcellent work once again Peter!
ReplyDeleteThanks, I'm very happy on how they turned out.
DeleteVery nice! I've made my own palms before but with paper leaves. I am going to have to try the cardboard approach - the paper is prone to tears as you can imagine.
ReplyDeleteGood luck. If you are making them for your 54mm figures you may be able to cut the leaves on the palm fronds.
DeleteNice work there Peter on your Palm Trees- well done. I made similar Palm Trees for my 28mm - that was 30 years ago (Yikes!)... Looking forward to seeing your Train. Cheers. KEV.
ReplyDeleteThanks KEV. Time flies quickly. As for the train, I have been looking at old photos for ideas and hope to start in the next week or so.
DeleteExcellent idea. Well worth stealing! :-)
ReplyDeleteRegards, Chris.
Thanks Chris. Cheers Peter
Delete