Last week, I played a WWII Western Desert game using the One-Hour Wargaming Bridgehead Scenario (number 5). In that game, I replaced the river with a minefield. This time, I decided to replay the scenario with the river back in place and set in a different period. I chose the Samurai period from 1550-1600, as it gave me a chance to test out some activation rule changes. I'm still searching for a set of rules that I'm happy with. For this game, I mashed up the activation system from Songs of Blades and Heroes with many of the combat mechanisms from One-Hour Wargames.
 |
| A close-up photo of some Dixon Ashigaru troops. My armies are an eclectic mix of manufacturers and scales, ranging from 20mm to 25mm randomly collected over many years. They're all simply painted with a glossy finish. |
In the game, each army has 6 units. At least half the units must be Ashigaru units equipped with spears and a combination of arquebuses and bows units, the remaining units can be a mix of foot samurai used as shock troops or mounted samurai providing mobility.
Game Report
The One-Hour Wargaming scenario has blue army attempting to establish a bridgehead with the red army trying to prevent them. By mistake, I reversed the roles with my red painted samurai army attempting to establish the bridgehead against the blue painted army. To prevent confusion, I use fictional clan names with the Miyamoto army trying to establish the bridgehead and the Takeshita army opposing them.
 |
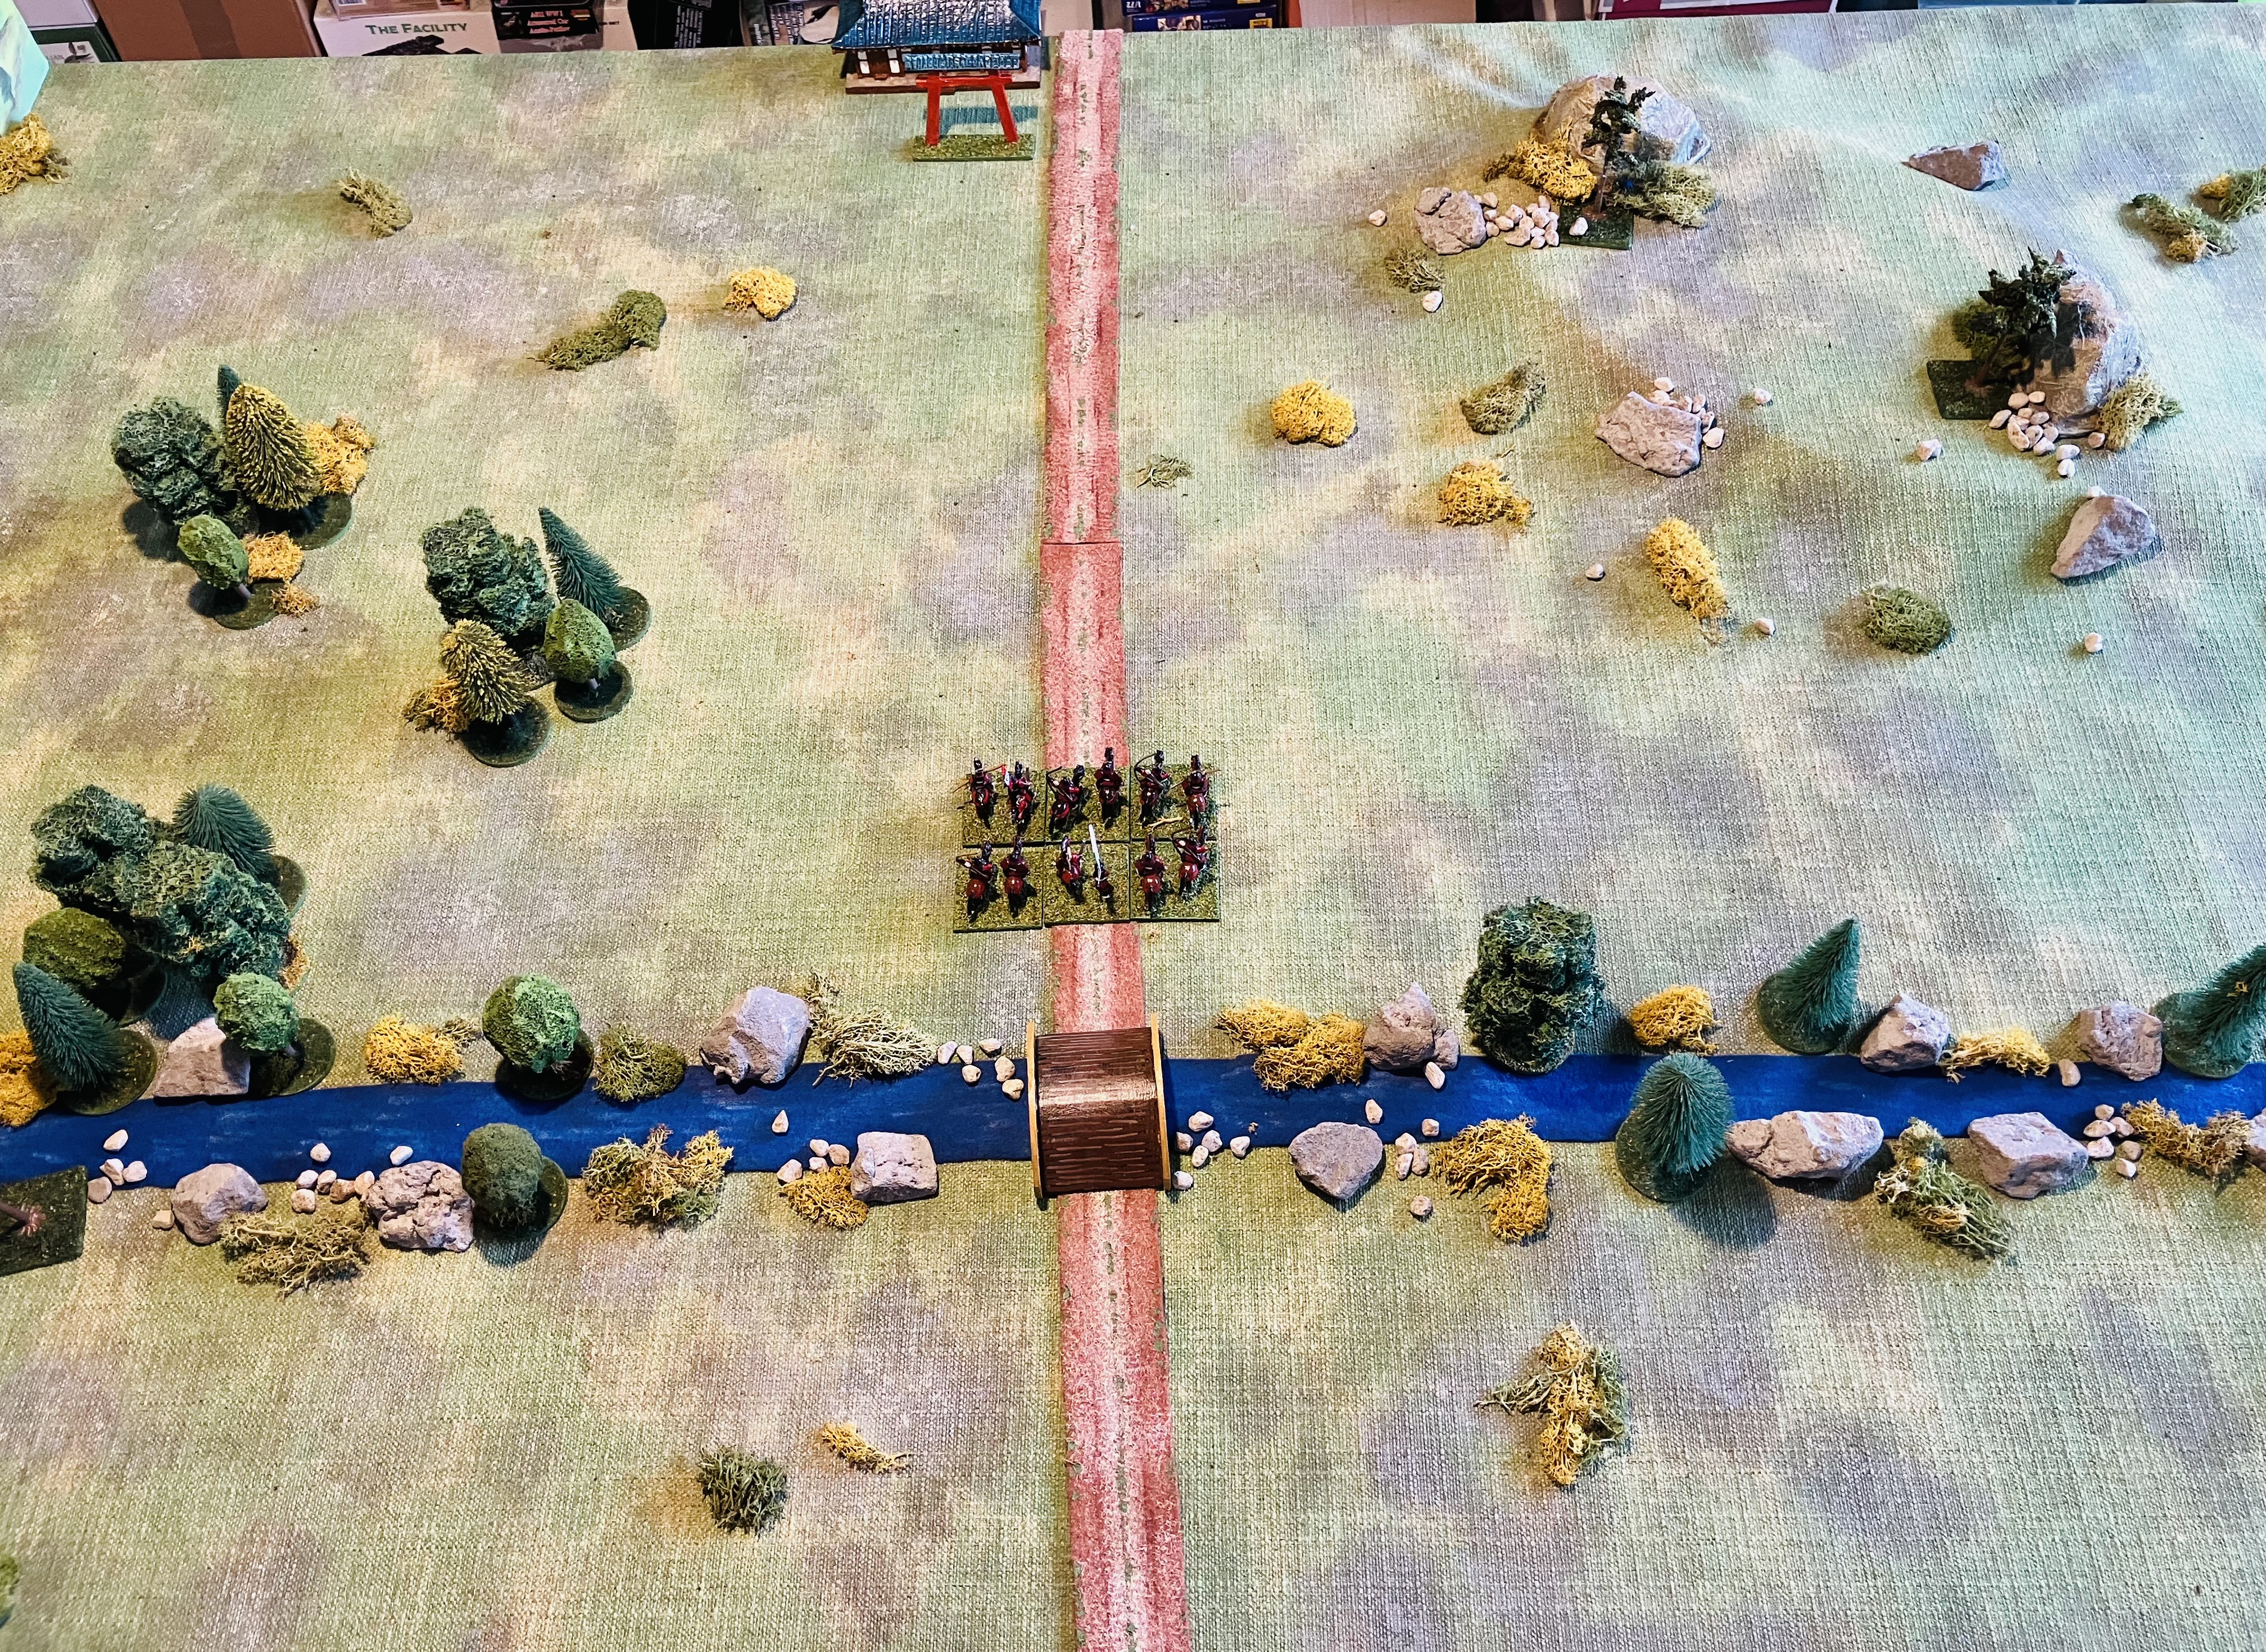
The Miyamoto army started the game with a unit of mounted samurai positioned across the river.
|
 |
The first two units of the Takeshita army arrive. While the Miyamoto mounted samurai advance toward the hill.
|
 |
A unit of Miyamoto Ashigaru arrives and crosses the river to confront the advancing Takeshita forces, while their mounted samurai take up position on the hill and the flank.
|
 |
| The Takeshita army push forward their foot samurai as Miyamoto forces try and move their arriving units across the river as quickly as possible. |
 |
As more Takeshita units arrive, their Ashigaru clash in the centre but remain cautious of the Miyamoto's mounted samurai, who have retreated from the hill but still pose a threat on the flank.
|
 |
Takeshita units mounted samurai successfully launched a charge, forcing Miyamoto's units north of the river to retreat, blocking their reinforcements as they attempt to cross the river.
|
 |
Miyamoto's units launch a counterattack, regaining the lost ground in the centre and allowing their reserves to cross the bridge.
|
 |
Both armies attempt to reorganise their formations and deploy recently arrived reserves.
|
 |
Mounted samurai from both sides are positioned on the flanks, prepared to charge and rout any weakened units.
|
 |
Takeshita's mounted samurai seize an opportunity to charge into Miyamoto's left flank, routing a unit and impacting their flank.
|
 |
| The position of Miyamoto’s army went from bad to worse as more of their units began to rout. |
The game was entertaining and enjoyable with the risk/reward activation mechanism from Song of Blades and Heroes rules providing interesting choices for both armies. When activating a unit, the player can roll one, two, or three dice. A dice score of 3+ is a successful action. However, if two dice fail to achieve a 3+, the player's turn ends. While rolling a single dice minimises the risk of ending a player’s turn early, it also means a unit gets to do very little. Additionally, if any 1s are rolled, the opposing player can react with one of their units for each 1 rolled. A player’s turn ends when all units have attempted activation or if two dice fail to get a 3+.
During the game, there were several instances when a unit of samurai from one army, or the other, charged forward with a couple of moves to surprise the enemy or used their additional actions to improve their combat results to make a decisive assault on an enemy unit. I now need to write up my rule notes, and another samurai game is being set up on the tabletop this weekend to continue testing the rules.
 |
| The victorious Takeshita army after the battle |


Handsome game and an interesting rules’ development. I liked that throwing ones allows an opponent activation. Is the opponent activation only when the active player does not throw 3+ or any time?
ReplyDeleteIt is whenever one of the rolled activation dice is a 1. I did not fully expand on the rule details. Here is an example, 2 activation dice are rolled and result in a 1 and 5. The opponent will make an activation with one of their units, then the rolling player whose turn it is will then activate with 1 action. I will hopefully be posting up the rules in the next week, or so.
DeleteGreat looking game Peter and interesting activation mechanism.
ReplyDeleteThanks, the activation approach taken from song of blades and heroes worked out well.
DeleteVery nice looking game, the table looks great and an interesting report too.
ReplyDeleteGlad you liked the tabletop, the backdrop helps to set the scene.
DeleteBeautiful looking table and figures Peter. I am also intrigued by the activation system and look forward to reading more about it.
ReplyDeleteThere will be more on the rules in the coming posts as I get a few more test games played.
DeleteA fine looking game and an interesting mash up of the rulesets there:).
ReplyDeleteThe samurai armies look very colourful on the tabletop and will be there for a few more games as I test the rules.
DeleteLovely looking armies peter and another interesting set of rules! Samurai armies seem to be quite in vogue at the moment.
ReplyDeleteSamurai armies do seem to be quite popular. I follow a Facebook group Feudal Japanese Miniature Wargaming and they do seem to be very active.
Delete