Saturday, 11 November 2017

French Indian War campaign game 3 report

Game three saw the French defending a fort. Half their forces including their cannon were within the fort walls and the remaining four units positioned outside to harass the attacking British.

In this game I decided to make a modification to the shooting rules. This was aimed to benefit the effectiveness of units with fewer hits. So, units with four or more hits subtract one from the shooting dice. I did consider units with three or less hits having the option to re-roll hit dice when shooting, but stuck with the subtract one option for this game and may try re-rolling option in the next game.

Anyway, onto the pictures and game report...

French cannon fire is used to disrupt advancing British units in the opening moves.
The British quickly positioned their cannon and targeted the fort gates
Some well aimed shots quickly breached the walls
British light infantry move around the flank.
British units begin to advance upon the breach.
At this point in the game the advantage seemed to be with the British, having successfully breached the fort walls and forced once group of French harassing forces to retire behind the fort.

Highlanders advance as French units defend the breach 
French right flank units continued to harass attacking units
The attack continues as French units put up a strong defence
Light infantry launch an attack on the cannon which was proving to be very effective in defence
The British cannon is under threat as shielding units are eliminated by French units 
Defences hold firm
The light infantry attacks fail and British units prepare their final assault
The gallant French commander fell during the final assault, but other units within the fort took his place. 
The assault continues and the defence continues to hold
The assault finally fails to dislodge the defenders and the British commander is lost with his unit.
A good and close game which for a while looked like the British would have their third win. The French cannon proved the difference seeing off an assault from light infantry and supporting the defence of the breach. Giving the French their first campaign victory.

Thursday, 9 November 2017

French Indian War Campaign - preparing game 3

After messing around with a few WW2 games over the last week or two, it was time to get back to my French Indian War campaign. The last campaign game (game two) saw a British victory and the resulting French retirement.

French retirement move
Following on from their victory the British forces made a move on the French river fort.

British advance
Both forces selected 12 units which were reduced using cards to: 8 units for the French and 10 for the British, who chose to use there reinforce option to give them an extra two units. The British had hoped to field two artillery units, but the cards were against them.

Selection of forces
The fort and roads were laid out first with all remaining terrain randomly placed according to dice rolls.

French units prepare for a defensive battle 
British forces arrive


Sunday, 5 November 2017

Quick and easy war-game terrain hedges

Not a lot of modelling or wargaming this weekend due to a short get away trip. Although these trips do allow for a little bit of downtime involving reading in the evenings with no TV or computer distractions. So with perfect timing the day before departing two books turned up.

Timely arrivals
"Napoleonic Wargaming" by Neil Thomas is in preparation as my current project, painting up a number of old plastic Spencer Smith Napoleonic miniatures, is progressing quite well with over half the figures painted.

Dragon Rampant will be used with some of my old Orcs and a spontaneous purchase from a few month back - the Age of Sigmar starter box.

Spontaneous purchase - Warhammer Age of Sigmar
Earlier this week I was playing a few WW2 Northern Europe games and required a few more hedges which could act as bocage in my games. So late this Sunday I quickly made up some from a couple of large scrub pads I had left over from making trees. I only have before and after photos due to a flat phone and I finished by the time it had recharged!

Scrub pads where cut into 4 and 6 inch lengths and shaped
Finished hedges after a light spray of a sand colour and dry brushing a mid green and brown colours. 
The scrub pads were cut into lengths and then shaped with a series of V-cuts and trimmed. After which they got a light dusting with a sand coloured spray paint which provided highlights. Once dry the final step was a quick dry brushing of a mid green colour followed by a dark brown. The sprayed highlights helped the dry brushing take to the plastic pads.

One hour later the hedges (bocage) was in action on the tabletop
Because of the scrubbing pad thickness there is no need to base the hedges 
A close up showing the effects of spraying and dry brushing


Tuesday, 31 October 2017

6x6 challenge update for October

In the last couple of days of October I have been able to play out my last two 6x6 challenge games using Galleys and Galleons rules. The first game (fifth in the series) was an ambush game with a Spanish ship chasing an English privateer into a trap.
The chase is on as and second ship lays in wait to spring the trap 
Unaware of a trap the Spanish Galleon closes the gap 
A change in wind direction went against the ambushers and favoured the Spanish 
The Spanish catches up and delivers a devastating broadside
All ships close and exchange shots 
With one Privateers having sustained heavy damage and both decide to break off the engagement
The second game has a Spanish galleon bottled up in port and an English ship waiting for it to make a run for the other corner and escape.
An English ship waits for the Spanish ship to make a break.
The Spanish finally make a break for it 
The English ship closes and engages.
Both ships tack across the board firing when possible
The Spanish ship slips free
Two Spanish wins.

With those two games my 6x6 challenge is complete. A most enjoyable challenge set at the start of this year by Kaptain Kobold and got me playing some rulesets purchased but never played. My favourite challenge games was the Hundred Years War series which ended up running for 10 games as part of a mini-campaign.

The completed list...
  • Tank-on-Tank (Lock 'n' Load Publishing) SciFi Variant - 6 games completed in February
  • Dark Ages with Dux Bellorum (Osprey) - 6 games completed in January using paper armies
  • WW2 Naval (Pz8 rules) - 6 games now completed in July.
  • 19th Century European Imagi-Nations OHW Variant - 6 played. The final games were played in August.
  • Galleys and Galleons (Ganesha Games) - 6 games completed in October.
  • Hundred Years War using Lion Rampant (Osprey) - 6 games completed as part of a series of campaign games.

Saturday, 28 October 2017

Finishing off long grass for jungle terrain

In my last post I mentioned the teddybear fur I used for long grass and under growth in my WW2 Burma game, and that I thought it was a bit too dark and shinny. There were a couple of comments with suggestions on how to sort this out (Thanks - Norm and Natholeon). So this weekend I popped down to the local hardware store and bought a spray can of beige/tan looking paint.

After a quick and successful test with a smaller piece. All the fur was laid out a given a series of very light spays which provided highlights and also toned down the shininess.
Green teddybear fur cut up as long grass and under growth for WW2 Burma games
The effects after a very light spaying 
With troops added
Pleased with the effect on the fur. I thought I would give the same treatment a try on the dark green felt I use for woods in other games.

Before spraying
After spraying
Not quite as effective as the grass, a light spraying has generally just lightened the dark green felt.

Sunday, 22 October 2017

WW2 Burma game using Crossfire rules

This past Saturday I finally finished off all my planned WW2 Burma figures. There are not many. Each side is made up of two packets of Airfix infantry, plus an Anti-Tank gun with tow and a couple of tanks. I may yet add a couple of mortars for each side.

WW2 Burma Armies - they each fit nicely in a draw. Very useful as storage starts to become more of an issue.
This whole project was very opportunistic. Starting with a spontaneous purchase of two packets of WW2 Japanese infantry. I have always had in the back of my mind the thought of using Crossfire rules in a WW2 Burma setting. When I first purchased them a few years back, and until this weekend they have been just sitting in a draw unused.

After a quick reading of the Crossfire rules as a reminder. A 4x4 foot tabletop was set up using all the jungle terrain I made a few weeks back (jungle post here). The terrain features are marked using some dark green teddy bear fur cut into shapes and the jungle placed on top. The fur is meant to look like long grass, possible a bit too dark and needs to be lightened somehow. While the brown felt represents depressions.

Terrain all laid out for a game.
For my first game using these rules I wanted to keep it reasonably straight forwarded. The Japanese had two platoons with a company commander and machine gun with the objective of holding off the advancing Australians. Who had three platoons and a company commander with a 2 inch mortar and HMG.
Australian company.
A reduced Japanese company.
Here are some pictures of my first game. As with most first games using rules you are not familiar with, they can be frustrating affairs as you regularly re-read rules for clarifications and memory lapses. The latter do seem to be on the increase now-a-days.

Japanese squads take up position 
Two platoons and company commander take up position in a depression.
The third Australian platoon secures the other flank.
Australian sections move into the long grass and receive reactive fire from the defending Japanese. The matchsticks represent pinned and suppressed sections. One for pinned and two for suppressed.
On the other flank, Japanese sections push forward into a depression. This was a mistake, I should have moved them into  the cover of long grass.
A clear line of fire for a Japanese machine gun.
Australian move up ready to assault the Japanese. Too much rule checking on how to assault meant there are no pictures of the assault)
After successfully storming the depression the Japanese machine gun is engaged.
With the Japanese machine gun occupied on the other flank. The commander with one section are able to move around the flank.
The game is in the balance as the Japanese flank become threatened.
Another assault to clear out the Japanese defenders.
A final attack supported by the 2 inch mortar finishes off the machine gun.
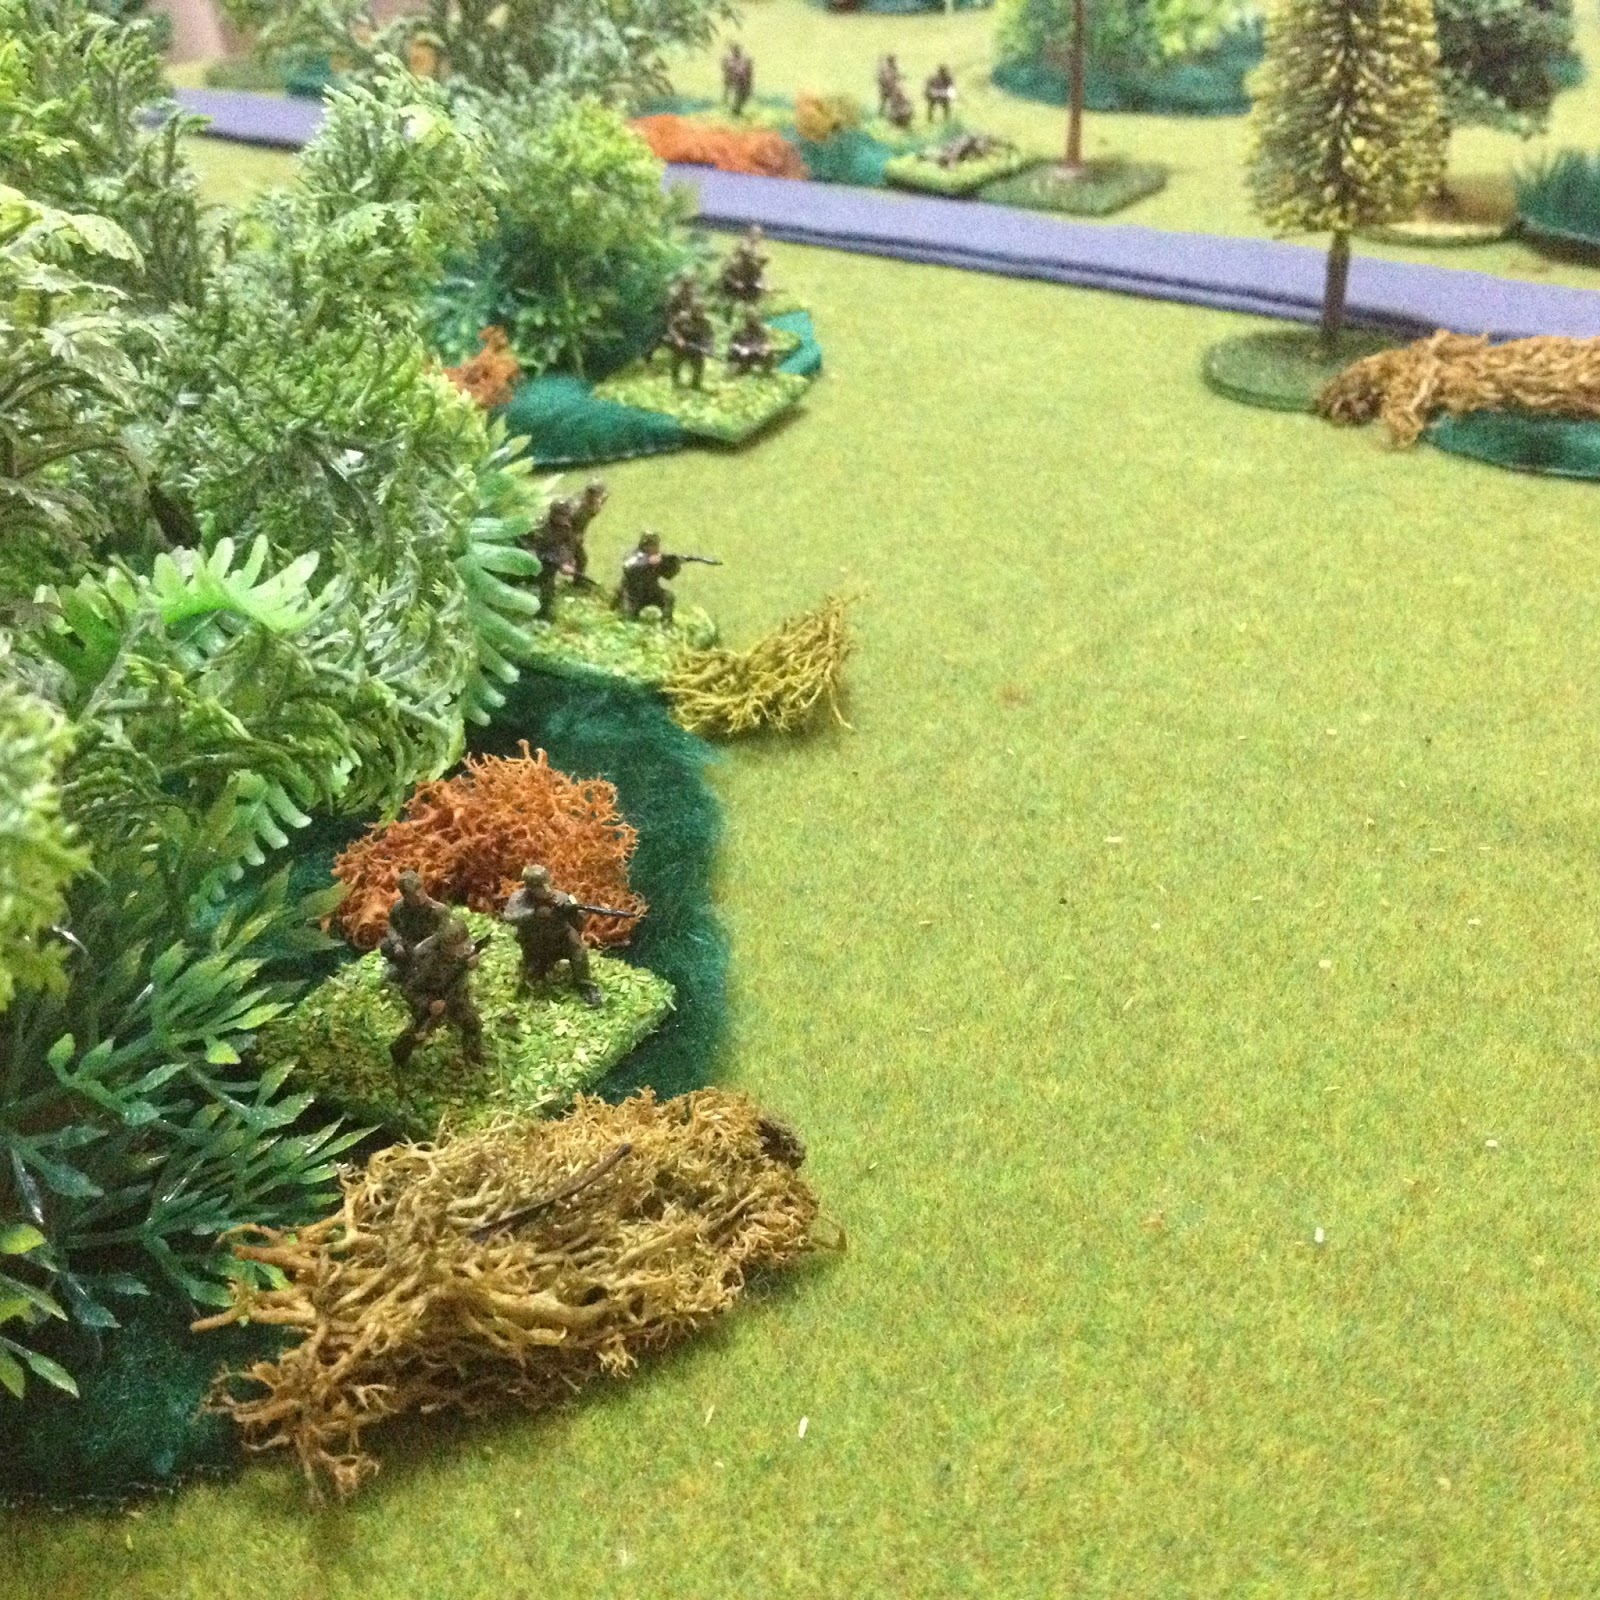
So having just played my first game. I do like the rules and was starting to get in the swing of things as the game progressed. The rules certainly give that company level feel with troops rushing from one terrain feature to another.  Because I mostly use a gridded tabletop for wargaming I didn't really notice the lack of measuring, which is a notable feature of the rules where nothing is measured, movement and shooting.