Wednesday, 19 December 2018

ECW Campaign rules for 1643

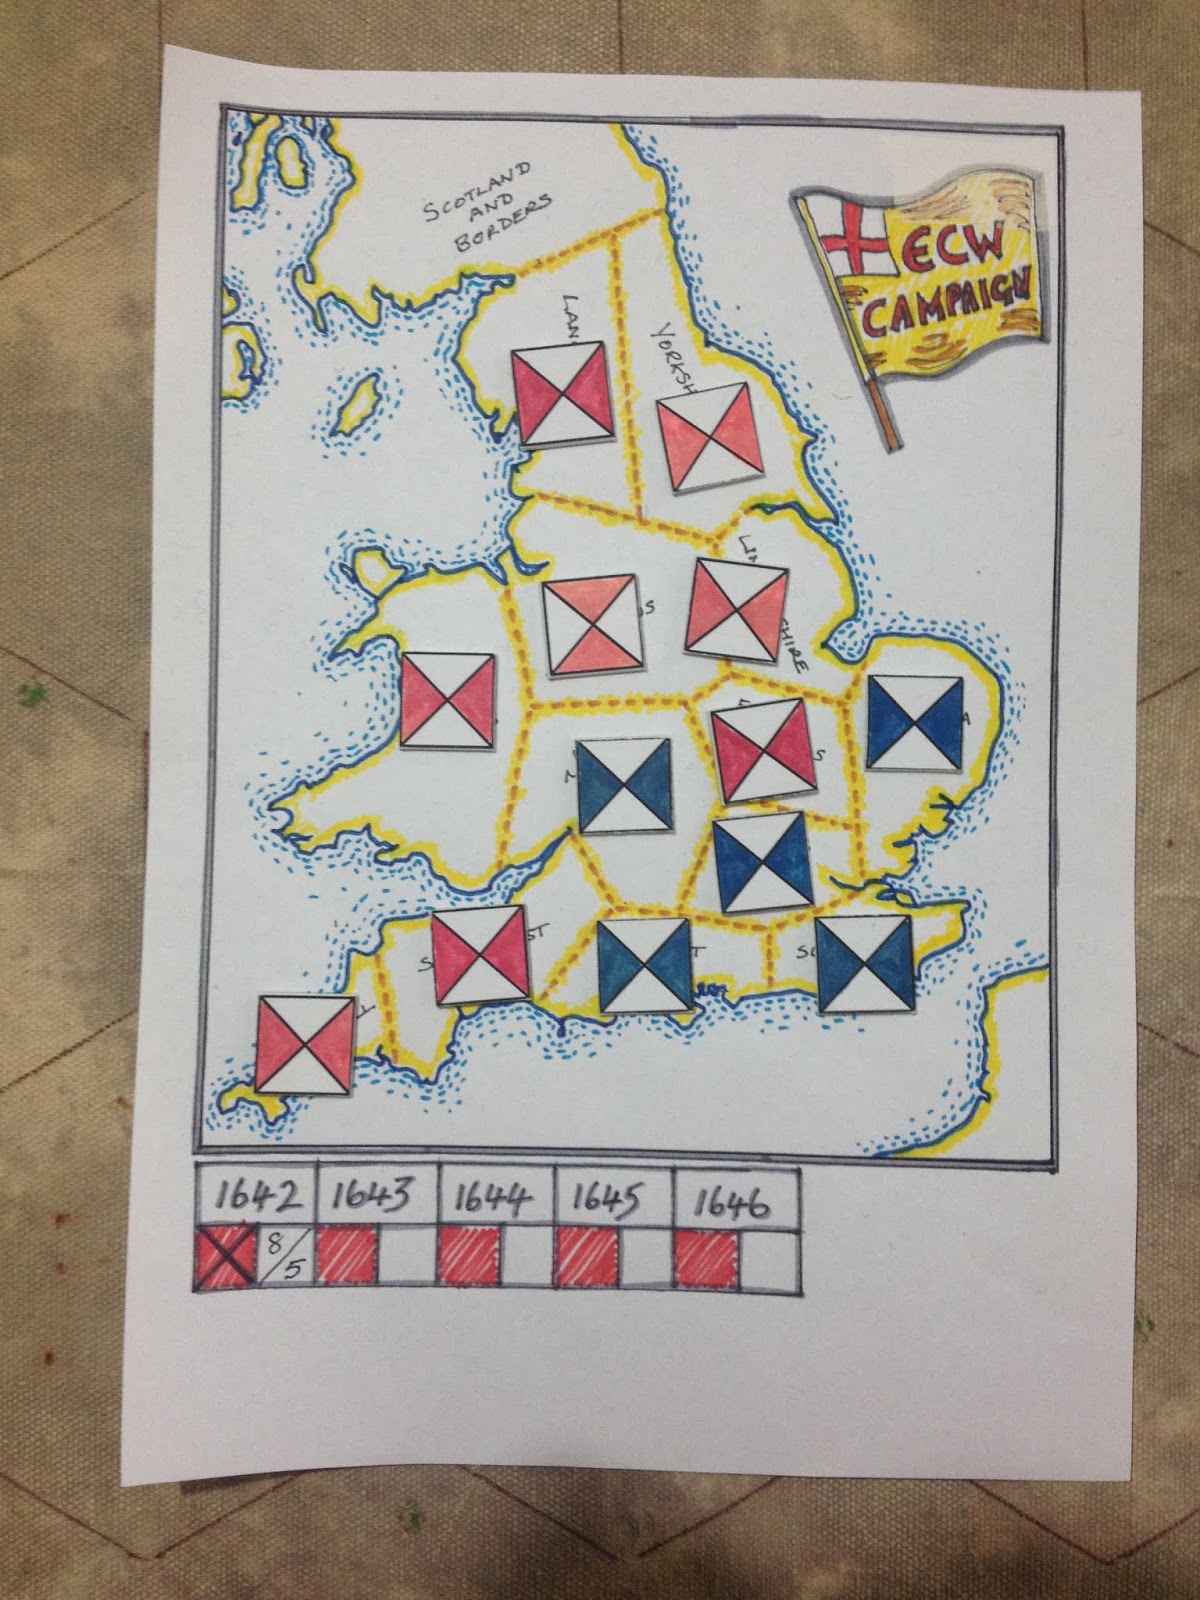
It has been a few weeks since I have done anything with my English Civil War campaign. The WW2 Western Desert project has been consuming my time of late. So it is time to revisit the ECW campaign which is moving into 1643. The first year, 1642, had both sides battling to control as many regions as possible.

The campaign map ready for the start of 1643

The campaign rules for the remaining years now change in an attempt to reflect the marching armies fighting out battles between the months of March to November. The number of battles fought will vary and will also be influenced by chance cards which are draw by each side before a battle commences.

The first stage of a campaign year is to decide which side will strike the first blow. This is done by both sides rolling a D6 and adding to it the number of regions they control. The side with the highest score will make the first campaign move (re-roll any draws). From then on campaign moves alternate between sides.

The next step is to determine which month the battle is to be fought. Roll a D3 and add to the current month starting the year in February. For example, a D3 score of 2 will have the first battle fought in April. This continues for each campaign move until the month selected is December, when the campaigning for the year stops. This approach means the number of battles will vary between years and the month will influence the available daylight hours and weather for the battle to be fought.

The side making a campaign move may strike at any enemy held region adjacent to two friendly controlled regions. (If for whatever reason this situation does not exist, they must pass on the opportunity to strike.)

When preparing for a battle, each side draws one or two chance cards. I have yet to decide if it is one of two, I am quite tempted to have two cards drawn if a battle is in the months May through to September. These cards will result in:

  • A re-roll when recruiting for the current battle
  • An extra unit being selected (normally a specified unit type) for the current battle
  • A re-roll when recruiting for all battles in the remaining campaign year
  • A loss of a unit or a delay in arrival of a unit(s)
  • Or have an impact on the game (e.g. commanders ability, ammunition, etc)
Each side, Parliament and Royalist, has their own pack of chance cards.
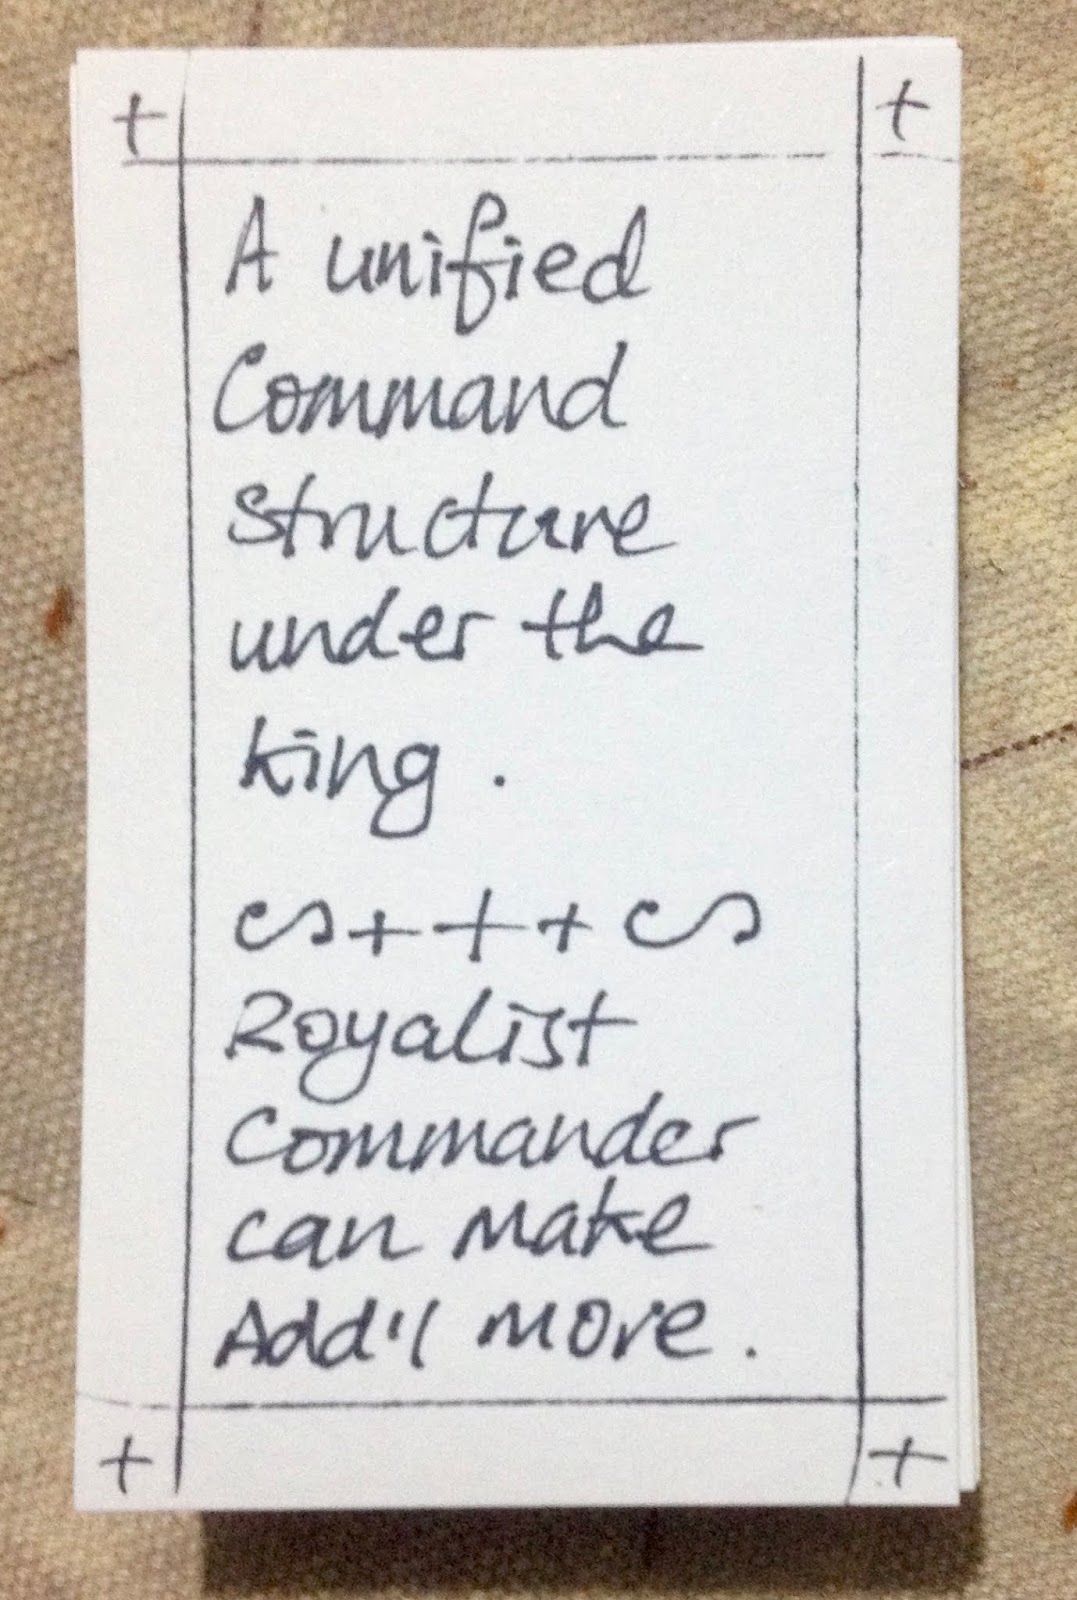
A quickly created example of a chance card

Finally, sides determine the order of battle of their marching army in a similar way to the previous campaign year. However, rather than being influenced by the number of adjacent controlled regions, it is the chance cards that assist (or not) in calculating unit numbers.

  • Cavalry = 2 + D3 score (re-rolls allowed for chance cards)
  • Infantry = 2 + D3 score (re-rolls allowed for chance cards)
  • Dragoons/Commanded Shot = D3 score (re-rolls allowed for chance cards)
  • Artillery/Special units = D3-1 score (re-rolls allowed for chance cards)

After the numbers are determined remove any units specified by change cards. Then let the game begin!


Sunday, 16 December 2018

Western Desert terrain

No games played this weekend with most of my free time taken up with painting some desert terrain and a few more WW2 units. The first challenge was to create some hills to fit into the hex grid. I decided to make all the hills at once so when painting I would get a consistent look.

Newly painted units
British tanks
To begin a hill I cut out the MDF base and two cardboard circles to make the hill. These were stuck together and covered in masking tape. After which the hill was covered in PVA glue and flock sprinkled over to create texture for the later painting.

Cardboard used to give form to the hill and a base of MDF cut to fit the hex grid.
The hill is constructed.
Beginning to cover the hill with masking tape.
Fully covered in masking tape
Glue to seal the hill and flock is added for texture
Once the glue was dry the hills were painted using stippling effects and washes to match as best possible the battle mat colours.

The finished hill
All the hills completed
In addition to the hills I wanted to create some terrain to represent a wadi or depression. These are always problematic to show on a tabletop. In the end I opted to use brown felt which I painted to represent the sides of a wadi. Taking inspiration from how terrain is represented on boardgames.
A unit taking cover in a wadi. 
Close up of the wadi.


Wednesday, 12 December 2018

Western Desert Project - hex grid for battle mat

After making the battle mat yesterday, and pretty much getting colour tones and coverage to my liking, the next step was apply a grid. While a square grid would have been relatively straight forward to apply, I wanted a hex grid for this project, which are not so easy to do.

The models on their 2x2 inch bases fit nicely into a 4 inch hex.
I started by creating a hexagonal template using an old cardboard box. Two bits of cardboard stuck together in fact, to make it sturdier when used. Then using a brown permanent marker pen which helps the lines to blend in with the mat colour. I started from one edge to draw the hexes slowly working around the existing drawn hexes.

The one trick I found was to draw the line but don't worry about jointing the lines at the points of the hex. By doing this the inaccuracies, which do occur, are not obvious or are easily disguised.

template and permanent marker
2 hours later the completed battle mat
I chose a hex which is about 4 inches wide. This allows my 2x2 inch square bases to fit quite comfortably in the hex. When all marked on the mat I get 13 hexes by 18 hexes on my 6x4 foot table.

Tuesday, 11 December 2018

Western Desert project - making a gaming mat

Having arrived back from New Zealand today on the first flight I had most of the day free. The weather was fine and sunny and I thought it would be a good opportunity to create a battle mat for the Western Desert (as I need to do the work outside).

The process involves watering down various colours and sponging them on to a painters canvas drop sheet (purchased at the local hardware store). When starting the sponging the first two colours, there is always the nagging feeling in the back of my mind that it is not going to work. I ended up using four colours, in some cases redoing colours to ensure a good coverage. Once I had the look wanted, the whole sheet got a light spray of a sand colour to help even out the look. When this was dry I added small random dots of green for vegetation.

Canvas drop sheet
Sponged effect
Lightly sprayed with sand colour and small dots of green to represent vegetation.
Units on the finished battle mat showing the dots of vegetation
A wider photo of the battle mat on the tabletop
My next step is either to add a square or hex grid. Presently I am leaning to using a hex grid. I have created a 4 inch hex template and plan to start tomorrow slowly drawing on the hexes.

In the post today arrived a secondhand copy of "Tank Battles in Miniature - 1. A warmers' guide to the Western Desert Campaign 1940-1942" by Donald Featherstone. I am looking forward to reading this over the weekend.

While in a used condition the book was missing its dust cover.

Saturday, 8 December 2018

Napoleonic Naval Game

There will be no modelling or wargaming for me this weekend, and this a very short post as we away for a visit to Wellington, New Zealand. However, during the week I was able to play a couple of Napoleonic naval games using Galleons and Galleys rules by Ganesha Games. I kept the games simple with no special rules applied. The game uses opposing dice rolls for combat and whatever reason (I cannot fathom why) I am not a fan of opposing dice rolls. So for the second game I tried a modified mechanism for combat, where the attacking ship rolled a single dice and modifiers to determine hits rather than opposing dice rolls. This seems to work ok and I will see how it goes with the next games I play.

Napoleonic Naval Game
Some close quarters action
The ships used are ones a made a couple of week's ago from MDF and cardboard.


Wednesday, 5 December 2018

Starting WW2 Western Desert Project

I have been able to paint a few test units for my WW2 Western Desert project. The Bases are 2x2 inches. They are photographed on a canvas drop sheet bought cheaply at the local hardware store. The plan is to use a combination of sponging and stippling to get similar colour tones to the bases.


Since completing these tanks a few more 1/300 Heroics and Ros models have left the painting table. I am hoping this will keep me going during the Christmas and New Year holidays.

Saturday, 1 December 2018

ECW Campaign Game 11 Report

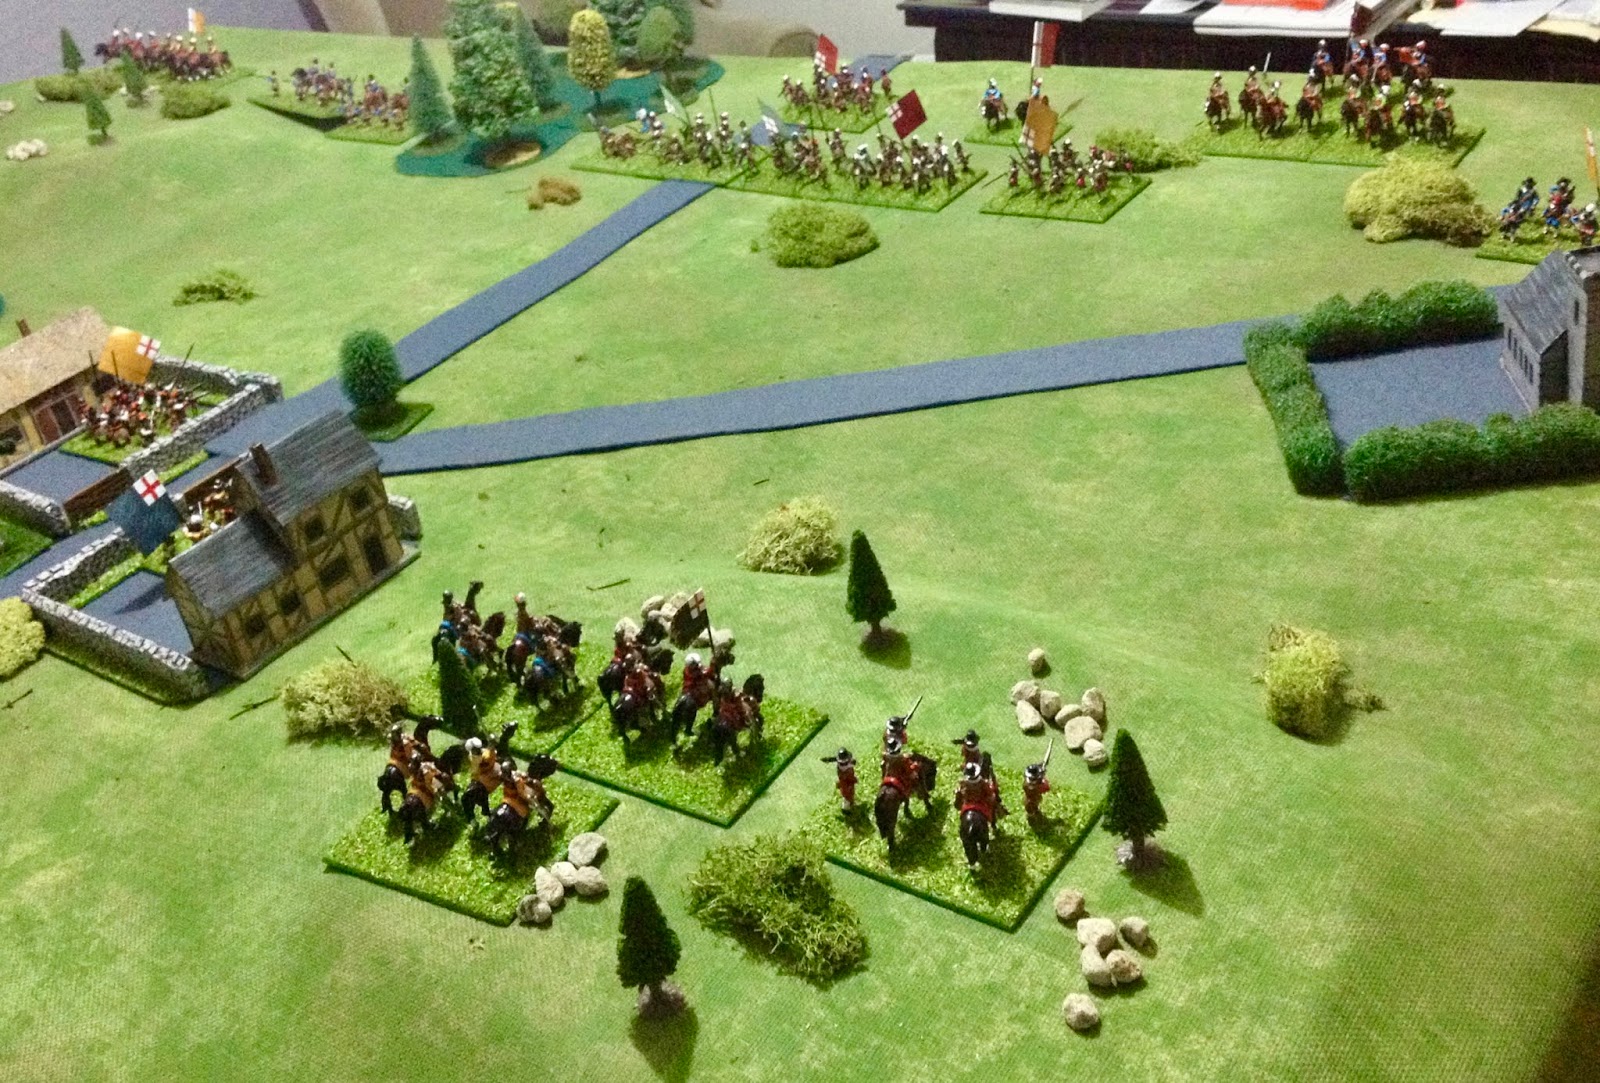
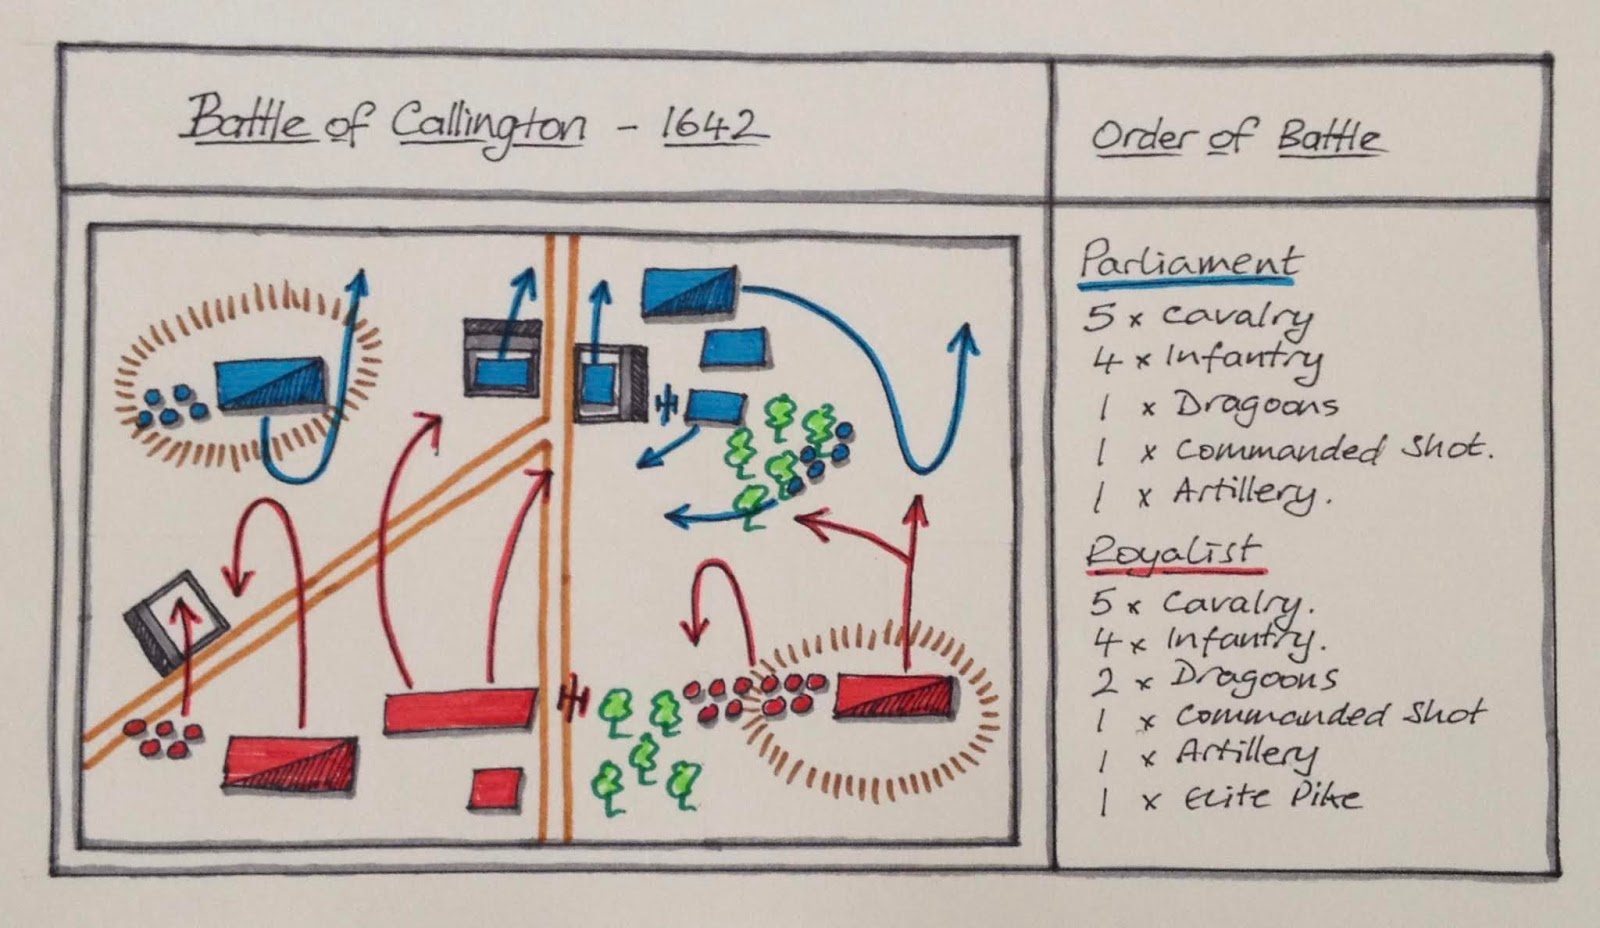
Game 11 of the English Civil War, and the last game of the campaign 1642 year, has the Parliamentarian and Royalist forces contesting for control of the Cornwall region. The locally recruited forces clashed near the town of Callington.

Opening battle deployment
The battle began at 9am with the Royalist commander eager to attack the Parliamentarian forces which had taken up a defensive position straddling a nearby village.

Parliament deployment
Royalist deployment as seen by Parliament cavalry positioned on the hill
The early moves saw a unit of Royalist commanded shot move up to occupy the church on their left flank. Parliament responded to this moving up their dragoons to engage in a musketry dual. Meanwhile in the centre, after the Royalist artillery ran out of ammunition, their full contingent of dragoons and part of the centre line moved forward to harass the village defenders.

Royalist opening moves
Nervous of Royalist right wing cavalry, the Parliamentarian commander moved his reserve cavalry from behind the village to counter any ideas the Royalists may have had of sweeping around the woods and attaching the rear. The Parliament centre units, supported by commanded shot located in the woods, were putting up a stout defence and the Royalist dragoons ranks were being quickly thinned out.

Parliamentarian cavalry move from behind the wood on the flank
With their dragoons routed the whole Royalist centre and left wing cavalry advanced forward to engage Parliamentarian forces in the village. Shooting from the village was fierce and very quickly all the Parliamentarian centre was out of ammunition. Their cavalry right-wing was holding their own having moved up to engage in pistol fire. The Royalist cavalry quickly reacted and charged and a cavalry melee ensued.
Royalist line advances
Cavalry engagement
At just after noon the battle was very balanced. The centre was in a bit of a stalemate while on both flanks cavalry melees were underway with neither side gaining the ascendancy. At this point the Parliamentarian commander ordered his commanded shot to move from the safety of the woods and engage the Royalist centre on the flank.


By mid-afternoon Royalist cavalry on both flanks had gained ascendancy. Although one unit of Parliamentarian cavalry still held the hilltop on their right flank.

The situation in the centre was still good for the Parliament as their units were putting up a stubborn defence and the Royalist commander was beginning to be worried that his attacking infantry may crack and rout. However, relief came from his left wing cavalry, who having defeated their counterparts, charged the exposed commanded shot who were a thorn in the side of their centre.

Support from an elite pike unit helps the Royalist left flank
Commanded shot get charged down
Having lost control of the flanks the Parliamentarian centre succumbs to the pressure and their forces retire late into the afternoon.


Another victory to the Royalist cause who end the 1642 campaign year in a good position. The campaign will be continuing into the year 1643 with slightly adjusted rules for the campaign now all the regions are controlled by one or the other side. Also for the battles there will be the introduction of chance cards which may aid, or hinder, a marching army on their way to battle.

Troop movements during the battle