Wednesday, 4 March 2020

Final ECW campaign game

The final game of the English Civil War campaign was not going to stop the Royalist cause from winning. However, it would determine whether the winning margin would be a solid victory (8 regions controlled to 5 regions) or a convincing victory (9 regions to 4 regions).

Action during the game
Campaign map showing Parliament's move on the Royalist held West Midland region.
As the weaker force Royalist forces had the choice of deploying first and opted to secure their left flank by occupying the village and pool all their cavalry together beside the woods that split the battle field. Parliament had secured both hilltops with infantry.

Map of unit deployments
Left side of Parliament's forces
Right side of Parliament's forces
The initial battle moves had Parliament push forward their dragoons to engage their Royalist counterparts. On the other flank they pushed forward their infantry and began bombarding the village. Royalist forces countered and the commanded shot moved through the woods and engage Royalist forces at range.
Dragoons on both sides pushed forward in the fields and were soon engaged in musketry.
Royalist Dragoons occupy the woods
Initial moves on the village
Parliament quickly responded to the appearance of the commanded shot in the woods, moving forward units to quickly suppress the threat.

Royalist commanded shot are quickly engaged.
Once the Royalist commanded shot were suppressed the attack on the village was able to begin in earnest. Forcing the Royalists to commit their infantry reserve to support those forces in the village.

The attack on the village begins in earnest.
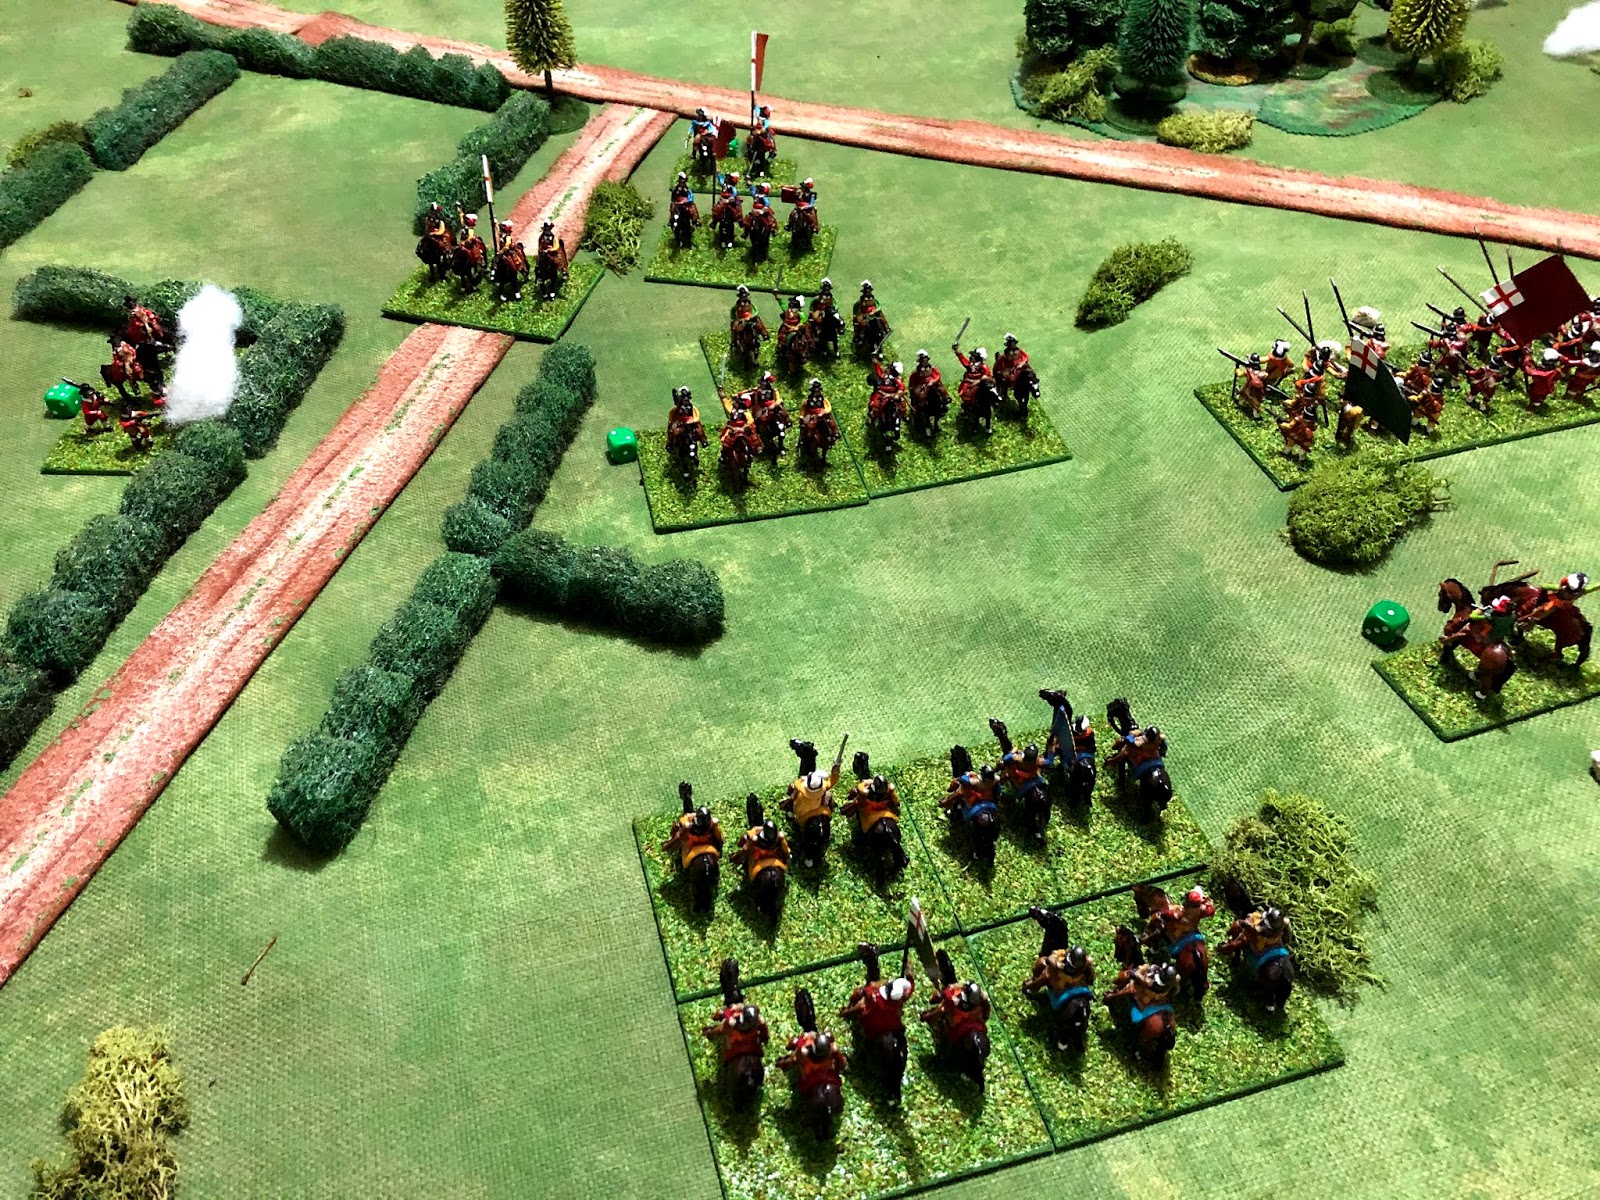
With the ever increasing threat to the village the routing of the Royalist Dragoons, the Royalist commander opted to let loose his cavalry in a last bid to turn the battle's tide. The cavalry charged forward into the Parliamentarian dragoons, cavalry and infantry on the hill.

Royalist cavalry charge forward.
The Royalist cavalry with the bit between their teeth swept away the dragoons and launched themselves into Parliament's cavalry who put up a brief resistance before routing. After regrouping there were sufficient units to turn their attention to the few remaining Parliament infantry positioned on the hill.

Royalist cavalry charge gains momentum.
The cavalry charge had swept away their opposition. 
While both forces now on the cusp of losing force resolve. The shock loss of Parliament's left wing and roaming Royalist cavalry was sufficient for the Parliamentarian commander to call off all attacks and cede the field.

It was most exciting seeing the cavalry charge unfold and change the course of the battle which up until that point had been favouring Parliament's forces.

Map of unit movements
A Royalist victory leaves them in control of 9 regions in the campaign and gives them a convincing win. After some 28 battles the campaign comes to a close.

Final campaign map

So what would I do differently if setting up this campaign again?

1) I would introduce leaders into the campaign and allow them in increase their standing with each victory, or reduce their standing with losses. A higher standing would allow additional units to be fielded.

2) Some regions would be of greater value if held. For example, London and the Thames Valley and the West Midlands and Oxford. Holding these regions would also increase the likelihood of fielding a larger force.

Saturday, 29 February 2020

Preparing for the last ECW campaign game and a book arrives

My English Civil War campaign is coming to a conclusion. The first year 1642 began with both sides trying to gain control of regions which continued until all regions had been battled over. This initial phase of the campaign and its games were so I could finalise a variation of One Hour Wargame ECW rules.

The following years had marching armies trying to wrestle control of neighbouring regions. The fortunes of these armies were influenced by campaign chance cards drawn with each battle. The months of these years progressed with a D3 dice roll, so the number of battles varied. Throughout the years 1643-1645 control of the regions has remained pretty steady with Royalist forces controlling the most and Parliament holding tightly to the South-East of England and their London base.

Campaign map
In a last ditch effort to break the stalemate Parliamentarian forces have marched on Oxford and the West Midland region. Technically, from a campaign point of view Parliament cannot win as the Royalists hold 8 regions to Parliaments 5 regions. However, victory here will make it a marginal 7-6 victory at best for the Royalists.

This begs the question - what would have happened with with a Royalist victory? A quick google search found this site with some possible outcomes: "What if Charles I had won the Civil War?".

As usual terrain cards were used to determine the tabletop layout and campaign cards drawn for influences on the coming battle. The luck of the campaign cards favours Parliament with additional artillery being available along with an extra unit from raining taxes earlier in the year. While Royalist forces are not being paid and will lose a unit due to desertion.

Terrain cards
Campaign cards

Order of battle...

Royalist:

  • 3 Foot
  • 1 Elite Pike
  • 5 Horse
  • 2 Dragoons
  • 1 Commanded Shot
Parliament
  • 5 Foot
  • 5 Horse
  • 1 Lobster
  • 2 Dragoons
  • 1 Artillery
So all is prepared for a game once I have finished and cleared the tabletop 19th Century game currently on the tabletop.

Currently occupying the tabletop
And finally, a secondhand copy of "Napoleonic Wargaming for Fun" by Paddy Griffith arrived in the post. While I have to ebook the diagrams are not effective in this medium and I could not resist grabbing a copy.


Sunday, 23 February 2020

Wagons and card activation

During the week I was playing around with some card activation rules for some simple grid-based Sci-Fi rules. Instead of using a normal playing cards I used UNO game cards which we still have in the games cupboard from when the kids were young. The deck has cards numbered 0 to 9 in four colours (Blue, Green, Red, and Yellow) along with a number of special cards: draw two, skip, reverse, and wild cards.

My 40K Sons of the Sword Chapter in action against Necrons.
I discarded the wild cards for the moment and stuck with all the other cards. At the start of a turn each player is dealt the same number of cards as they have units. Then players get to play their cards in decreasing order 9 through to 0. Should both have the same number, then they are ordered by colour Blue-Green-Red-Yellow. When playing players can also play special cards if they have been dealt them.

  • Skip card - You miss out on activating one unit.
  • Draw Two card - This can be played anytime with another card and a unit can make two actions (move-move, move-shoot, shoot-shoot). The price is another unit will miss out on being activated.
  • Reverse card - This can be played at anytime and a player uses their opponents card to activate one of their own units. Your opponent misses out activating their. A very useful card.

I will most likely incorporate the wild cards so a unit can interrupt an opponent's activation and shoot or charge the unit being activated. I am still playing around with other aspects of the rules so more of this card activation in later posts.

UNO cards being used for activations
This weekend I finally finished painting some wagons I started a couple of weeks ago to add to my Imagination 19th Century forces. Many of my old plastic Spencer Smith models have succumb to brittle plastic, but not having any spares I decided to make use of them by sticking them to card and adding spokes where necessary.

Making use of broken wheels
The wagons them selves are made from some spare dowel which was shaped. Then adding the wheels. Spare figures from the "brittle" pile and missing feet were added as drivers.

Wagons made from wooden dowel stuck together and shaped.
Finally, the usual simple rough and ready painting approach was used before being sealed with a glossy finish.
Ready for action with a couple of spare cavalry figures used to draw the wagons.
It will be very tempting to get them on the tabletop later in the week. However, right now the tabletop is currently setup for a few WW2 North Africa games.


Sunday, 16 February 2020

WW2 floor game battle report

This WW2 wargame game begins as dawn breaks on the North French coast. Troops are landing and airborne units being dropped behind enemy lines to capture a vital bridge. Will the Allied forces be able to create a beachhead or will they get stuck on the beach in this game?

Newspaper Headlines
A quick recap on the Allied plan.
  1. Secure the beach and destroying the gun emplacement is a priority
  2. Airborne troops to capture and hold bridge
  3. Skirt the town by moving up the left flank as quickly as possible to control the bridge
  4. Contain threat from town forces until the bridge is fully secured
Map, Units, and Allied Plans
First Wave ashore and Airborne landings (06:00 to 08:00)

Wave 1 started well for the Allies with 6 of the possible 8 units making it to shore successfully. The remaining 2 units had to circle around and attempt to come ashore again. The Allied units soon made some headway and began to widen the gaps in the minefields.

German defensives soon responded destroying a landing craft (reducing the chances of later waves arriving on time). They also moved forward an armoured car unit and armoured AT guns to support breach defenders. The armoured cars were destroyed on route by Allied air support.

Further inland, Airborne units successfully arrived at the drop zone without loss. They quickly organised themselves and set about moving towards their objective, seizing the bridge.

First wave of Allied units arrive.
Airborne troops arrive at their drop zone.
German armoured units move forward, but come under fire from Allied Air Support.
Slow progress clearing mines and landing craft are sunk by gun emplacement.
Second Wave arrives ashore (08:00 to 10:00)

The beach was getting congested with wave two arriving and progress off the beach was slowing. Importantly the gun emplacement was put out of action, any further loss of landing craft from its guns would have caused critical delays in troops arriving. German artillery was starting to be a problem for Allied units as they tried to organise themselves to breakout from the beach.

Airborne units quickly regroup and moved to assault the bridge. The one nearby German unit had started to move towards the beach and was ordered to backtrack to the bridge after airborne units were spotted.
Wave 2 units arrive as units try and get off the beach.
Airborne units attack the bridge.

Third Wave arrives (10:00 to 11:00)

Due to the beach congestion Allied forces struggled to get many wave 3 units to the beach. German forces were successfully containing them on the beach. Inland the news was better, airborne troops were close to their objective of securing the bridge.

Allied troops struggle to breakout of the beach area.
Airborne units close in on their bridge objective.
Reserves arrive (11:00 to 12:00)

German reserves started to arrive and moved quickly down the road to engage Allied airborne units. Fortunately, Allied air support arrived and took some of the sting out of Germans before they began the counterattack.

Finally, on the left flank Allied units are able to move off the beach and begin their attack on the hill. An important breakthrough if they want to reach the bridge in time. On the right flank units were still stuck on beach and supporting units still afloat and struggling to land.

German reserves arrive.
On the beach Allied units are finally able to get off the beach to hopefully being their advance.
Breakout and counterattack (12:00 to 15:00)

From the congested beach Allied units were able to breakout and successfully attack the hill on their left flank. However, any advance gained was now being hampered by the arrival of German air support.

Airborne units captured the bridge, but were under extreme pressure from the counterattacking German tanks and armoured infantry.

The bridge is finally captured as airborne units prepare to hold it from counterattacking Germans.
As Allied units attempt to breakout from the beach their advance is hampered by German air support.
Breakout and seize the bridge (15:00 to 19:00)

Allied units are delayed advancing down the left flank by a lone artillery unit with support from mortars in the village. The last of the airborne troops was hanging on grimly at the bridge. The lone artillery unit was finally eliminated and all available forces raced towards the bridge. The last airborne unit had just managed to hang on with the help of air support.

The Germans broke off the counterattack when Allied tank units arrived at the bridge.

Allied artillery and mortars move forward to support the breakout
Allied units rush towards the bridge. A lone artillery units with supporting mortar fire from the village threaten to delay the advance. 
Allied air support frustrate the German counterattack as they attempt to  recapture the bridge

Newspaper headlines

Notes on the game...

  • Using landing craft models to indicate areas on the beach where Allied units arrive worked out well. Units cannot arrive if a landing craft is destroyed or the beach in front of a landing craft is not clear.
  • Destroying the gun emplacement early is key. If it destroyed landing craft getting units on to the beach becomes very problematic.
  • Air support was particularly effective for the Allies, particularly in supporting the paratroopers, without it they may not have held the bridge.
  • I used card activation in my last WW2 campaign and continued using it in this game. It provides a level of uncertainty I enjoy as a solo wargamer. The option for an unactivated unit to evade when shot at was used a number of times in the game and worked out well. (See previous post on rules).


Playing cards allocated to units for activation.
It was most enjoyable to spend a full day wargaming. Playing the game on the floor worked out fine and I had so much fun, particularly as I avoided standing on any of the models. I did need to take breaks as squatting down to move units became tiring as the day progressed. I am not nearly as flexible or youthful as the last time I played a game on the floor in the early 1970's.

Saturday, 15 February 2020

Preparation for WW2 floor wargame part 2 - maps and rules

It has taken a surprising amount of time to complete the setup of the gaming area and troops. In anticipation of writing a battle report with supporting photographs I decided to draw up a map of the gaming area. The drawing is time consuming, but is very useful for me in explaining the action (without too many words) when I post them. So here is the map with reserve forces, drop zones and other information.
Map and unit information
Units will be arriving in the following order:

  • Allied Airborne on turn 1
  • Allied Wave 1 on turn 1
  • Allied Wave 2 on turn 3
  • Allied Wave 3 on turn 5
  • German reserves on turn 6

I will be using the same rules as I used for my last WW2 campaign (explained here). They are based upon One Hour Wargaming WW2 rules, but use card activation and allow for armoured infantry amongst other unit types. One change to these rules relates to unactivated units when shot at. They have the choice of sacrificing their activation in order to take evasive action, which means getting the shooting unit to roll 2D6 and selecting the lower score.

Additional rules specific for this game:

  1. Each unit arriving in a wave must dice to see which of the landing areas they arrive. If the landing area is already in use, or has been destroyed, there is a hold up and they will circle around and make another attempt next turn.
  2. Pillboxes and Gun Emplacements are treated as immobile armoured units. Pillboxes shoot as infantry and Gun Emplacements as tanks.
  3. The Gun Emplacement can opt to shoot at the supporting ships and landing craft. On a 5 or 6 one landing area is destroyed.
  4. Paratroopers use a scatter dice to determine landing for each individual unit. If a miss is rolled the unit scatters 12". The second unit uses the scatter dice from the previous landed unit, and so on. Any unit landing off the gaming area are eliminated. 
  5. German reserves arriving on turn 6 (or later) may only do so with a red (hearts or diamonds) activation card.

In finalising the playing area you will notice I have added a few woods.

Gaming area all set.
The Allied plan is this:

  1. Secure the beach area and destroy the gun emplacement
  2. Contain enemy forces in the town
  3. Secure the hill on left flank before moving to take bridge
  4. Paratroopers are to capture bridge and delay German re-enforcements which are known to be in the area.
  5. Take town once the bridge area is secured and in Allied control.

Allied plans
I have set aside all of today, Saturday, to finish this game and supplies are an important factor...


Preparing for WW2 Floor wargaming

Having scratch built some landing craft a couple of weeks ago (see here) it was time to use them in a wargame. Drawing inspiration from the chapter "A Landing in Force (Coast of France 1944)" in War Game Campaigns and the chapter "Disaster at D-Day - and other big games" in Operation Warboard.  I soon realised the playing area required is bigger than my 6x4 foot tabletop. Fortunately, this weekend (with the wife away) presented an opportunity to takeover the floor to setup a game.

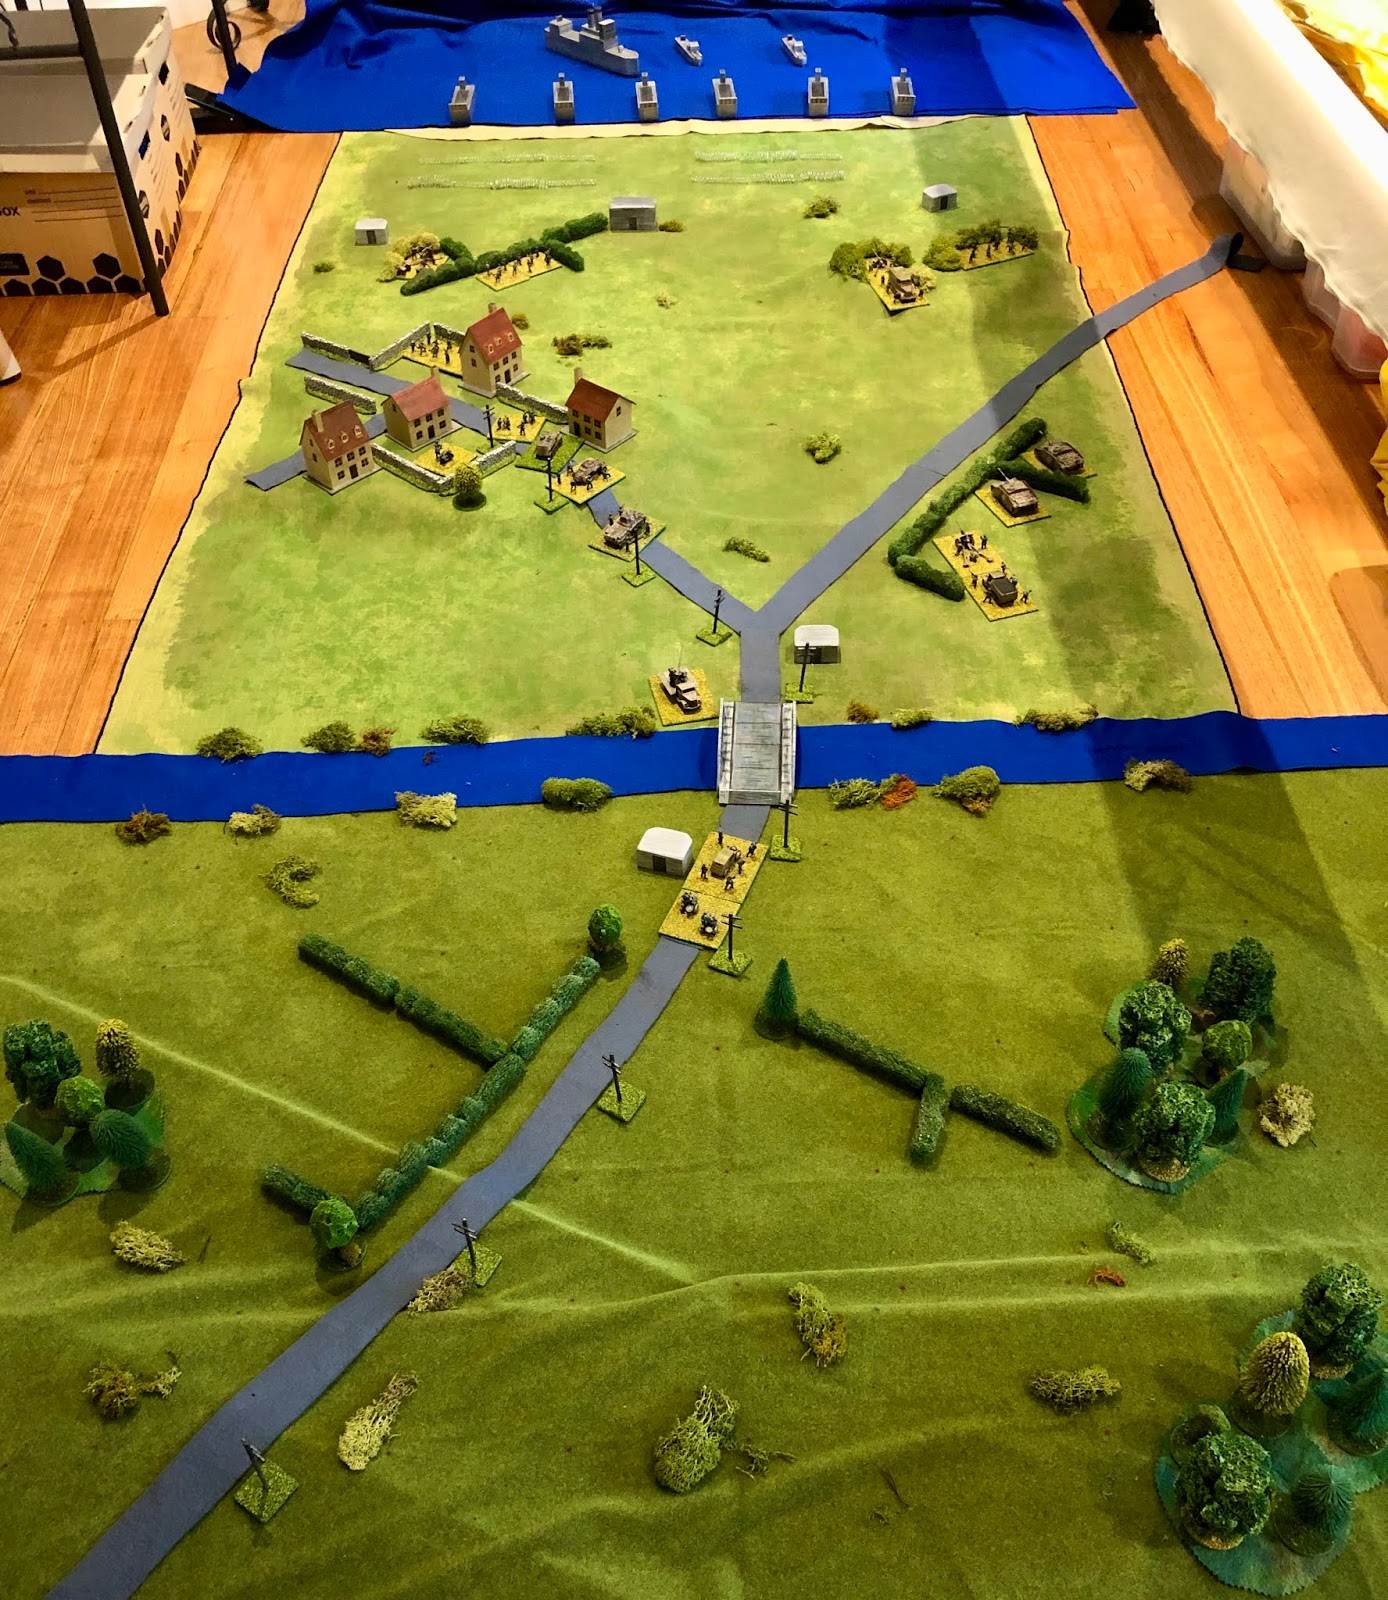
The floor all prepared roughly 4 x 12 foot playing area
Chapters from which to draw inspiration...
...and the books.
The attacking forces will land in three waves and have air support. In addition there is a force of paratroopers to capture and hold the bridge.

Landing forces and airborne units
The defending German forces are split into two with those defending the coast and reinforcements which arrive later in the game.

German reinforcements
A few photos of the playing area and deployed defenders.

Beach defences
Village defences and supporting mortars
View of the village and bridge
Patrol near bridge