Monday, 24 August 2020

A mix of wargaming activities

My original plans this past weekend was to get close to completing the wooden block sci-fi terrain, but this had to be deferred due to continuous rain. As an alternative I began by painting up a few more Necromunda figures and prepared for the next WW2 Western Desert campaign game.

A few Warhammer figures are adapted for a Necromunda game.

In the last campaign game the attacking 21st Panzer division was repulsed by the South African infantry division in defensive positions. Axis forces have a mobile reserve waiting for a breakthrough and now are having to make an attack using one of their Italian infantry divisions. This game will be played later this week once I have finished gaming with my War of the Spanish Succession paper armies, which currently occupy the tabletop.

WW2 Western Desert campaign map

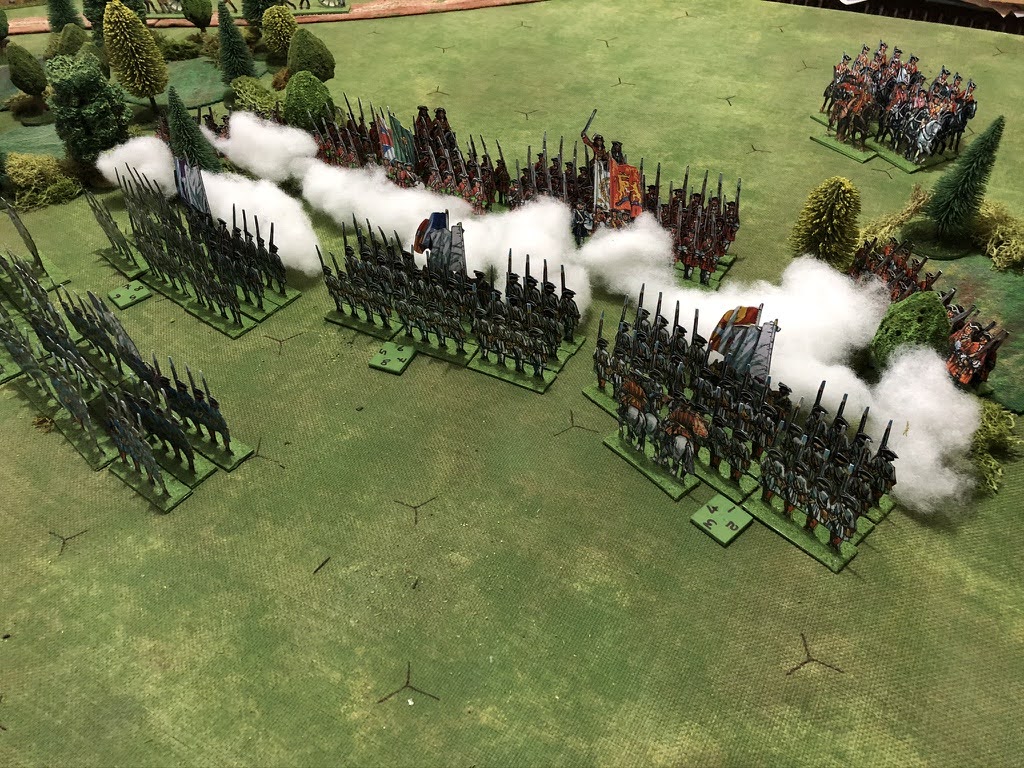
When Sunday continued to be a wash out weather wise. I opted have a War of the Spanish Succession game and give some simple rules I had written a few weeks back another go. For the game I thought I would tryout the Battle of Wynendael, September 1708, from the book "Battle Notes for Wargames" by Donald Featherstone. 

A game prepared guided by Battle Notes for Wargamers

The battle took place during Marlborough's campaigns in the Low Countries. The action was between an allied force protecting a convoy of supplies required for the Siege of Lille and intercepting French forces. 

Allied forces under command of General-Major Webb were 6,000 infantry and 1,500 cavalry. French forces commanded by Count de la Mothe consisted of a mixed force of 24,000 men. Webb was aware of the French and chose a defensive position flanked on both sides by woods.

Plans of the battle

The battle notes suggest French morale should be viewed as poor and their commander considered below average. As the rules being used don't dice for morale, I opted to reduce the effectiveness of French shooting in the game. In addition the French cavalry would not attack unless attacked or any forces came within each of a charge move to represent the below average commander.

Allied forces take up position between the woods with small detachments in the woods on either side. They are bombarded by artillery for two moves before the infantry advanced.

French forces come under fire from infantry detachments positioned in the woods as they advance.

Allied cavalry remain ready in reserve while their infantry lines are engaging in musket fire.

The hits are mounting up on French first line of attack.

The first line of attack is starting to falter and the next line prepares to fill the gaps in the line.

All French and Allied infantry are now committed.

Hits are mounting on Allied infantry and cavalry move up ready to provide support.

The French attack finally ends. The Allied infantry were close to exhausted and required the support of their cavalry to help hold their position. No advance was made on towards the French cavalry.

The game followed the account of the battle. This was mainly due to the reduction in the effectiveness of French musketry. Without this adjustment it would have been a definite French victory. Historically this was an important action which allowed the convoy of supplies to get through to the siege of Lille by Marlborough.

Thursday, 20 August 2020

Sci-Fi terrain project is slowly taking shape

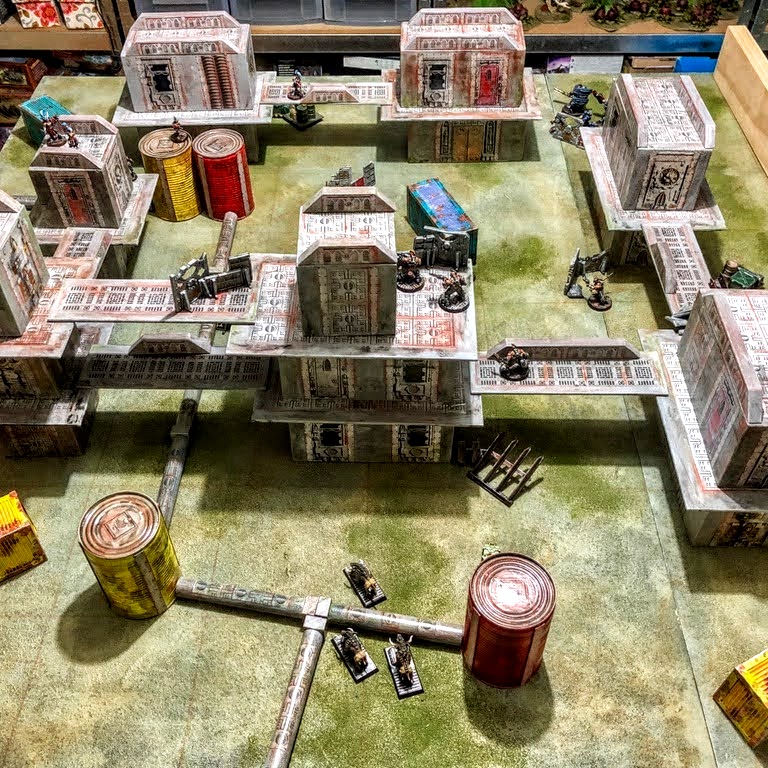
I have been slowing working away at some smaller scatter terrain pieces for my sci-fi terrain project. Adding the all the scatter terrain that came with the Necromunda boxed set and added a few extra pieces made up from leftover pieces saved in my bits-box.

Build blocks with various scatter terrain added.

My aim with all this wooden block terrain (see previous posts) is to try and create a multi-level tabletop similar to the original Necromunda set without spending much.

The inspiration for the multi level building blocks

On my to do list of remaining items are the following:

  • A few more low walls (you can never have enough cover)
  • A large cargo crane (from wood off-cuts)
  • A large storage tank (from a large coffee tin)
  • Pavements on which to sit the buildings. 

By pavements, I mean grey sheets of MDF board to cover up more of the tabletop which has a tad too much green for an urban setting. Well, for my liking anyway. I will take the opportunity to add some black and yellow hazard lines to introduce more colour to terrain.

Scatter terrain in the top levels

Scatter terrain at ground level

Tin cans and round wooden dowel for pipelines


The terrain covers a 4x4 foot tabletop

Low wall pieces are added to the tops of buildings and walkways (just need a few more)

If you are wondering which rules I will be using? It's the "One-Hour Skirmish Wargames" by John Lambshead. I have used them previously with a few additional character and weapon rules to reflect the Necromunda setting, and find the rules play fast, are easily remembered, and fun to play. They use playing cards rather than dice which I quite like.

Once I have completed the terrain and possibly a few more figures. A campaign will be setup using the snakes and ladders approach (last used with a Jacobite campaign - see here) which seems most appropriate as the gangs will work their way up the city hive to find riches.

Friday, 14 August 2020

WW2 Western Desert campaign turn 7 game 1

I have finally got around to writing this battle report, the first game of campaign turn 7, a game I played a couple of weeks ago. I have been spending too much screen time with work and all, and have deferred spending the time to write this post.

The map below shows the campaign setup. In this turn I am using the modified rules with mobile reserves to exploit any breakthroughs (see Campaign Rule Modifications post for details). During the first part of this campaign turn both armies diced for supplies and were able to replace their lost equipment. The Allies had sufficient supplies to fortify the South African infantry division with additional defences.

The opening attack was by the 21st Panzer division who advance to find they are up against the South African division in fortified positions.

Campaign map and opening attack

Order of battle:

Elements of South African Infantry Division in a defensive positions...

  • 1 x Armoured Car unit
  • 1 x Carrier unit
  • 2 x Infantry units
  • 1 x 6 pounder AT unit
  • 1 x 2 pounder AT Portee unit
  • 1 x Matilda tank unit
  • 1 x Valentine tank unit
  • 1 x 25 pounder unit
  • 1 x 5.5" artillery unit

Attacking elements of the German 21st Panzer Division...

  • 2 x Armoured Car units
  • 3 x Armoured infantry units
  • 1 x Marder AT unit
  • 1 x Pz IV unit
  • 3 x Pz III unit
  • 1 x 88mm unit
  • 1 x Waspe unit

The Allies are well positioned along a series of ridges with infantry in fortified positions in front of the ridge. Most of their AT units are positioned in the centre covering the road. Both sides have a third of their forces off-table in reserve.

Opening moves and planned attacks

The Axis plan is to attack on their right flank with a light armoured force of armoured cars and armoured infantry, while their main armoured thrust will avoid the AT guns and slant across to the fortified infantry positions in front of the ridge and objective.

Opening action favoured the attacking forces

Artillery and tank units positioned on the ridge successfully engaged the attacking panzers. So much so, air support was called in to attack along the ridge destroying one tank unit.

Air support arrives.

Axis air support had limited success and the attack on the main ridge was called off allowing units to reorganise. The right flank attack quickly became disjointed and a lone Allied armoured car unit destroyed double their number, causing the attack to stall.

The flank attack fails to make ground.

Axis forces retire to regroup.

Having had the initial attacks repulsed. Axis forces regrouped and waited for reserves to move up and join for a second assault on the ridge. Their preparations are interrupted by an RAF attack which swiftly destroys a unit of tanks and supporting Wespe artillery units. This further delayed the second assault.

Panzer forces prepare for a second assault on the ridge.

A very successful air support.

A lull in the fighting.

It took a while to recover from the air attack and plan for a second assault. The planned assault when it came was a simple one, charge down the road and attempt to storm the position. The attack took defenders by surprise and the Panzer units successfully breached their position destroying AT and tank units. This was not without loss. Desperate defenders fought back and were gradually able to halt the attack's momentum, eventually forcing an end to the second assault.


Attacking armoured infantry supported by tanks charge down the road.

Panzer units reach the defensive line

After a desperate defence the position is held.

An Allied victory which will mean the next Axis attack will come from one of their Italian Infantry divisions. The Axis offensive may well be coming to an end, offering the opportunity for the Allies to launch a counter offensive.

Sunday, 9 August 2020

More sci-fi terrain made from wooden blocks

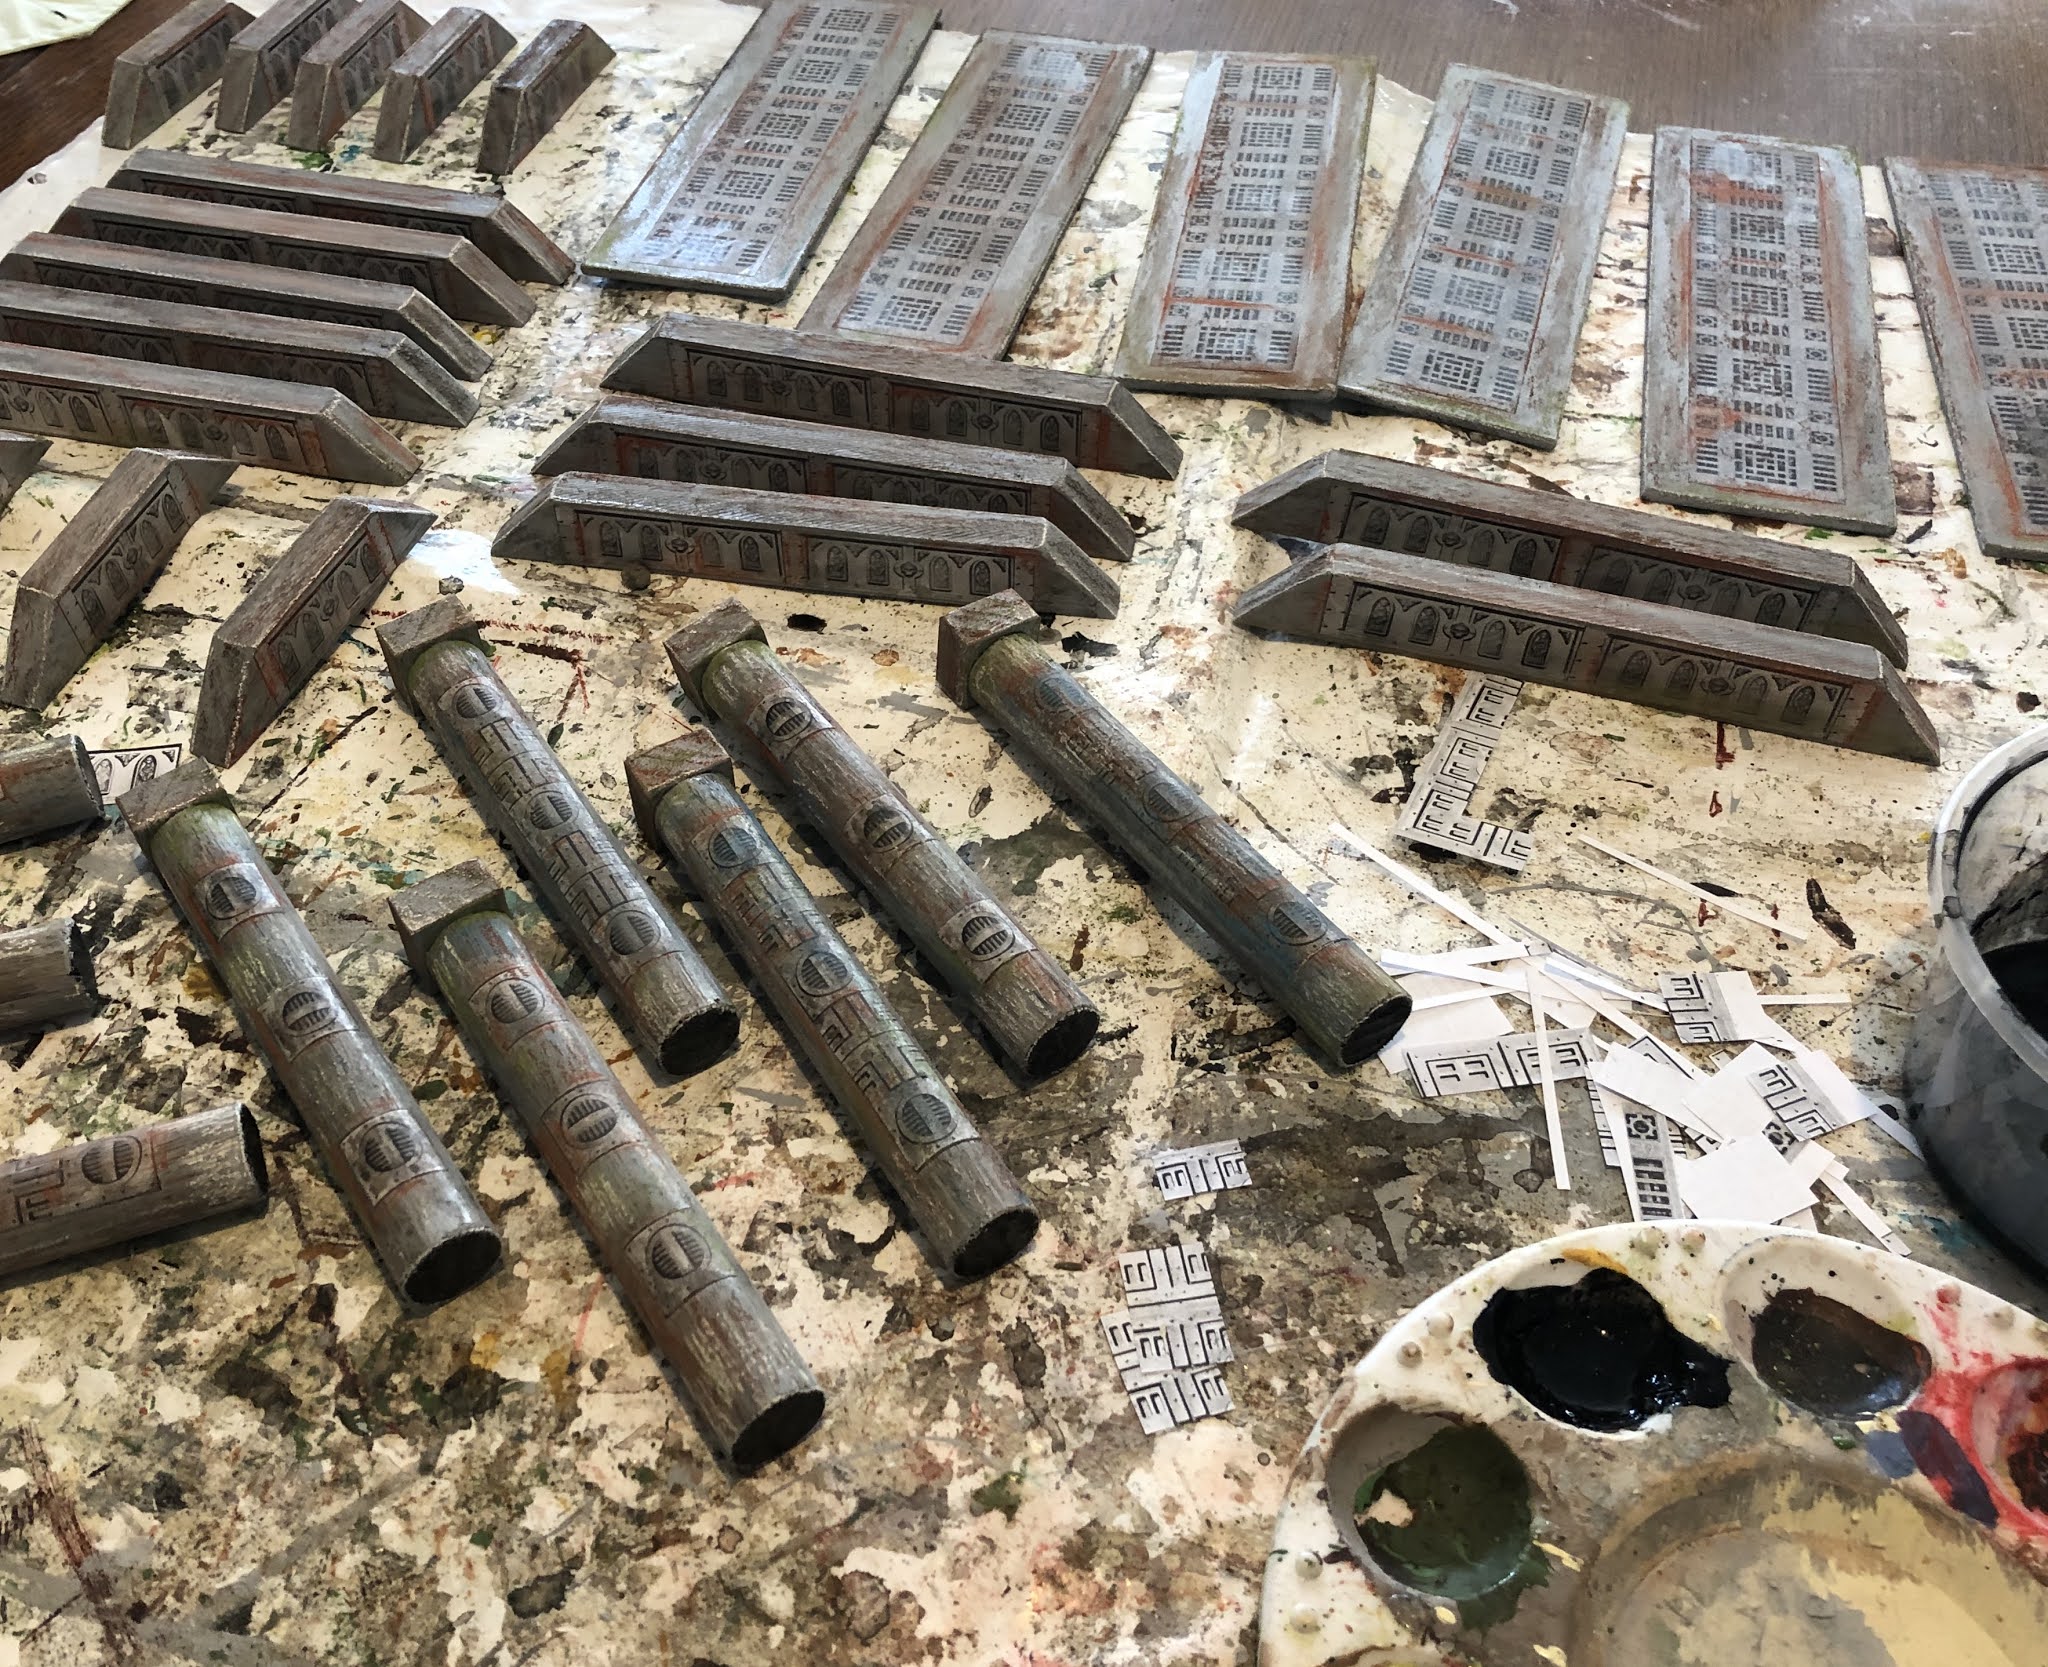
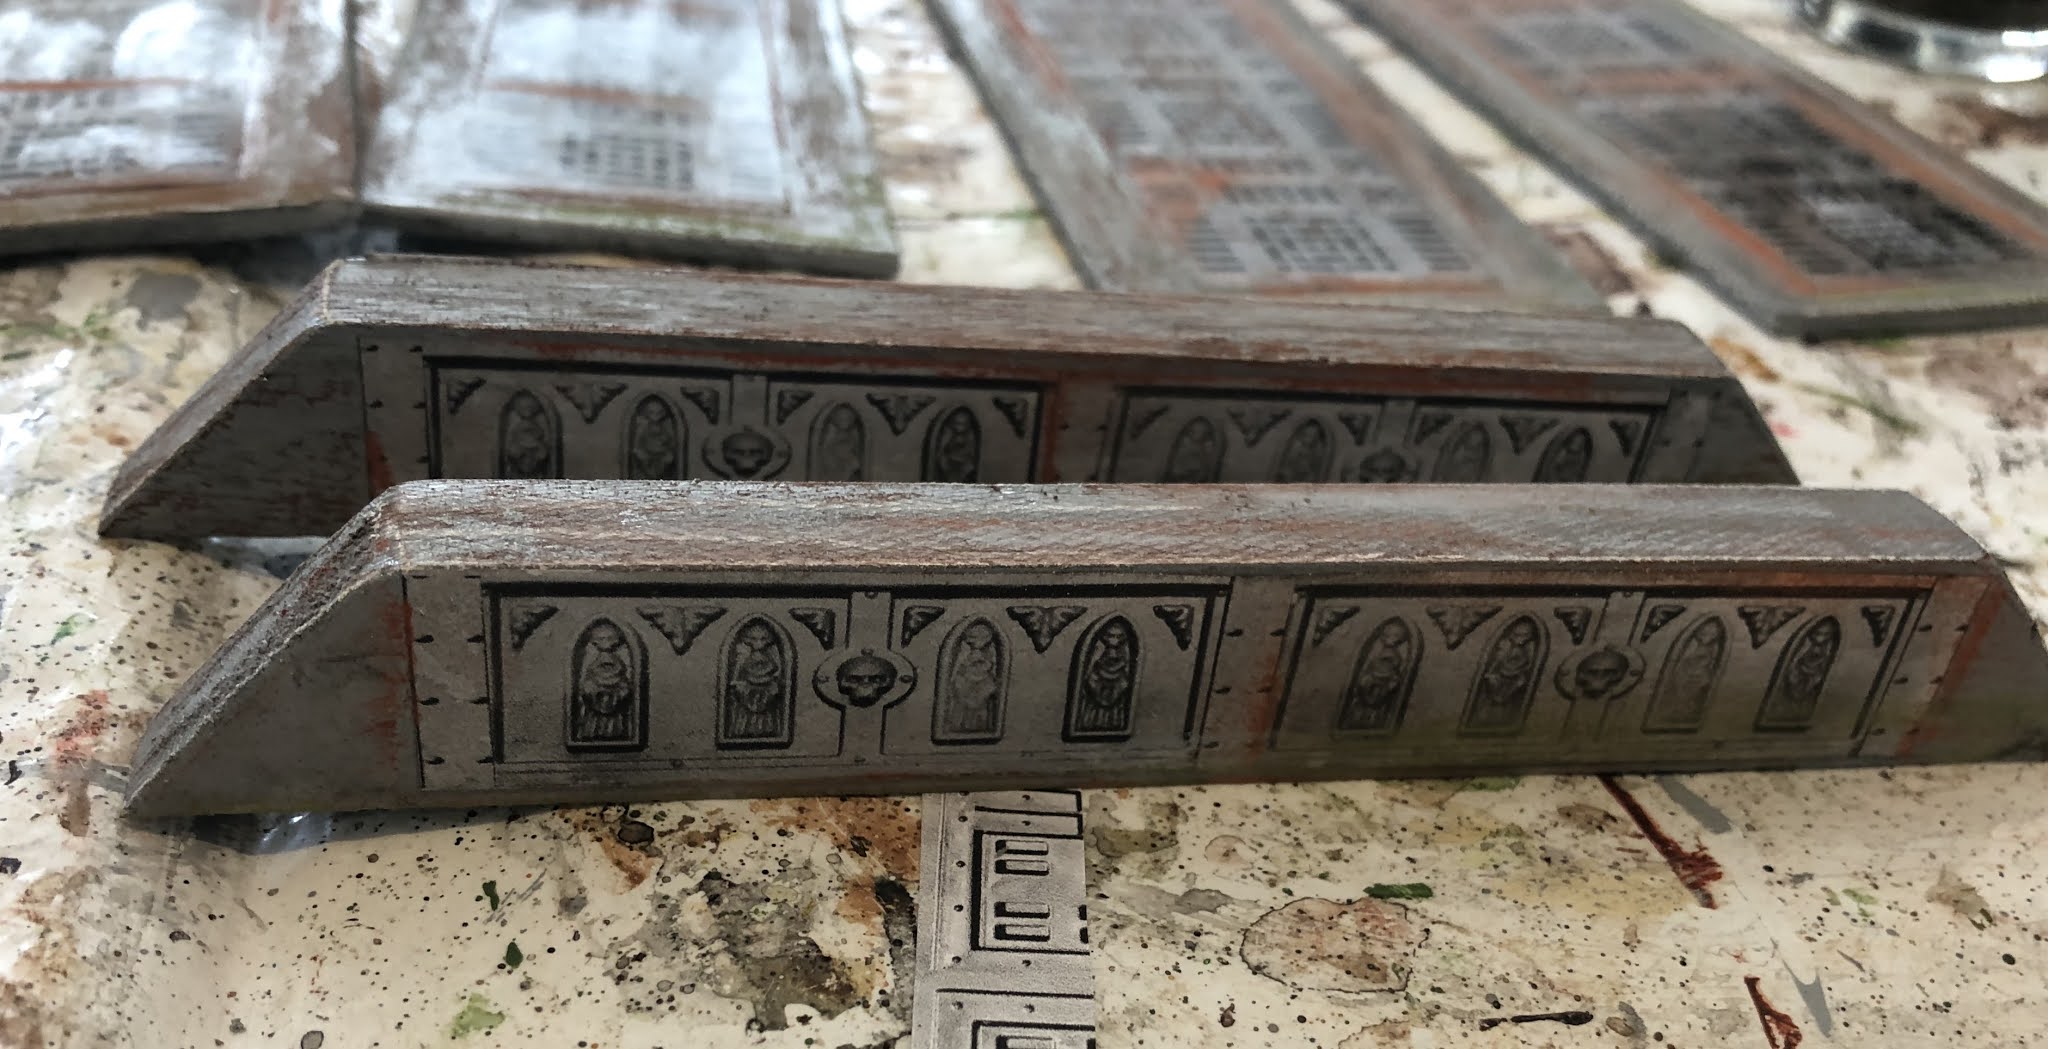
This weekend I was able to complete some more wooden block sci-fi terrain. On my list was a series of low walls, elevated walkways, and pipes. The walls all were cut at 45 degrees to try and give them some shape and not look too square, while the pipes each had a square piece of wood cut and stuck on one end. This square was added so the pipes don't roll around on the tabletop.

The wooden walls, walkways and pipes were painted grey, printed features stuck to them, and a black wash applied.

The next step was adding some pastels to look like rusk and weathering. Followed by a coat of PVA glue as a sealer.


The additional bits of terrain are sized to be used with the buildings finished the previous weekend.


Next weekend I hope to make few more storage tanks and some other scatter terrain.

Thursday, 6 August 2020

Sci-Fi block terrain project continues

A brief post mainly of pictures of my wooden block sci-fi buildings. I have been slowly getting my wooden blocks painted and getting printed features added to them. The recent focus has been getting some walkways painted up so I can add them when creating multi-tiered buildings.
Completed blocks are getting piled up.
Recently completed walkways
Terrain laid out

The next terrain I plan to make are pipes and various low walls.

Wednesday, 5 August 2020

WW2 Desert Campaign turn 6 - game 3

This is the third game of campaign turn six. So far in this turn we have seen in the initial 21st Panzer division attack being repulsed by the South African infantry division. The following action saw the Axis attack regain it's momentum with the 15th Panzer division overcoming stiff resistance by the New Zealand infantry division. This third, and final, engagement between the attacking Italian Ariete armoured division and the Allied 1st armoured division will determine the outcome for this campaign turn.

Campaign Map Turn 6

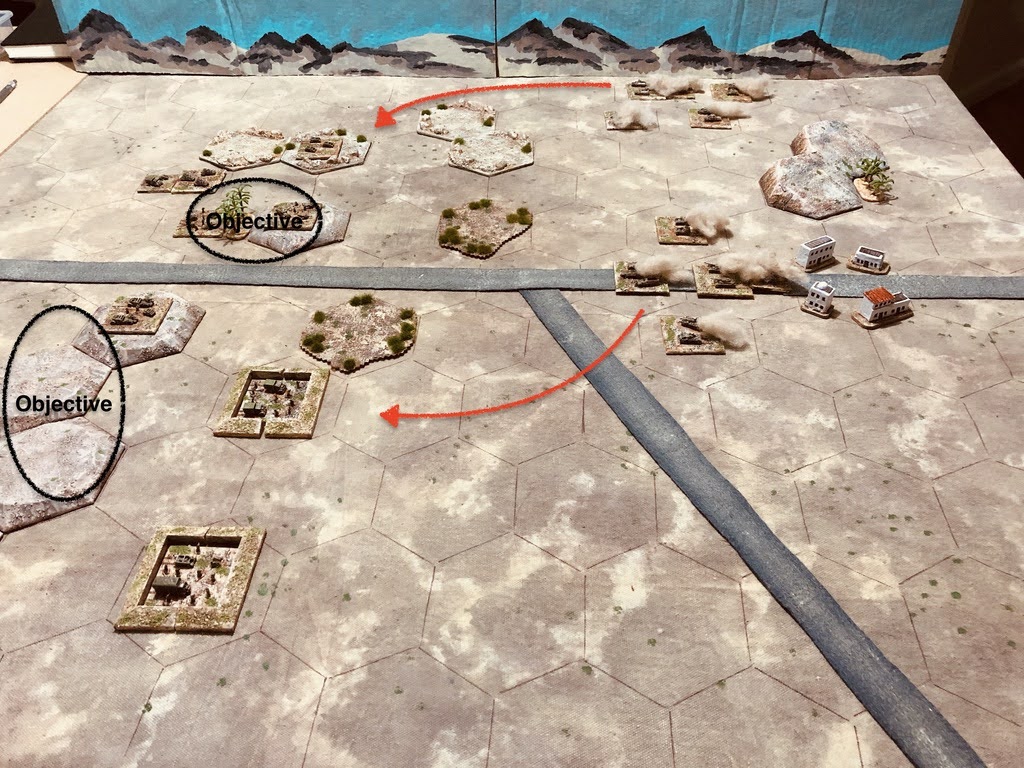
The tabletop is setup using terrain cards and has three objectives, two sets of hills and an escarpment. Ariete armoured forces plan outlined below is to attack the first hill objective with some screening forces attacking any defending units positioned in the central wadi. The second phase of the attack will focus on the second set of hills. Any surviving units will then make an attempt the escarpment and third objective.
Tabletop, objectives, and attacking plan

Neither force is at full compliment due to wear and tear, and both start the game with 30 percent of their units in reserve. Weather conditions mean neither force can rely on air support (in other words I forgot about air support!)

Order of Battle:

Allies:
  • 1 x Stuart unit
  • 1 x Carrier unit
  • 2 x Grant units
  • 3 x A13 units
  • 2 x Infantry units
  • 2 x 2 Pounder Portee units
Axis:
  • 3 x Infantry units
  • 2 x Armoured car units
  • 1 x Light tanks unit (L6/40)
  • 5 x Medium tank units (M13/40)
  • 2 x AT guns
  • 2 x Semovente 75mm 
The engagement started well for the Italians. Their first attack on the first set of hills quickly gained a foothold. They we less successful in the centre with the intended screening force being more heavily engaged than expected with the defending Allied forces positioned in the wadi. The end result was only one Semovente unit was available to support their attacks on the hills.

Opening positions

Initial attacks gain a foothold on the first hill objective.
The second Italian force arrives and heads towards the wadi hoping to skirt around any defending forces and support the attacks on hill objectives.

With the first objective hill won both sides take time to reorganise for attack and  defence.

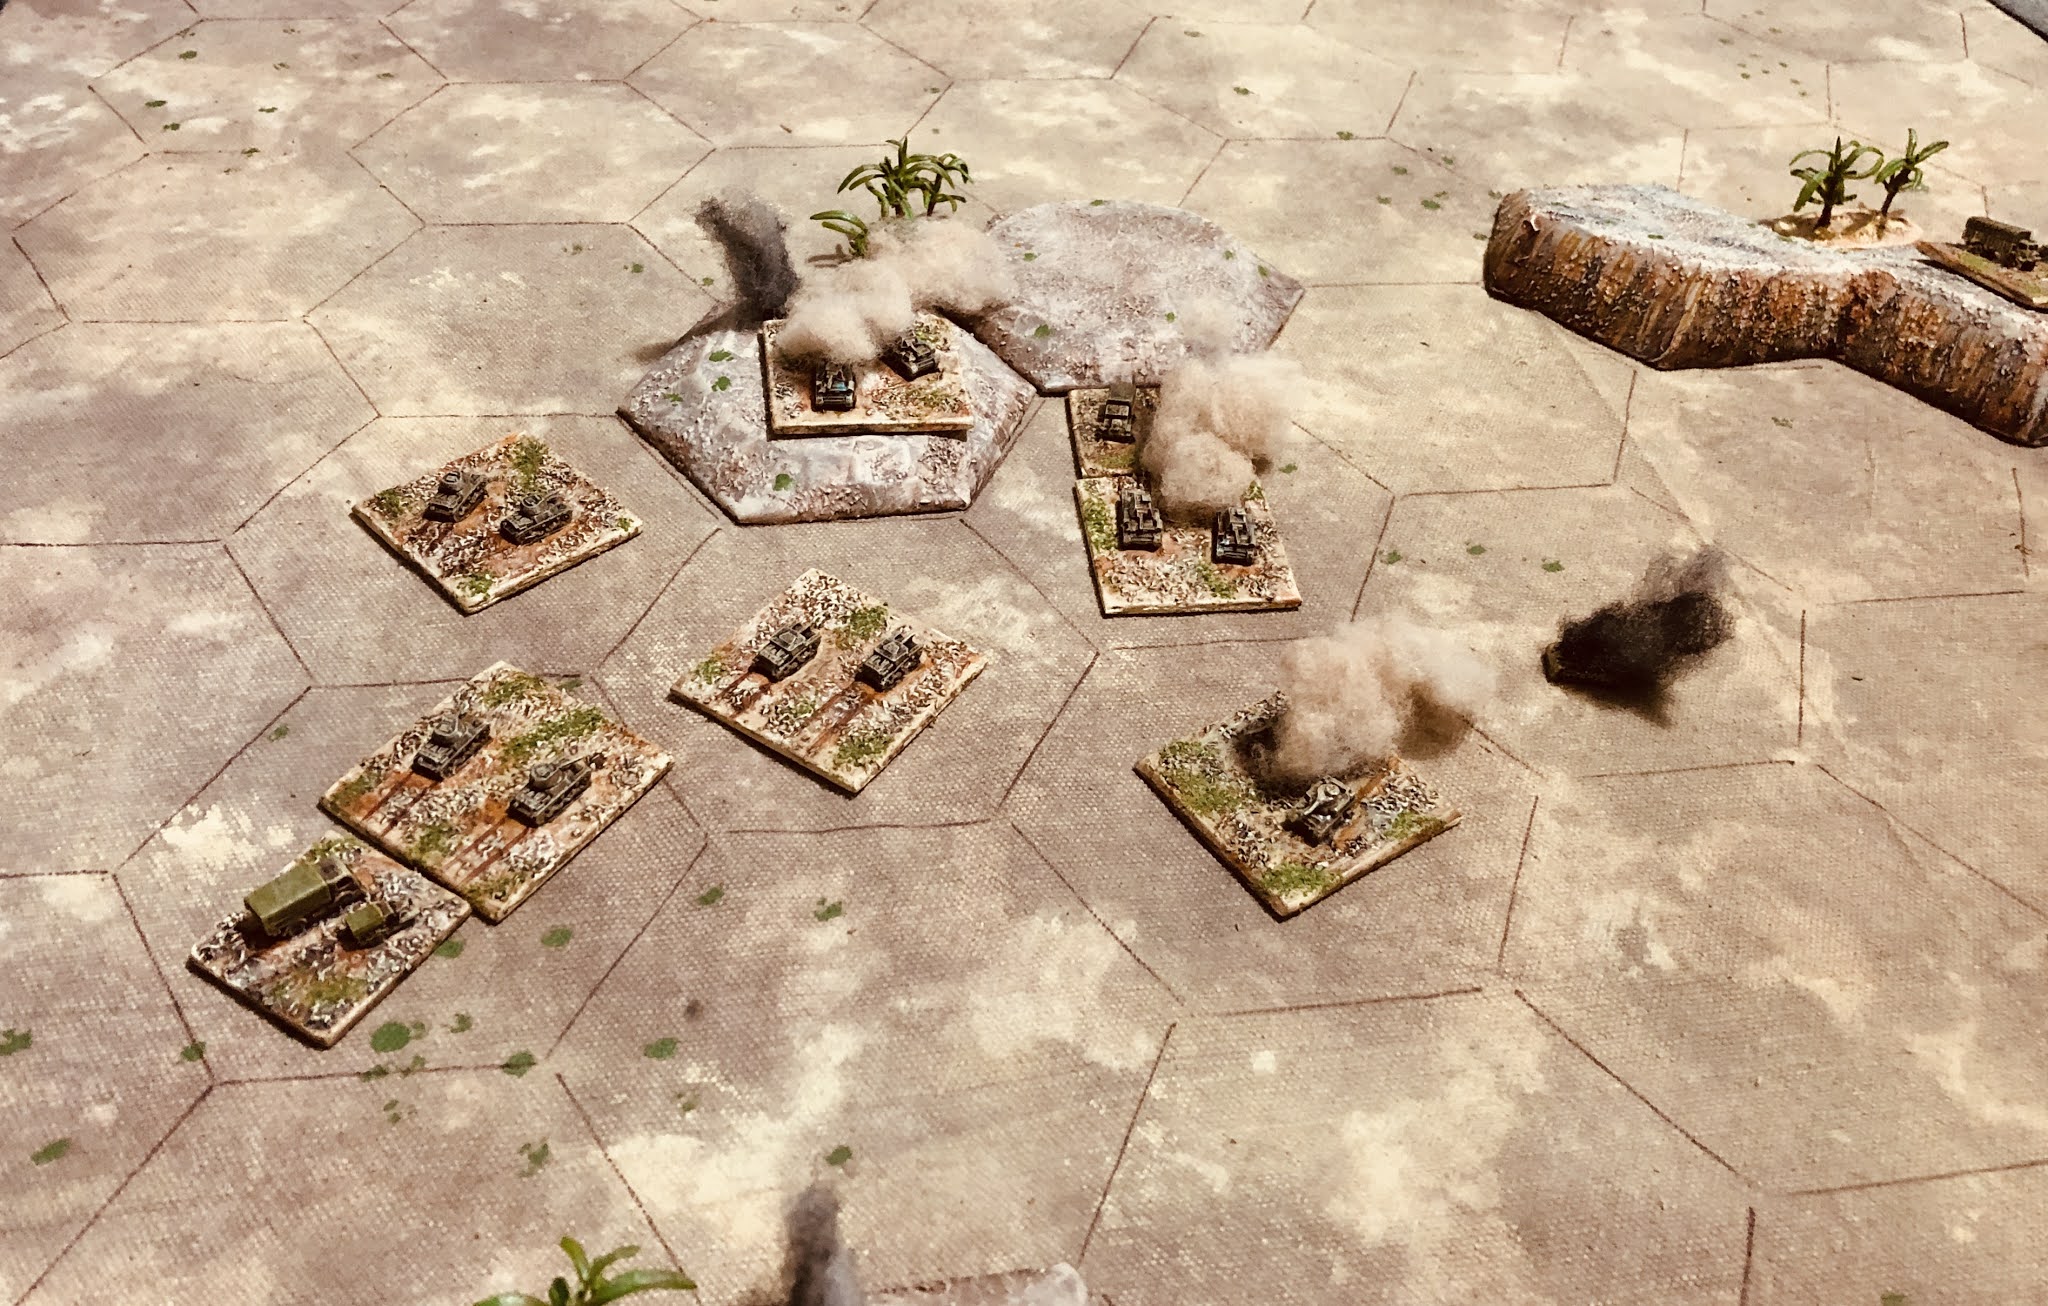
The second phase of the engagement saw Allied force regroup with their reserves behind the wadi. Italian reserves arrived and swiftly move down the road as a diversionary tactic. After this period of manoeuvring a tank engagement was fought out around the second hill objective. The outcome of this was in favour of the attacking Italian units.

Italian reserves move swiftly down the road to act as a diversion.

The Italian reserves draw off one tank unit with in the background a sizeable tank engagement is getting underway.

A tank engagement is fought over the second hill objective.

Italian tanks get the upper hand and the second objective which will soon be in their grasp.

Mustering all remaining units an attack was mounted on the escarpment. The defending infantry unit gave a good account of itself, but numbers eventually told.

Early attacks on the escarpment were unsuccessful, but subsequent attacks were as all remaining units were marshalled to provide support. 

A victory to the attacking Italians delivering a much needed second win for Axis forces to continue their advance on the campaign map.