|
Tabletop setup and attack plan
|
The first battle of turn 6 has elements of the 21st Panzer Division attacking the South African division. The situational dice determined:
- Axis and Allied forces would both sides would have 30 percent of units in reserve off table
- Axis forces have an additional 30 percent of their force to arrive on the left flank
- Air support is available to both sides
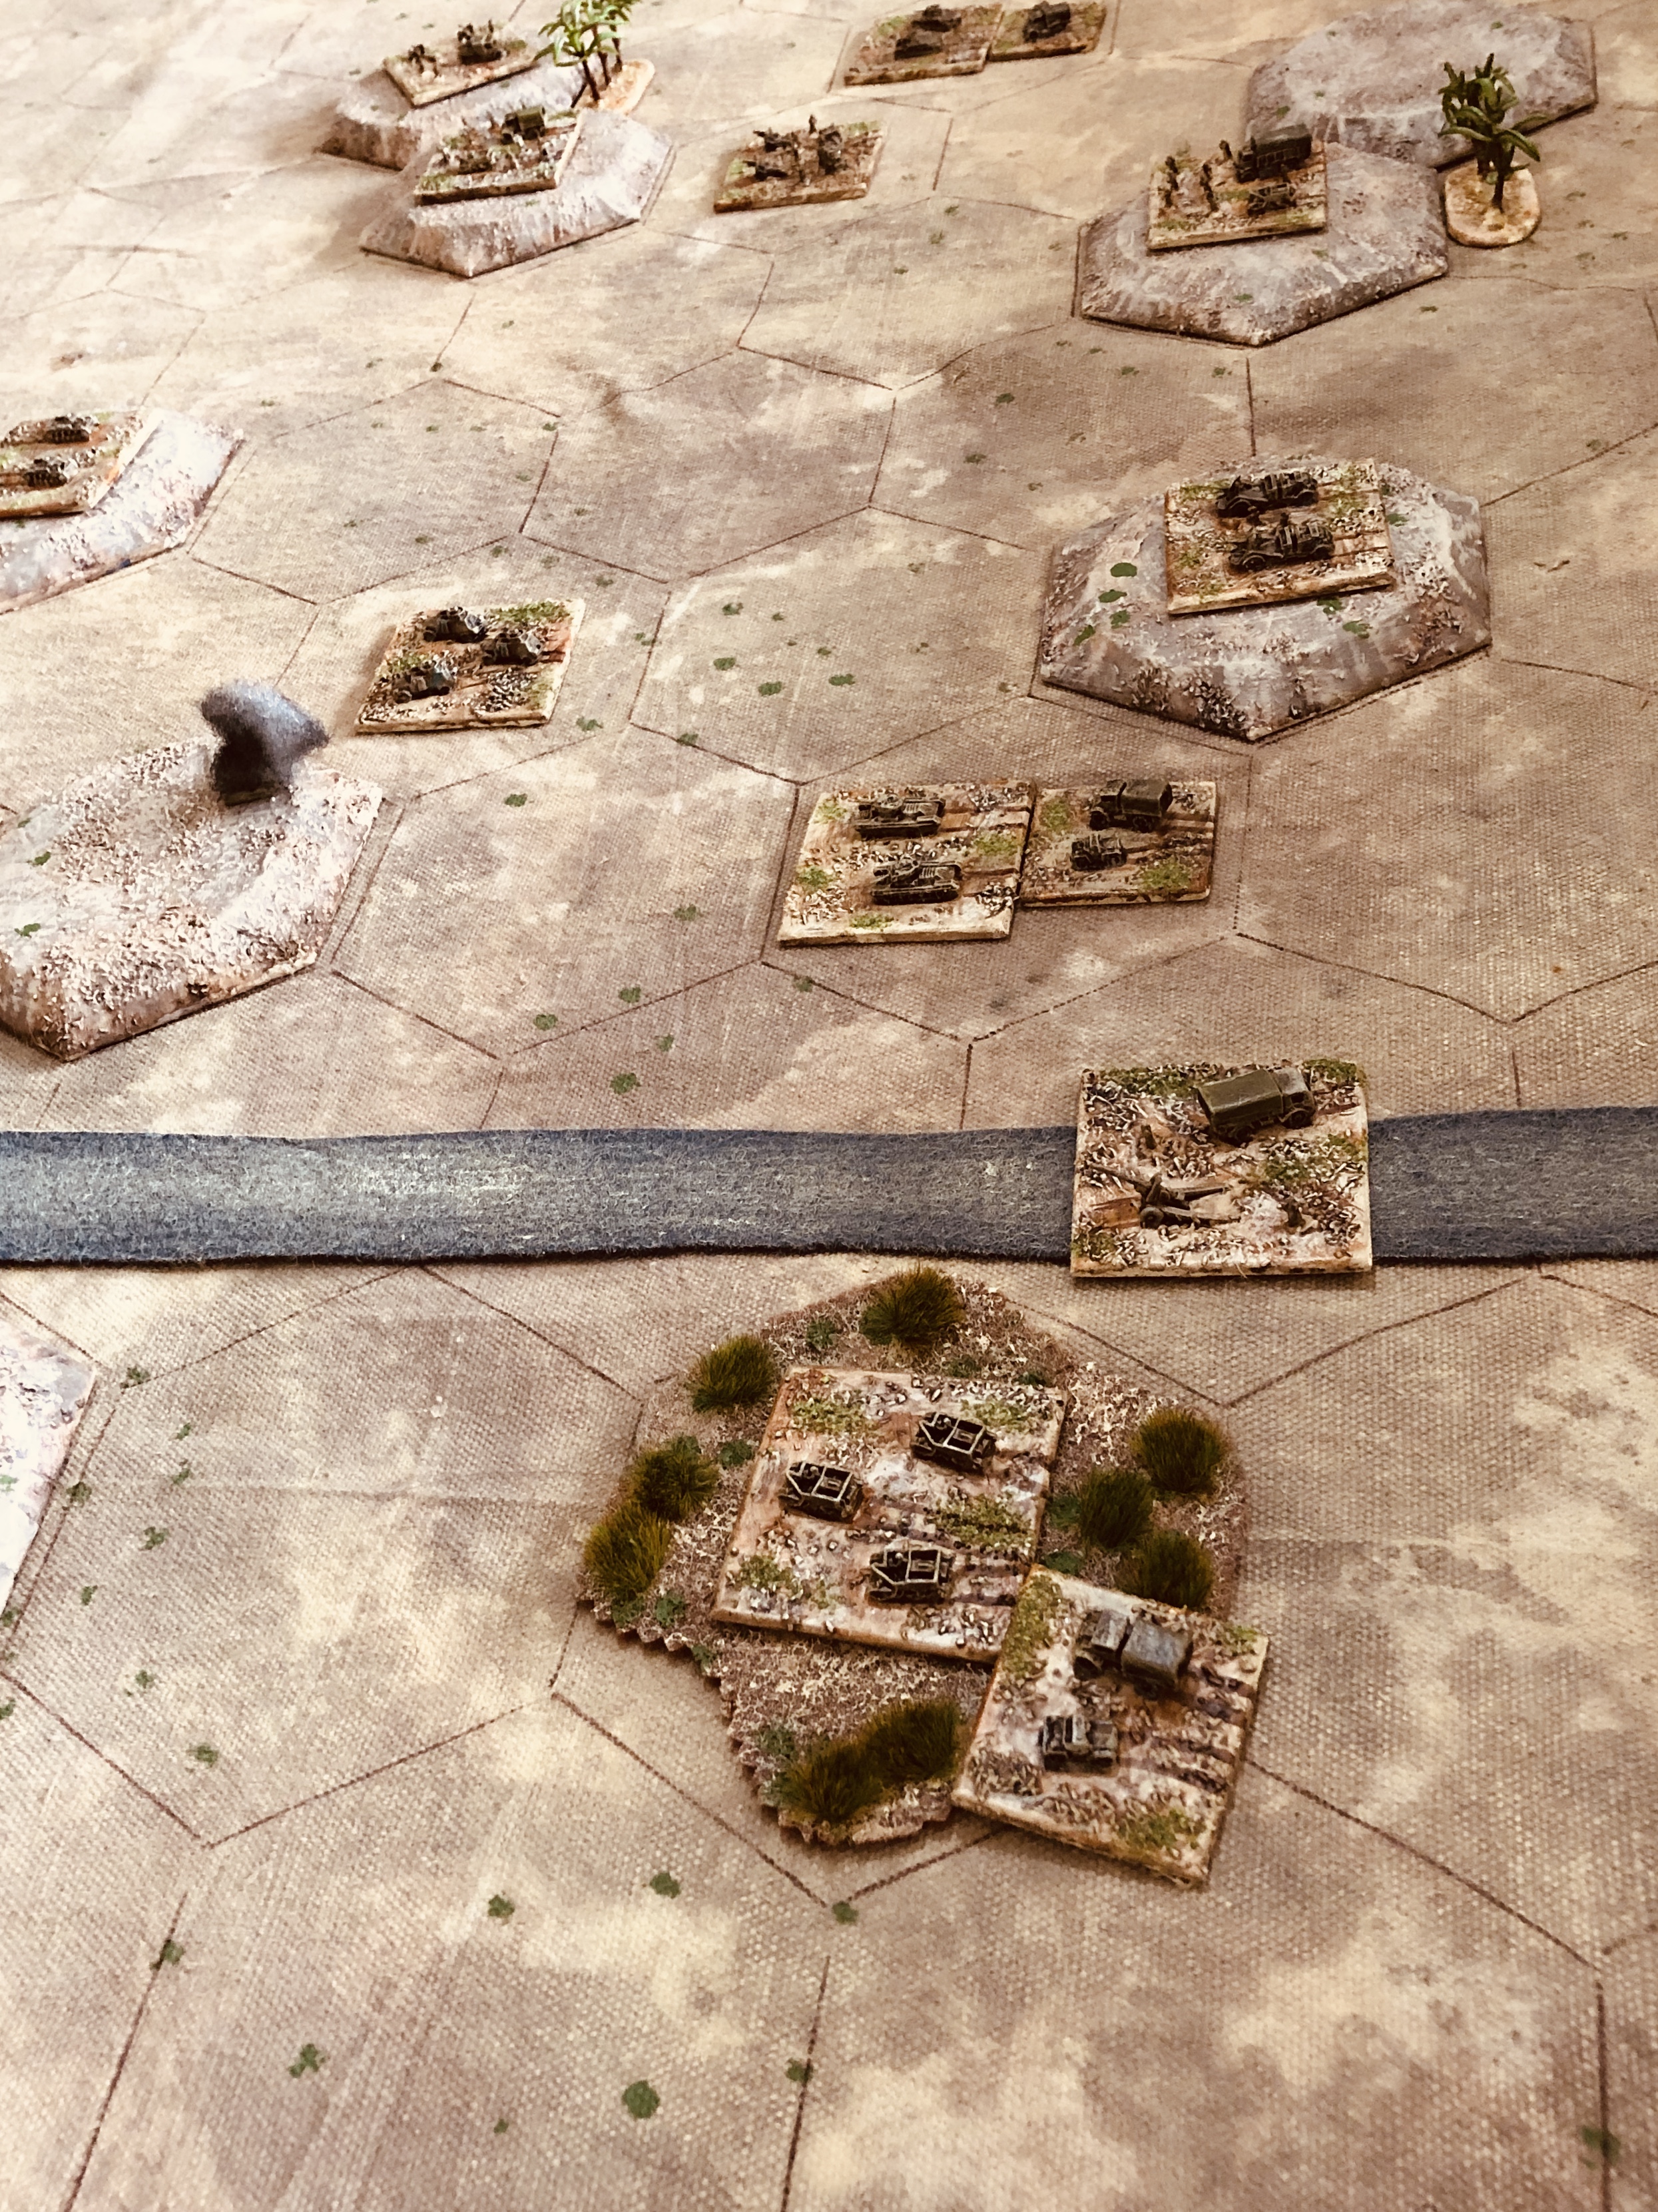
Three objectives were identified on the tabletop (see above photo). The objectives all were hills and reasonable close together on the tabletop. This will be of benefit to the defenders as they can concentrate their forces and also quickly support their defence lines with arriving reserve units.
Allied Forces (South African Infantry Division):
- Armoured car unit
- Carrier unit
- 3 Infantry units
- 2 2pdr AT Portee units
- 6pdr AT unit
- Matilda unut
- 2 Valantine units
- 25pdr gun unit
- 5.5" gun unit
- Air support
Axis Forces (21st Panzer Division):
- Motorcycle unit
- Panzer II unit
- 4 Panzer III units
- Panzer IV unit
- 2 Armoured Infantry units
- Stug III 50mm
- AT 50mm gun
- 88mm gun
- Air support
Both forces had suffered an average level of wear and tear losing 3 units a piece. Importantly for the attacking Axis forces they would be without their artillery to support their assaults.
 |
Advance forces from the 21st Panzer division arrive.
|
The plan for the attacking Axis forces was to attack the few hills between the two forward objectives to delay or attract any Allied reserves. Then assault the flank hill and use their flanking forces to attack either the centre hill objective or rear hill objective, depending which seemed the easier target.
The start of the game saw Axis units push forward to the few hills between the two forward objectives and both sides brought forward their reserves as quickly as possible. The advantage after the initial few turns was definitely with the defending Allies after their air support eliminated two units.
 |
An early sortie by the RAF produced good results with two units destroyed as their reserves started to arrive.
|
 |
| Axis assault begins on in the centre and their right flank |
The middle stage of the battle saw some fierce fighting around the hills as Allied reserves began to counterattack the advancing Axis units. On either flank the Axis advance continued as they assaulted the flank hills to gain a tenuous foothold, and their flanking units arrived. The situation still favoured the South African defending units. Who while taking losses had not given up any of the objectives and still had a few reserve units available to mount a counterattack.
 |
Allied reserves are moved up
|
 |
Flanking forces arrive
|
 |
Flanking forces move swiftly with casualties on both sides.
|
 |
Finally, panzer units are able to gain a foothold on one of the objectives
|
The final stage of the battle moved very quickly. A combination of AT guns and 25 pounders acting in a AT role proved very effective at stopping the Axis flank attack. So much so, that all reserve units could be directed at an counterattack on the other flank.
Having gained a foothold on the flank hills, Axis units were unable to hold off the Allied counterattack which regained control of the objective. This saw the end of the Axis advance and they retired.
 |
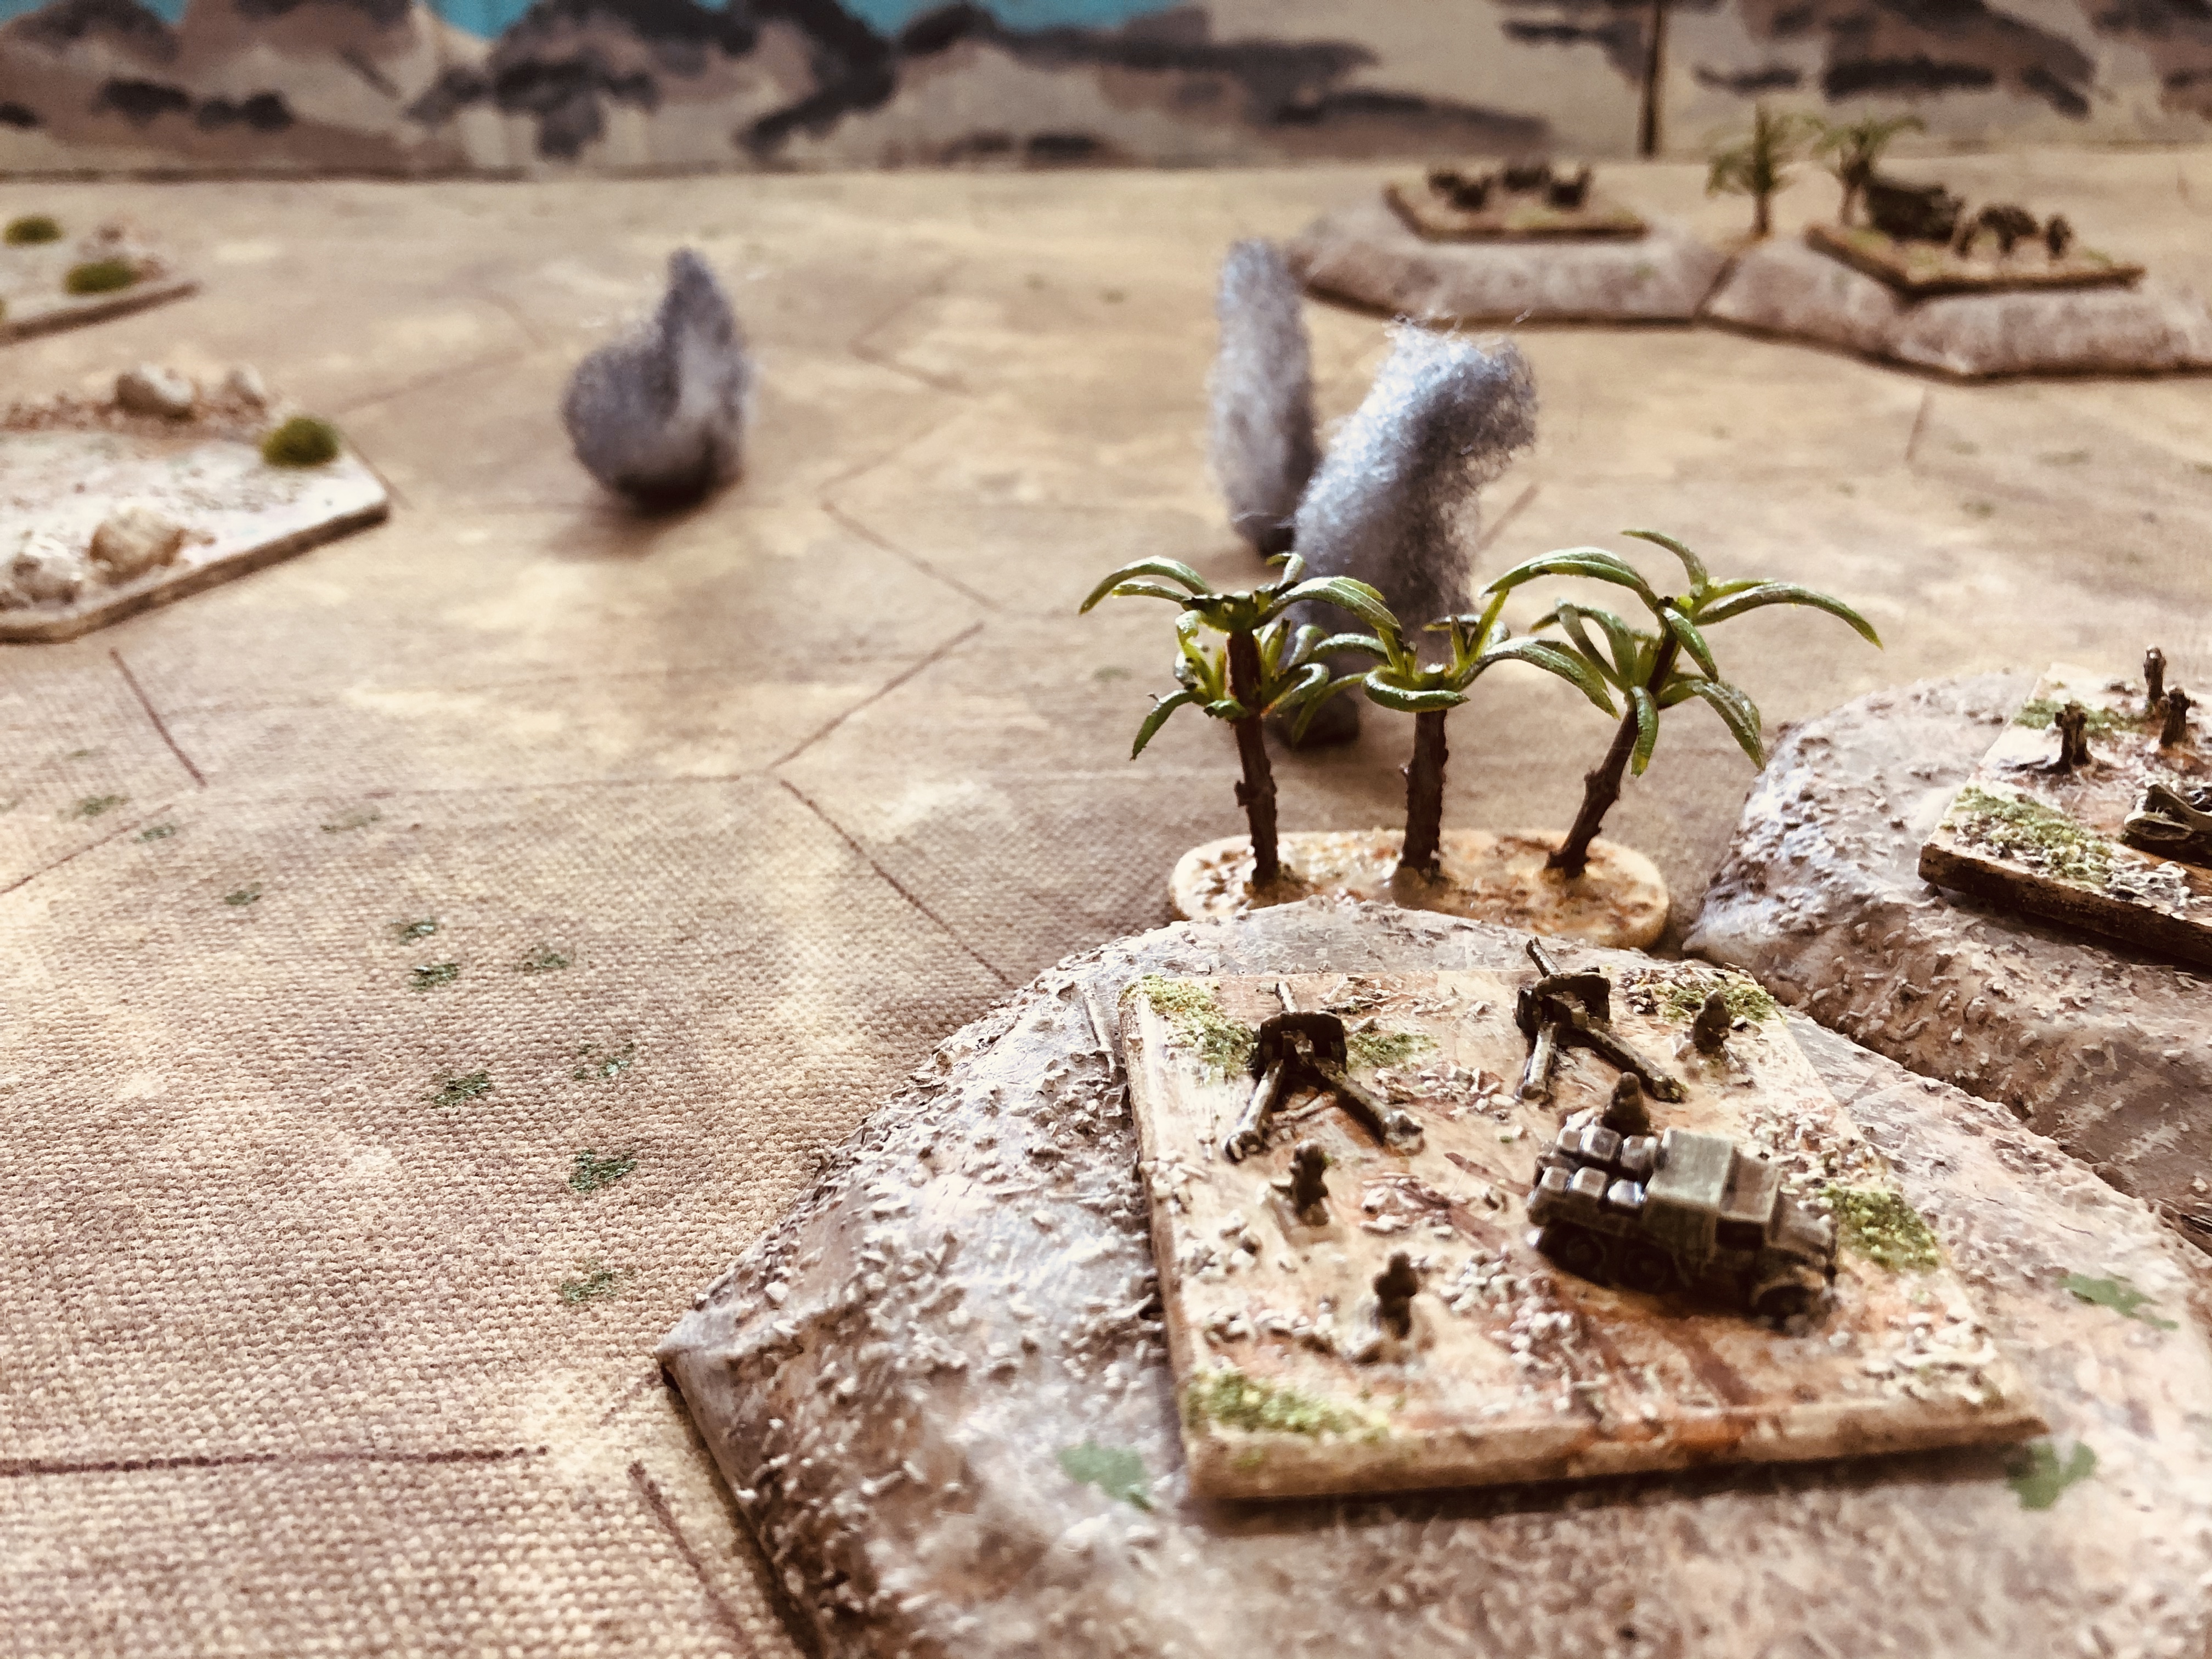
AT fire with support from 25 Pdrs. proved deadly to the Axis flank attack.
|
 |
Allied forces were able to regain control of the flank hill
|
A victory to the Allied defenders who held on to all three objectives. The early successes of their air sortie diluted the Axis assault on the flank hill and they were able to feed in reserves at a steady rate. On the other flank combined anti-tank and 25 pounder guns proved very effective the against the flank attack which came to nothing.
Having finished this game I was going to launch into the next game the following day, Sunday, but some recent suggestions and questions along with previous blog comments have got me thinking about slightly modifying how the opposing forces line up and capture of supply dumps. The next post on this campaign will cover these changes in the lead up the next game.