 |
| Saxon Shieldwall |
Introduction
These are low complexity rules based upon and influenced by the rulesets One-Hour Wargaming Dark Ages rules and Dux Bellorum.The rules use a square grid to control movement and shooting.
Combat used a D3 dice (1,1,2,2,3,3). Alternatively, you can halve the value of a D6 dice rounding up fractions.
Units
The units represent the following:- Saxon Housecarl
- Saxon Fyrd
- Saxon Archers
- Norman Spearmen
- Norman Cavalry
- Breton Cavalry
- Norman Archers
All units exert a zone of control on all surrounding squares, including the diagonals.
 |
| Zones or control |
Sequence of Play
The game is played in a series of turns. During a player’s turn they follow the sequence listed below:- Reorganise
- Command
- Movement
- Shooting
- Melee
- Eliminating
Reorganise
If a player has any carried over command actions they can reduce the number of hits on one or more of their units. No more than 1 hit can be removed from a single unit in a turn.
Note: this represents unit commanders reorganising their units, bolstering moral, filling any gaps in the shieldwall, etc.
Command
Commanders roll 2D6 and select the highest score to determine their available command actions for the turn.Command actions are used by a player to move units and increase the ferocity of combat (see Melee for details).
Any command actions not used are carried over to the following turn and used to reorganise units.
If the commanders unit is lost only roll 1D6.
Note: I liked the leadership point rule in Dux Bellorum and adapted the concept of it for both movement and combat. It is more of a variable in these rules, in a way similar to PiPs in DBA.
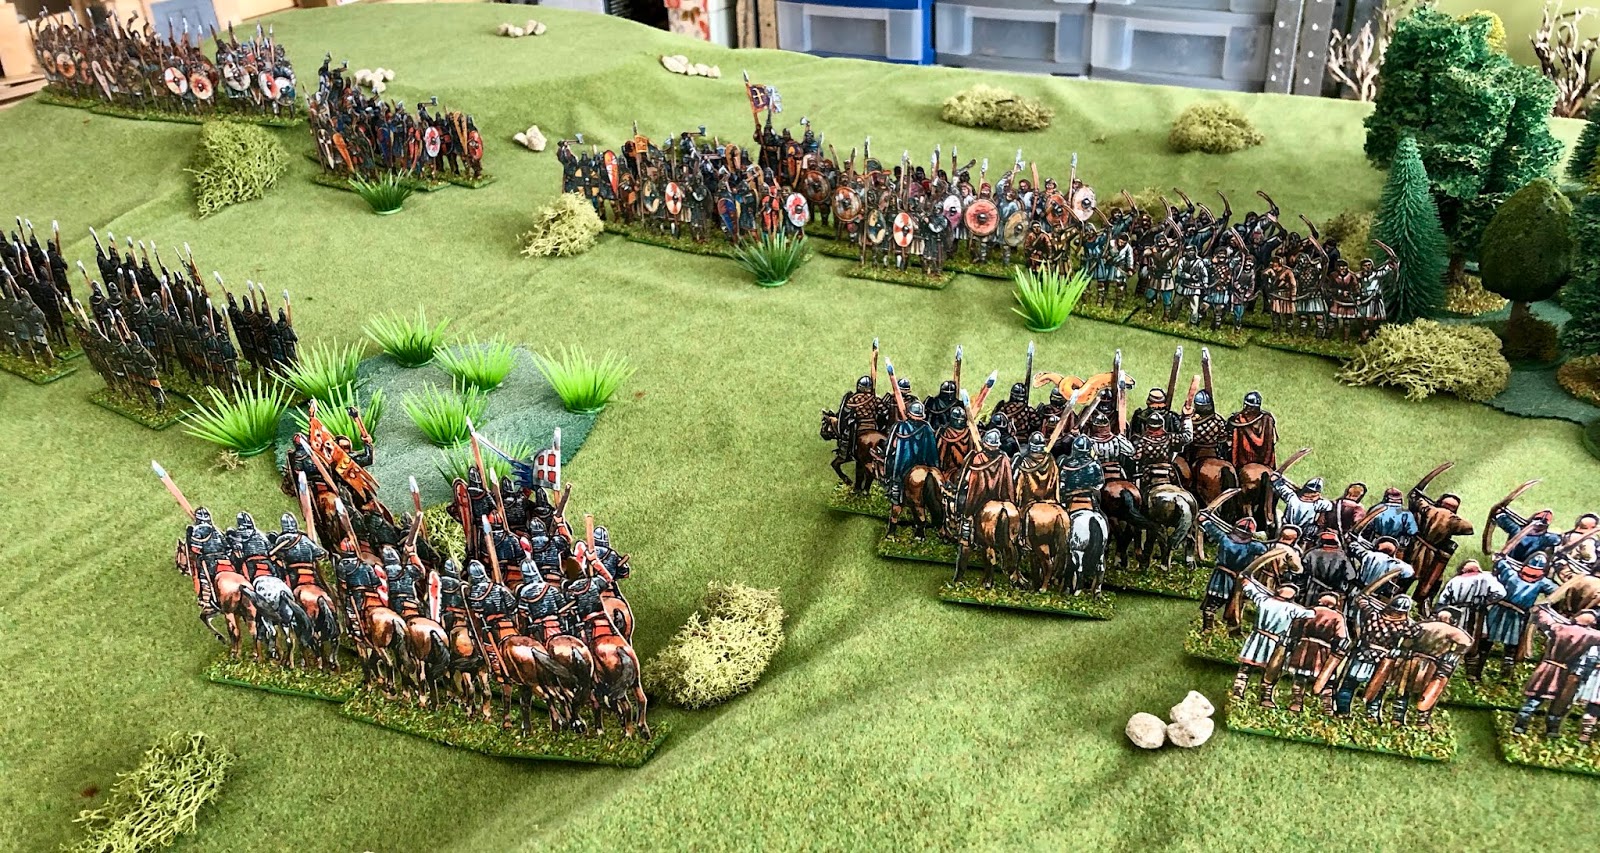 |
| A game in progress |
Movement
It costs 1 command action to move a unit. Units can move up their Movement allowance in squares.At the end of their movement units must be facing one of the square sides.
Units may move diagonally between squares providing neither of the stranding squares are occupied by blocking terrain, a friending unit, or enemy unit’s zone of control.
 |
| Movement constraints |
Movement allowances:
- Foot units move 1 square
- Cavalry units move 2 squares
Only 1 unit can occupy a square (no stacking of units) and units may not move through other units.
Units are allowed to turn and the start and/or at the end of their move. They must always end their move facing one side of a square.
Terrain
Terrain has the following effects:- Woods - Only Archers can enter and terrain advantage in melee.
- Towns - Only Infantry and Archers may end their moves in a town.
- Marshland and Lakes - These are impassable to all units.
- Rivers - These may only be crossed via bridges or fords.
- Hills - Terrain advantage in melee.
Shooting
Only archers can shoot and they have a range of 3 squares.It costs 1 command action for a unit to shoot.
Archers may only shoot at a single target within 45 degrees of their frontal facing side.
Archers roll a D3-1 when shooting. The result gives the number of hits the target acquires.
Note - there are no deductions for cover. Instead units can take additional hits before being eliminated. This way units holding defensive position tend to remain fast, as if they leave the position they lose the additional strength points.
Melee
Only attacking units inflict hits. Units automatically attack the unit directly in front of them when attacking. If they have more than 50% hits, then the attack is not automatic and they only attack at a cost of 1 command action.Note: this represents unit exhaustion where unit leaders have to galvanise their men into attacking.
To determine hits the attacking unit rolls one or more D3 and selects the highest scoring D3. Units can roll an additional D3 for each of the following conditions:
- They have a supporting unit on a flank
- An archer unit directly behind them
- A command action is spent.
Note: using lower quality units to support attacks rather than making attacks themselves keeps them out of harms way. While using command actions to add D3 represents a commander urging his unit on in an attack.
 |
| Unit D can attack unit A. It is supported by unit C so would roll 2xD3 selecting the highest score. Unit E attacks unit B and is supported by archers to the rear and would roll 2 x D3. If a command action is spent 3 x D3 would be rolled. |
Terrain Advantage - defenders on a hill increase they strength by 2 providing all attacking units are downhill.
 |
| Saxon Fyrd's hilltop position increases their strength from 5 to 7 |
Eliminating
Units are eliminated once the number of hits acquired are greater than their strength. Different unit types have different strengths which can be increased if the terrain offers a good defensive position or they are accompanied by their commander.- Saxon and Norman Archers strength = 3
- Saxon Fyrd and Breton Cavalry strength = 5
- Norman Cavalry and Saxon Housecarl strength = 7
A units strength is increased by 2:
- if in cover or has terrain advantage against all attacking units
- If the commander is attached to the unit.
An attached commander remains with the unit throughout the game.
Note: hits can be removed during the reorganise phase.
Interesting looking rules Peter - I haven't tried zones of control so I'll have to give them a go!
ReplyDeleteThanks. The only reason I introduced a ZOC was to make it difficult for units to out flank.
DeleteI rather like the look of these, i may have to give them a go.
ReplyDeleteThank you. Also feel free to just take the rule mechanisms you like for your own rulesets.
DeleteJust curious but are you lumping the Select Fyrd, (trained, well armed, usually armoured and experienced) in with the Huscarles? or in with the raw, poorly equipped, local fyrd?
ReplyDeleteThanks for the question. The units I have classified as Fyrd within the rules represent the Select Fyrd. I have at the moment chosen to ignore the Great Fyrd in the rules. If I were to include Select Fyrd units I would treat them as having 3 strength points. They would be good to support better quality units (eg Housecarls) but unlikely to stand up to more than one or two rounds of combat on their own.
DeleteThe book "A warmers Guide to 1066 and the Norman Conquest" raises the question about whether to include or not include the Greater Fyrd in a wargaming army. I have left them out of the rules at the moment as I work my way through writing the rules. Having Saxon mounted units was another question I have left out (probably on safer ground there).
These rules look elegant in their simplicity - I am tempted. Are you planning to post an illustrative ARR/BatRep soon?
ReplyDeleteThanks. I will be posting a battle report in a week or so.
DeleteJust some thoughts:
ReplyDelete- you roll one (or more) D3, then take the highest value in combat? Suppose you roll 2 D3, that means the result is a 1 in 1/9 of the cases, a 2 in 4/9, and a 3 in 5/9 of the situations. Rolling more than 2 D3 even skews the results more towards the higher side.
- Flanking and facing: in my grid rules I''ve mostly done away with facing for units when they enter a square, and facing only has to be announced when it is needed. Thus, as long as a unit doesn't shoot/attacks/gets attacked/... it's facing is non-determined. THus, only when a unit shoots it has to declare its facing, same for the other situations ... It makes gameplay somewhat faster.
Only a 3/9 chance of a 2.
DeleteThe other option on combat I am considering is using a command action to allow the re-roll the dice accepting the re-rolled score.
DeleteI do like your approach dealing with facing. Thanks.
Interesting mechanics Peter. I like the idea of rolling a number of dice and using the best score, though Phil makes a good point on the maths involved.
ReplyDeleteThank you. I may use a command action to allow the re-roll the dice accepting the re-rolled score.
DeleteHi Peter. Apologies for an enquiry on a very old post… In the final version of the 1066 rules (at the top of the blog page) archers have range 2 and can shoot overhead. Would this mean that an archer behind a friendly unit who is engaged in melee to its front can shoot at the enemy engaged by the front unit? (ie shooting overhead into the melee)? I’m running playtests of some rules, and want to give your D3 1066 set a runout in a mini-campaign.
ReplyDeleteHi Martin. They can support a unit they are behind (shooting in a way) in combat by allowing 2D3 to be rolled and the highest picked. So it is not direct shooting and is lumped into melee section. Does this help clarify?
DeleteThanks, Peter. That’ll do the trick 👍🏼. Game on the table now, hopefully playing this afternoon (UK time…).
Delete