 |
| Map and unit information |
- Allied Airborne on turn 1
- Allied Wave 1 on turn 1
- Allied Wave 2 on turn 3
- Allied Wave 3 on turn 5
- German reserves on turn 6
I will be using the same rules as I used for my last WW2 campaign (explained here). They are based upon One Hour Wargaming WW2 rules, but use card activation and allow for armoured infantry amongst other unit types. One change to these rules relates to unactivated units when shot at. They have the choice of sacrificing their activation in order to take evasive action, which means getting the shooting unit to roll 2D6 and selecting the lower score.
Additional rules specific for this game:
- Each unit arriving in a wave must dice to see which of the landing areas they arrive. If the landing area is already in use, or has been destroyed, there is a hold up and they will circle around and make another attempt next turn.
- Pillboxes and Gun Emplacements are treated as immobile armoured units. Pillboxes shoot as infantry and Gun Emplacements as tanks.
- The Gun Emplacement can opt to shoot at the supporting ships and landing craft. On a 5 or 6 one landing area is destroyed.
- Paratroopers use a scatter dice to determine landing for each individual unit. If a miss is rolled the unit scatters 12". The second unit uses the scatter dice from the previous landed unit, and so on. Any unit landing off the gaming area are eliminated.
- German reserves arriving on turn 6 (or later) may only do so with a red (hearts or diamonds) activation card.
In finalising the playing area you will notice I have added a few woods.
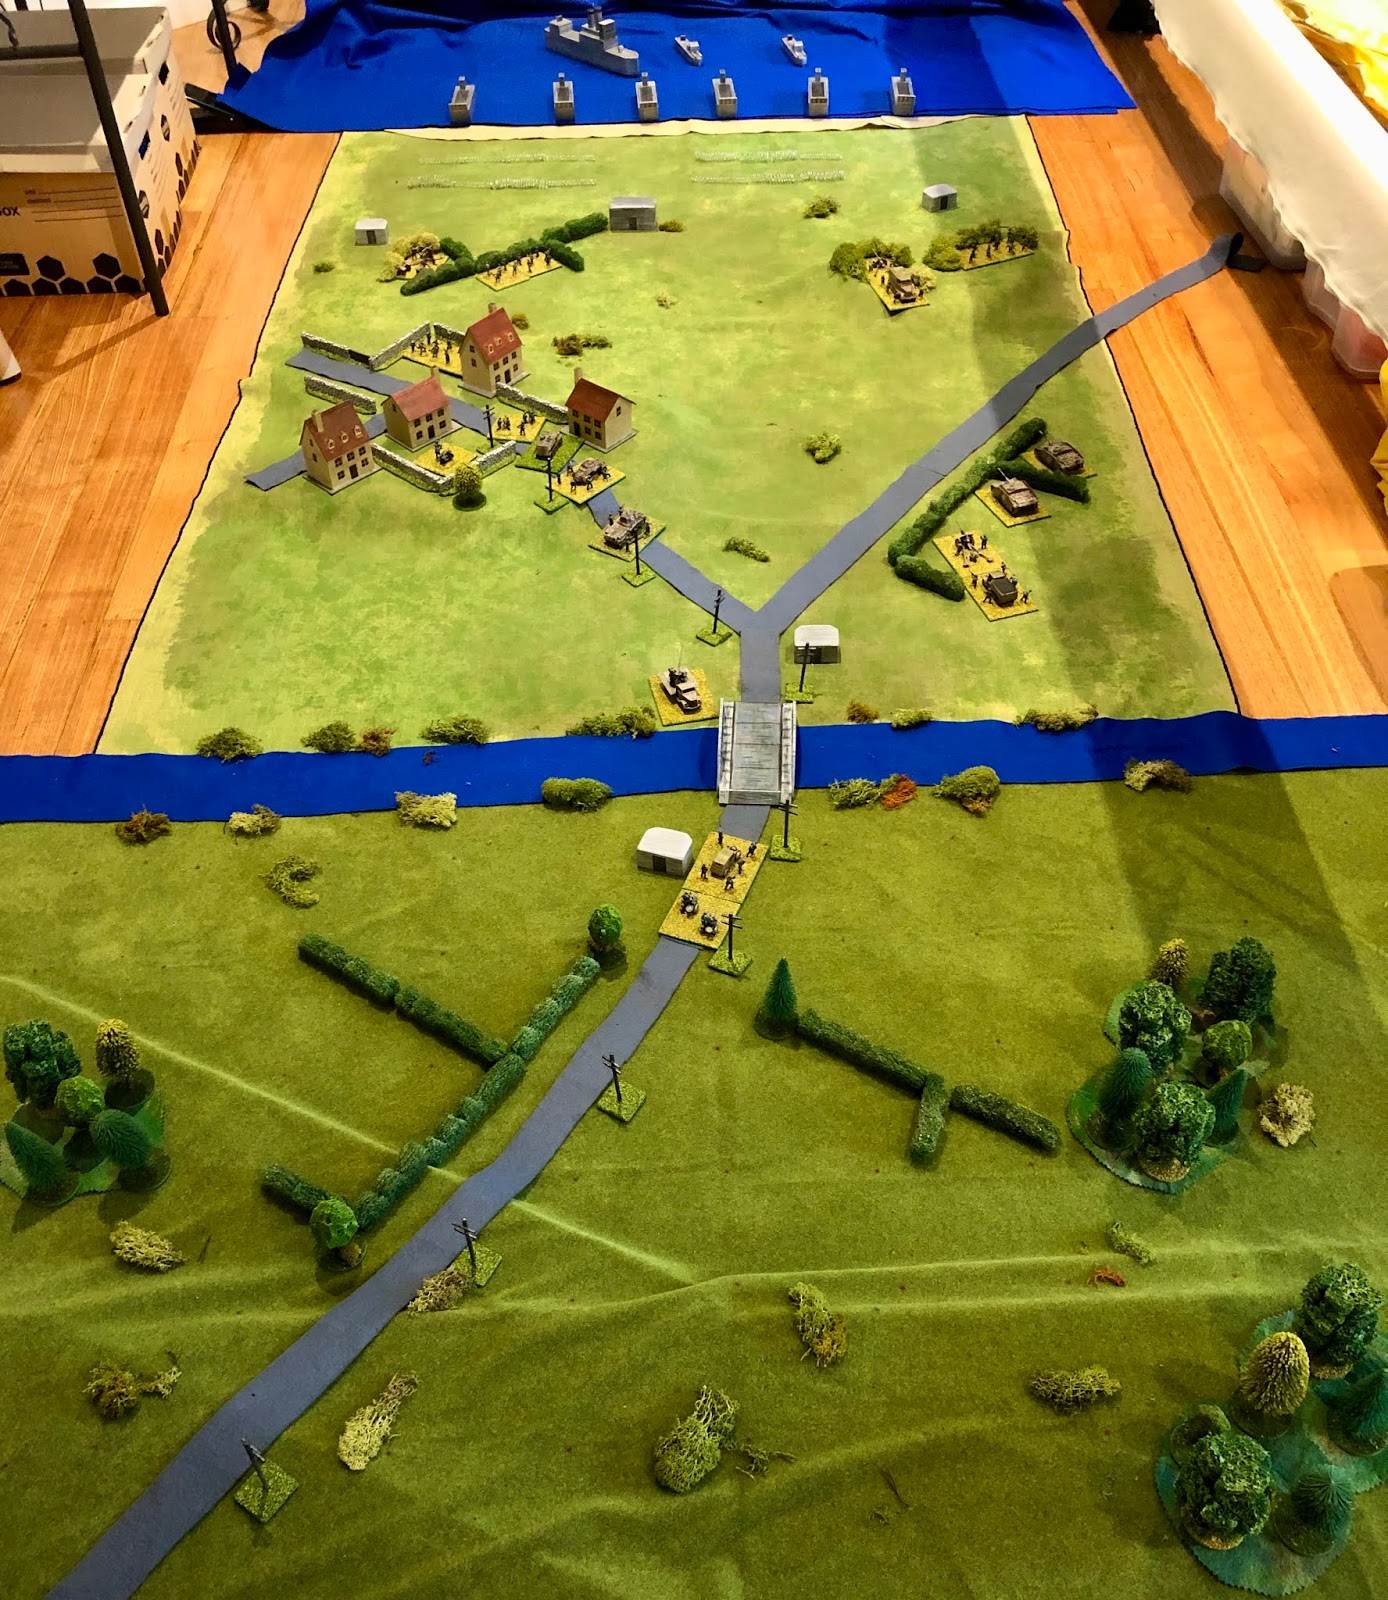 |
| Gaming area all set. |
- Secure the beach area and destroy the gun emplacement
- Contain enemy forces in the town
- Secure the hill on left flank before moving to take bridge
- Paratroopers are to capture bridge and delay German re-enforcements which are known to be in the area.
- Take town once the bridge area is secured and in Allied control.
 |
| Allied plans |

I can hardly wait!
ReplyDeleteThe game is well underway.
DeleteThe 'table' looks fantastic and the maps are superb and really make it easy to see what the plans are etc. As Jonathan has said, I can hardly wait too!
ReplyDeleteThank you. I enjoy doing the maps, but they do eat into painting and wargaming time.
DeleteFantastic stuff! I'll be following with interest, as I think this could lend itself to purely divisional level games and a Market Garden or D-Day high level game.
ReplyDeleteYour hand drawn maps are superb.
Thank you. Market Garden did spring into my mind too when laying down the scenery, and I do have some more paratroopers to paint.
Deletelooking good!
ReplyDelete