Having finished snipping out my War of the Spanish Succession figures a few weeks ago. I have had a break from any modelling activities and focussed on wargaming with the Jacobite snakes and ladders campaign. This time gave me a chance to ponder what my next project would be, there were three possible projects:
- Expand the French Indian Wars forces to Europe - I have a good number of plastic Spencer Smith models to paint.
- Samurai armies - Old S-Range Minifigs.
- Necromunda (SciFi gang skirmish)
The Necromunda project has been ongoing for a while. I treat it as my back burner project where I paint up a handful of figures every now and again when I need a change from whatever I was doing. However, this project does need some sustained effort put into the terrain to create more of a grimy cityscape. I have had two attempts at doing this so far.
Neither approach quite worked for me. The first attempt with all the bits added on to the wooden blocks meant the blocks were not modular enough for me to be build up however I wanted. The second attempt used Sci-Fi paper scenery which I cut up to stick on the wooden block. This second approach worked well from a modular perspective, but in the process, I had lost some of that Warhammer 40k look.
This inspired me to have a go at photographing my existing Warhammer building features to create a set of photos which I could trim and modify before uploading in to Google Slides for final manipulation. This included pictures of individual girders, windows, doors and flooring tiles from the Warhammer building set. It took a bit of practice and attempts to get the right size.
 |
Example slides
|
These slides are printed out, coloured, photocopied, cut out, and glued to grey painted wooden blocks. Once the glue is dry:
- The whole thing is given a black wash
- Chalk pastels are used to give a rusty and moldy look
- The whole block is sealed in clear PVA glue.
Here are some pictures of the process and finished buildings.
 |
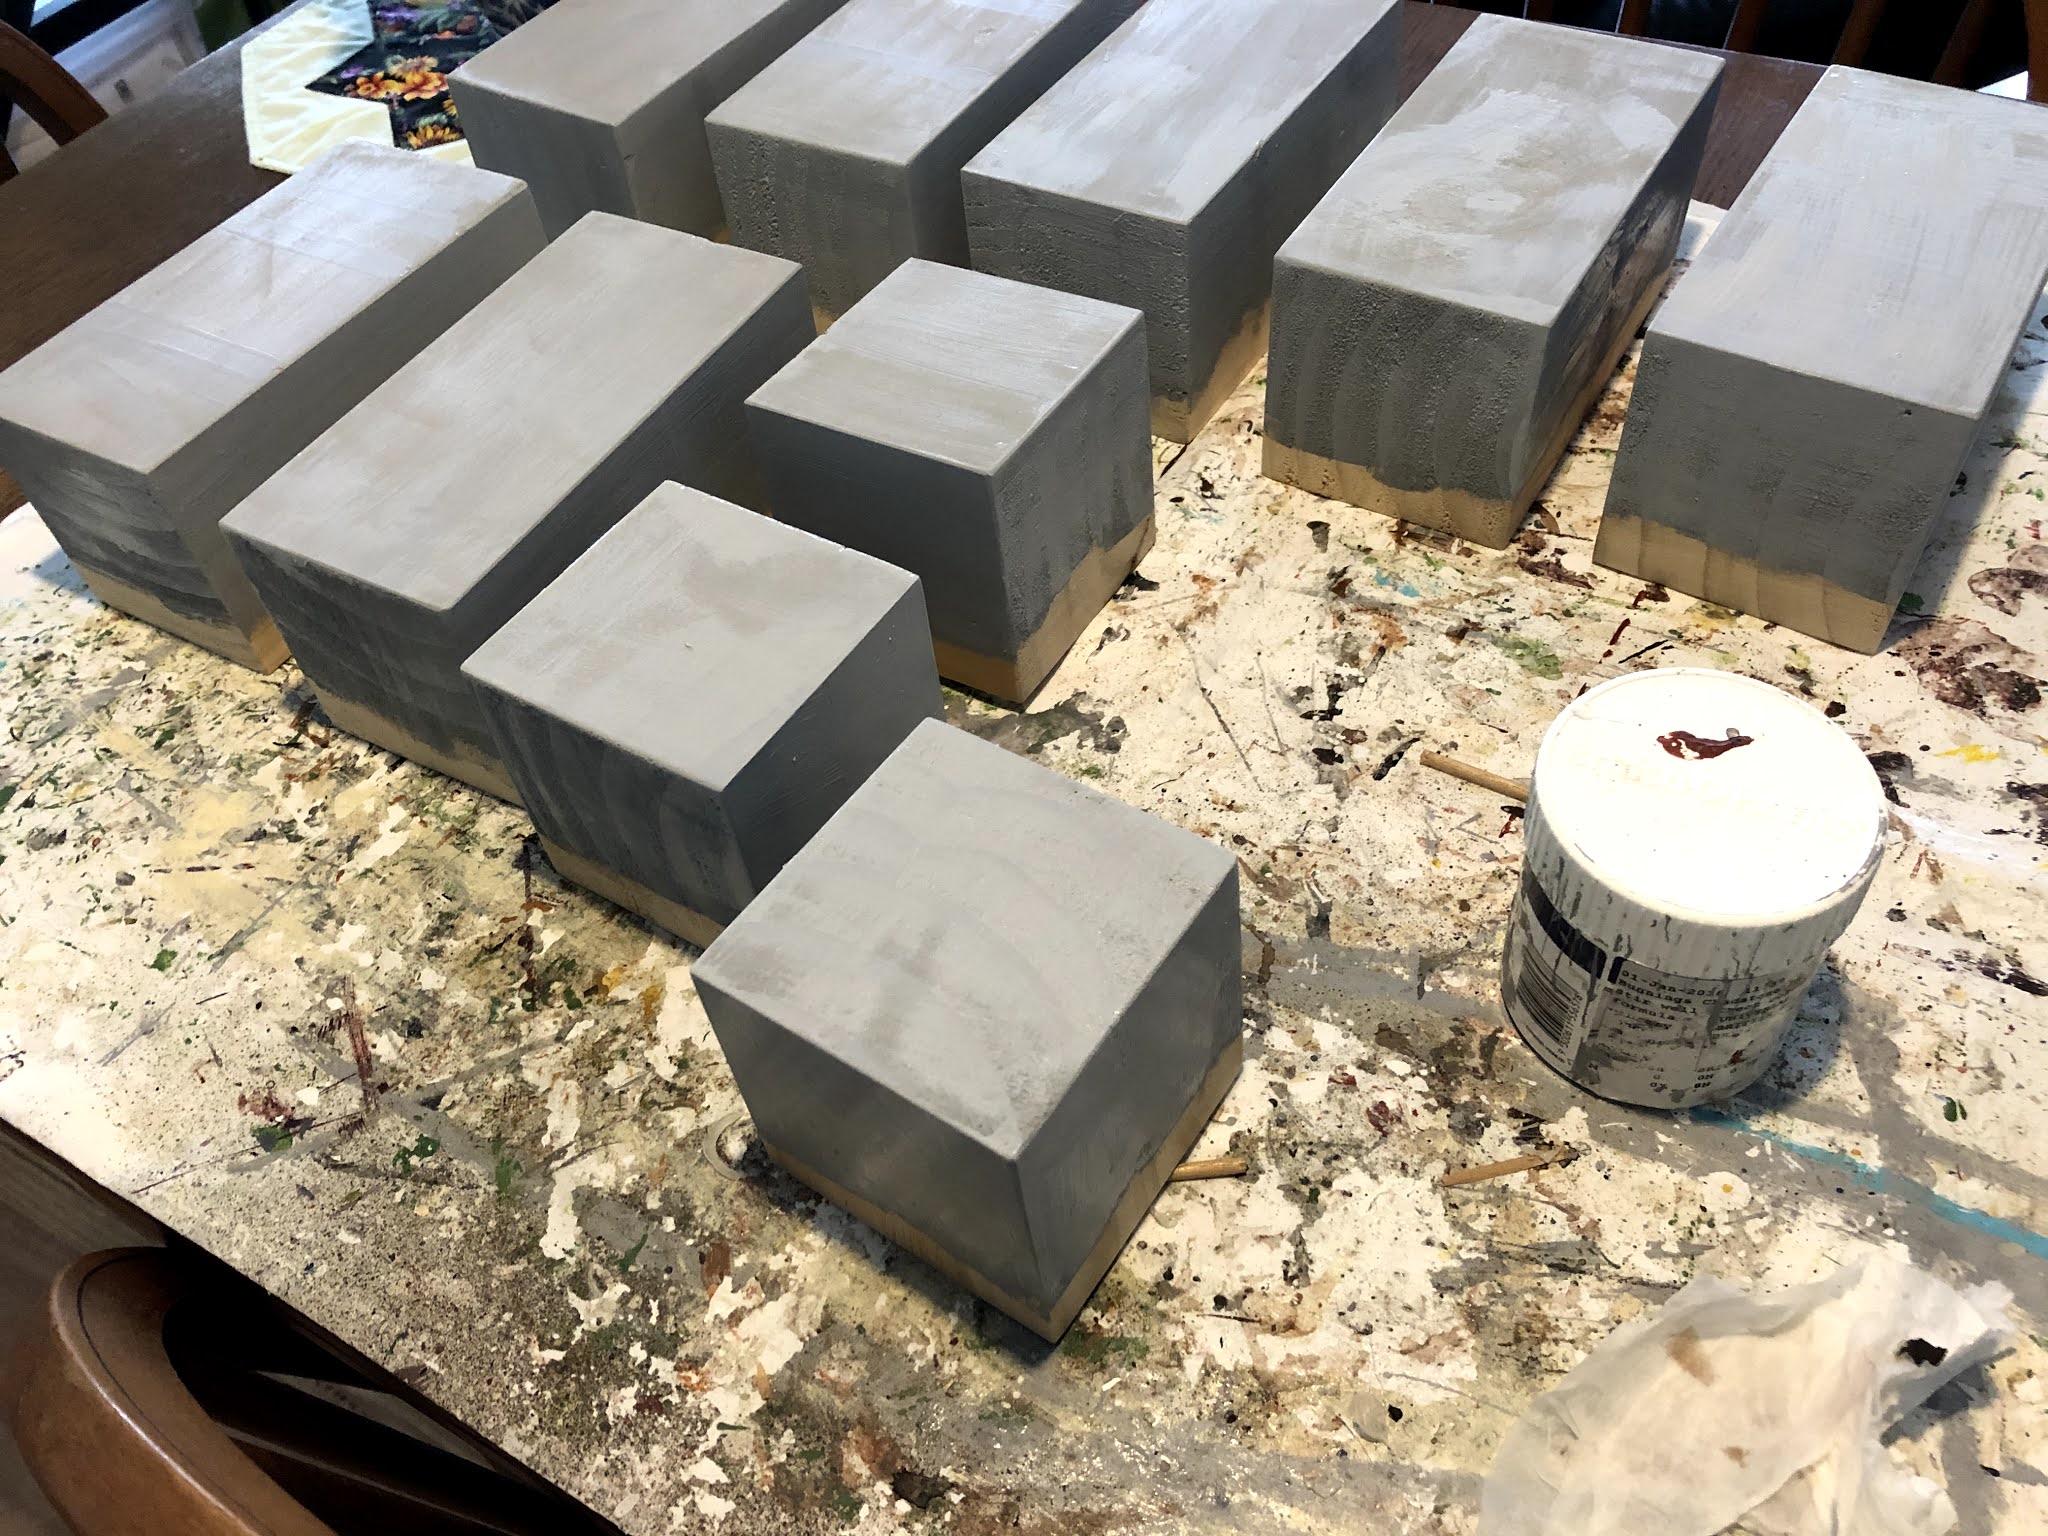
Blocks getting a coat of light grey.
|
 |
Once painted grey the cut out building features are added.
|
 |
| Caulk pastels are used to add rust and the odd bit of mould. The pastels are applied and smudged. |
 |
| A close up photo of a building feature. Felt-tipped pens are used to do some of the colouring in. |
 |
| An example of pastels used to colour a door. |
As I progress with this terrain project I will be adding walls, elavated walkways, storage tanks, and anything else I can think up. The aim of all this terrain is to allow me to create different building arrangements, both tall and wide, for a variety of cityscapes.
 |
A tower with walkways
|
 |
Different options.
|
 |
A larger building set up.
|
A few storage tanks have been recently added using cans and strips of card.
 |
| The can on the left is before pastels are applied and the can on the right after application. |
 |
Storage tanks all together.
|
 |
| Messing around with different options. |
 |
Storage tanks mixed up with buildings.
|
I expect this project will take a few weeks to complete.
 |
A few more wooden blocks waiting for completion.
|


Hi Peter- You've come up with a very interesting way of providing structures and dwellings for your 40K and Sci-Fi games- very clever! Cheers. KEV.
ReplyDeleteThanks KEV. It took a few attempts to get there, but I am happy with the results.
DeleteNot my field of interest but that’s a very inventive and effective technique. Must be possible to apply this technique to historical scratch built buildings.
ReplyDeleteI was thinking windows and doors for historical buildings. They are always fiddly to paint.
DeleteI like the use of blocks that can be piled up or used singularly. Nice idea Peter.
ReplyDeleteThe flexibility is important so I can use different options on the tabletop. They are also easy to store which I find is always a problem with scenery. Thanks.
DeleteLook just the ticket as always.
ReplyDeleteThank you. The cost is low which is always a bonus for me.
DeleteWell that's looking pretty fantastic. Storage will be a snap as well! Any chance you'd share your appropriately sized slides?
ReplyDeleteI'm not sure about posting them, but I can email a PDF copy to you. I will delete the comment with your email once received.
DeleteThe PDF has been sent. Let me know if it did not arrive.
DeleteThe storage tanks look awesome :)
ReplyDeleteThank you. I will definitely be doing some more.
Delete