Following the failure of the 21st Panzer Division to make any headway against the 7th Armoured Division in game 1 or the 10th campaign turn. The 15th Panzer Division advances to find it may have found a weak spot in the Allied defences. They are attacking a weakened South African Infantry Division who are yet to be reequipped after their previous engagement.

Terrain cards are selected and the Allies choose their defensive edge. Because this was the second game of the campaign turn, neither side can make any card switches. The dice decided the attacker is making a surprise flanking attack. Elements of the South African Division are able to occupy their half of the tabletop and the attacking 15th Panzer Division elements start with half their units on their base edge and the other half in reserve ready to arrive on a chosen table edge.

Order of battle
Elements of the 15th Panzer division
- 2 x armoured car units
- 1 x PzII tank unit
- 1 x PzIV tank unit
- 4 x Pz III tank units
- 1 x Stug III unit
- 2 x Armoured Infantry units
- 1 x 88mm gun unit
- 1 x Wespe mobile artillery unit
- 1 x 50mm AT gun unit
Elements of the South African Infantry division
- 1 x armoured car unit
- 3 x infantry units
- 1 x 2pdr AT gun Portee unit
- 1 x 6pdr AT gun unit
- 1 x Valentine tank unit
- 2 x Matilda tank units
- 1 x 25pdr artillery unit
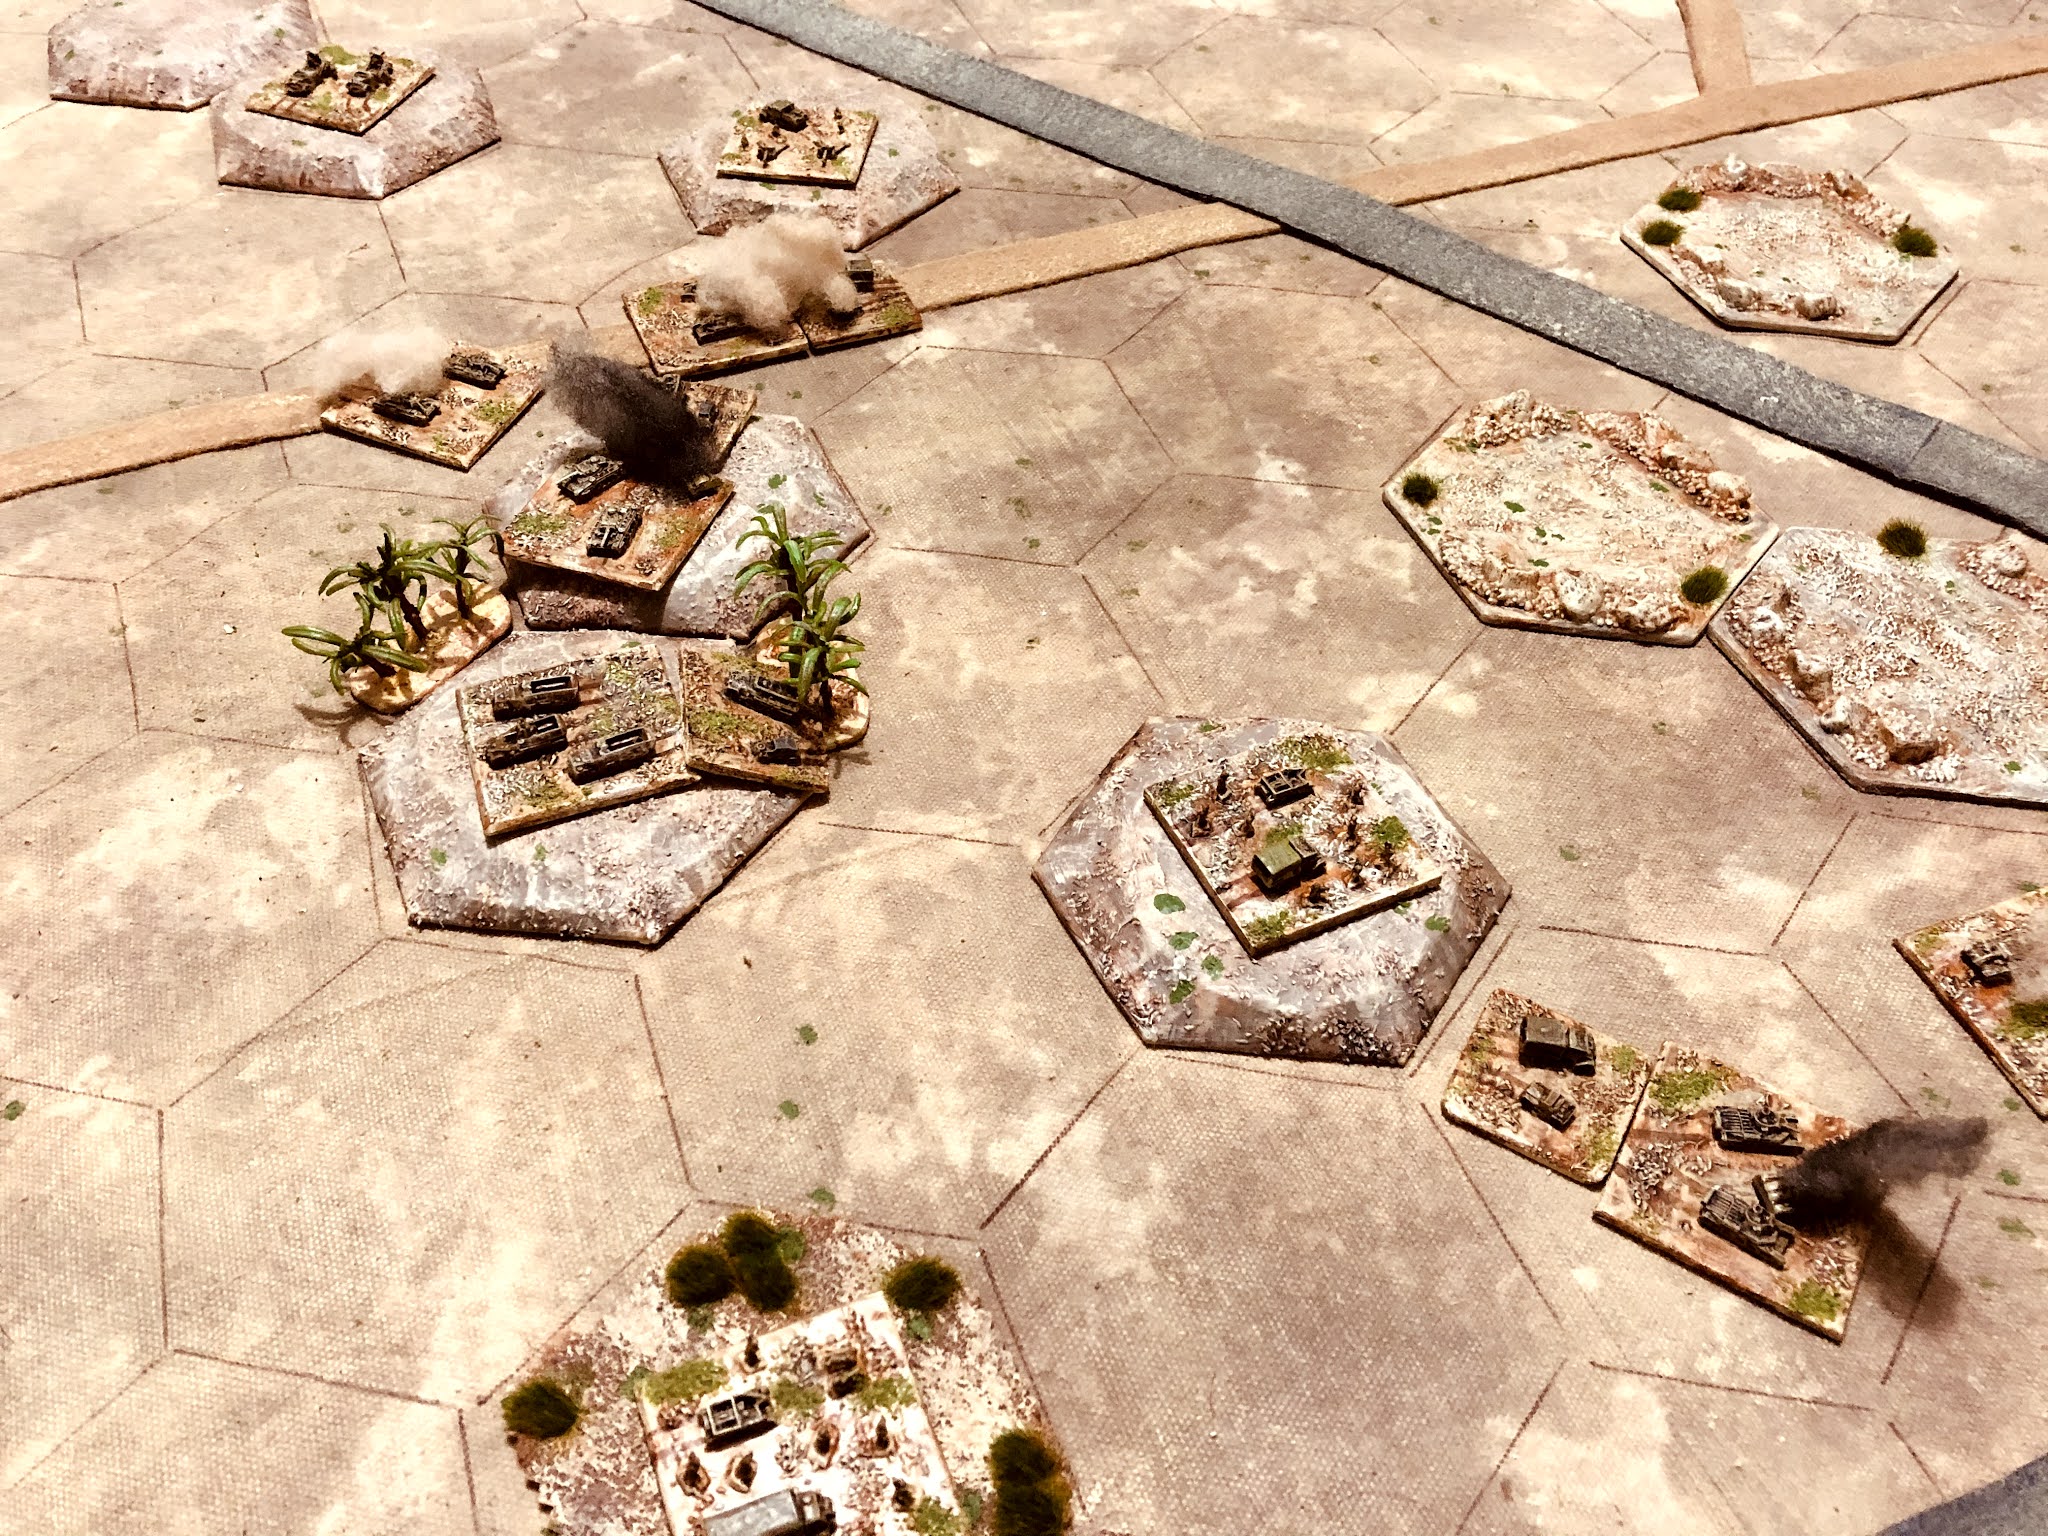
The 15th Panzer plan was plan was to have two strong flank attacks, one along the road and a flanking attack on their right from off table. The Allies were taking up a defensive position around the hills and a single objective.
 |
| Planned attacking moves and defensive positions. |
The opening moves went pretty much as planned for the 15th Panzer's attacks and they were soon engaged by the defenders. However, on each flank Matilda tank units were proving to be very frustrating adversaries and the attacking momentum was lost on both flanks.
 |
| German flanking forces arrive |
 |
| The German left flank attack is frustrated by Matilda tanks |
Having lost the attacking momentum on the flanks the German centre was pushed forward along the track. A Matilda tank unit was pushed forward to counter this move and soon had them in retreat. At the same time a second wave of units arrived on the right flank. They were able to push along the road to where it crosses the track getting behind the Matilda unit and isolating it from the defensive line.
 |
| The German centre is forced to retire as the Matilda tank pushes forward. |
 |
| The Matilda tank unit becomes isolated and Panzer units manoeuvre to take advantage of the gap in the defensive line. |
As the remaining German flanking units arrived on the right, they were able to exploit the gap left by the Matilda tank unit and push up quickly on the objective. A 25 Pounder artillery unit was standing between them and victory. Time was running out (with only two turns of the game left) and the first attack on objective hill would need to be decisive.
 |
| Panzer forces race towards the objective which is guarded by a 25 pounder unit. |
The Germans were able to dislodge the defenders on their first assault and take the hill objective. On the last turn all Allied hopes rested with a counterattack to make the hill contested and the game a draw. The final chance card was drawn to reveal they have an ammunition shortage and all Allied hopes faded as they failed to make a third action.
 |
| Not what you want on last move when mounting a counterattack |
 |
| A German victory as they seize control of the objective. |
At one point it looked like a weakened Allied force was going to produce a surprise win as the clock ticked away for the attackers. Only to have it snatched away at the end as a gap opened up in the defensive line.
So close for the SA boys but yet so far! The Matildas did sterling service as always and another lovely looking game, with it being part of a campaign making it even better:)
ReplyDeleteThe Matilda's certainly proved very useful in this game and single handedly delayed the attacking forces.
DeletePeter, this was quite a good battle and an interesting battle report.
ReplyDeleteHi Jonathan, I thought the Allies had stolen a victory by delaying the attack. So close.
DeleteSo close and yet so far for the Allies.
ReplyDeleteIt was a close run game. A most enjoyable game, but also frustrating to see the objective snatched away in the penultimate turn.
DeleteGreat game, the South Africans put up a helluva fight before running out of ammo! I was looking forward to the 25-pdr battery wreaking havoc with direct fire over open sights.
ReplyDeleteV/R,
Jack
Hi Jack, The ammunition shortage came at a bad time. As the game progressed I was hoping for a defensive victory while trying to keep an impartial solo view of the game.
DeleteWe’re with you Peter, it’s okay to root for the good guys! ;)
DeleteV/R,
Jack
Tense game!
ReplyDeleteIt certainly was and was helped by having just one objective in the game.
DeleteNailbiter! Looks like they will be burning files in Alex like it was Guy Fawkes' night back in Blighty.
ReplyDeleteThe turning point may yet come. The Allies did have a victory in the first game of this campaign turn, and would have won the turn but for the last minute turn of events.
DeleteThat was a hard fought one for sure!
ReplyDeleteIt certainly was, having a limit on the number of turns in a game certainly puts pressure on the attackers to push on quickly.
Deletelovely job on those figs - 3mm? 6mm? dunno, but they are small and very nicely done!
ReplyDeleteThanks. The miniatures are 6mm from Heroics and Ros. I seem to put as much energy into the base and the miniature, which is just washed and dry brushed.
DeleteA surprisingly close one, but it went with numbers in the end. That is the advantage of numbers, lucky die rolls have to be sustained to resist them.
ReplyDeleteThe good defensive position made up for some of the difference in numbers, but not quite enough.
DeleteLooks as if the cards are a nice addition.
ReplyDeleteRegards, Chris.
I enjoyed their use in this game, and they help me keep track on the turns.
Delete