This has been a very productive weekend of scratch building a Medieval castle. In the back of my mind I have been thinking about playing some siege games and including them into a planned campaign. Lacking a castle and not wanting to spend any money meant scratch building was the only option. Fortunately, I had all the materials I required on hand:
- 90mm x 90mm wooden post cut into 180mm lengths
- MDF for the battlements
- 10mm x 20mm wooden strip for extending the parapet on the bastions
- Gesso Primer (to disguise failings in woodwork)
- Grey Paint
 |
| I am preparing for some Medieval sieges in the near future. |
Most of my terrain is home made and my buildings tend to be blocks of wood with their detail painted on. The advantage of this is approach is I can throw them into a container without worrying about breakages. Some previous examples can be seen here:
Samurai buildings and castle keep.
Saxon and Norman Buildings
General 18th Century Buildings
St Nazaire Raid Buildings
The following photographs show the process used to create the castle.
 |
| The walls and bastions are made from 90mm x 90mm wood for posts. I had some from a previous and defunct project already cut. The bastions needed to be a bit wider for my unit's to fit, so to increase the size I added some 10mm x 20mm strips of wood around the top. Finally MDF is added for the battlements. |
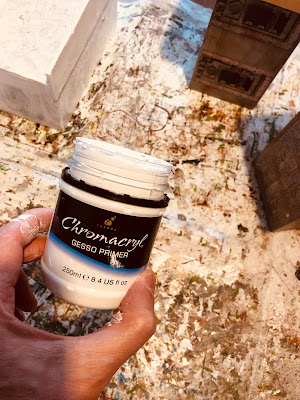 |
| Some of my sawing is not always that precise. To help fill in any gaps and give the walls some texture, Gesso Primer is painted on. |
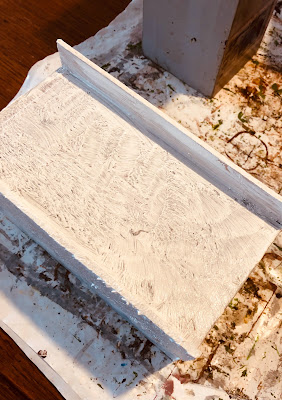 |
| The texture the Gesso provides can be seen here. |
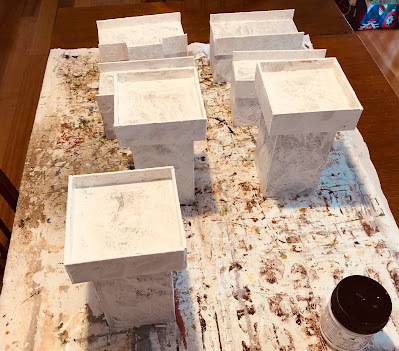 |
| All three bastions and four walls are primed with Gesso. |
 |
| The base painting is done with a grey which is later sponged over with a black wash and brown wash. This breaks up the flat looking grey. |
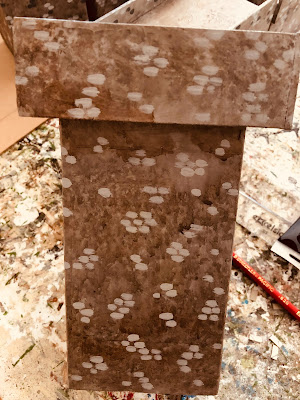 |
| The grey is used again to dab on dots randomly. This is to give the impression of stone blocks. |
 |
| The process of random dots continues with a darker grey and dark brown. This all adds to the impression of stonework. |
At this point you maybe wondering about the battlements and where are their indentations or openings (embrasures or crenelles) which give them their saw-tooth look. Rather than cutting them out I cheat a bit, or is that a lot, and paint the openings. I start first by creating a cardboard stencil which I will use to mark out the openings. I them paint over the marking with black or a very dark grey.
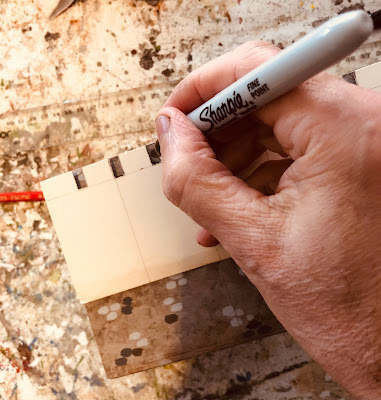 |
| A stencil is used to make the openings regular and consistent. |
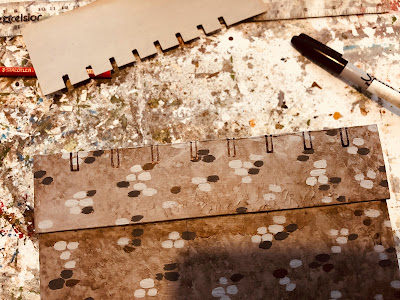 |
| All marked up and ready for painting. |
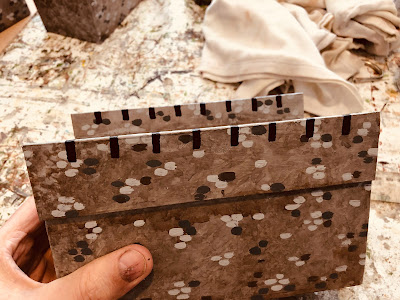 |
| The openings all painted on. |
 |
| Additional features like the gate are painted on. |
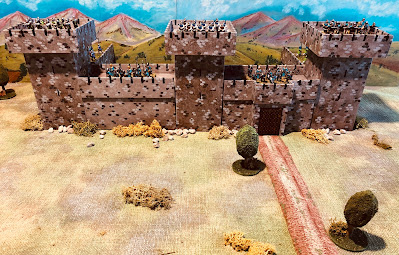
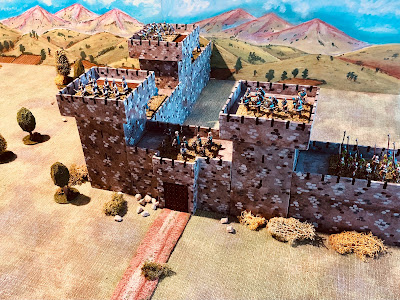
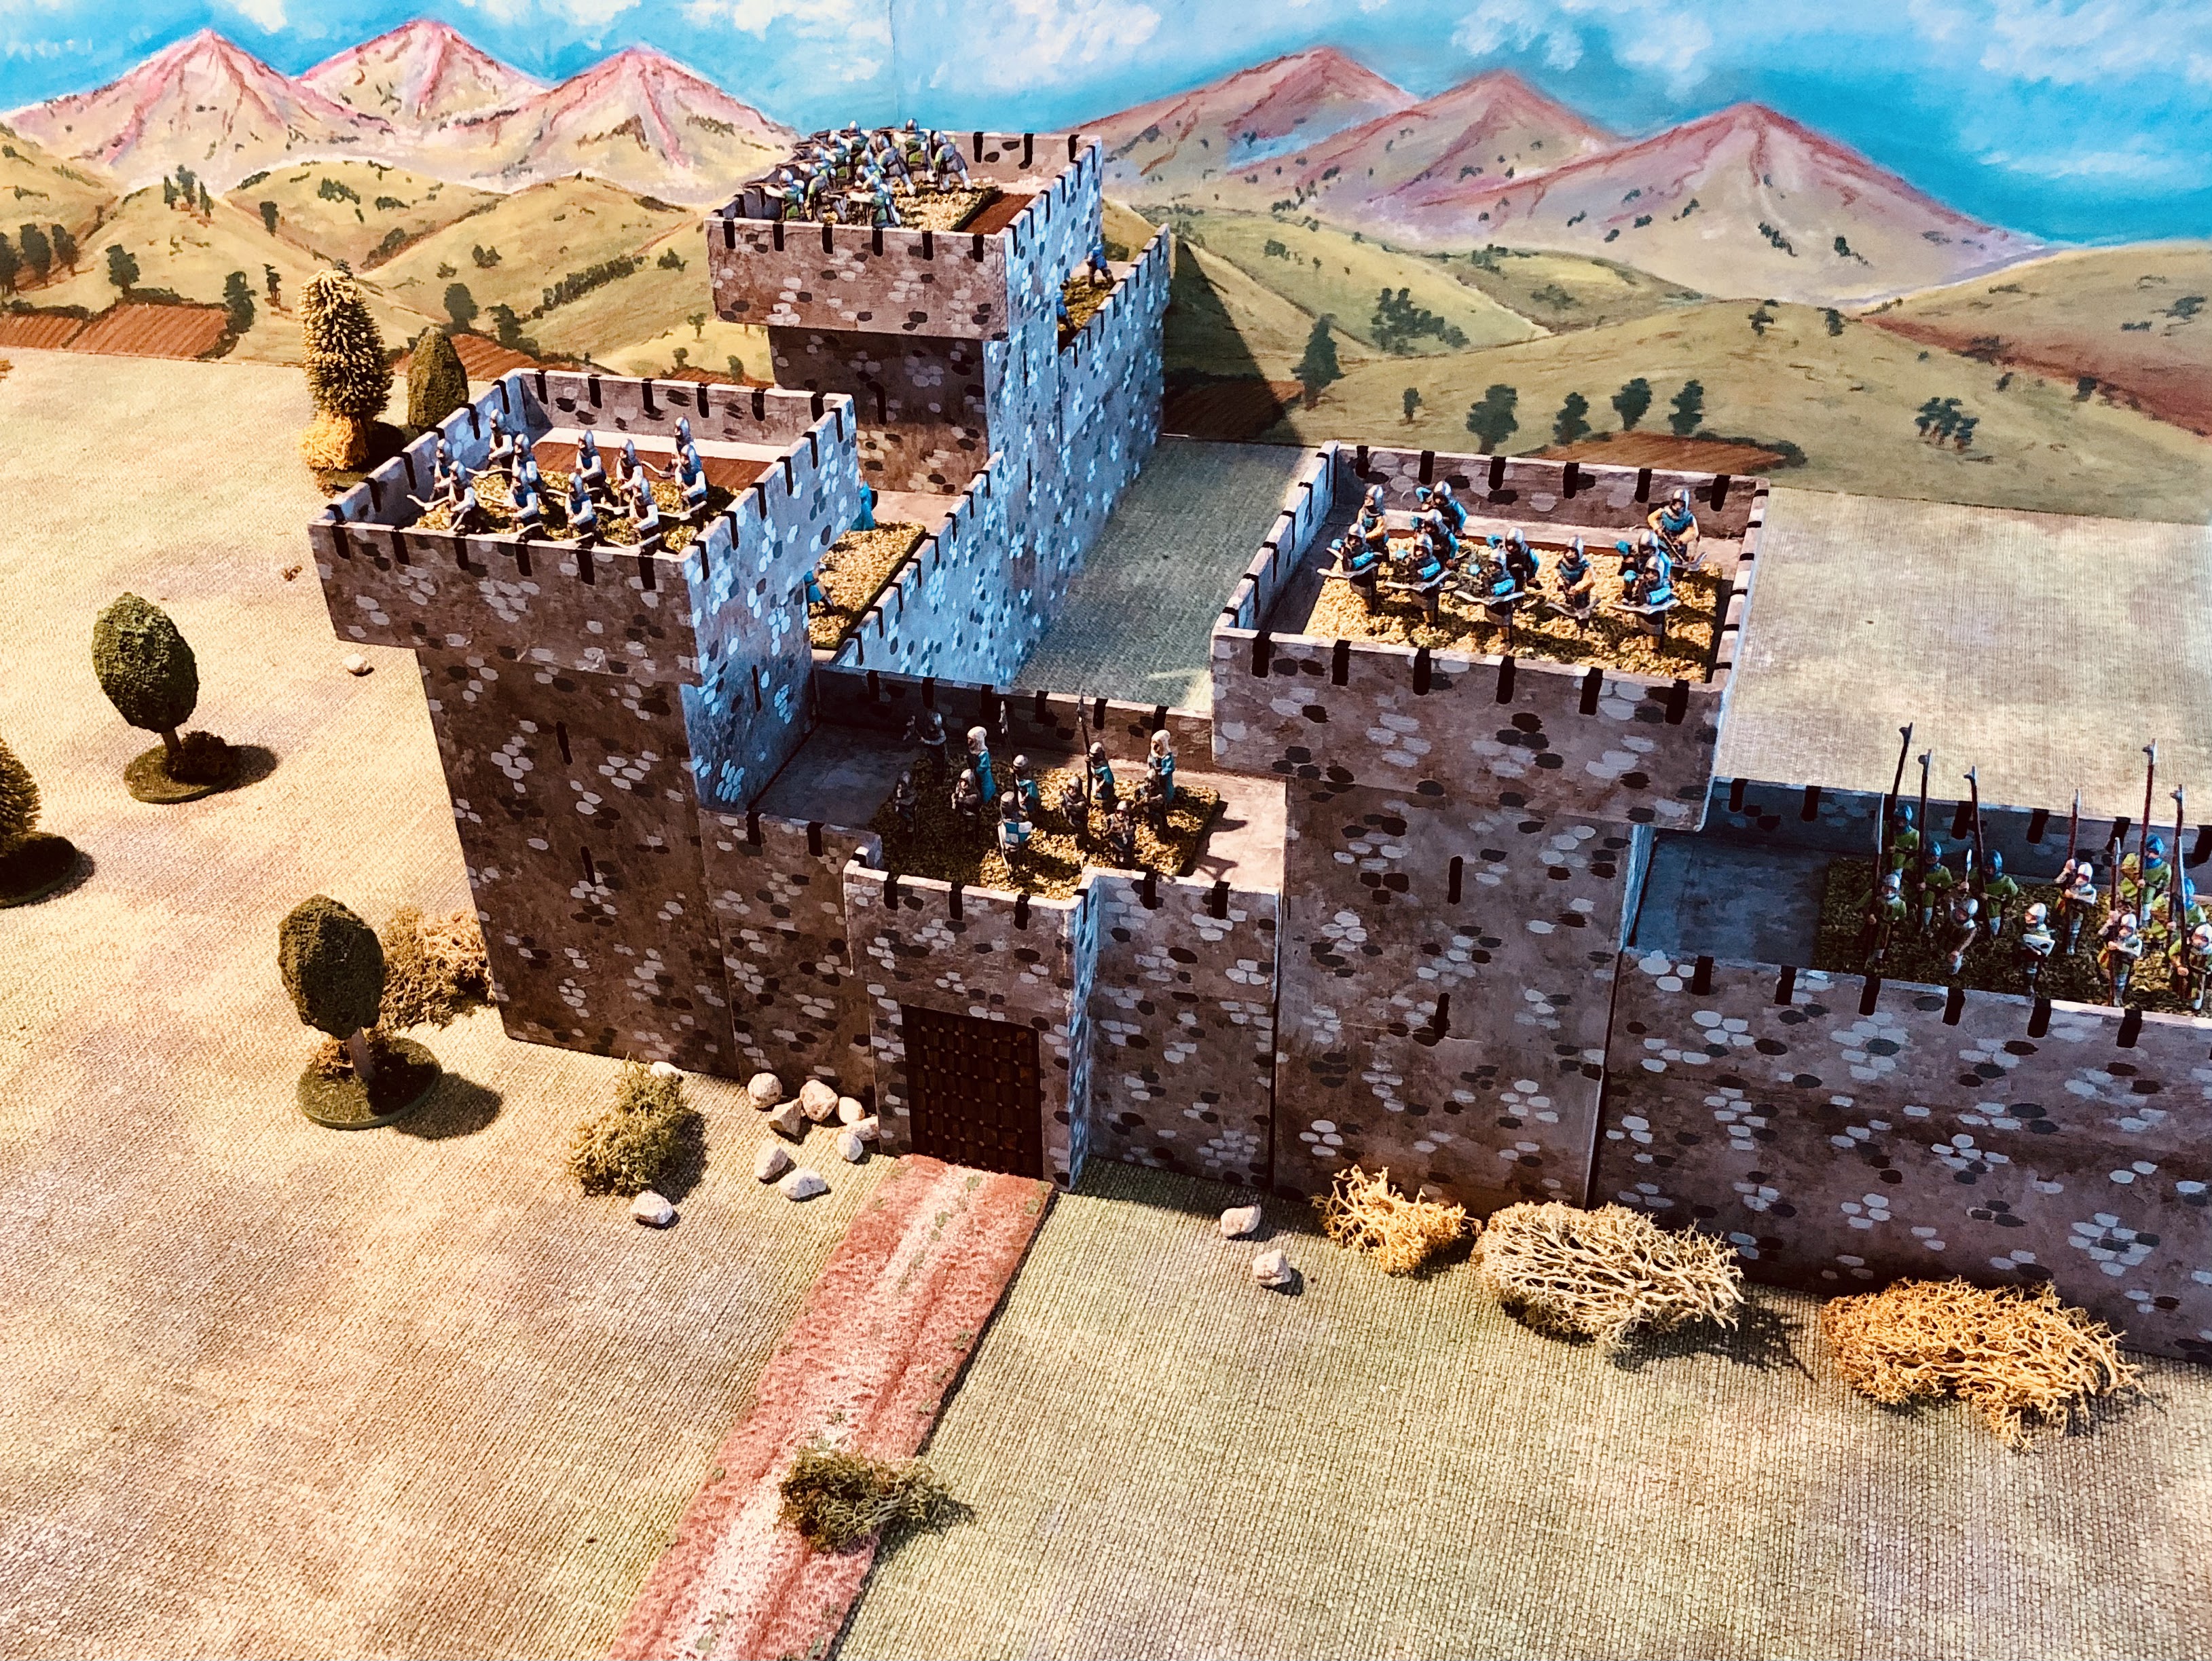
The castle pieces can be setup in a couple of configurations on the corner of the tabletop, either 3 by 1 or 2 x 2 (see below). I am hoping the different configurations will help mix up the types of siege wargames and provide some variety.
 |
| The castle can be setup on the corner of the tabletop on a 3 by 1 wall configuration. |
 |
| A corner setup with a 2 by 1 wall configuration. |
The next step is to build some siege engines. All being well I should be able to make them next weekend. As I progress with this project I will be referring to my trusty copy of Military Modelling's "A Guide to Siege Waragming" by Stuart Asquith.
 |
| My old copy |


Peter, your handicrafts work never ceases to amaze me. Great ob!
ReplyDeleteI find the handicraft process creative and rewarding (when it works out as expected). Thanks.
DeletePeter, as always, your hand crafting is superb, combining woodworking skills with artistry and having the conceptual eye that sees the direction of a project from the first cut …… best though is the blacking out of the battlements, what a superb result, I would have gone straight for the saw and spent an afternoon of cursing!
ReplyDeleteThe painting approach seems to work more often than not, especially for scenery which is not often used. Thanks.
DeleteNice job Peter, what a superb castle!
ReplyDeleteThanks, now for some siege engines so I can have a game.
DeleteNice work!! And in particular, the crenellations idea with paint rather than cutting was a great idea, and works well!
ReplyDeleteThanks, paint rather than cutting certainly saved a lot of time.
DeleteA very good job here Peter - you'll find a lot of good use for your new scratch built castle.
ReplyDeleteI certainly do hope to get good use of the castle. After the siege engines a set of siege rules need to be written.
DeleteA very elegant solution Peter and a great result!
ReplyDeleteThere were a few points in the making of these that I was not sure how it would turn out, but it was all ok in the end.
DeleteWonderful work there Peter!
ReplyDeleteThank you. Now I just need to find some room to put the castle when not in use.
DeleteThe castle appearance is very effective!
ReplyDeleteNext up are some siege engines.
Delete